I haven’t updated this in a while, and I’m going to cut to the chase: The engine is built, on the bike, and running. There’s some minor things I need to do, like rebuild the carburetor, and some general tinkering around. However, the engine rebuild was successful.
If I only had to give one piece of advice for anyone who is about to embark on your first engine rebuild, it would be one word: Organization. The biggest reason this rebuild took literally years to complete (aside from life issues, and how I approached working on it) was because I had thrown every single part, nut, bolt, washer, o ring, etc, into a cardboard box. This made reassembly a nightmare. I would go to work on the engine, and start assembling a part or system of components that made up a part, and find that I had no idea where a specific bolt, or gear, or spring, or whatever, was. When you’re assembling an engine, you want to make sure you’re using the specific part, even small things like bolts, washers, and nuts, to achieve proper fitment and clearance. In that same box, I have easily 3 extra sets of crankcase bolts, an entire rebuild kit’s worth of o rings, several gears such as the primary drive gear, an extra shifter shaft assembly, bearings, and on, and on, and on. This is because when I couldn’t find a part, I’d go online, and have a new one shipped to me. Even today with fast shipping, it still took days for the parts to get to me. And in that time, I’d get busy again, or I’d be consistently too tired from work to work on the engine (never work on engines while you’re tired or inebriated, you’ll break stuff, which is another reason it took so long), and I wouldn’t touch the engine again for another week or two. At which point I’d, again, find out I couldn’t find something, go online, order a new part, and repeat the cycle. I’d end up eventually finding most of the parts I was missing, so I have plenty of spares in case I decide to rebuild the engine again.
With all that, I’d highly encourage everyone to disassemble and reassemble an engine at least once. It was an amazing experience. The internal combustion engine can be a fairly opaque black box to the majority of people. I doubt that the majority of people really understand how their vehicles function; they just understand they need to put gas in the tank, and sometimes do maintenance like change the engine oil, or replace a part that’s making a noise. Rebuilding an engine really takes that mystery away. You really see that, in the end, an engine is a really simple piece of technology, and it’s the marginal features like the electronics suite, that is the major difference between a Ford Model T engine, and something like a Bughatti Veron W engine.
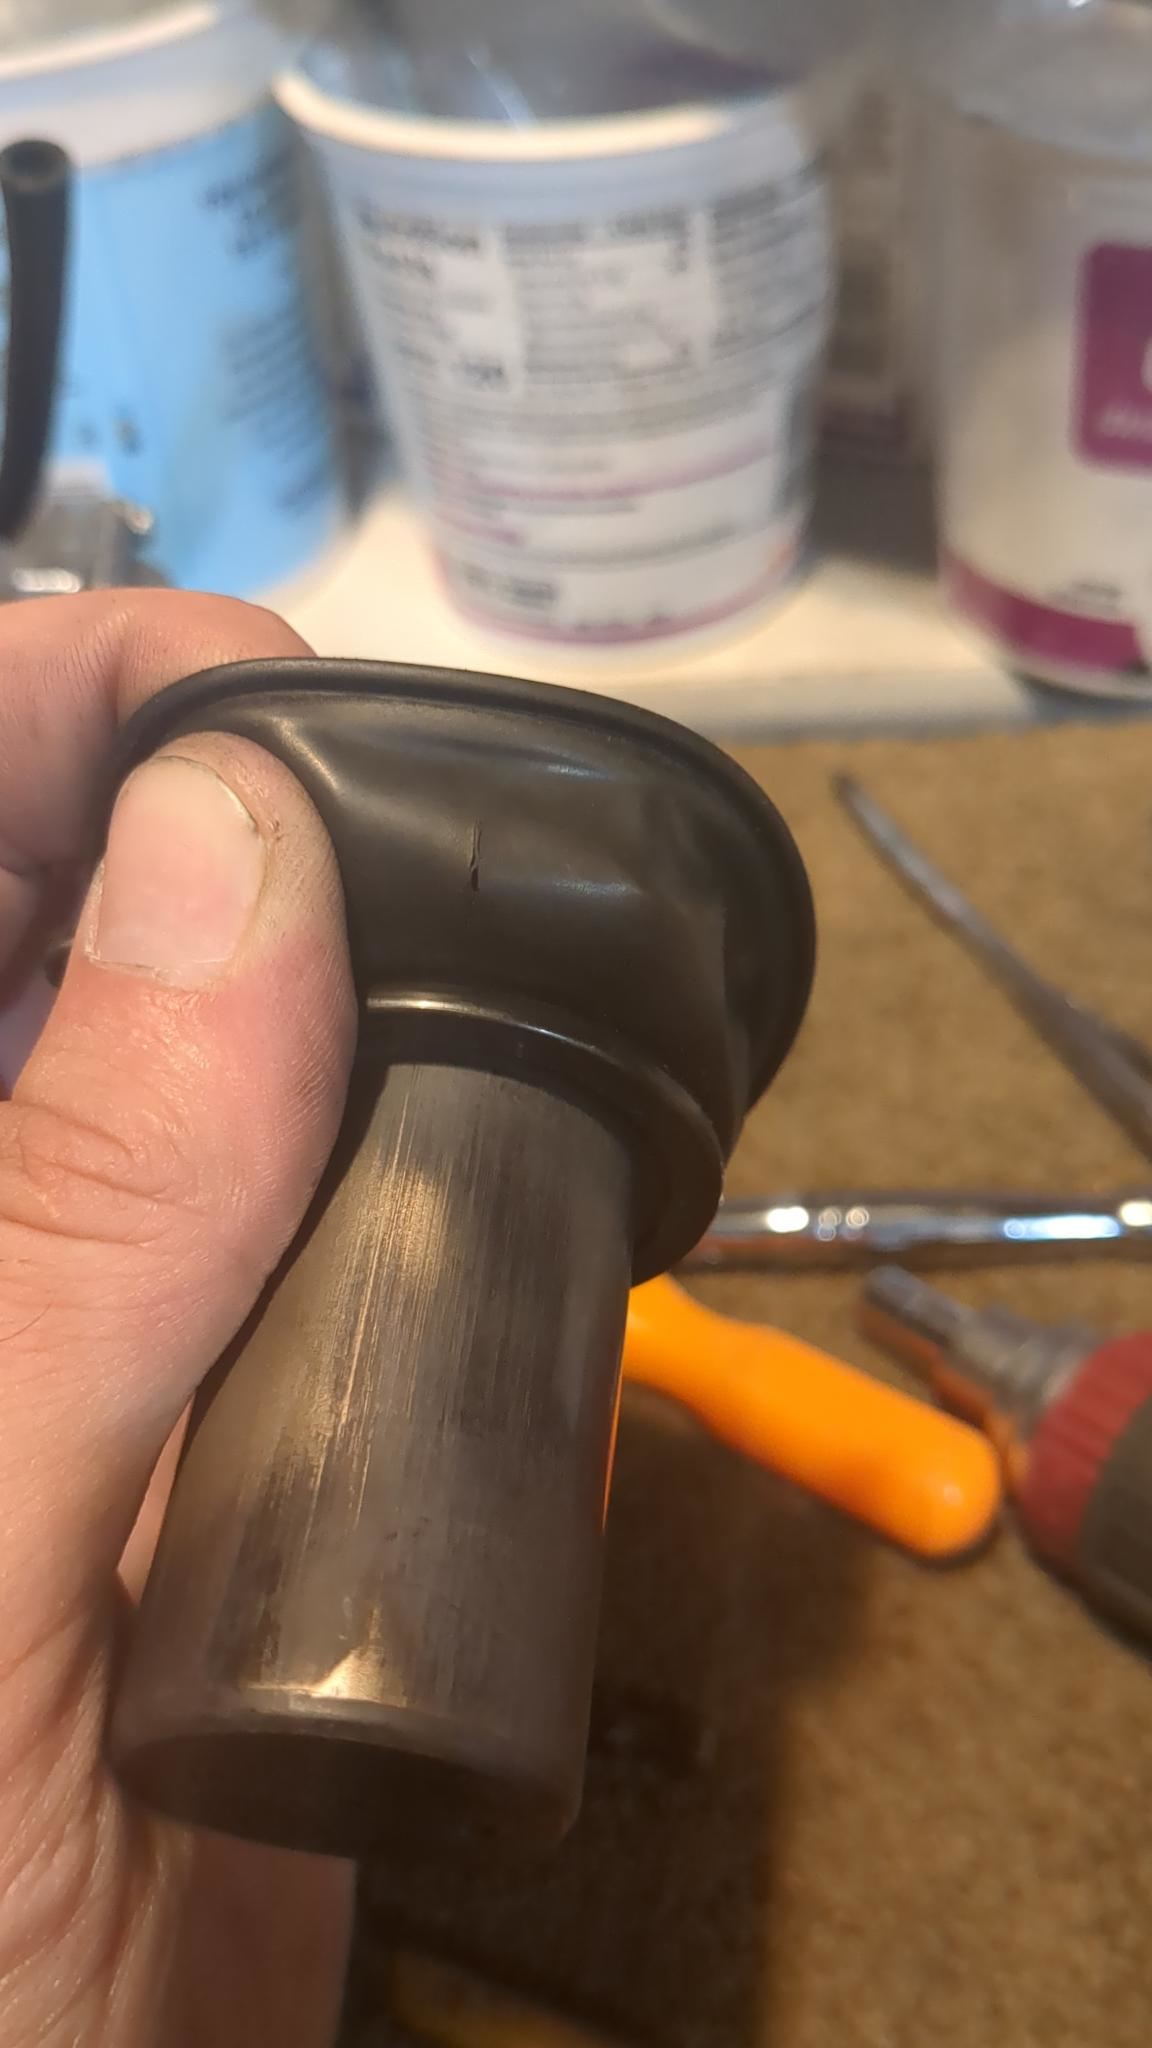
Anyhow, as for this update, the bike runs, but runs super lean when you give it any amount of throttle. It almost feels like the fuel is getting cut off. I decided to take the carburetor apart, as the fuel pump was supplying fuel to the carb. At first I didn’t see anything too extraordinary with the internals. I was surprised at how clean it was internally, as I had believed and suspected that any gas I had left in there years ago would have degraded into a jelly, and clogged up the internals. I examined the diaphragm, and noticed a tiny tear in the rubber, as seen below.

This gentleman does an excellent job at explaining how this style of carburetor functions, so give him a watch if you do not understand how they work. Basically, when the throttle is opened up, it creates a pressure differential, and a vacuum in the chamber above the diaphragm, causing it to rise and pull up on the piston. Inside the piston, a needle that is seated inside the main jet, rises, and allows more fuel flow into the carb’s venturi, where it goes on to mix with the air and enter the cylinder of the engine. Because there was a tear in the diaphragm, there’s no pressure differential that could be created, and the needle wouldn’t rise, thus starving the engine of fuel as the RPM’s rose. So, I have to wait on a rebuild kit for the carb. Lesson two: if you’re going to rebuild an engine, make sure you have a replacement for basically every rubber component. Rubber degrades, especially if it’s just sitting there.
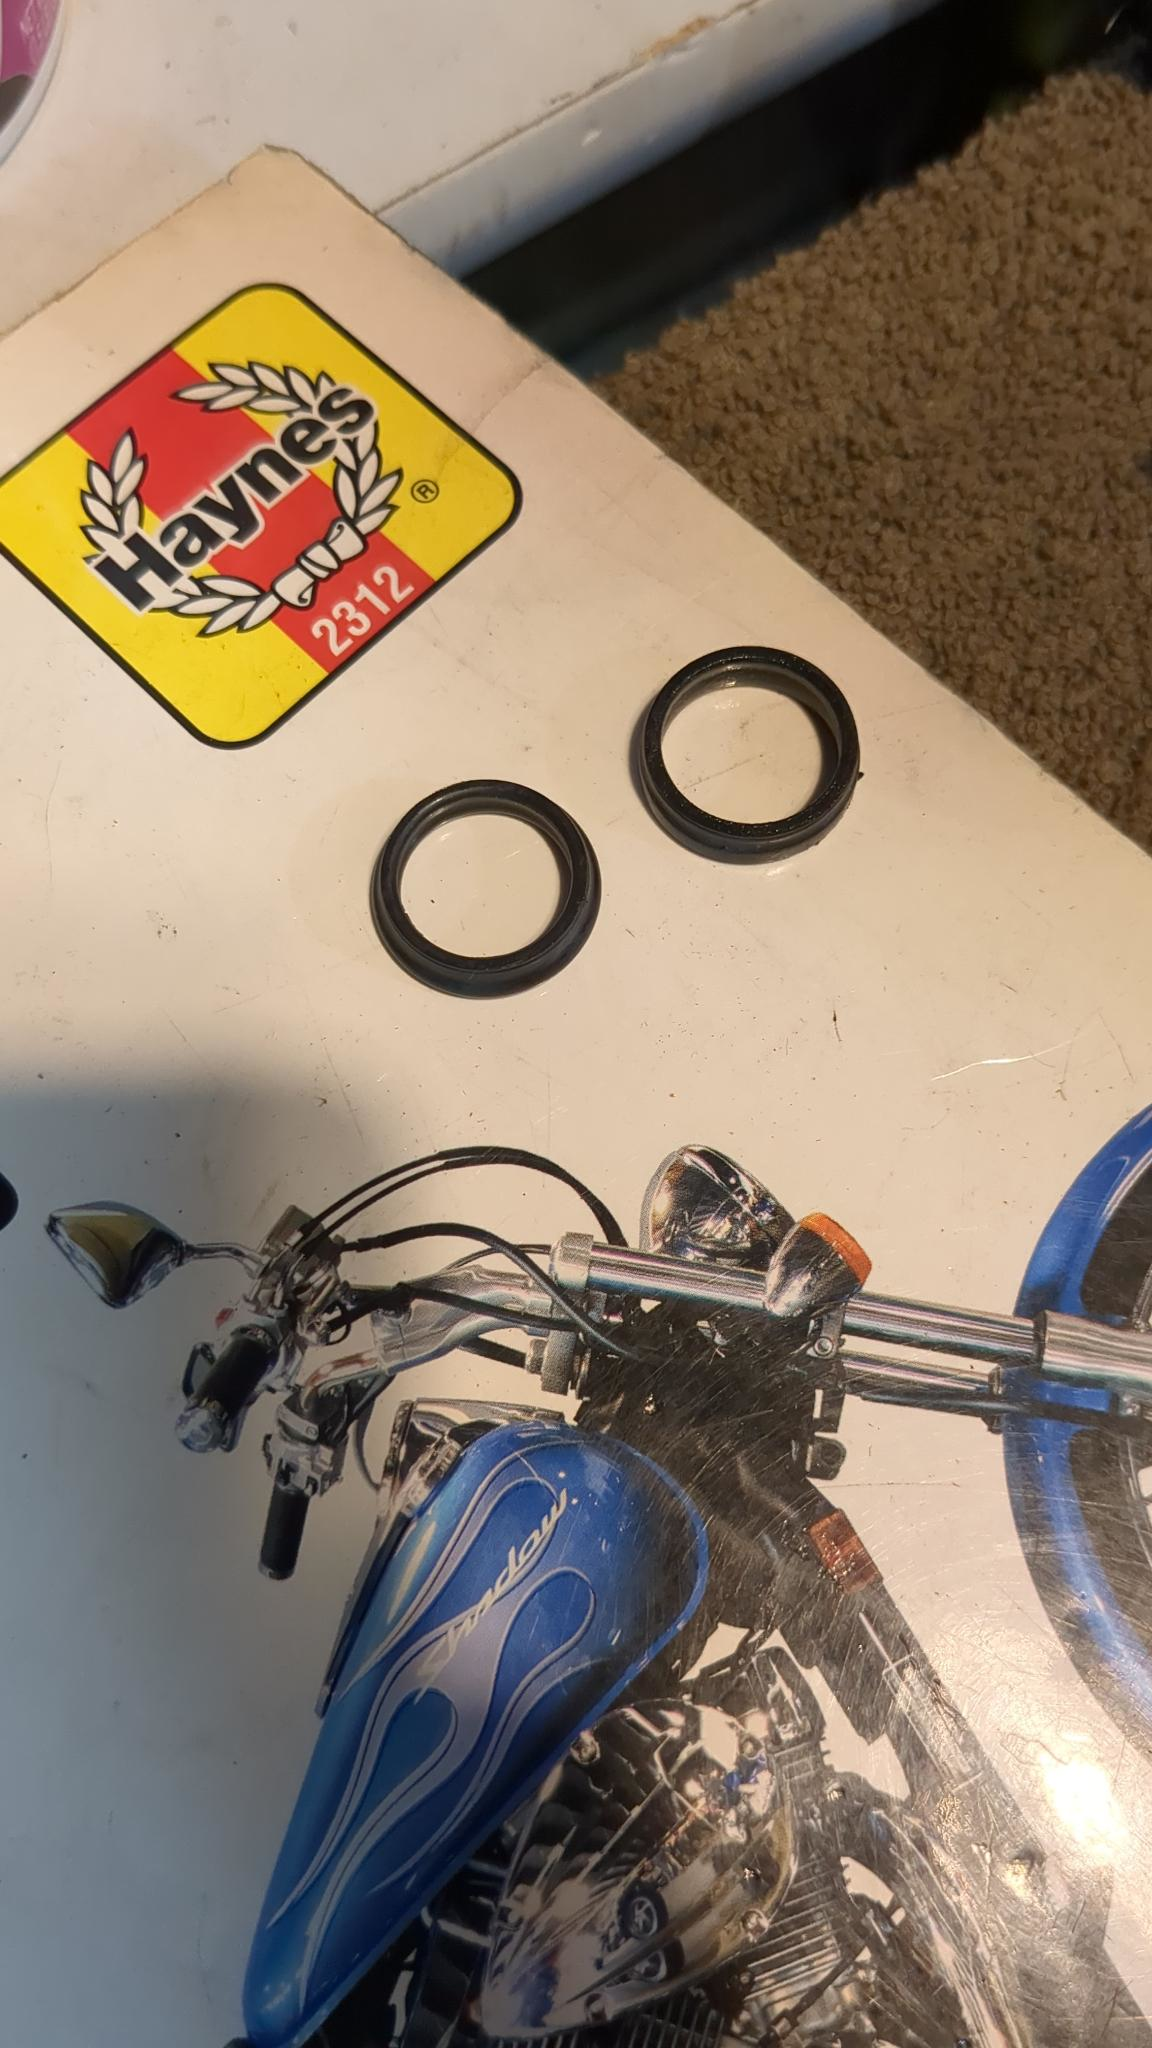
Speaking of rubber degrading, some coolant pipes o ring’s degraded, and I had to replace those as well. The o rings were allowing coolant to leak out. The new o rings were rubbery, and the old ones were brittle and tough. In the pic below, the one of the left is the new one, and the one on the right is the old one.

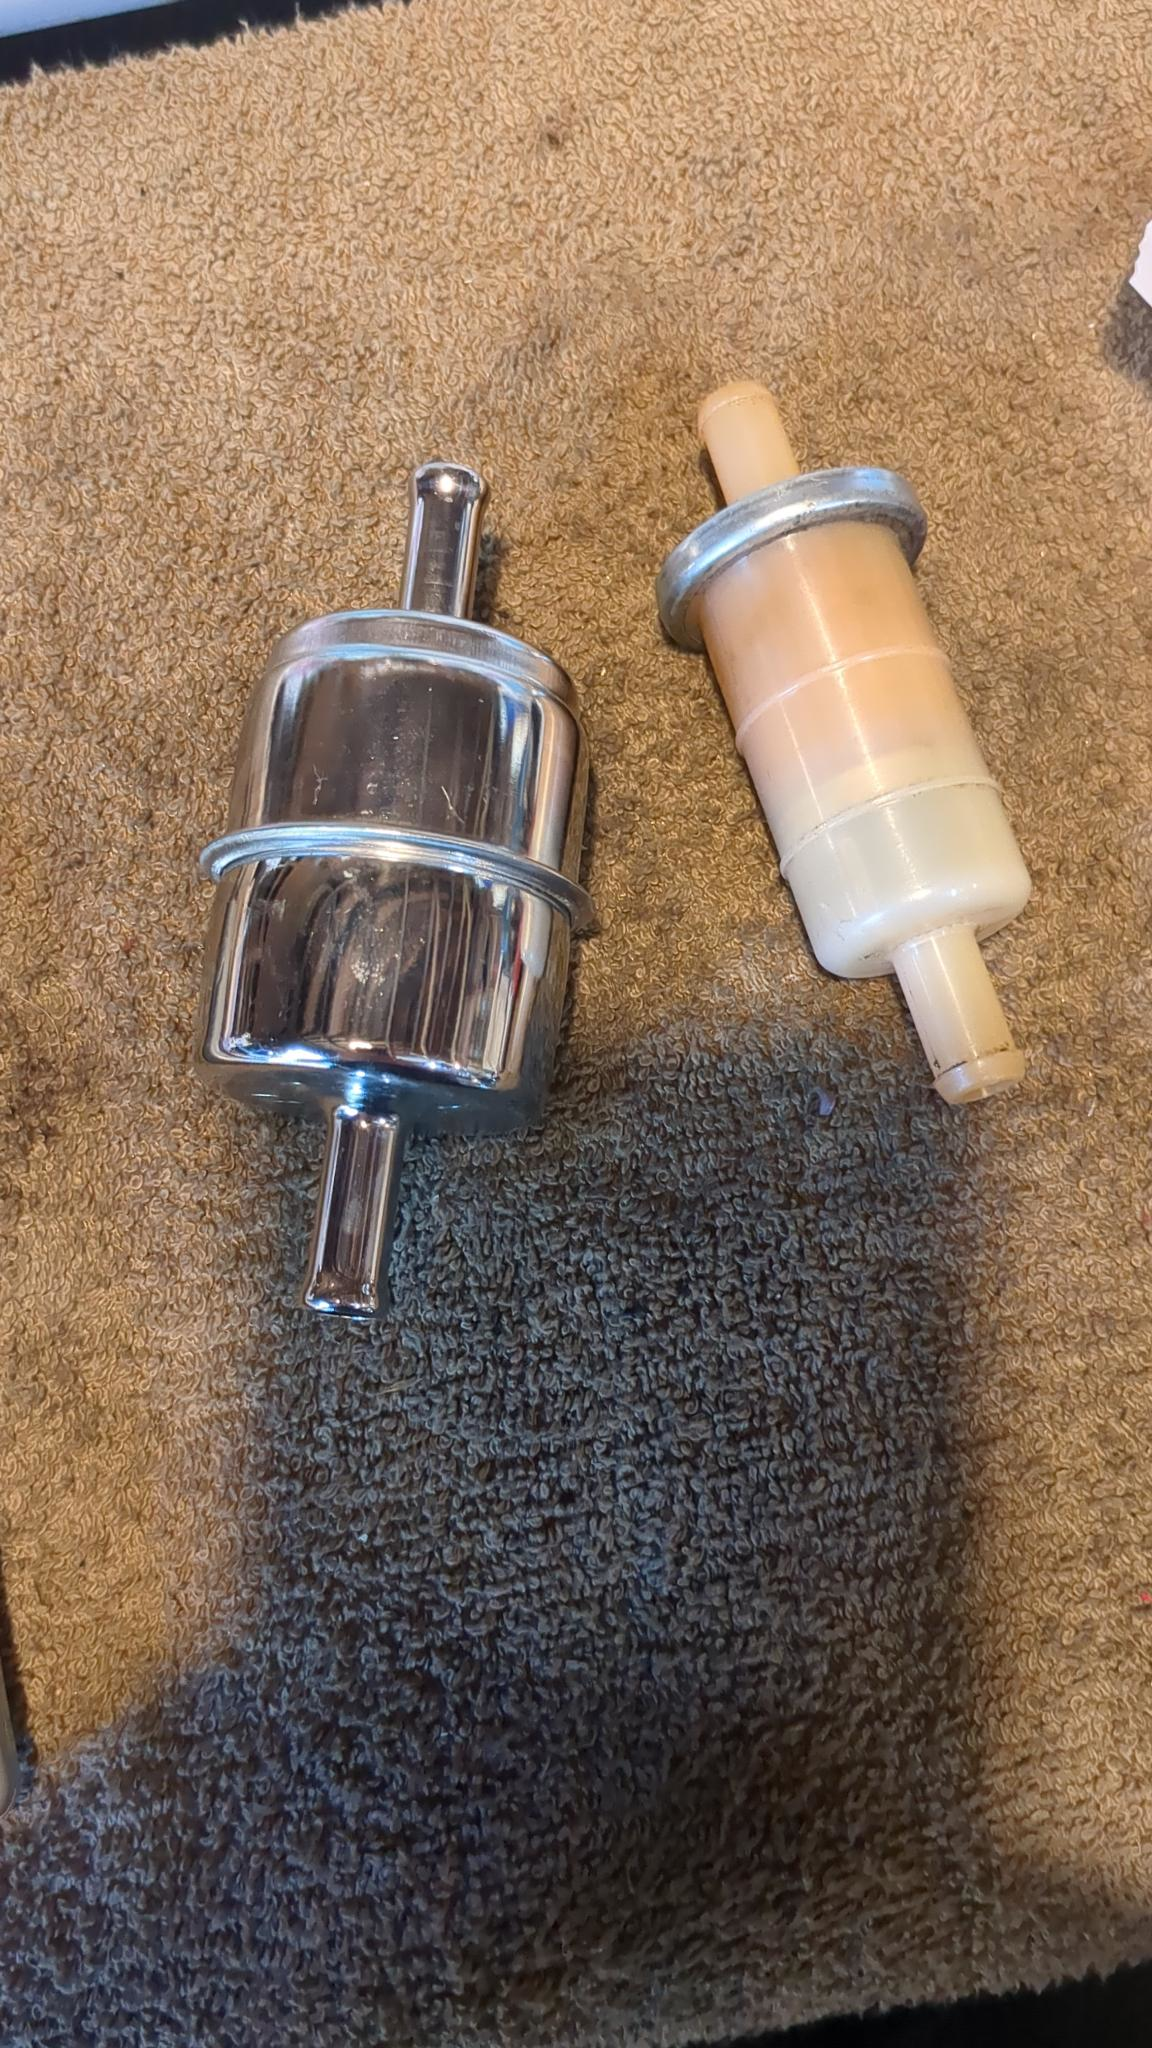
Finally I replaced the fuel filter, as the old one was likely the OEM one from 2003, with over 40k miles on it. The instructions in the manual state to change it every 5k miles.

I might write a blog about all of the shenanigans of reassembling the engine. There were a lot of stupid stories. But for now, just know that the engine runs.