Last week I drove across the country in the battle bus. I had a complete brake job on the battle bus in October, and I did an oil change prior to departing. Driving across the country, the battle bus burned about a quart of oil every 500 miles, which is suboptimal. Upon arriving back in Oregon, I decided to do a compression test to see if any cylinders had any glaring issues. I did the compression test, but upon reassembling the spark plug wires and spark plugs, I broke one of my wires. I purchased another wire, but upon reassembly, the truck began to misfire from cylinder 2. Moving the wires around, and even the spark plugs, did not fix the issue. I reasoned that it had probably been a decade or more minimum since the ignition coils had been replaced, and taking the spark plug wires and plugs out somehow finally caused the coil to fail. I figured that other coils were going to break soon as well, so I went about replacing all of the plugs, the coils, and the wires. Overall it was a simple affair.
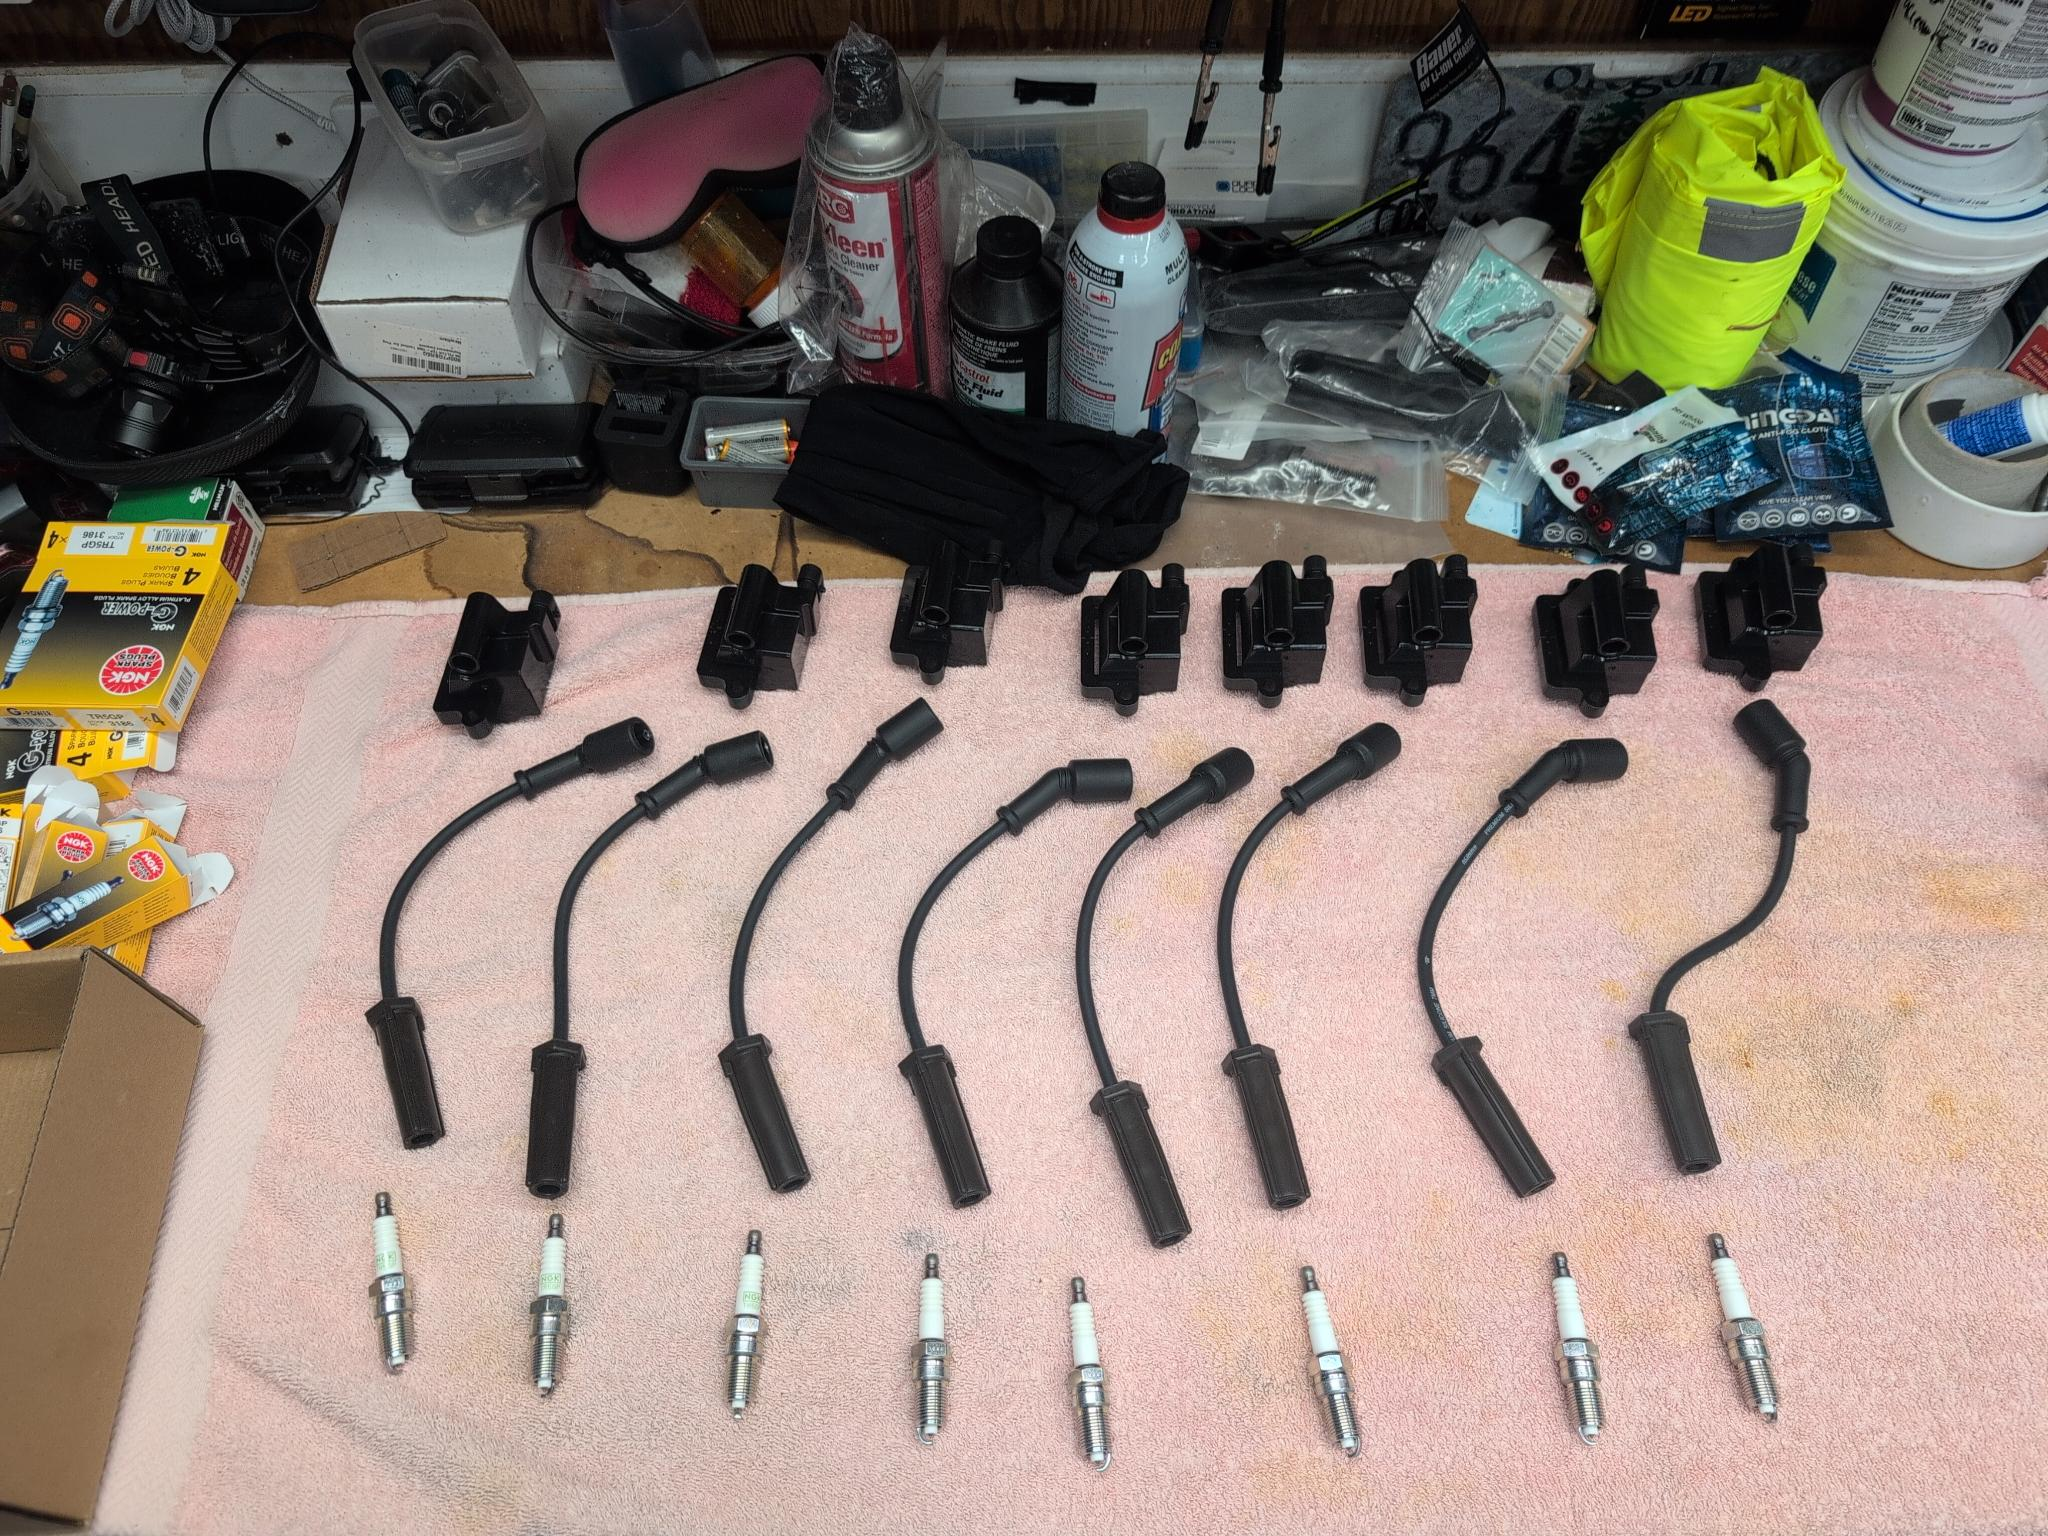
All of my spark plugs, spark plug wires, and ignition coils, laid out. There wasn’t a reason to do this. I just wanted to show all 8 sets laid out.
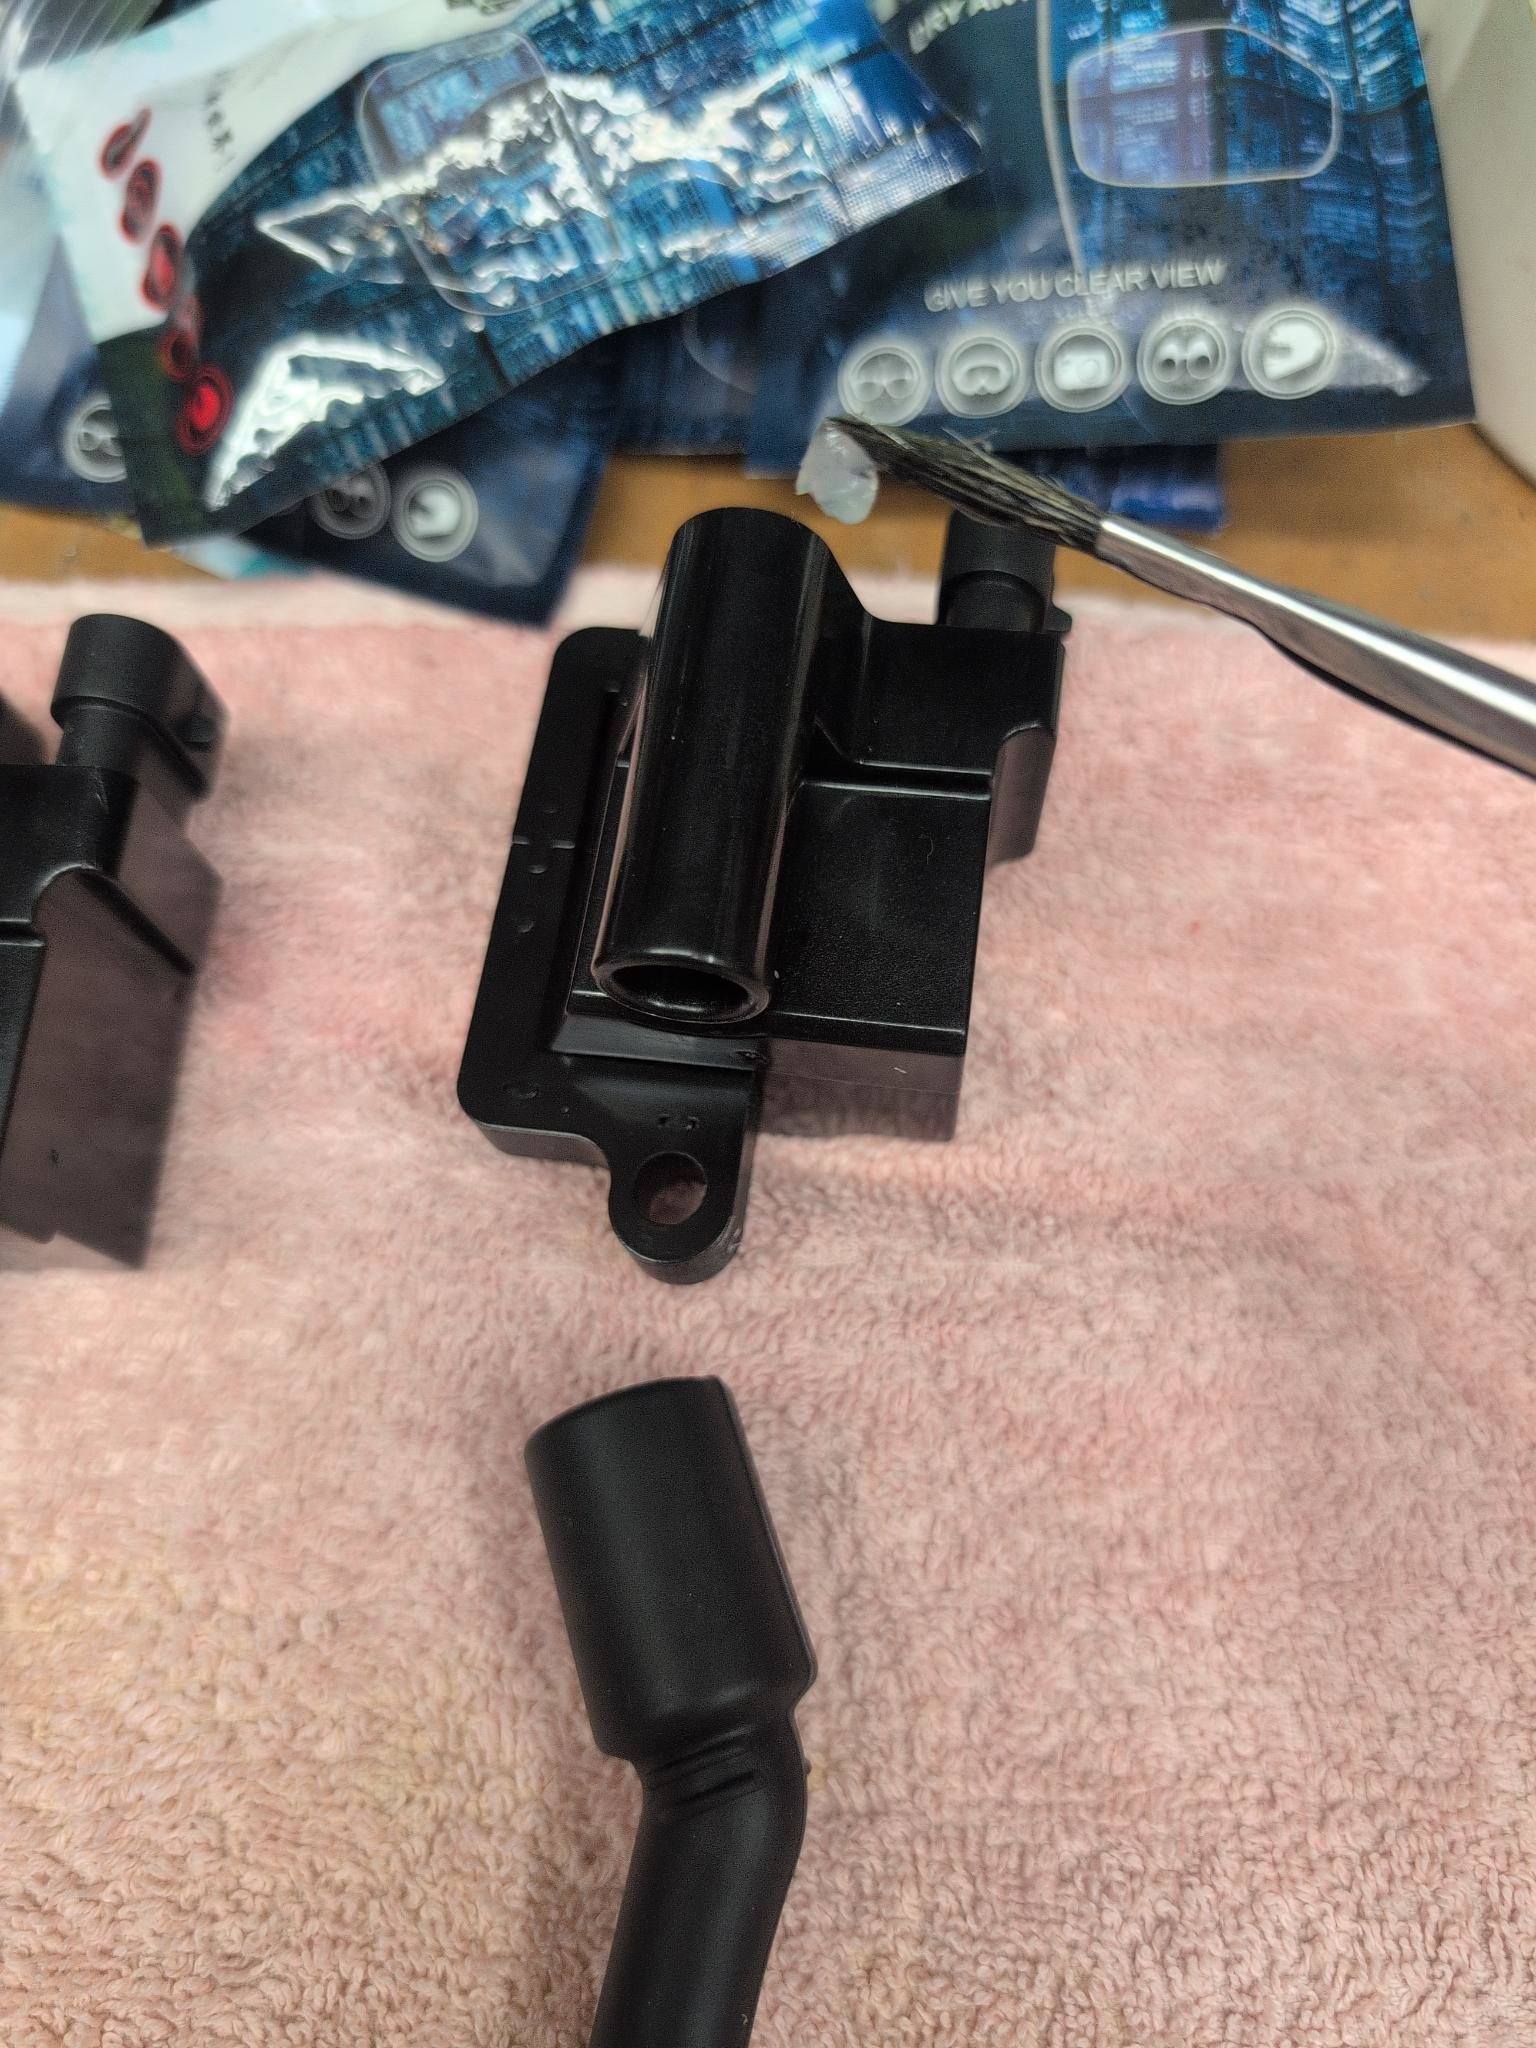
I like to use dielectric grease when assembling electrical components. dielectric grease is an insulator, so you don’t use it on the contacts between the electrical components themselves. You use it to help seal connectors and boots, specifically of water. I put a little bit of grease on the outside of the connector to the spark plug wire. I also put a little inside the where the connector connects to the wire harness, careful to not get any grease on the contacts. The wire harness connectors do have rubber seals, but they’re probably old, and a little grease will help seal them. It also helps with removal later.
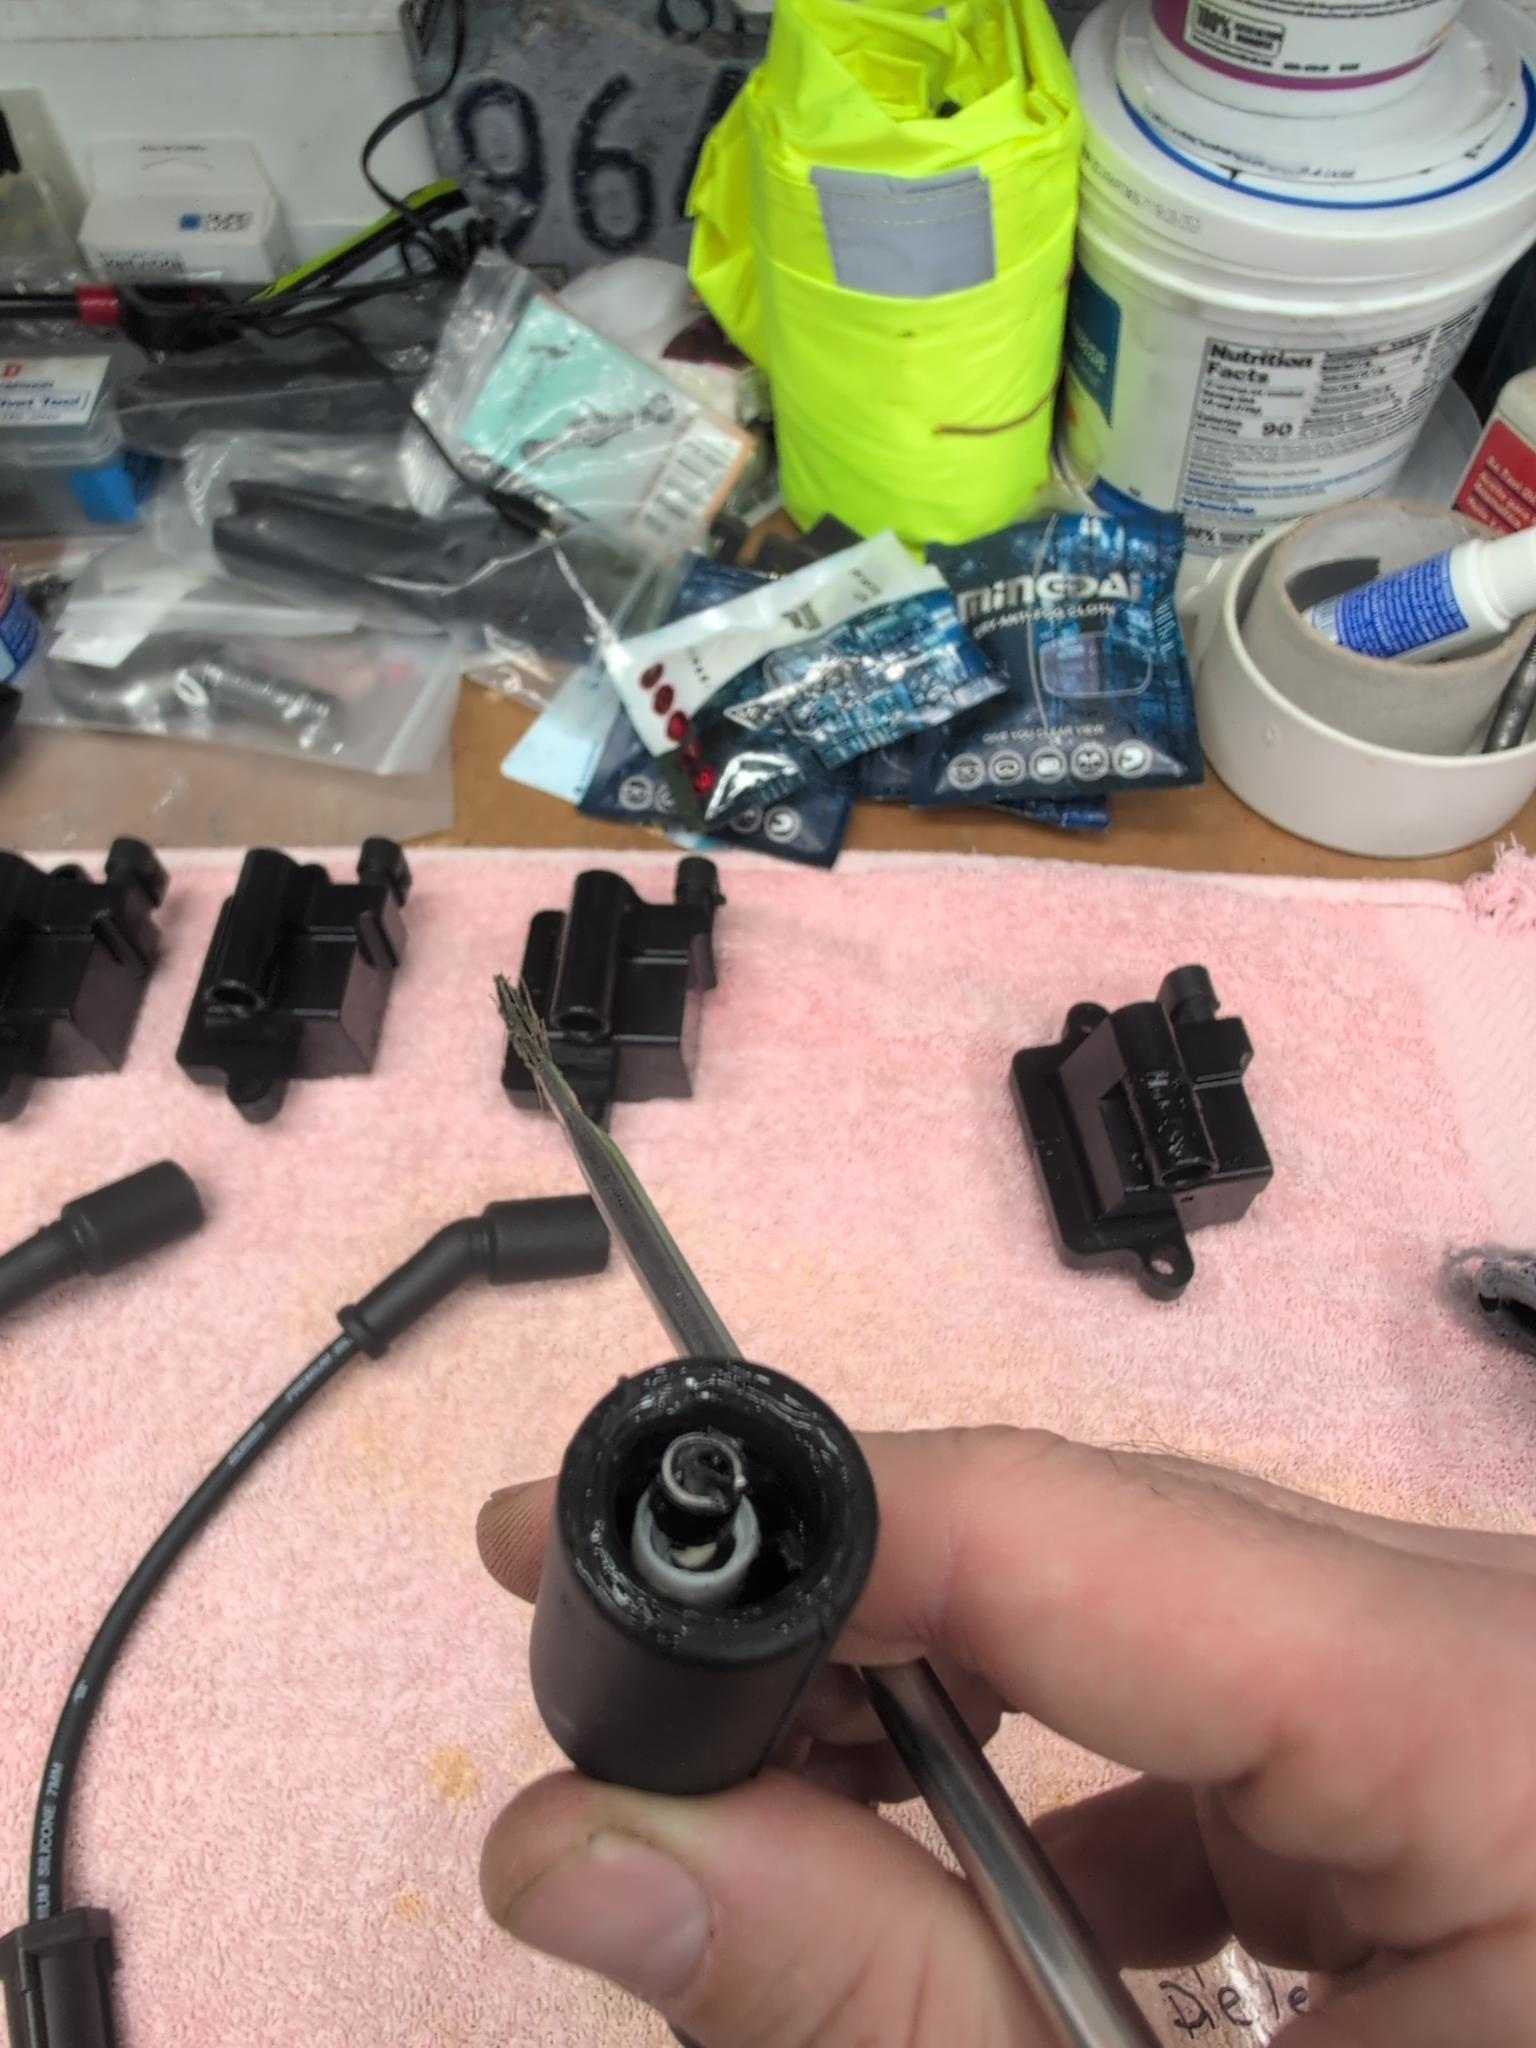
I put a little grease on the inside of the spark plug wires, where they connect to the ignition coil, and to the spark plug. Again, careful to not get any grease on the metal contact points. This helps seal water out from getting into the spark plug wire.
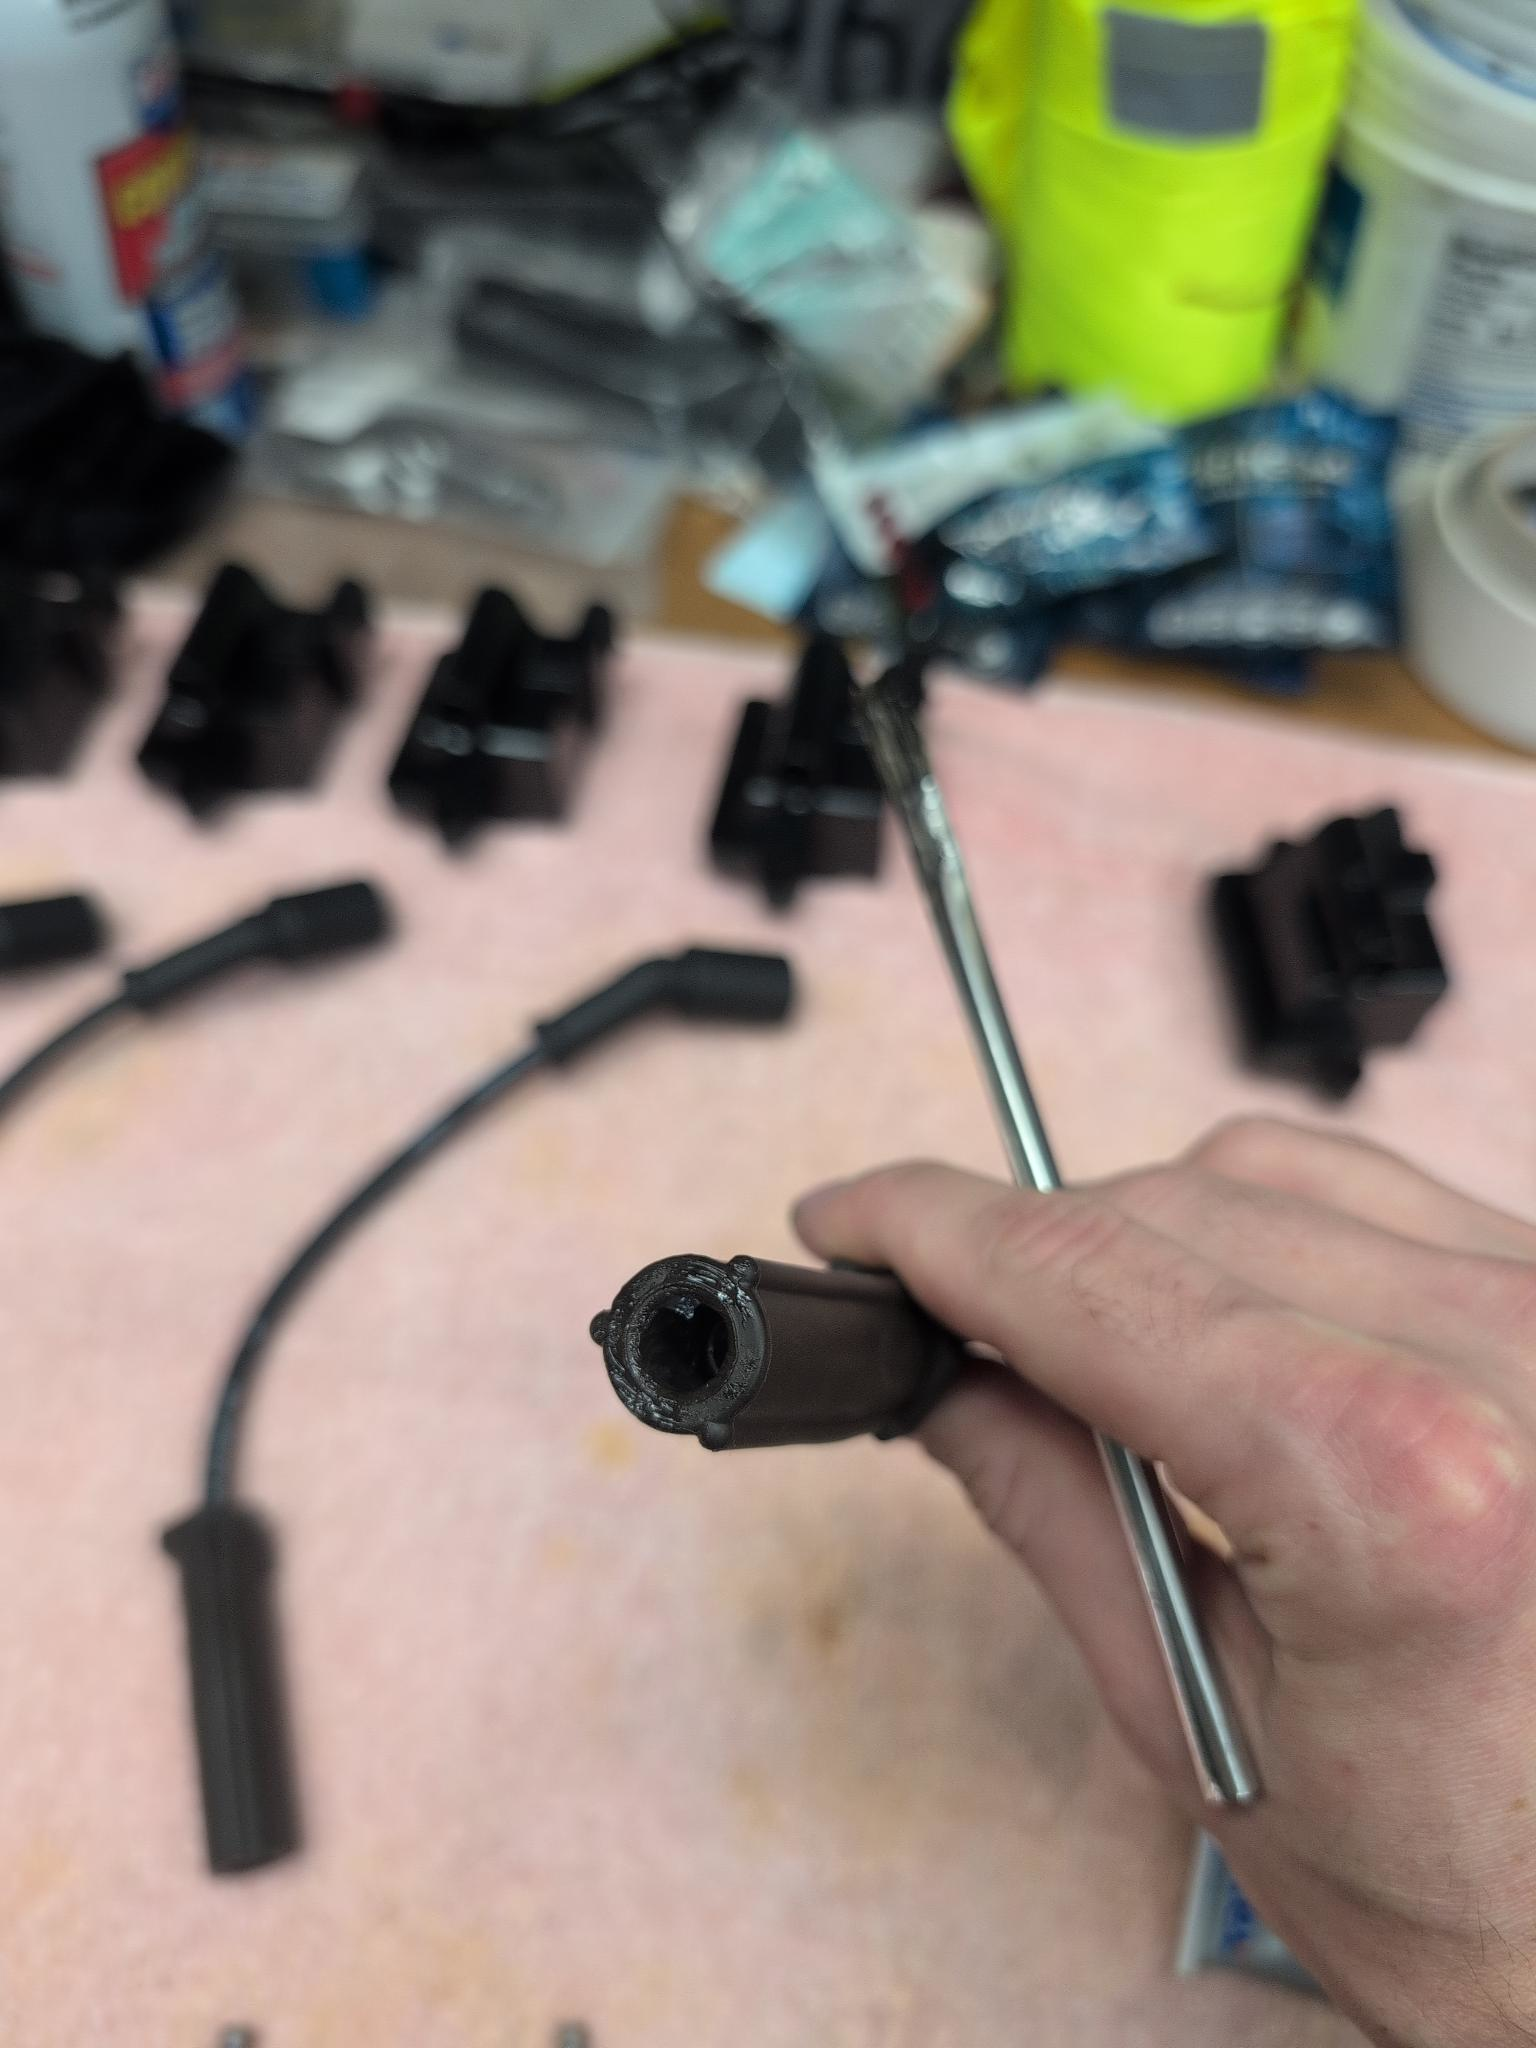
The bottom of the spark plug wire; the end the connects to the spark plug.
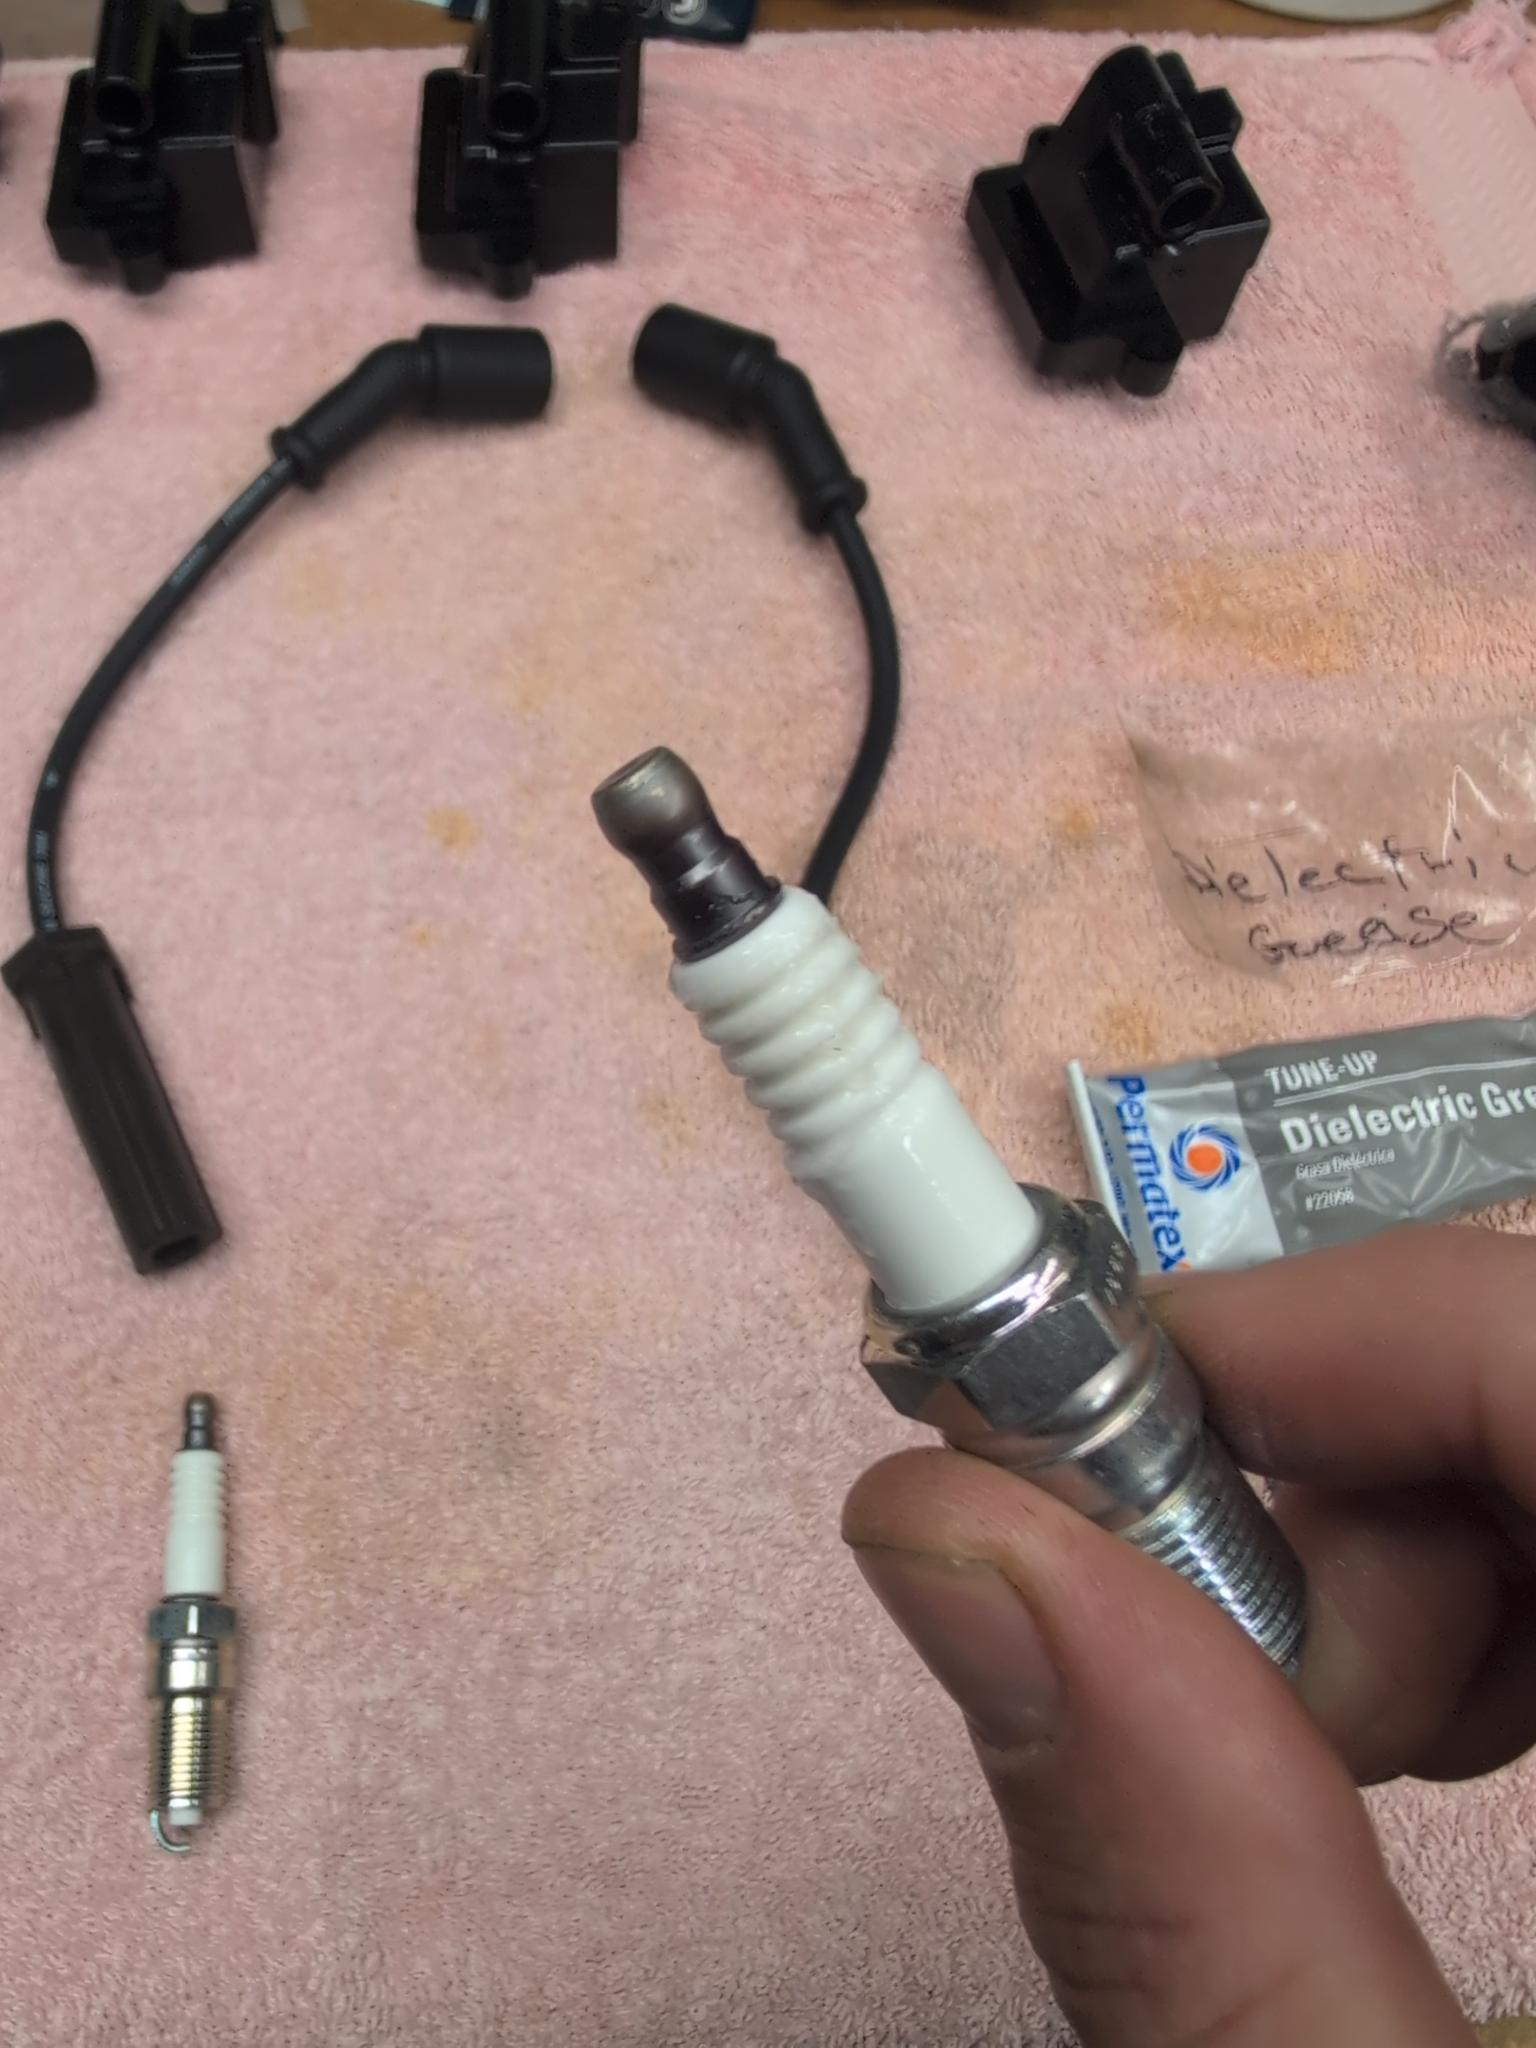
I put a little grease on the ribs of the spark plug. This is where the spark plug wire boot contacts the spark plug, creating an insulator between the spark plug, and a ground source such as the engine. Again, a little grease helps prevent a water from getting into the wire. It should also help if I need to take the wire off, as the grease will act as a lubricant when I remove the wire if I need to do further tests on the cylinder (such as a leak down test).
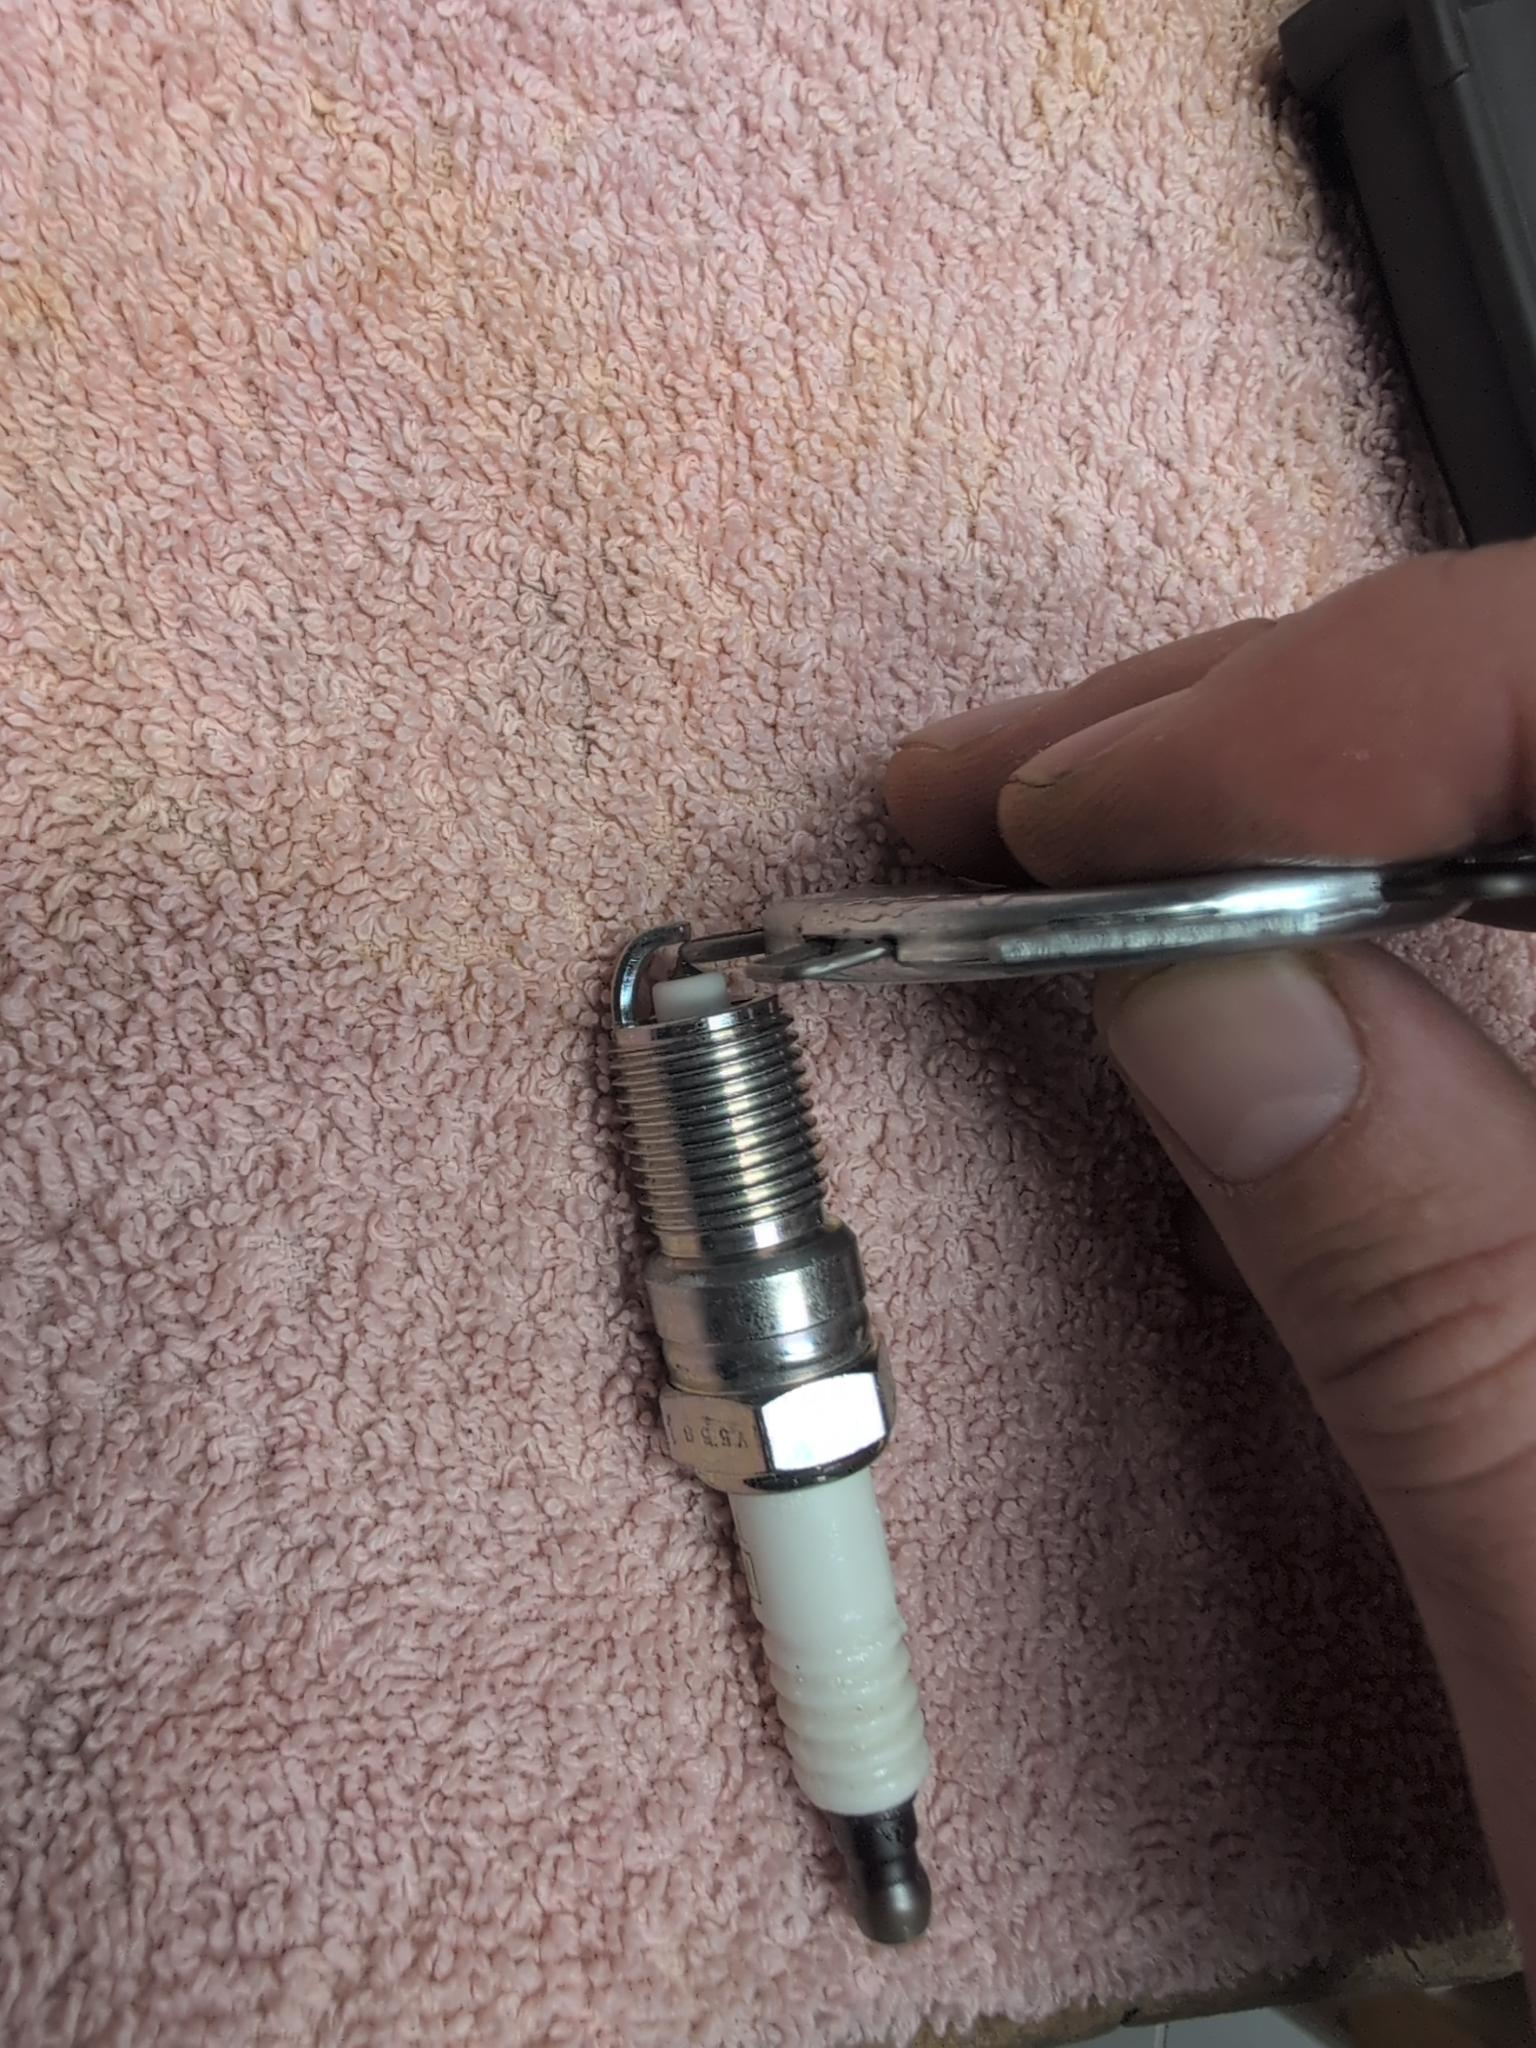
Gapping the plugs. You want to follow whatever your manufacturer recommends from plugs. For the battle bus, 0.06-0.07 inches is recommended, which is about 1.524mm to 1.778mm. The TW200 for reference is .7mm to .8mm, which is about 0.028 inches to 0.031 inches. Quite a bit smaller. Spark plug gap is important because having the gap too close could cause the system to fire too early, and gapping it too much might cause additional resistance on the system. Either way you could burn your ignition system out sooner.
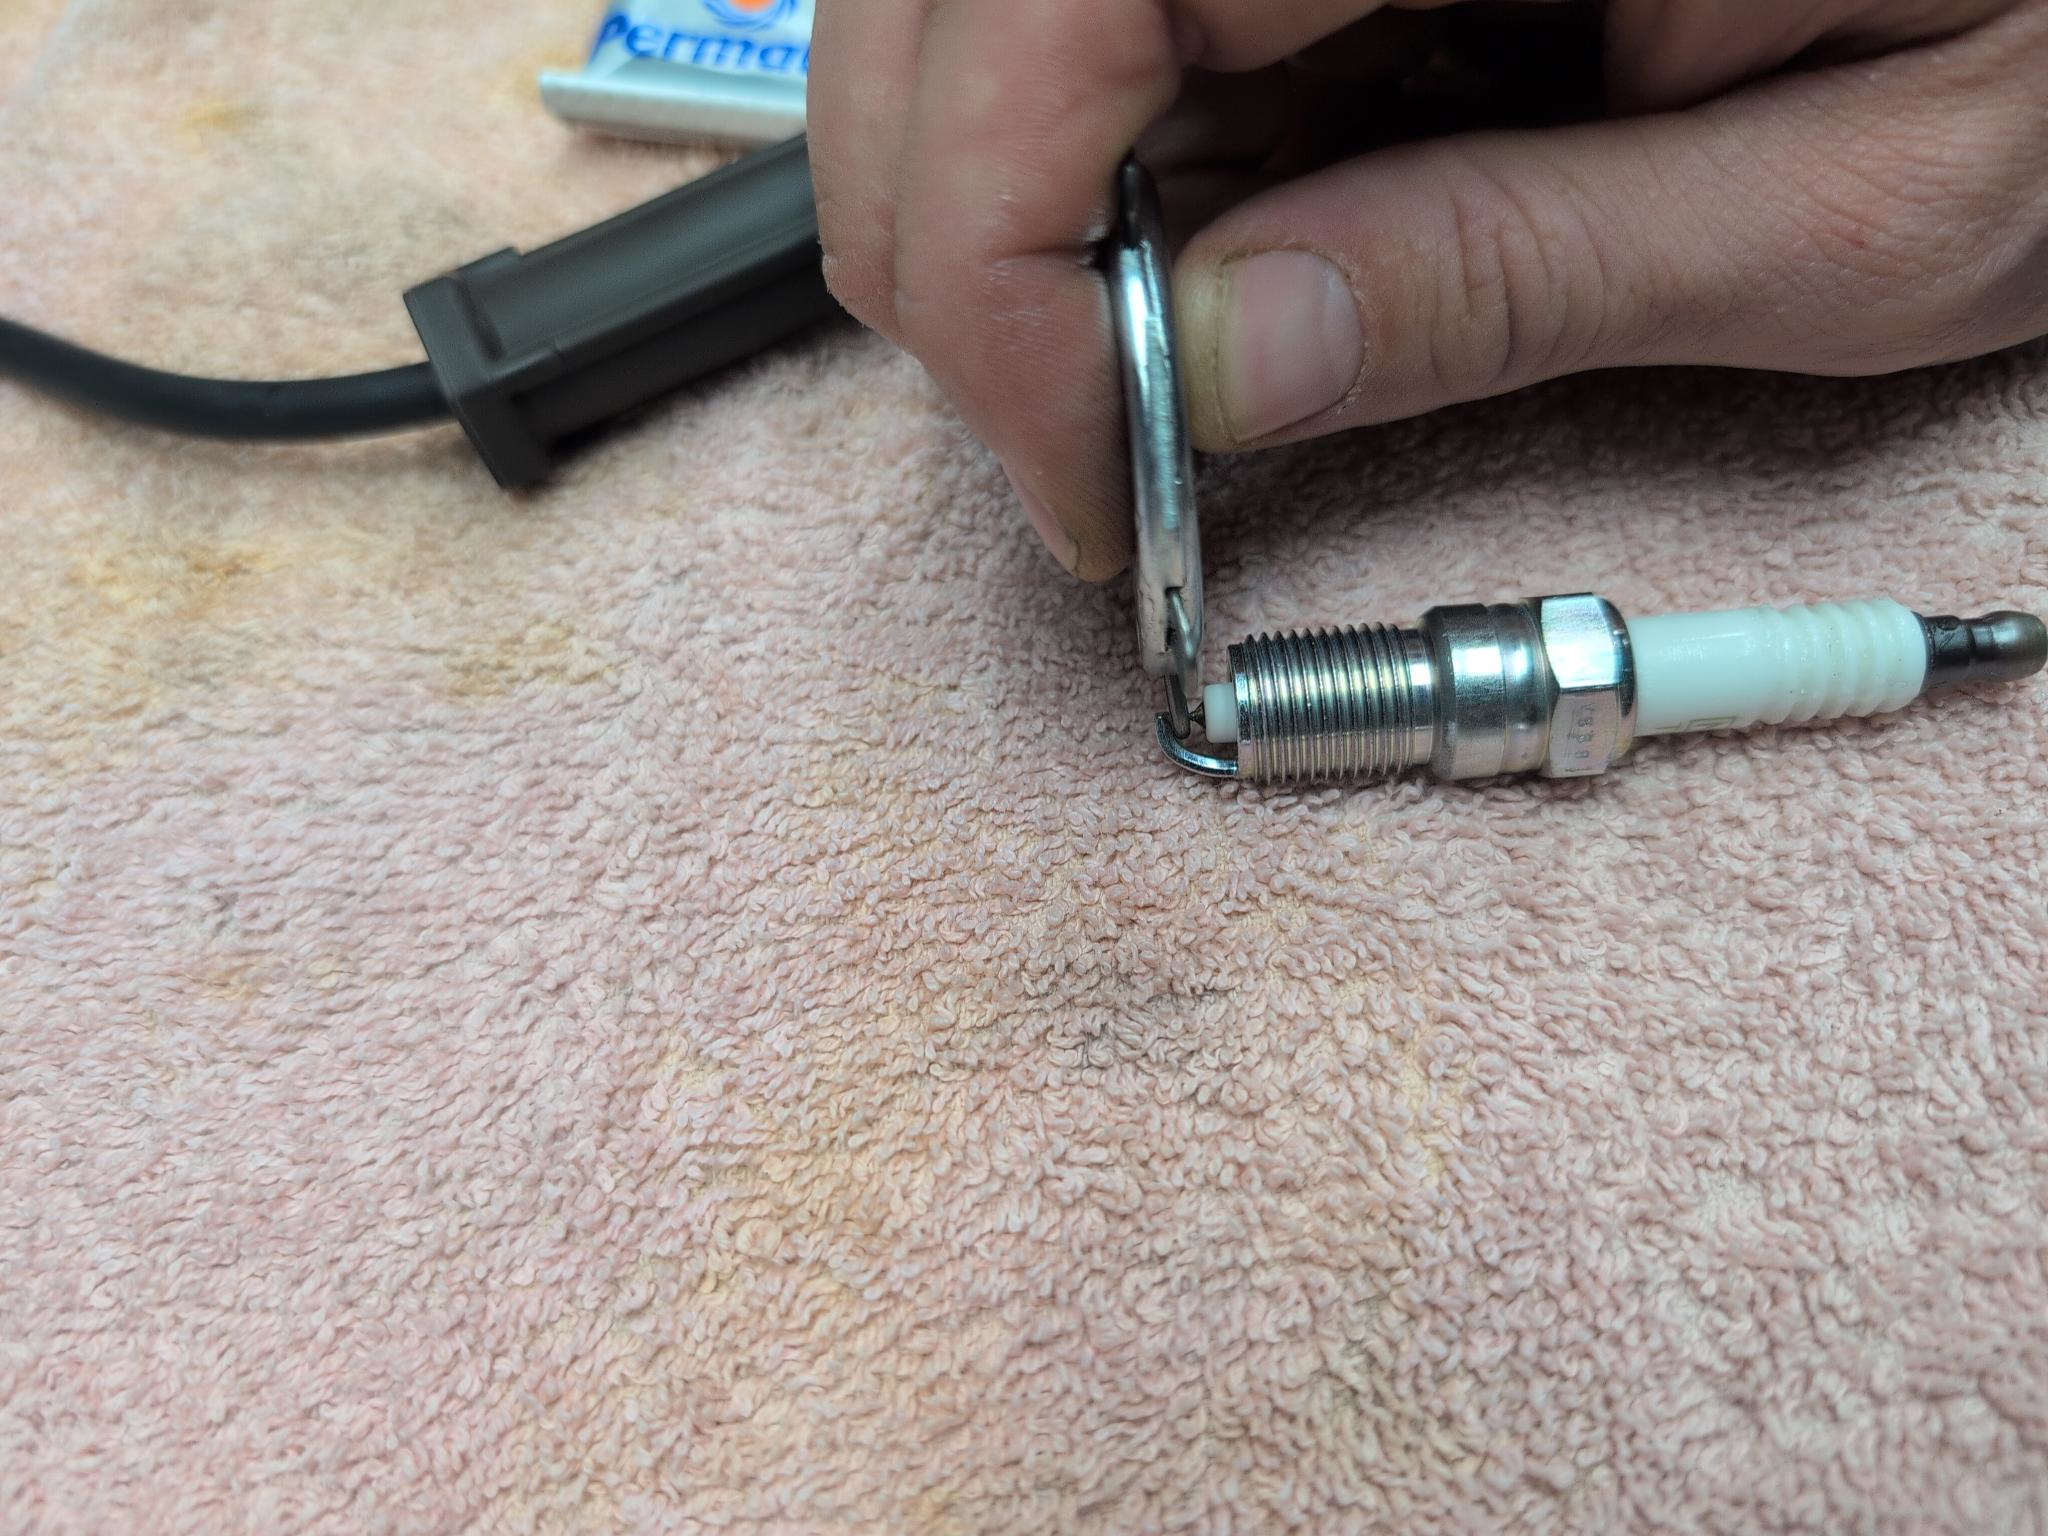
I prefer to either use a wire gauge with wires that are the correct width, or a feeler gauge, to determine gap. I do not like the coin gap gauges, because they are seldom ever accurate. The correct way to gap is to bend the ground electrode, using the little bending tool on my wire gauge. The correct wire or feeler gauge should fit in between the contacts with some resistance. I prefer to have my gap on the tighter side (0.06 inches) because as the spark plug wears, the firing of the plug slowly burns away the contact points. If you have it on the tighter side, you’ll have a little bit longer between maintenance intervals before you’ll have to gap your plugs again.
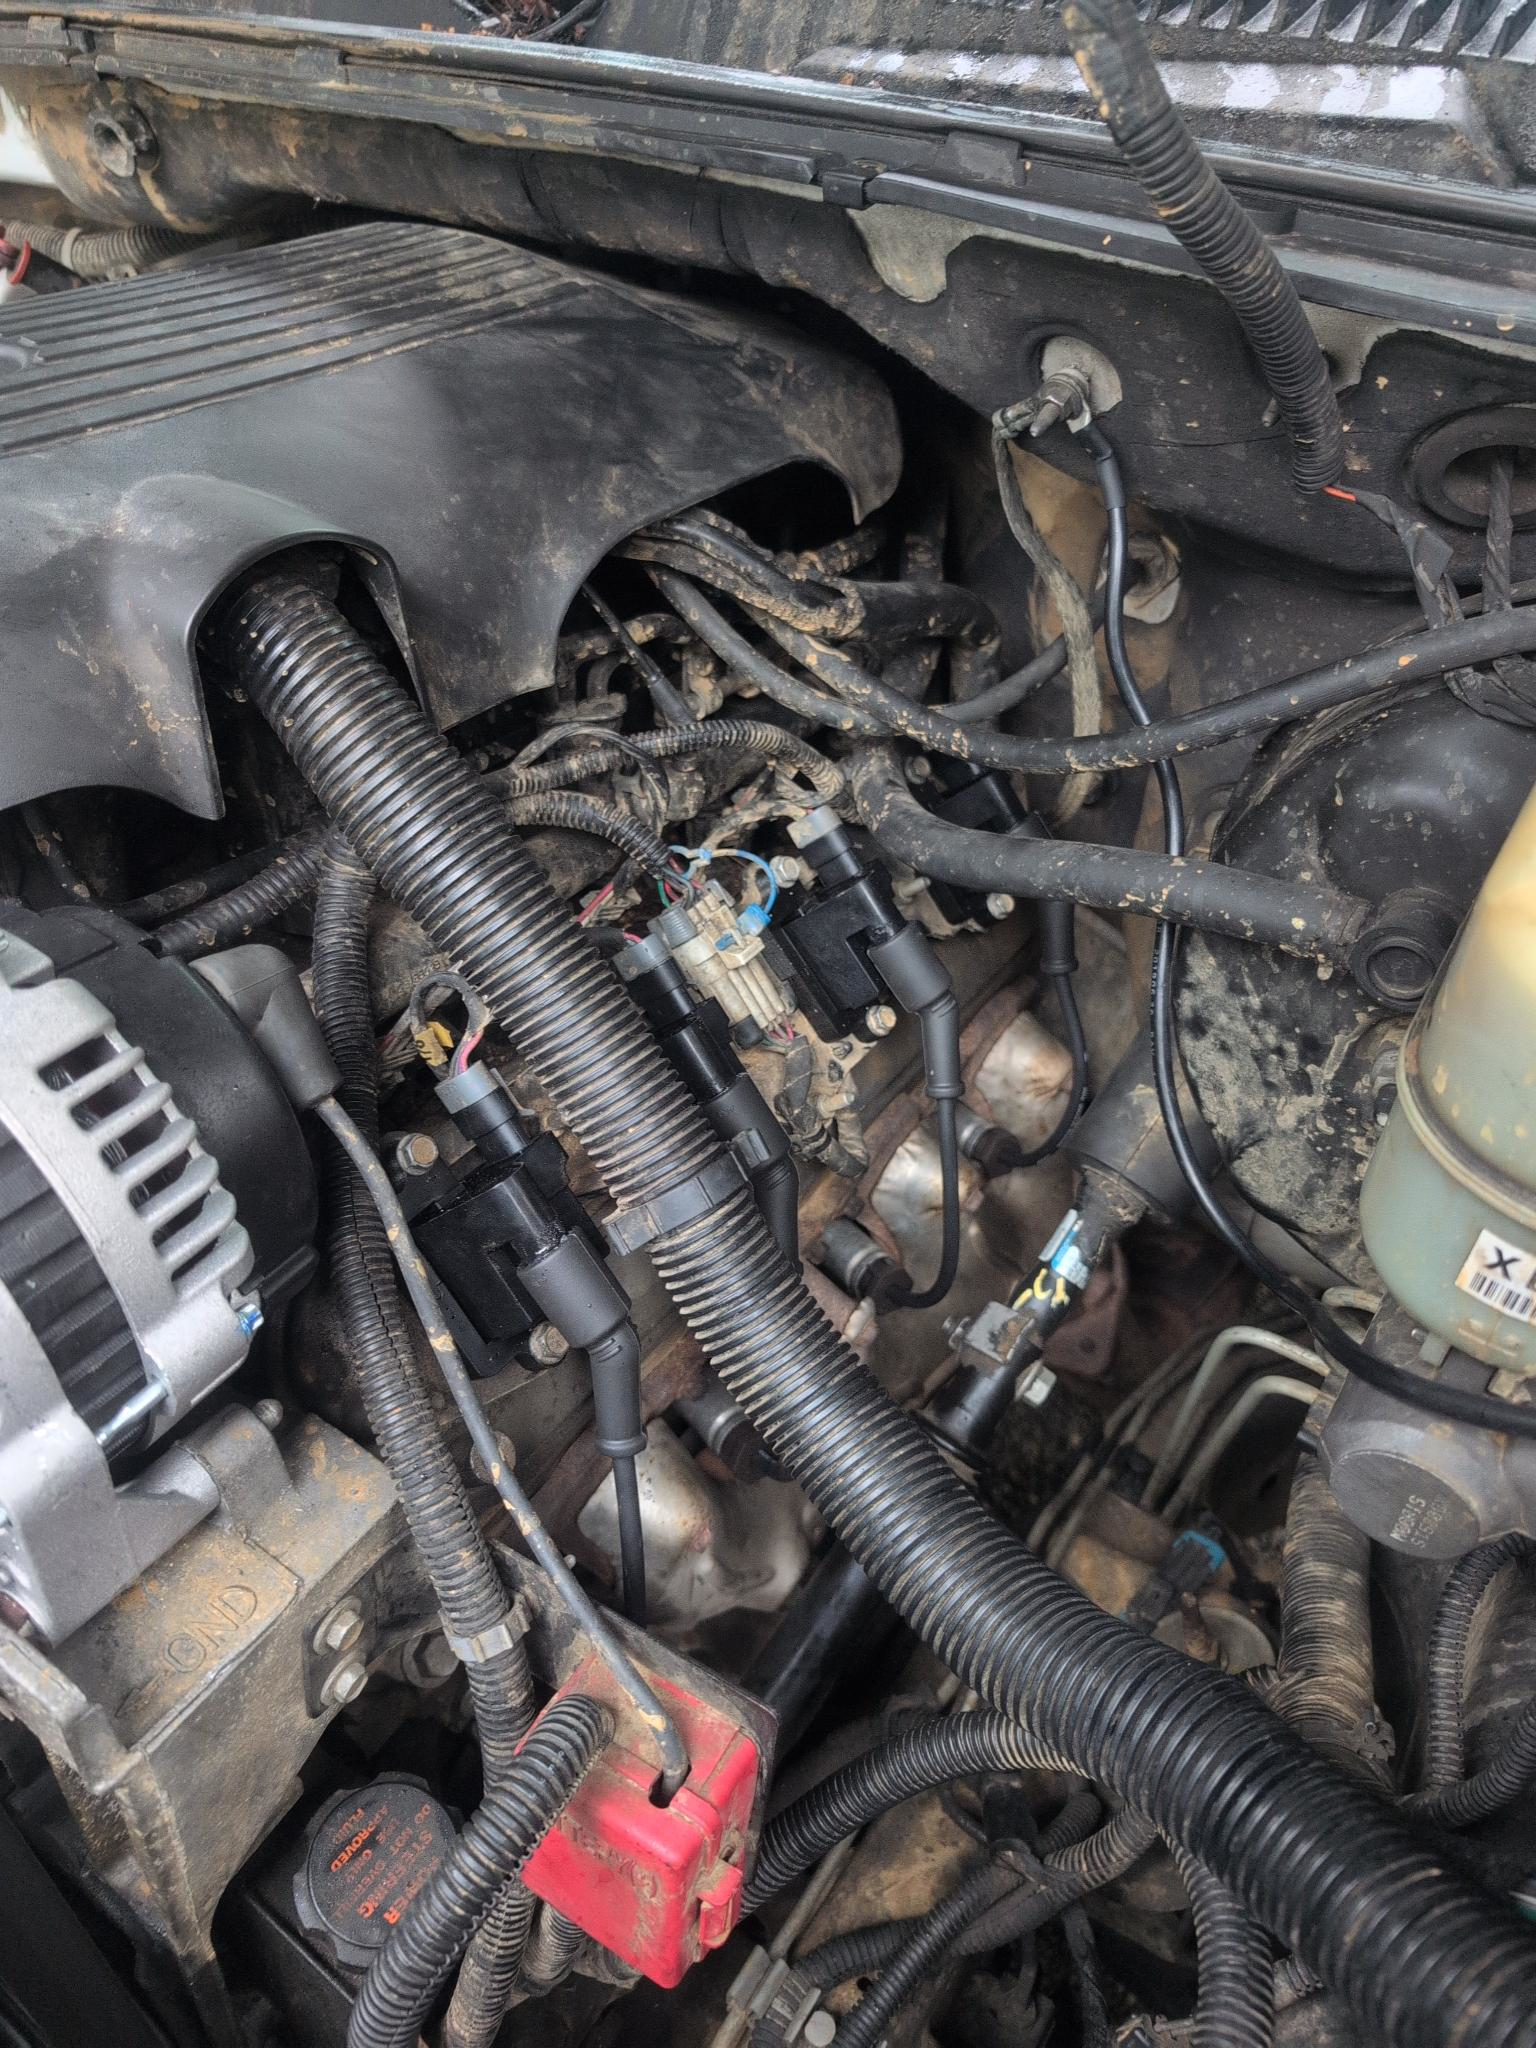
Right side bank installed.
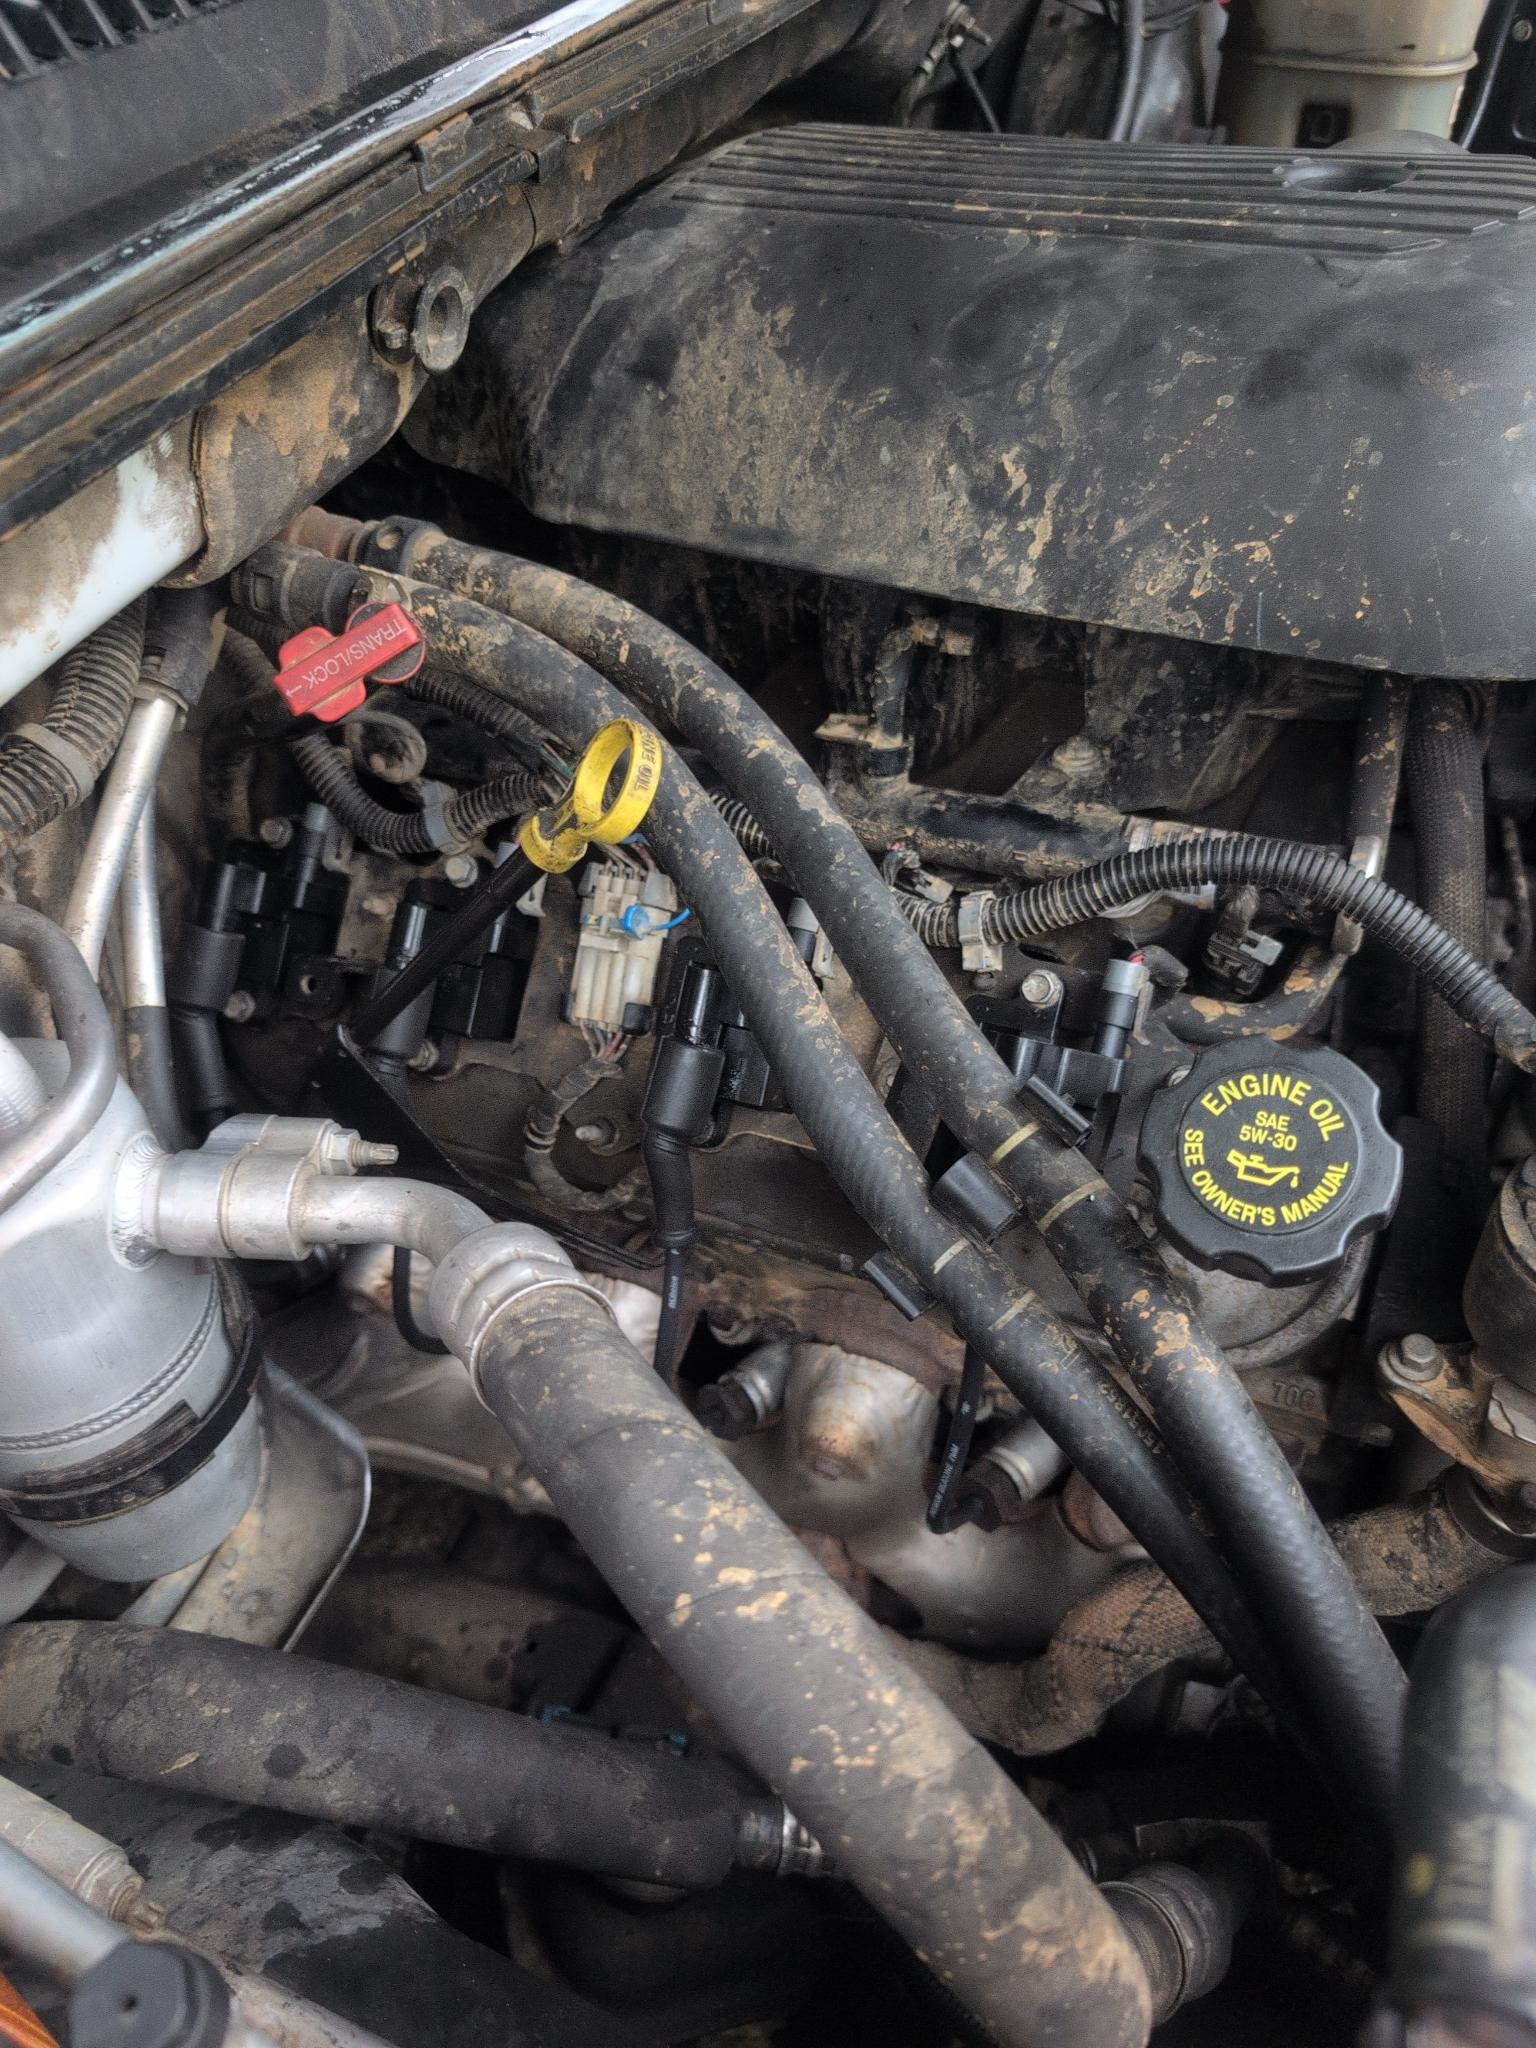
Left side bank installed.
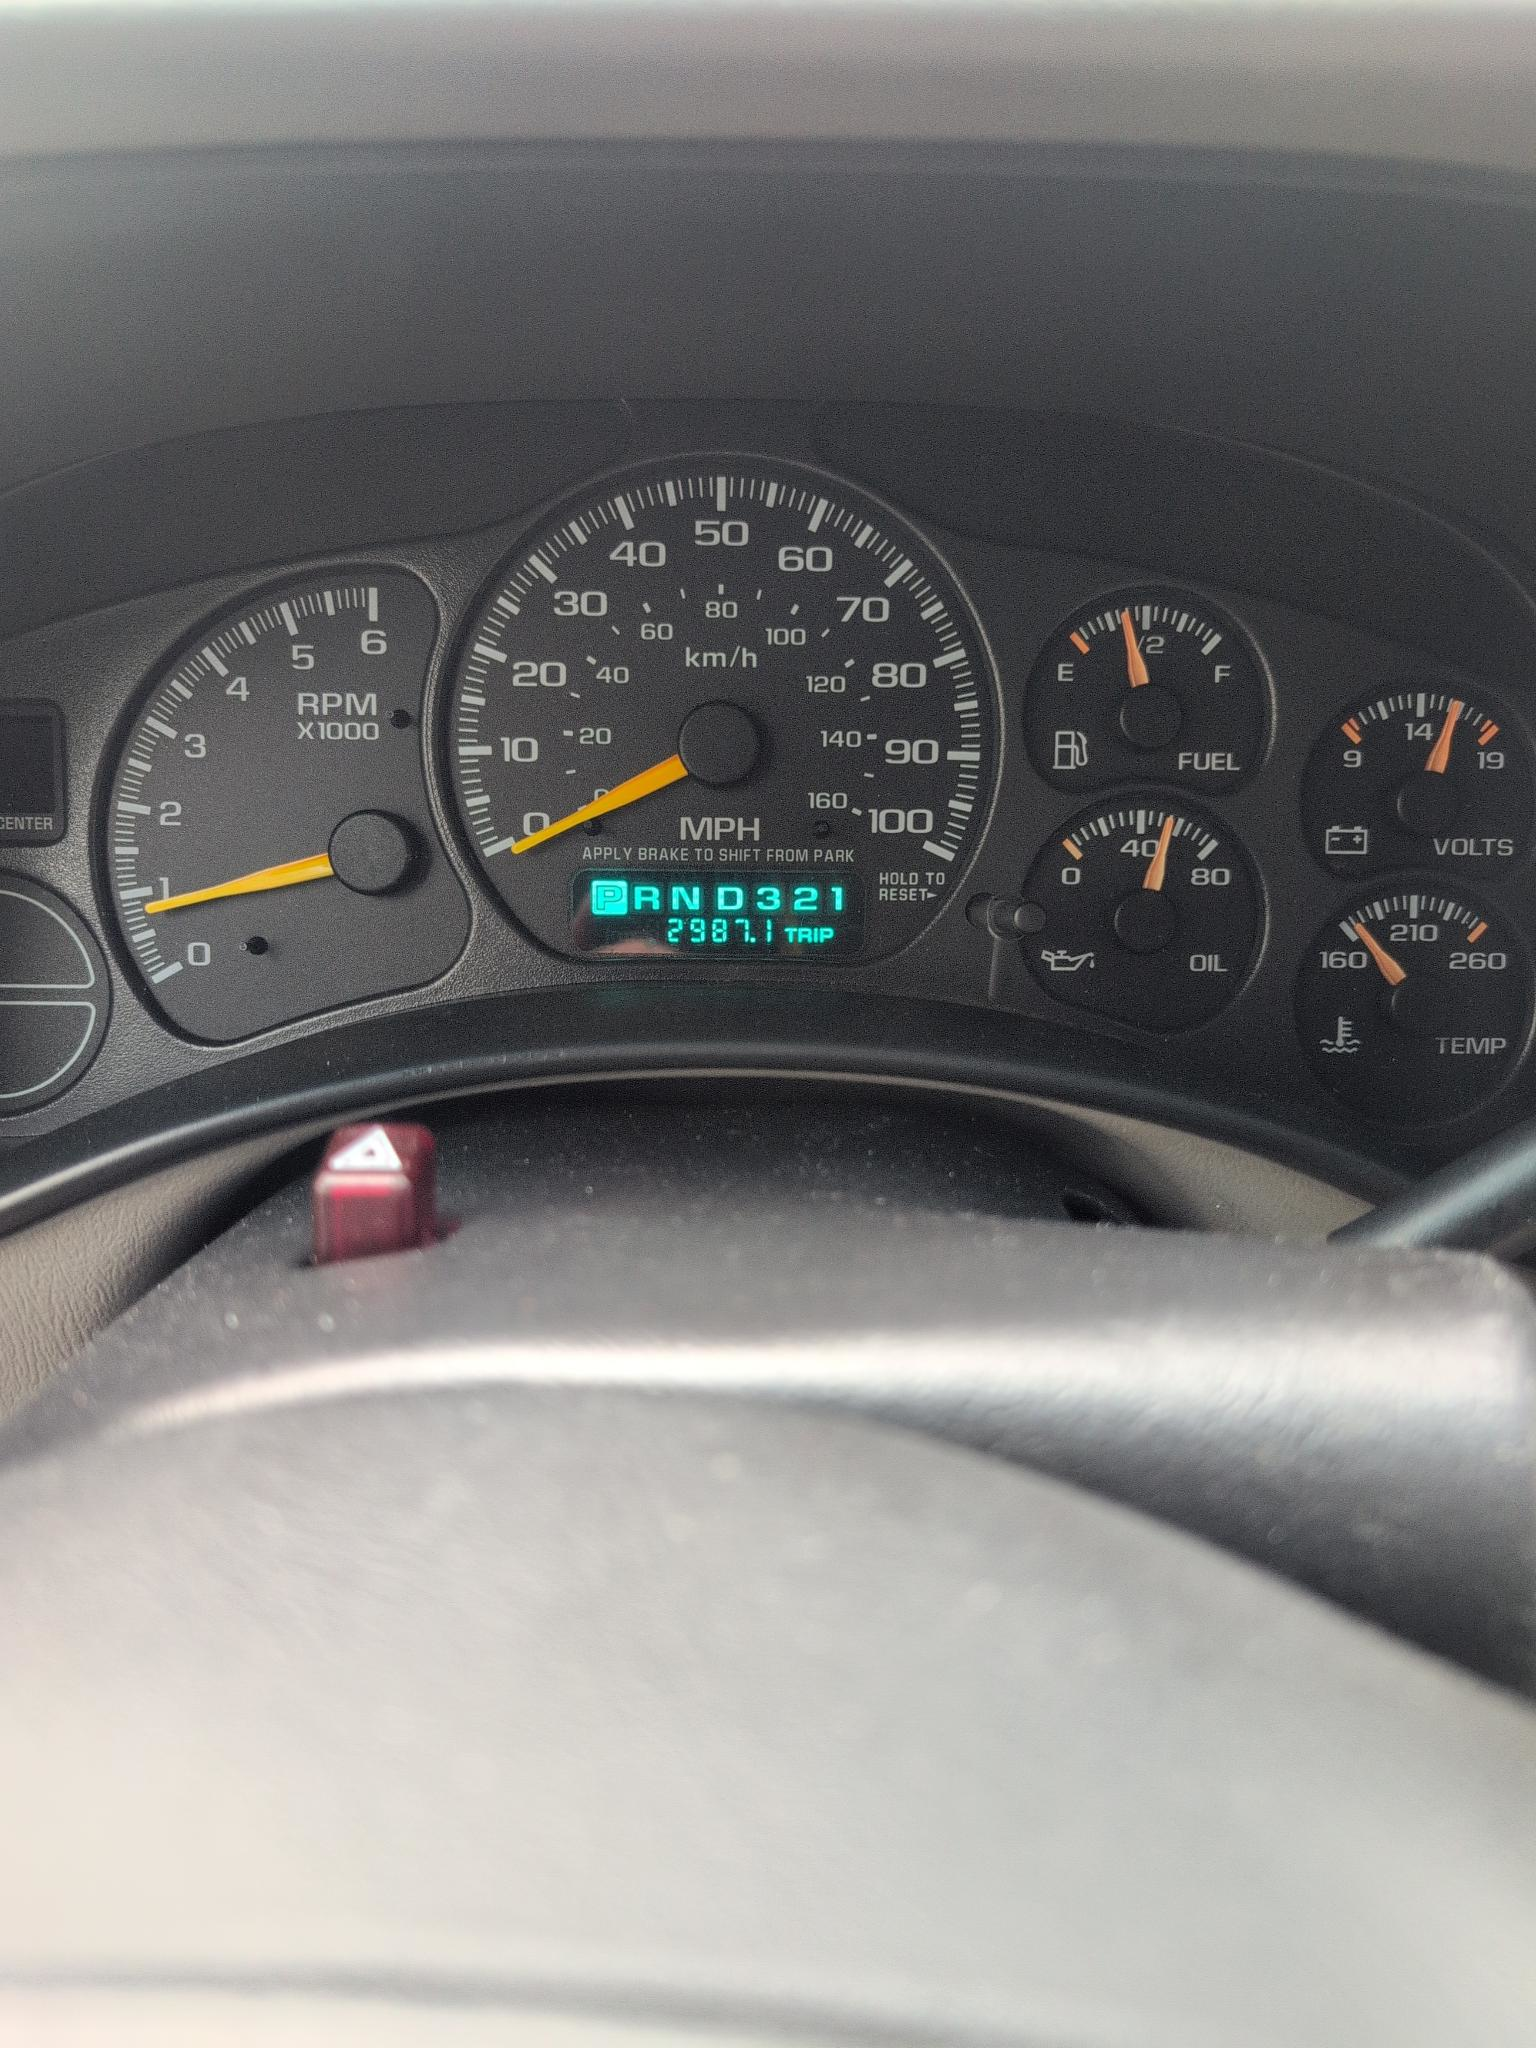
My mileage driving across the country. Maybe I’ll write a musing about it. My alternator failed while I was in Wyoming. I was driving along, going up a fairly minor hill. My truck was chugging a little, which i figured was just the altitude. Right before I crested the hill, my engine revv’d high (likely from a gear shift), and my battery light came on. If your battery light comes on, likely it’s because there’s an issue with your alternator, and your vehicle is running off of battery power (the battery light usually comes on if your voltage drops below 13 volts, and your battery usually sits at around 12.6 volts. Your alternator pushes it up to about >14 volts or more). I pulled over, and called a tow truck to take me to a parts store so I could buy a new alternator. I was about 20 feet off the highway, and I figured it was safe enough to hop out, and test my alternator with my multimeter. A state trooper pulled over, and told me that I wasn’t allowed to work on my vehicle at all due to it being “unsafe”. I can understand if my vehicle was right on the shoulder of the road, but I parked on the grass about 20 feet away from the roadway. I didn’t see it as unsafe, but whatever, unjust laws are enforced all the time.
The tow truck took me to Laramie, where he dropped me off at an O’Reilly’s. I quickly tested the electrical system, and confirmed that the alternator was not charging. I pulled the bad one out, went in, exchanged it, and installed the new one. The repair took maybe 20 minutes, and I was on the road. That was the only mishap (besides my engine drinking oil) that I had to deal with.
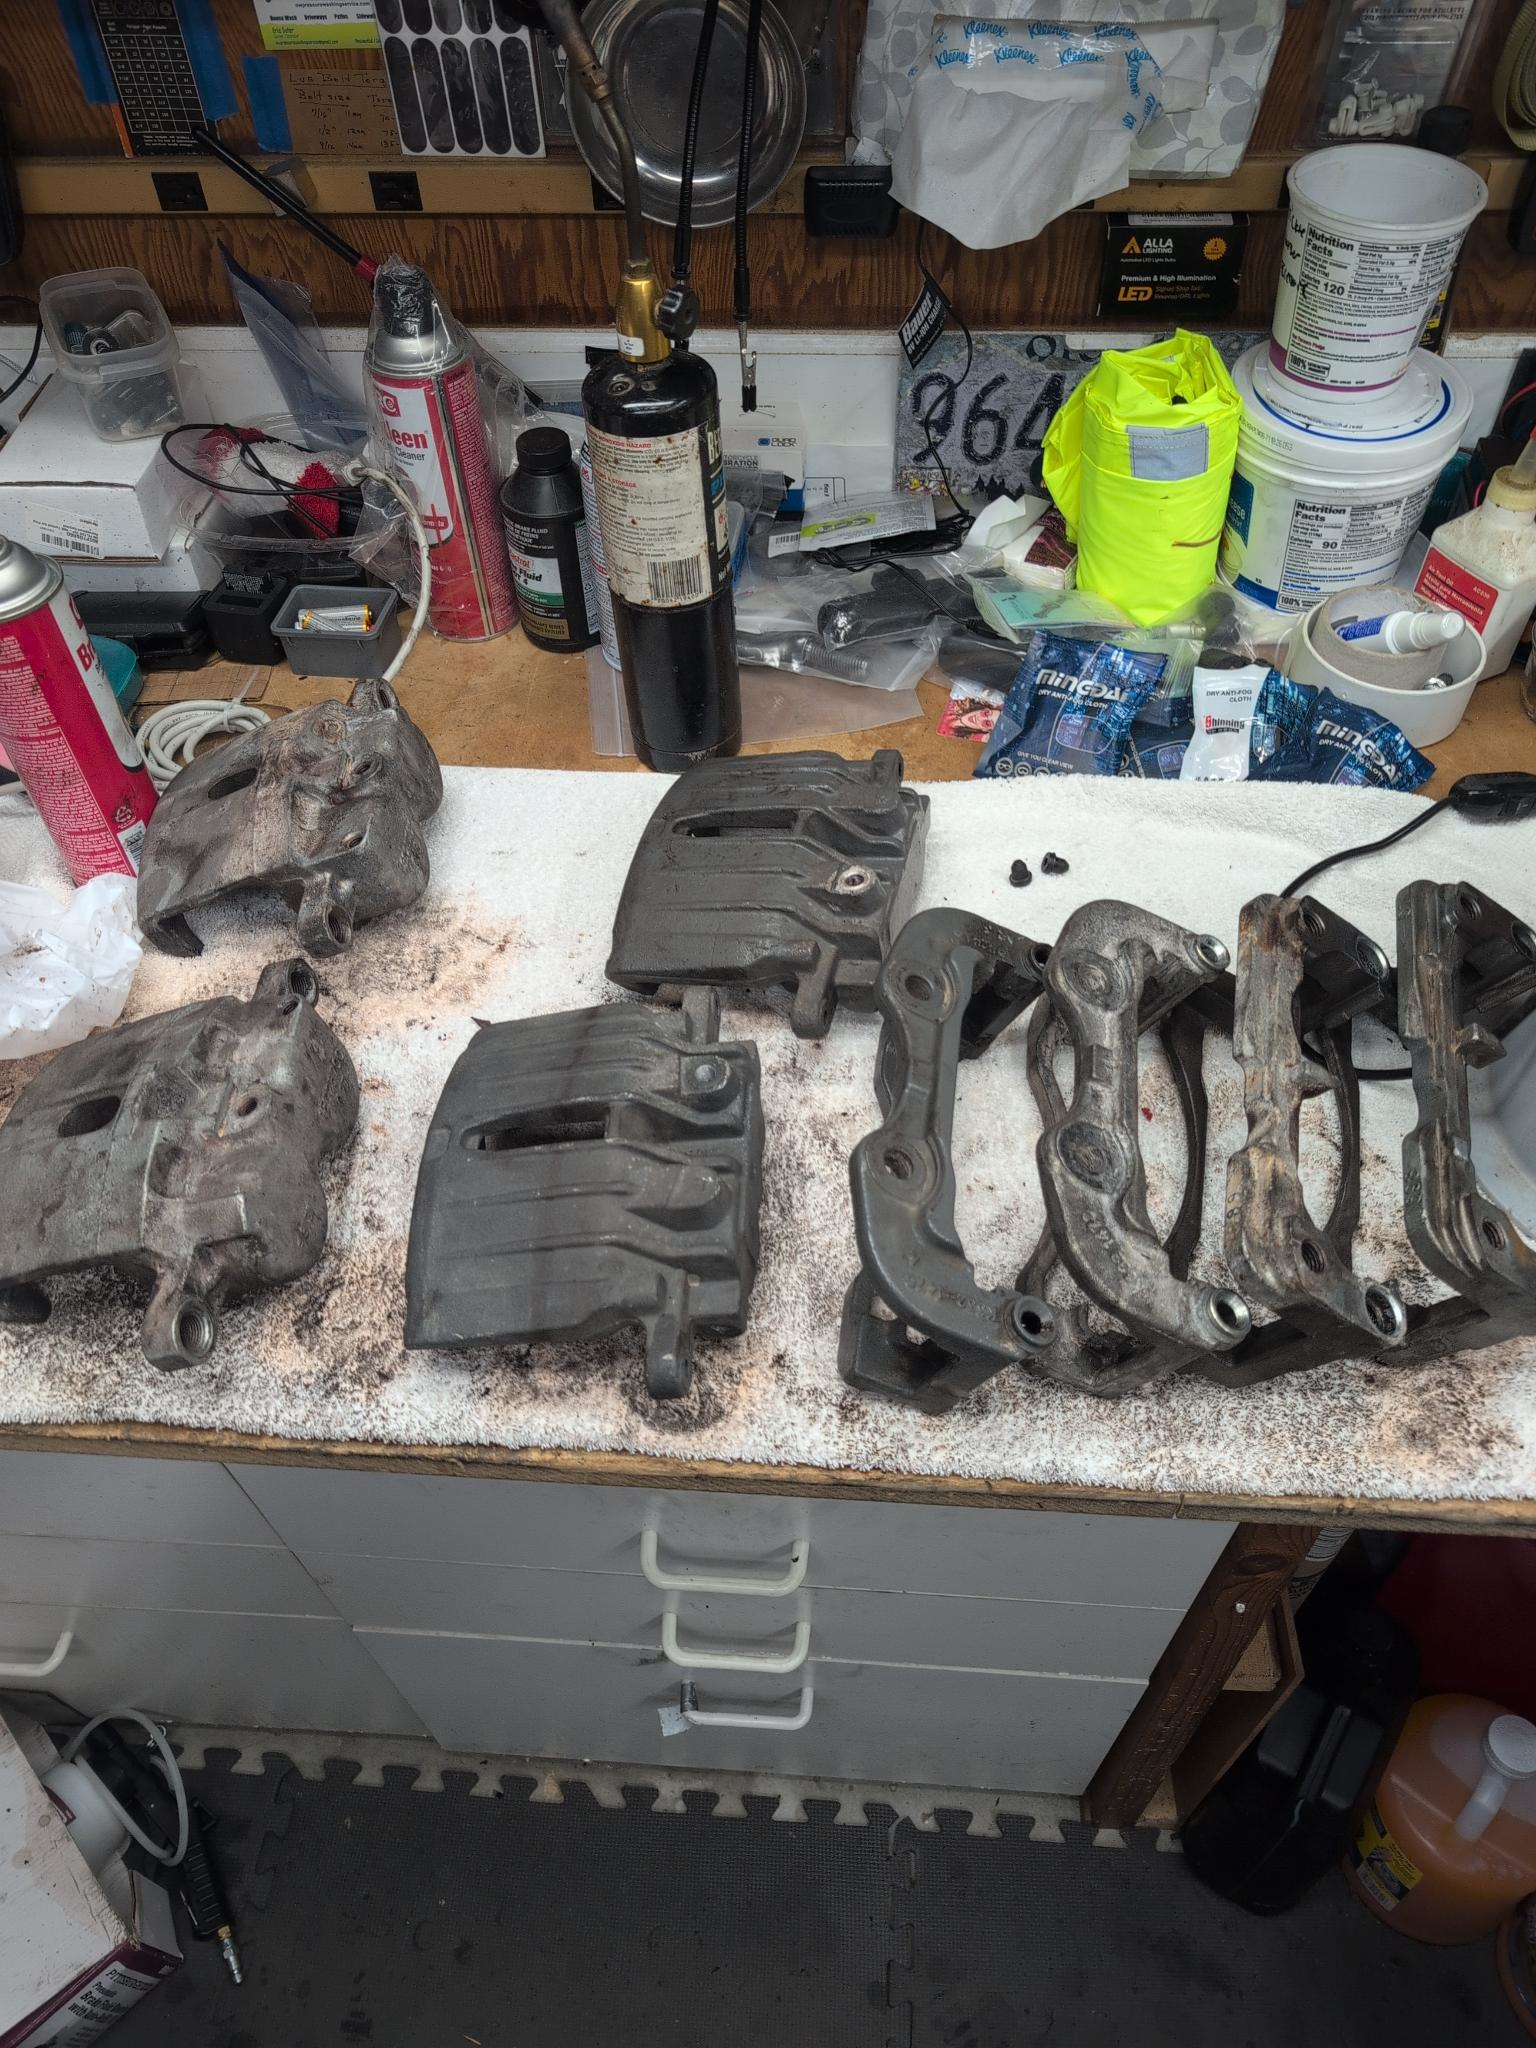
I also kept my old calipers and brackets, and cleaned them. I’m going to have them on the shelf, ready for when I need new brakes. I have rebuild kits ordered, and I rebuild them when I need new calipers. That way I can have a rotation of essentially brand new calipers ready to go, and I can take my time to clean the old ones. It’s a lot cheaper than buying new calipers, and it’s a more complete brake job to have fresh seals.