I have been pretty busy since the end of April, and I finally have the time and mental energy to post about all of the vehicle maintenance that I’ve been conducting. May/June were fairly busy months, and pretty much everyone and their grandmother was seeking out my services. I’ll highlight the 3 most interesting, as they illustrate basically everything else everyone wanted me to do.
I left for a trip in the middle of May, and the day before I left, a friend of mine asked me to replace the thermostat in her 2014 Volvo XC60. The dealership was going to charge her $800, so she brought it to me. I fixed it in about 2 hours, and it only required me taking off the airbox, disconnecting the battery, disconnecting the ECU, and finally removing the faulty thermostat. I did this on a hot engine, and almost burned myself on boiling hot engine coolant, so I’d recommend waiting a bit for the engine to cool down before doing a job like this. This job was not worth $800 in parts and labor cost.
The second major job I did was replacing the front brake pads, brake fluid, oil, and rotating the tires on a 2015 Toyota Rav4. My friend did not have the money to replace the front rotors, so I just did a pad slap. I foolishly tried hanging the caliper on the coil spring for the suspension, but the caliper fell, and the piston fell out of the caliper. I tried resetting the piston in the caliper, but I tore the dust boot, and I had to order a caliper rebuild kit. Rebuilding a caliper is not difficult, you basically remove the old seals/ clip, clean out the interior with brake cleaner, lubricate the inside with brake fluid, install the seals (also lubricated with brake fluid, and install the brake fluid lubricated piston and dust boot retaining clip. If your brakes are dragging, rebuilding the caliper is a cheaper alternative to replacing the caliper. After that fiasco, I replaced the brake fluid, engine oil, and rotated her tires.
Finally, I replaced virtually every fluid in my Chevy suburban, and replaced the oil pressure sending unit/switch, which I believe was causing an oil leak and dripping oil onto the ground. I hadn’t replaced the front differential fluid in a while, and the transfer case fluid hadn’t been replaced since I purchased the truck at about 113,000 miles (It has about 165,000 miles now). Surprisingly the diff fluid and the transfer case fluid was fairly clear, meaning that it wasn’t that dirty. The previous owner must have replaced those fluids before I purchased the vehicle. The oil pressure sending unit/switch was replaced, and so far there hasn’t been any oil dripping from my truck, which is a surprise, as I believed that my rear main seal was leaking. So far after driving it fairly extensively for the last month, nothing.
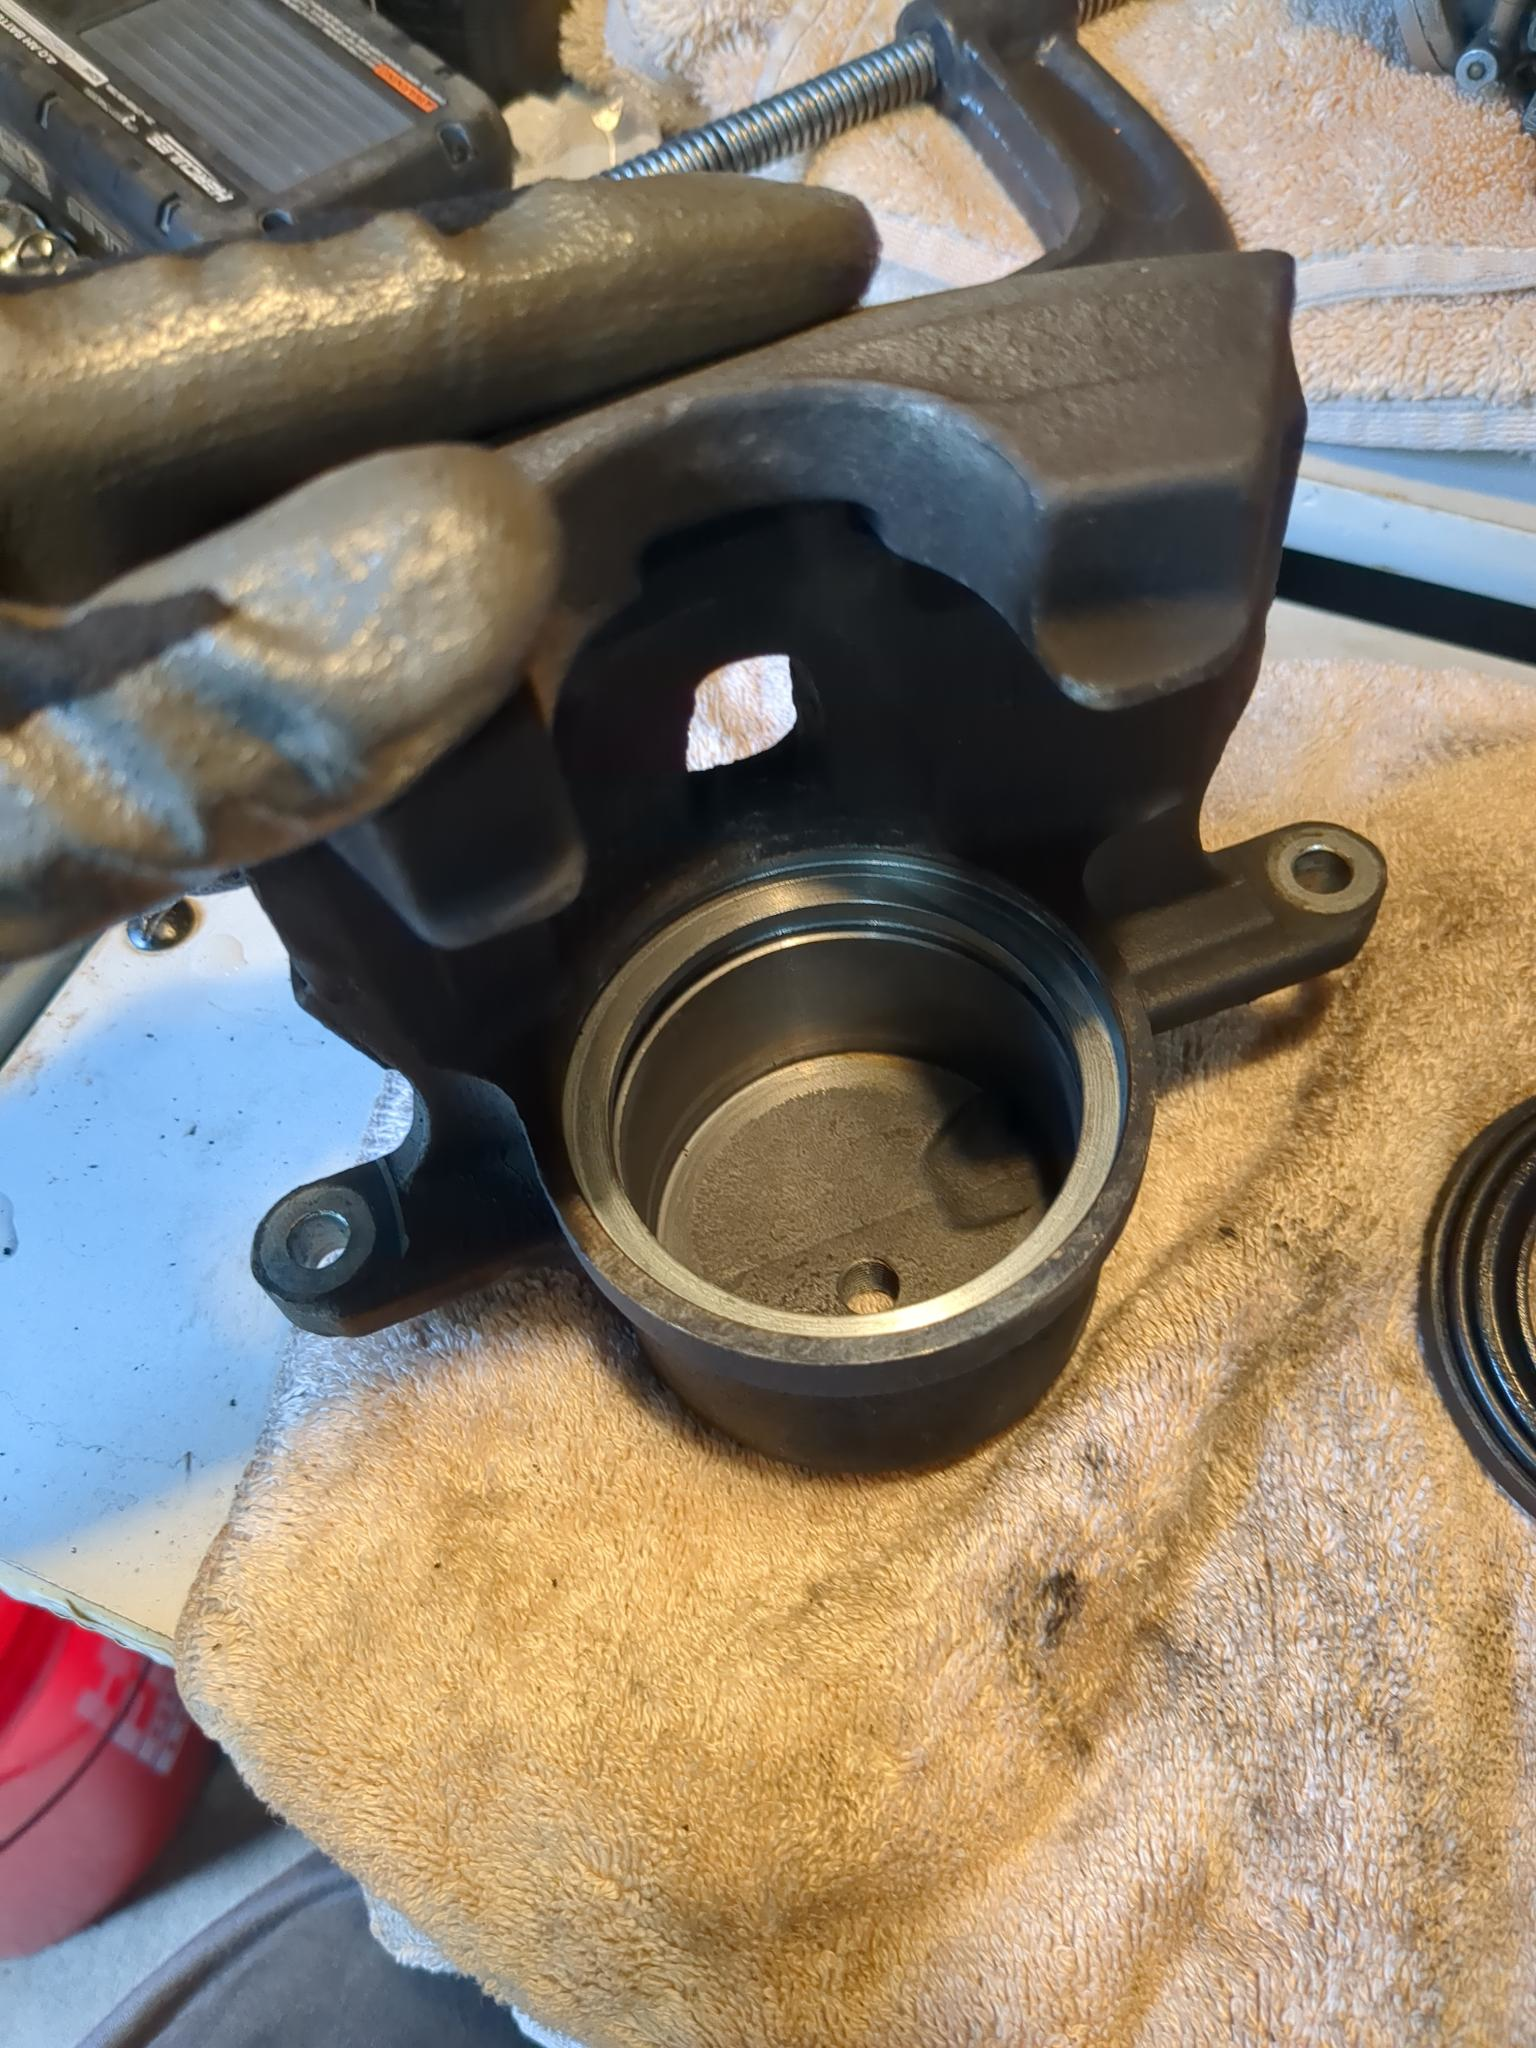
The brake caliper with the piston, seals, and clip removed. I cleaned it out. This caliper was fairly clean on the inside.
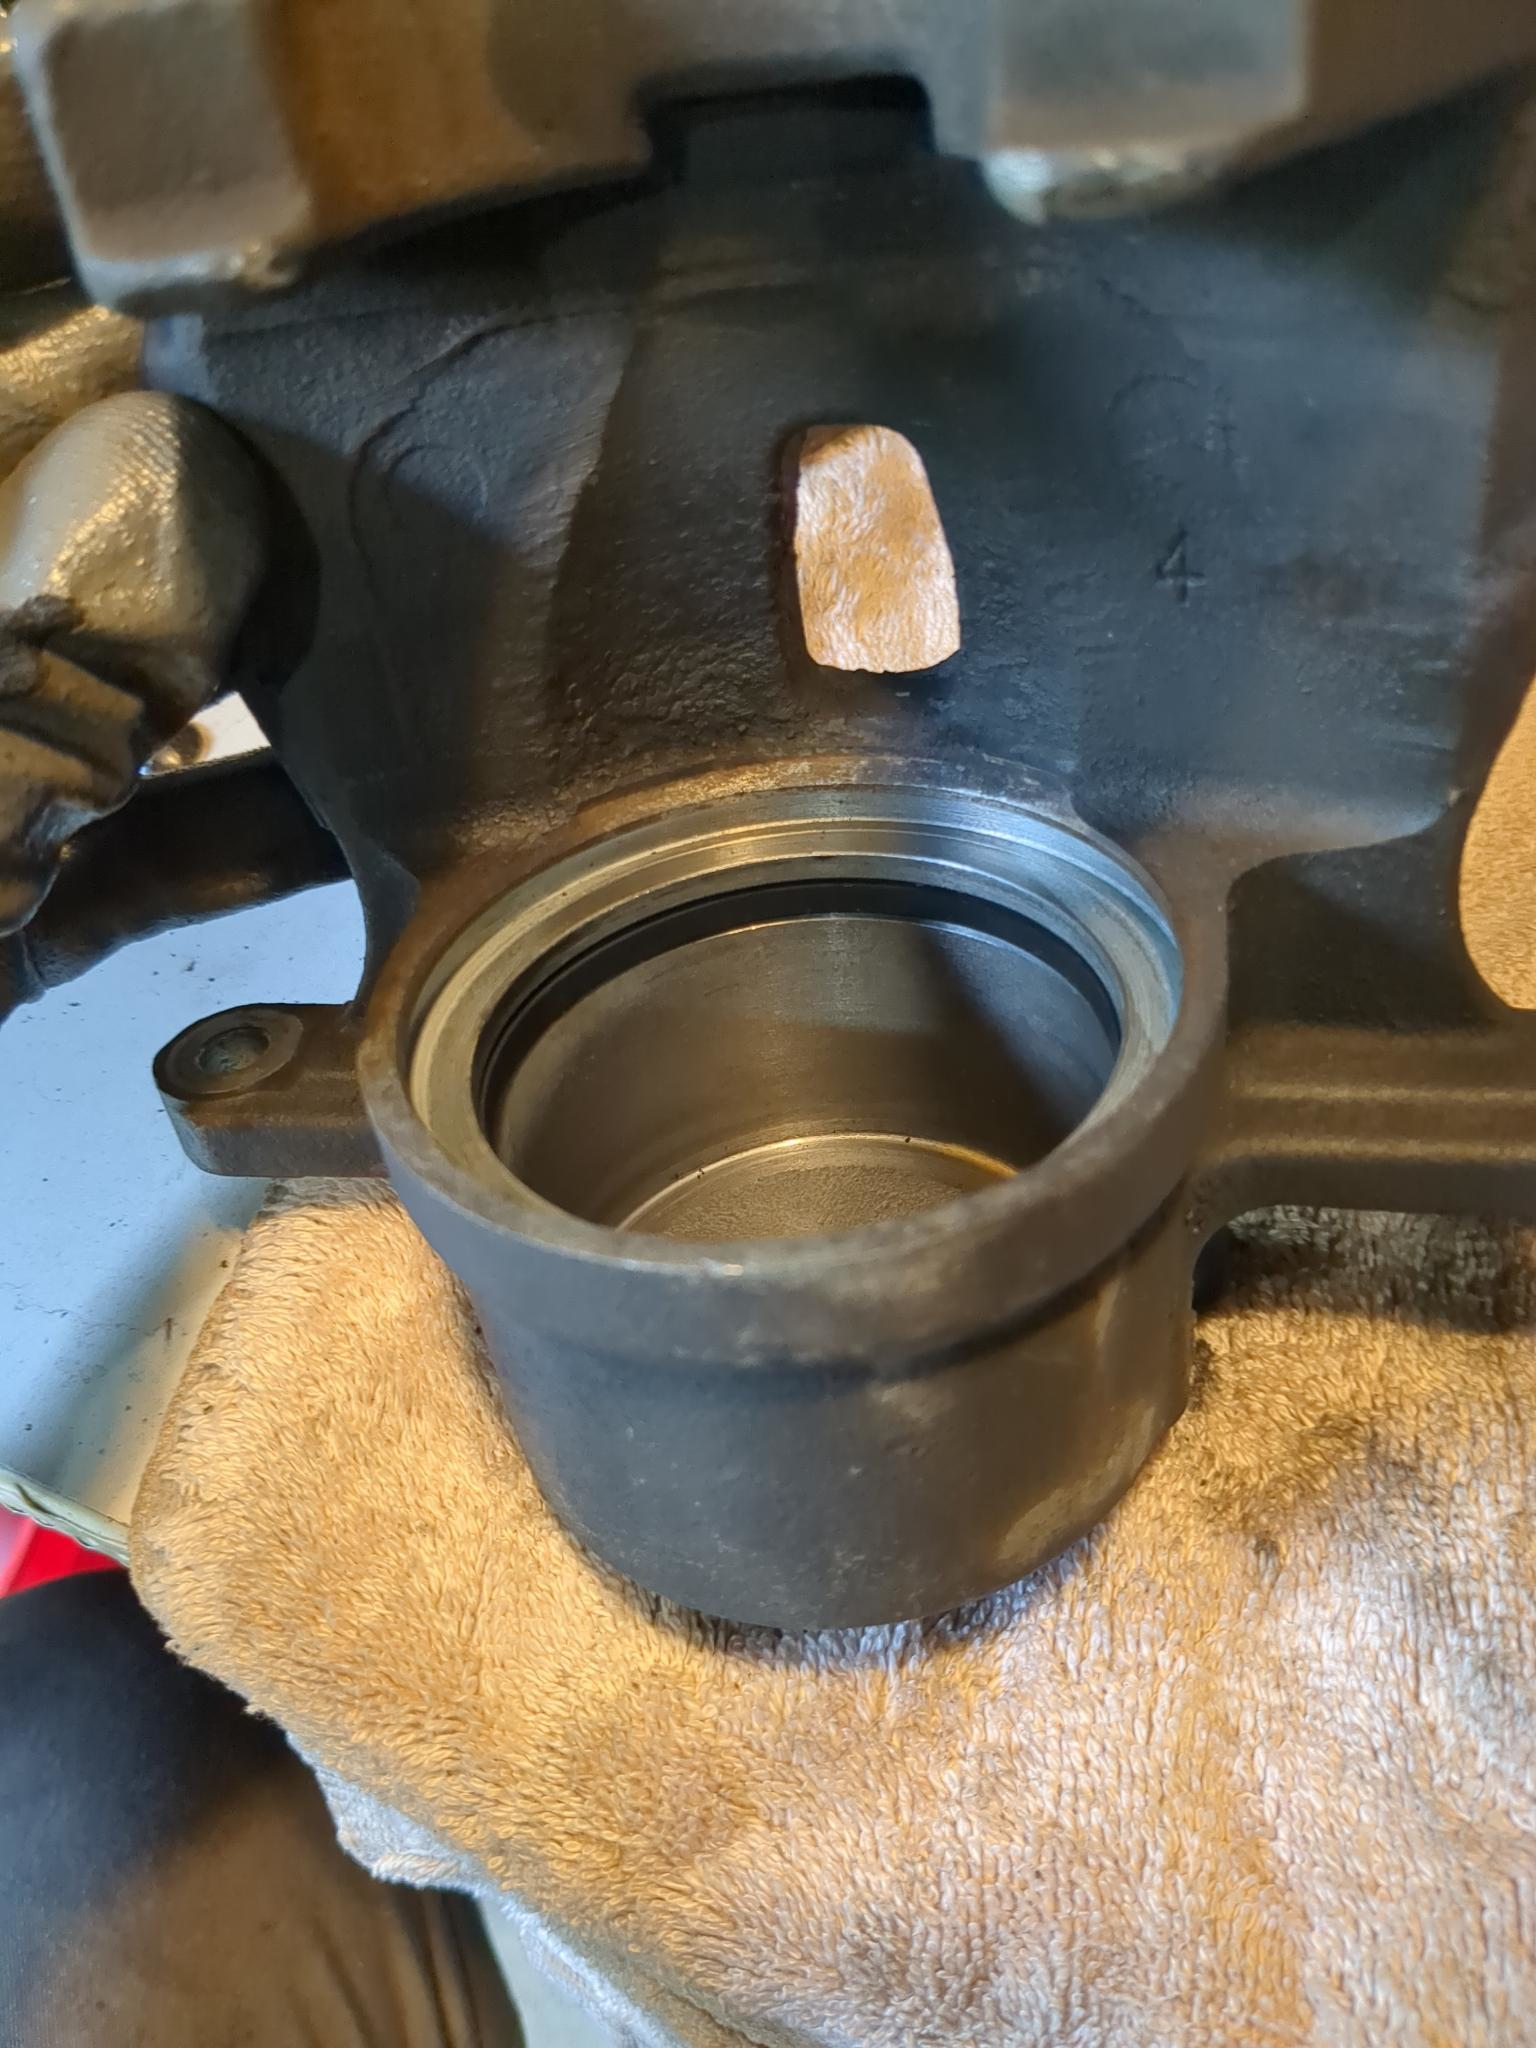
Seal installed. Ensure you lubricate the seal seat and the seal itself with brake fluid.
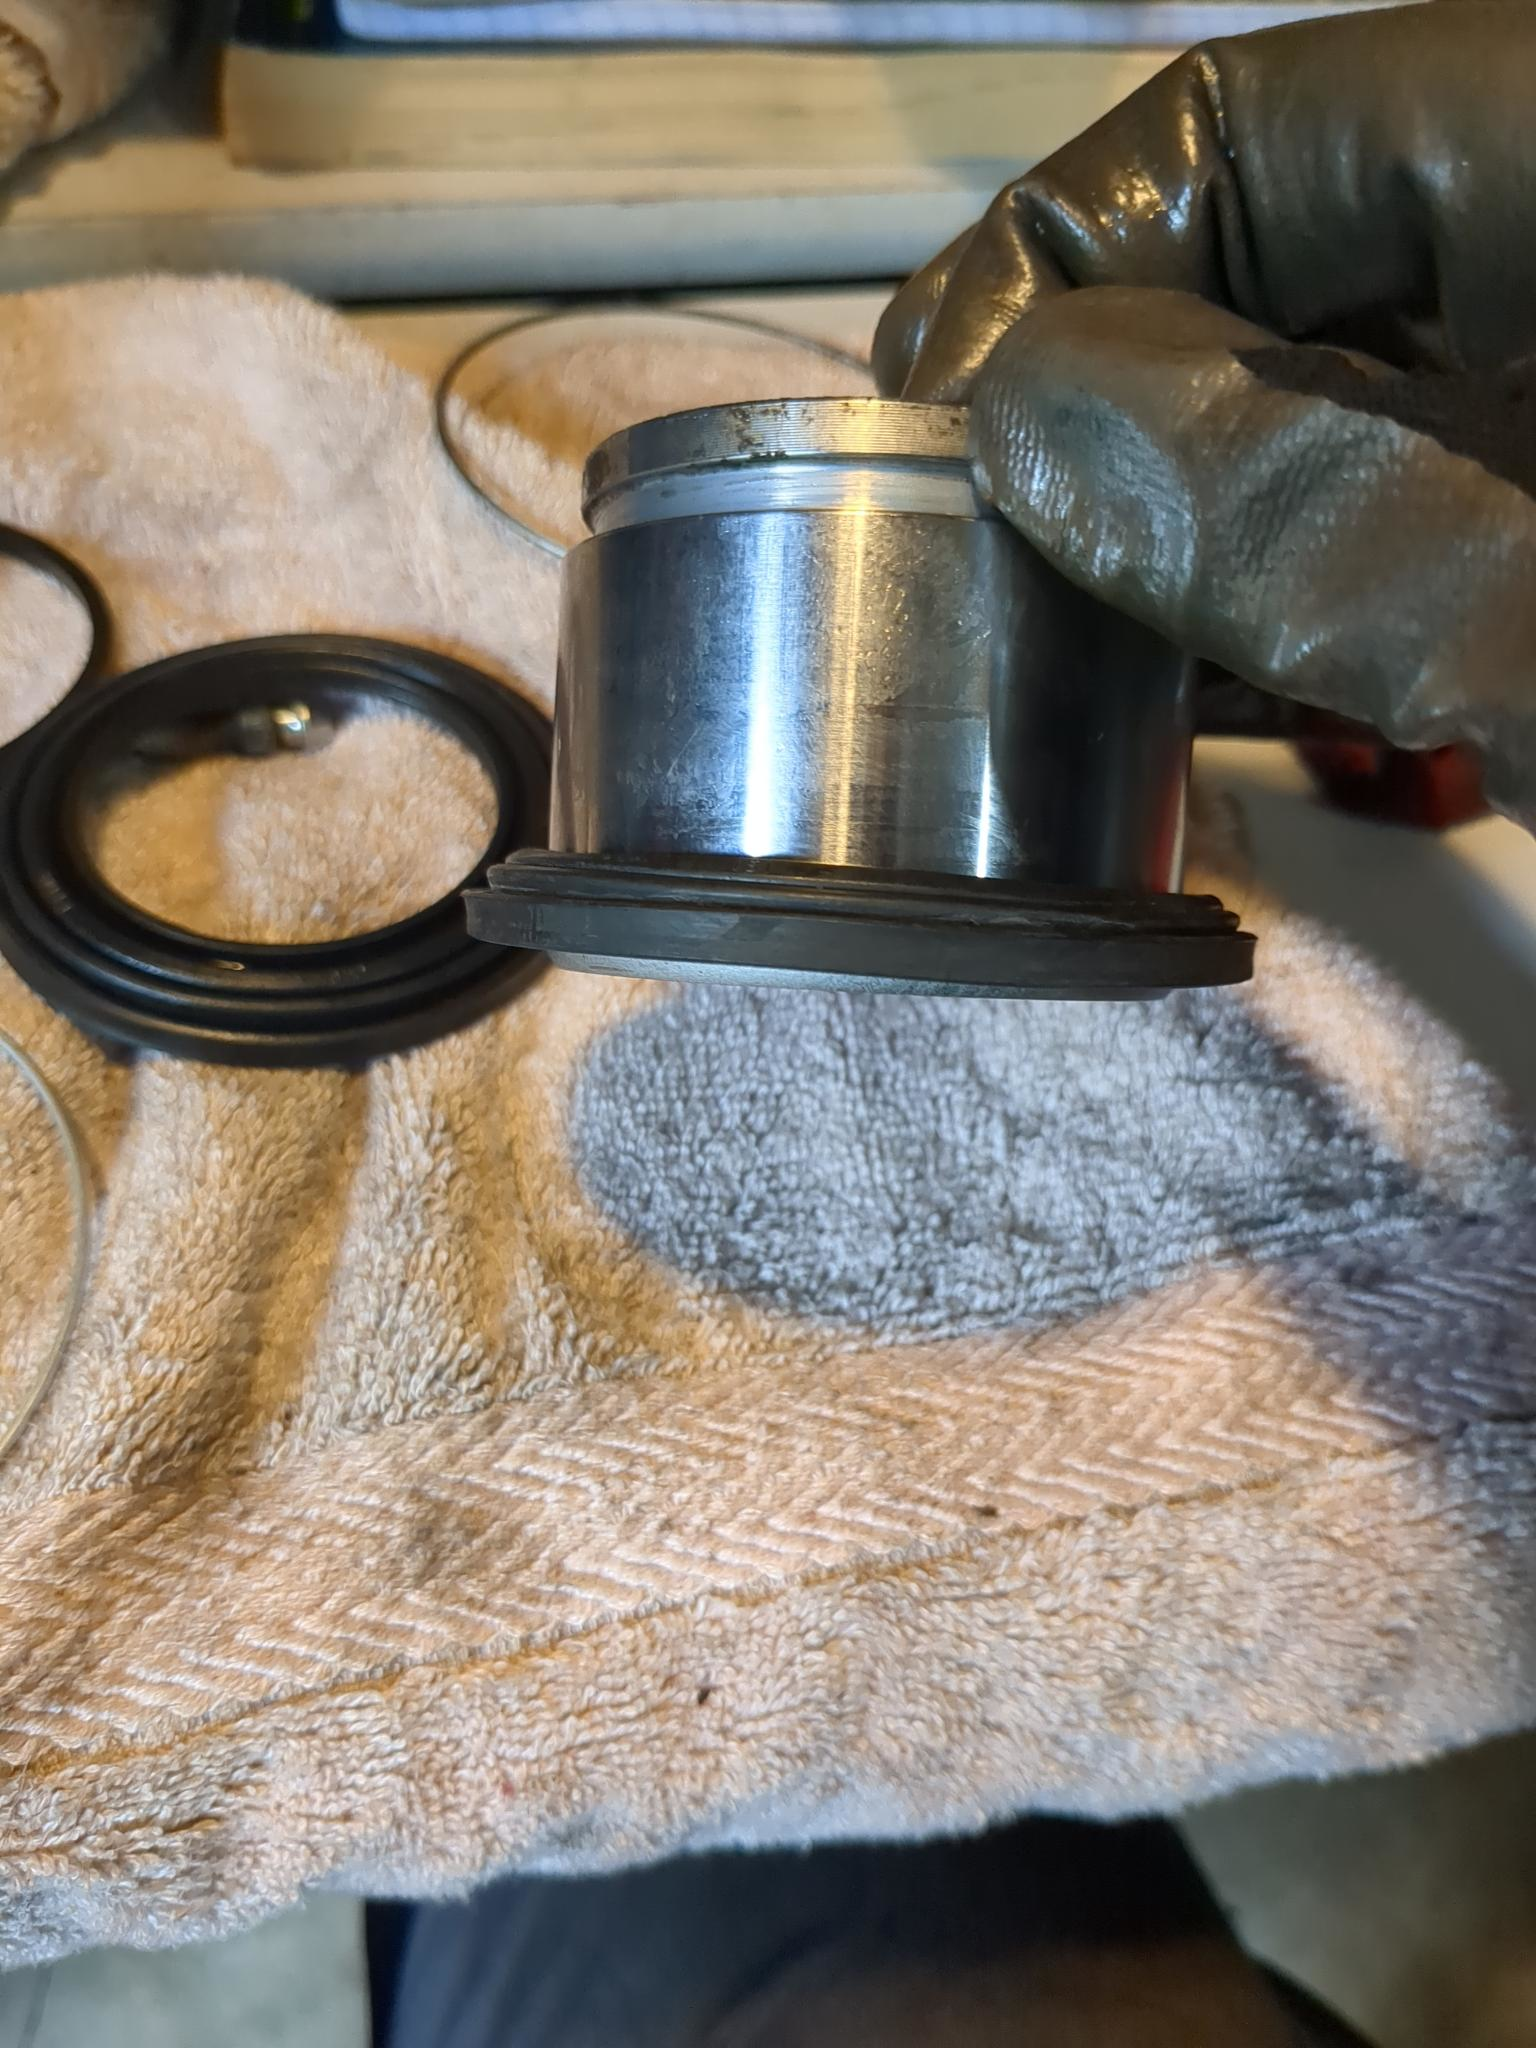
Piston with dust boot ready for install. You’re going to seat the piston inside the caliper bore, then seat the dust boot into the seat for the dust boot. The dust boot is directional, and the lip for the circlip needs to face up. Ensure you lubricate the piston and the dust boot with brake fluid.
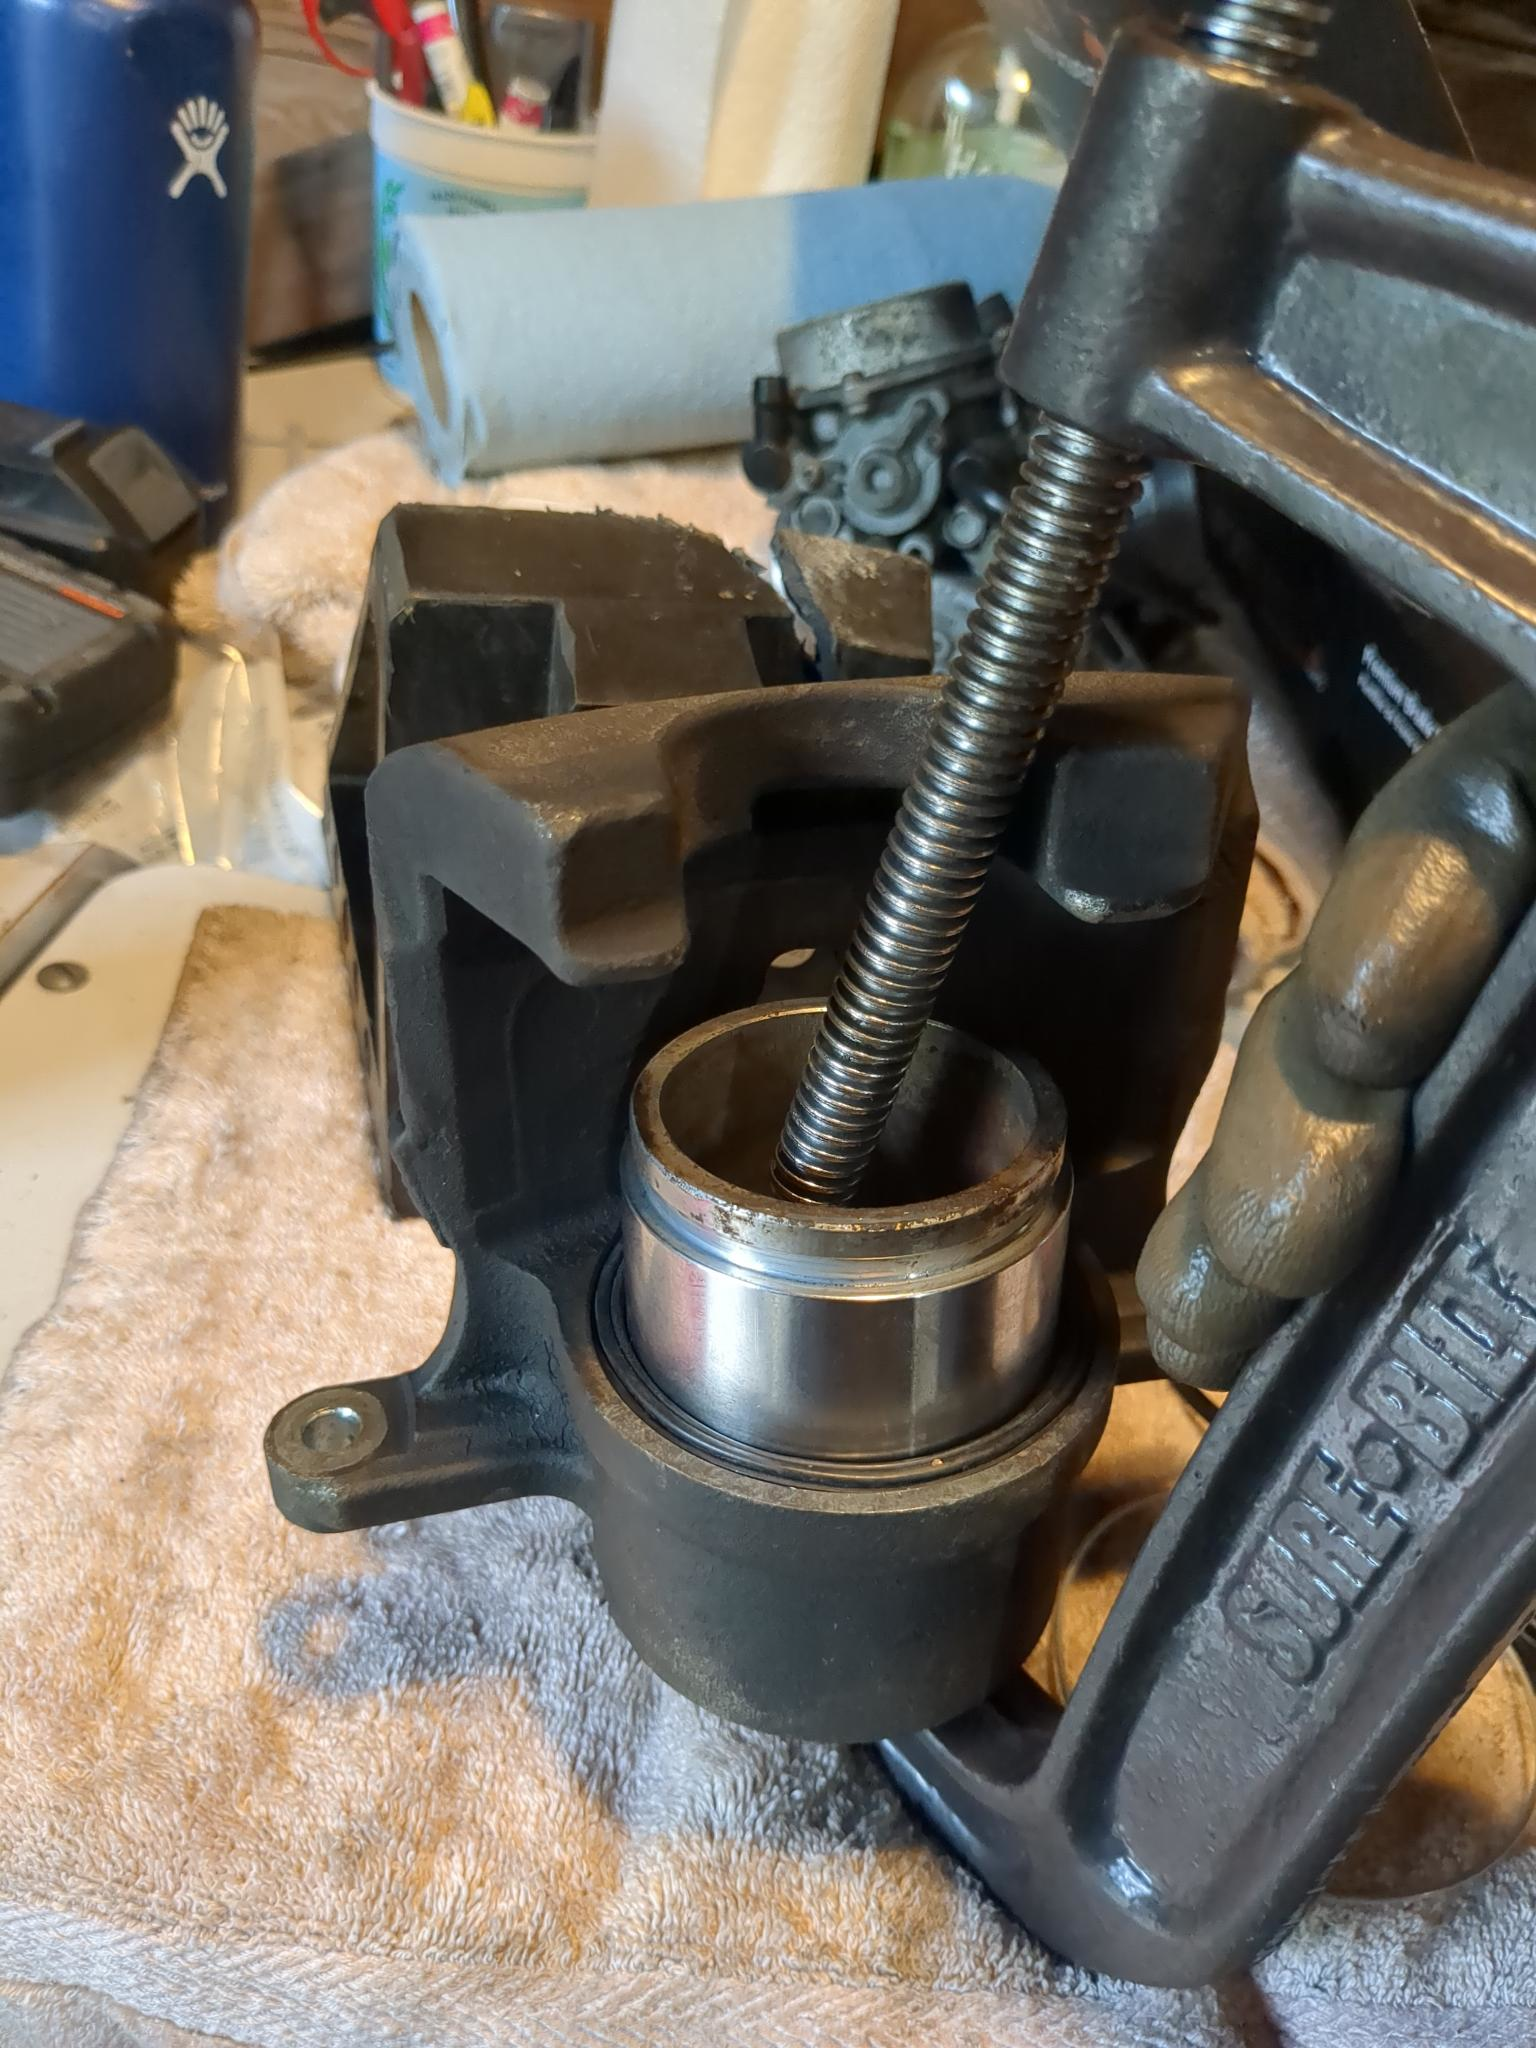
After seating the piston and the dust boot, push the piston back into the bore. I’m using a clamp, however you can purchase/rent an actual caliper piston tool. Ensure you have either the banjo bolt and/or the bleeder valve removed, otherwise the air inside will create pressure that will make it impossible to seat the piston.
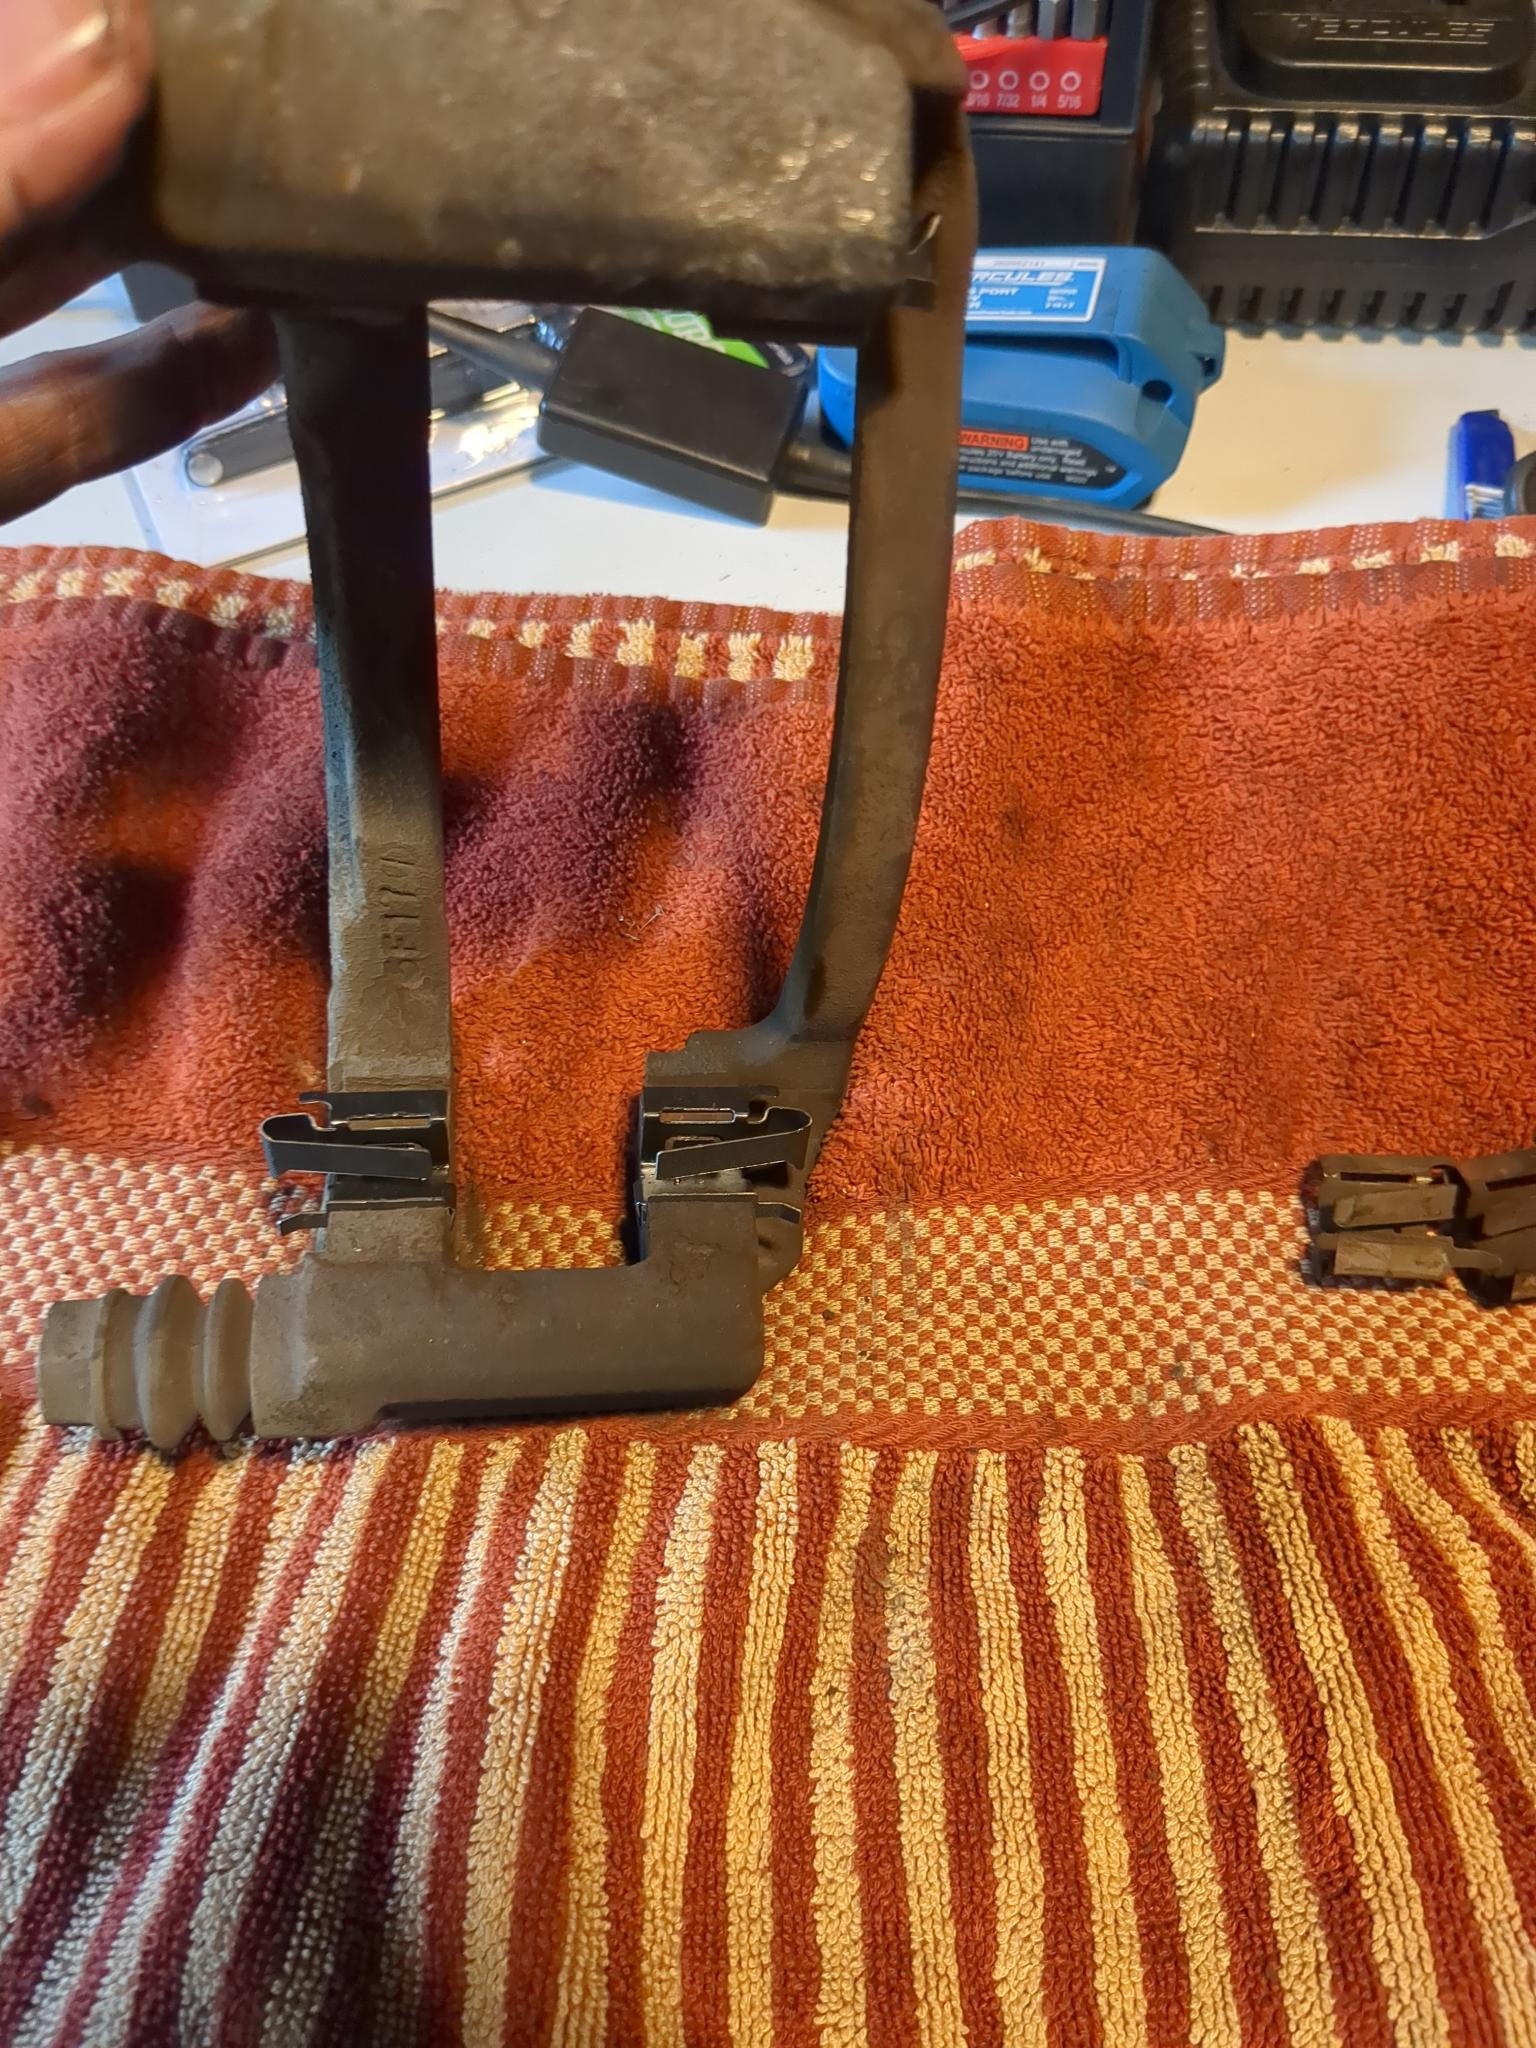
Replace the slide clips on the caliper bracket. I highly recommend replacing, rather than just cleaning them up. They get dusty, dirty, pitted, and sometimes rusty. Replacing them is the best way to go.
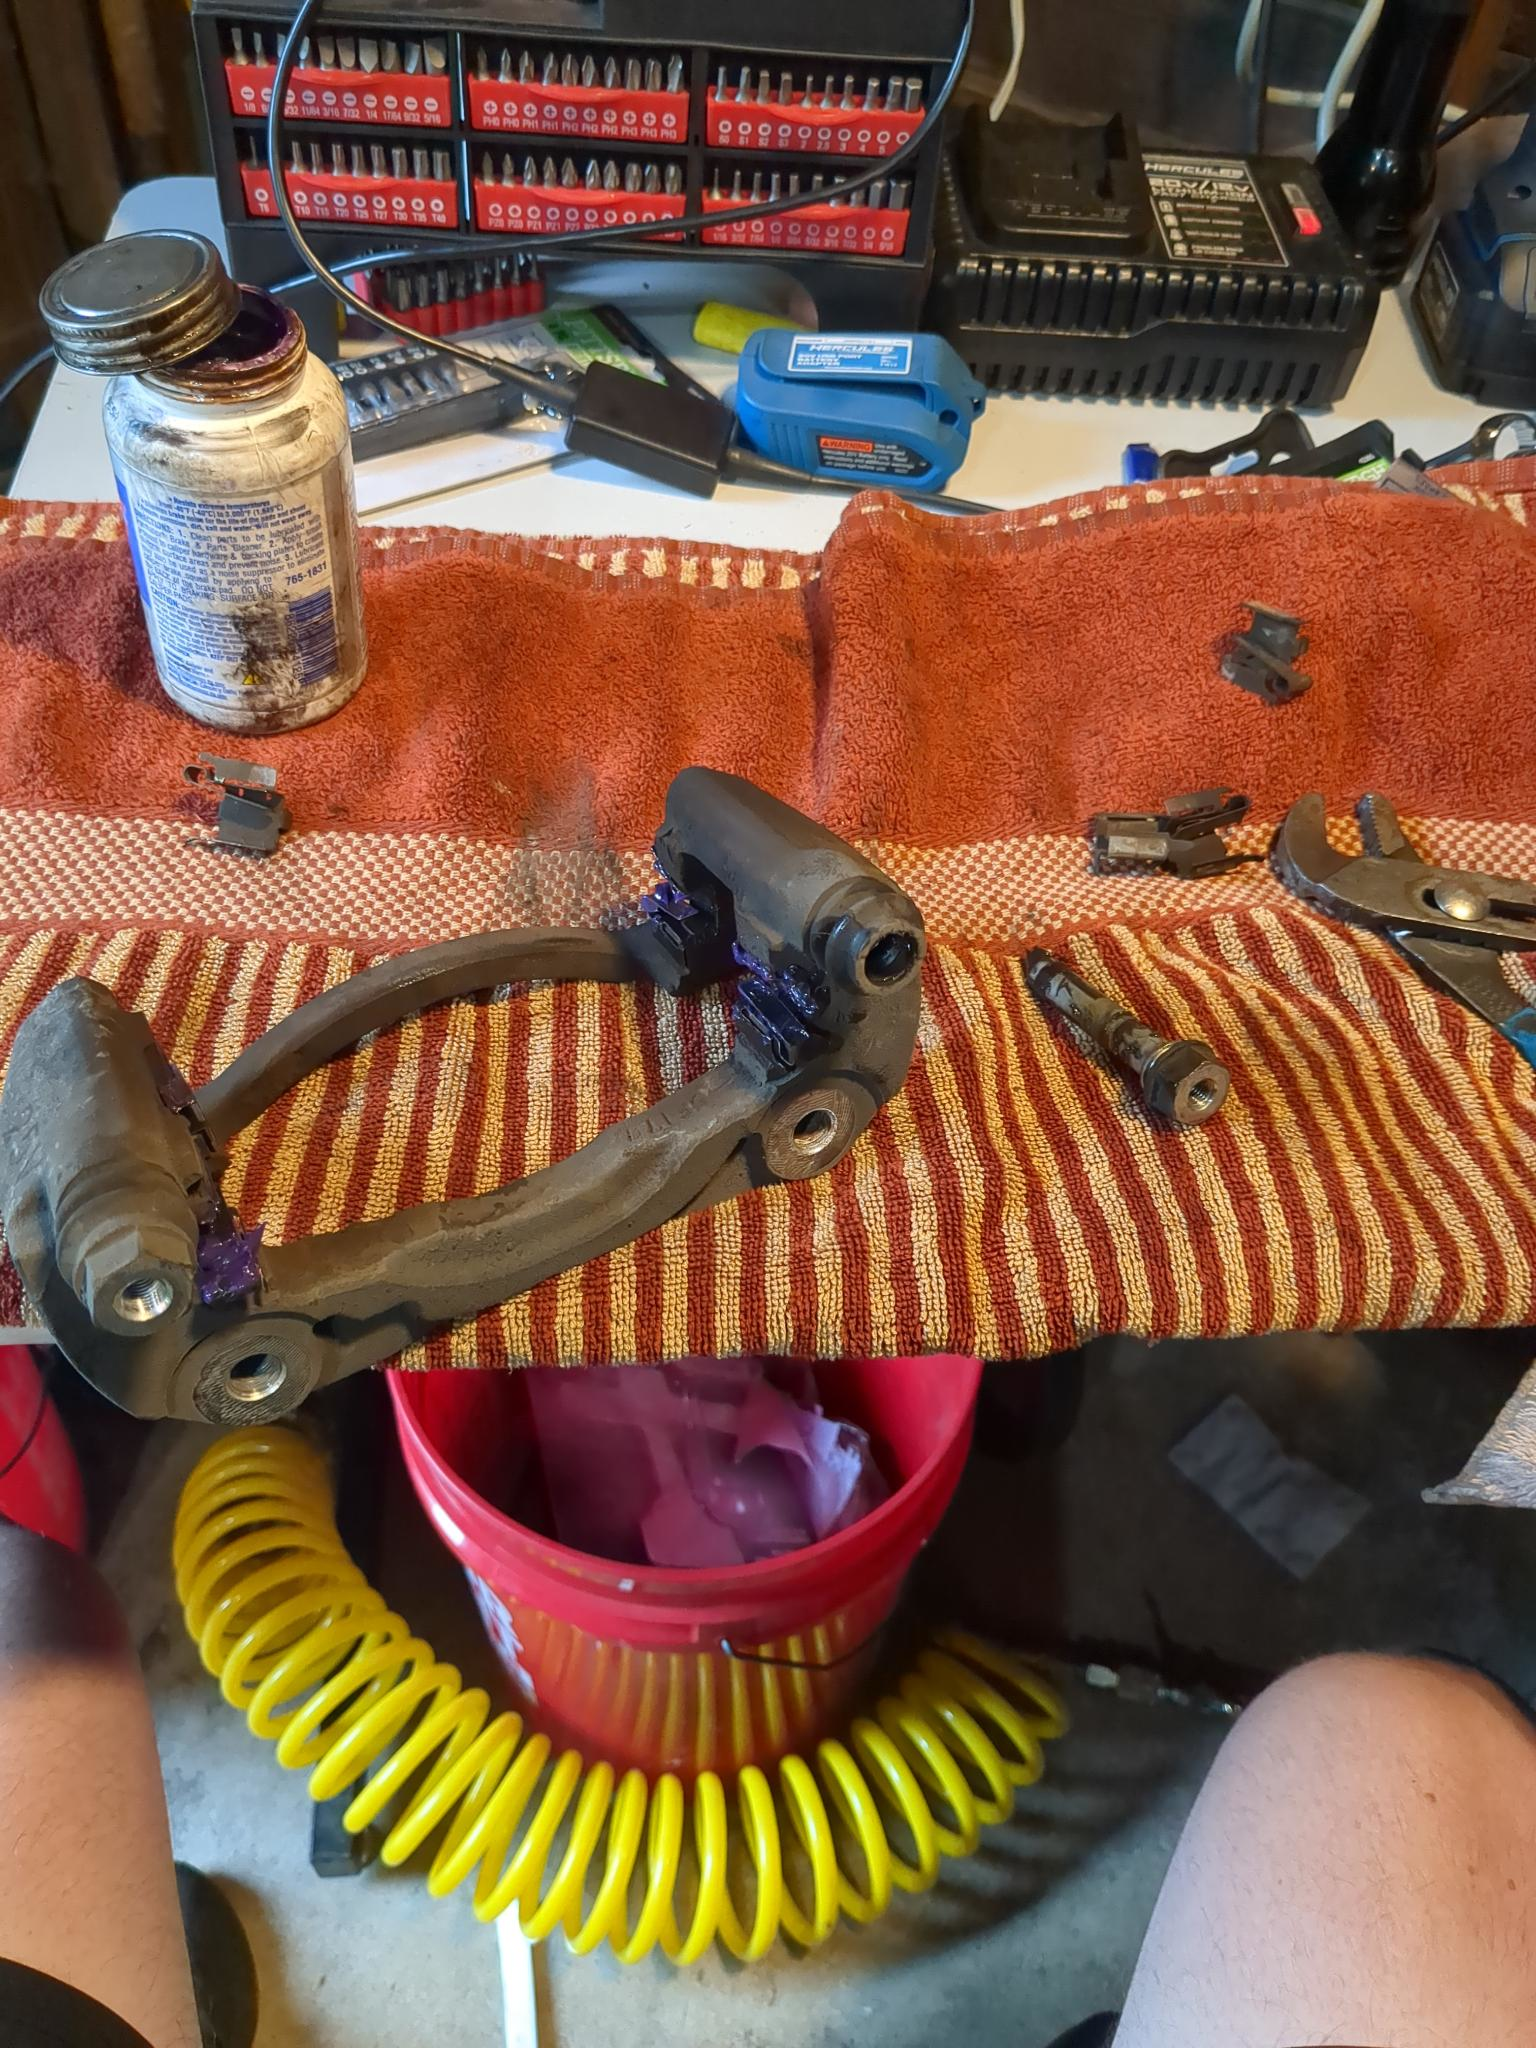
Grease the new slide clips and the slide pins.
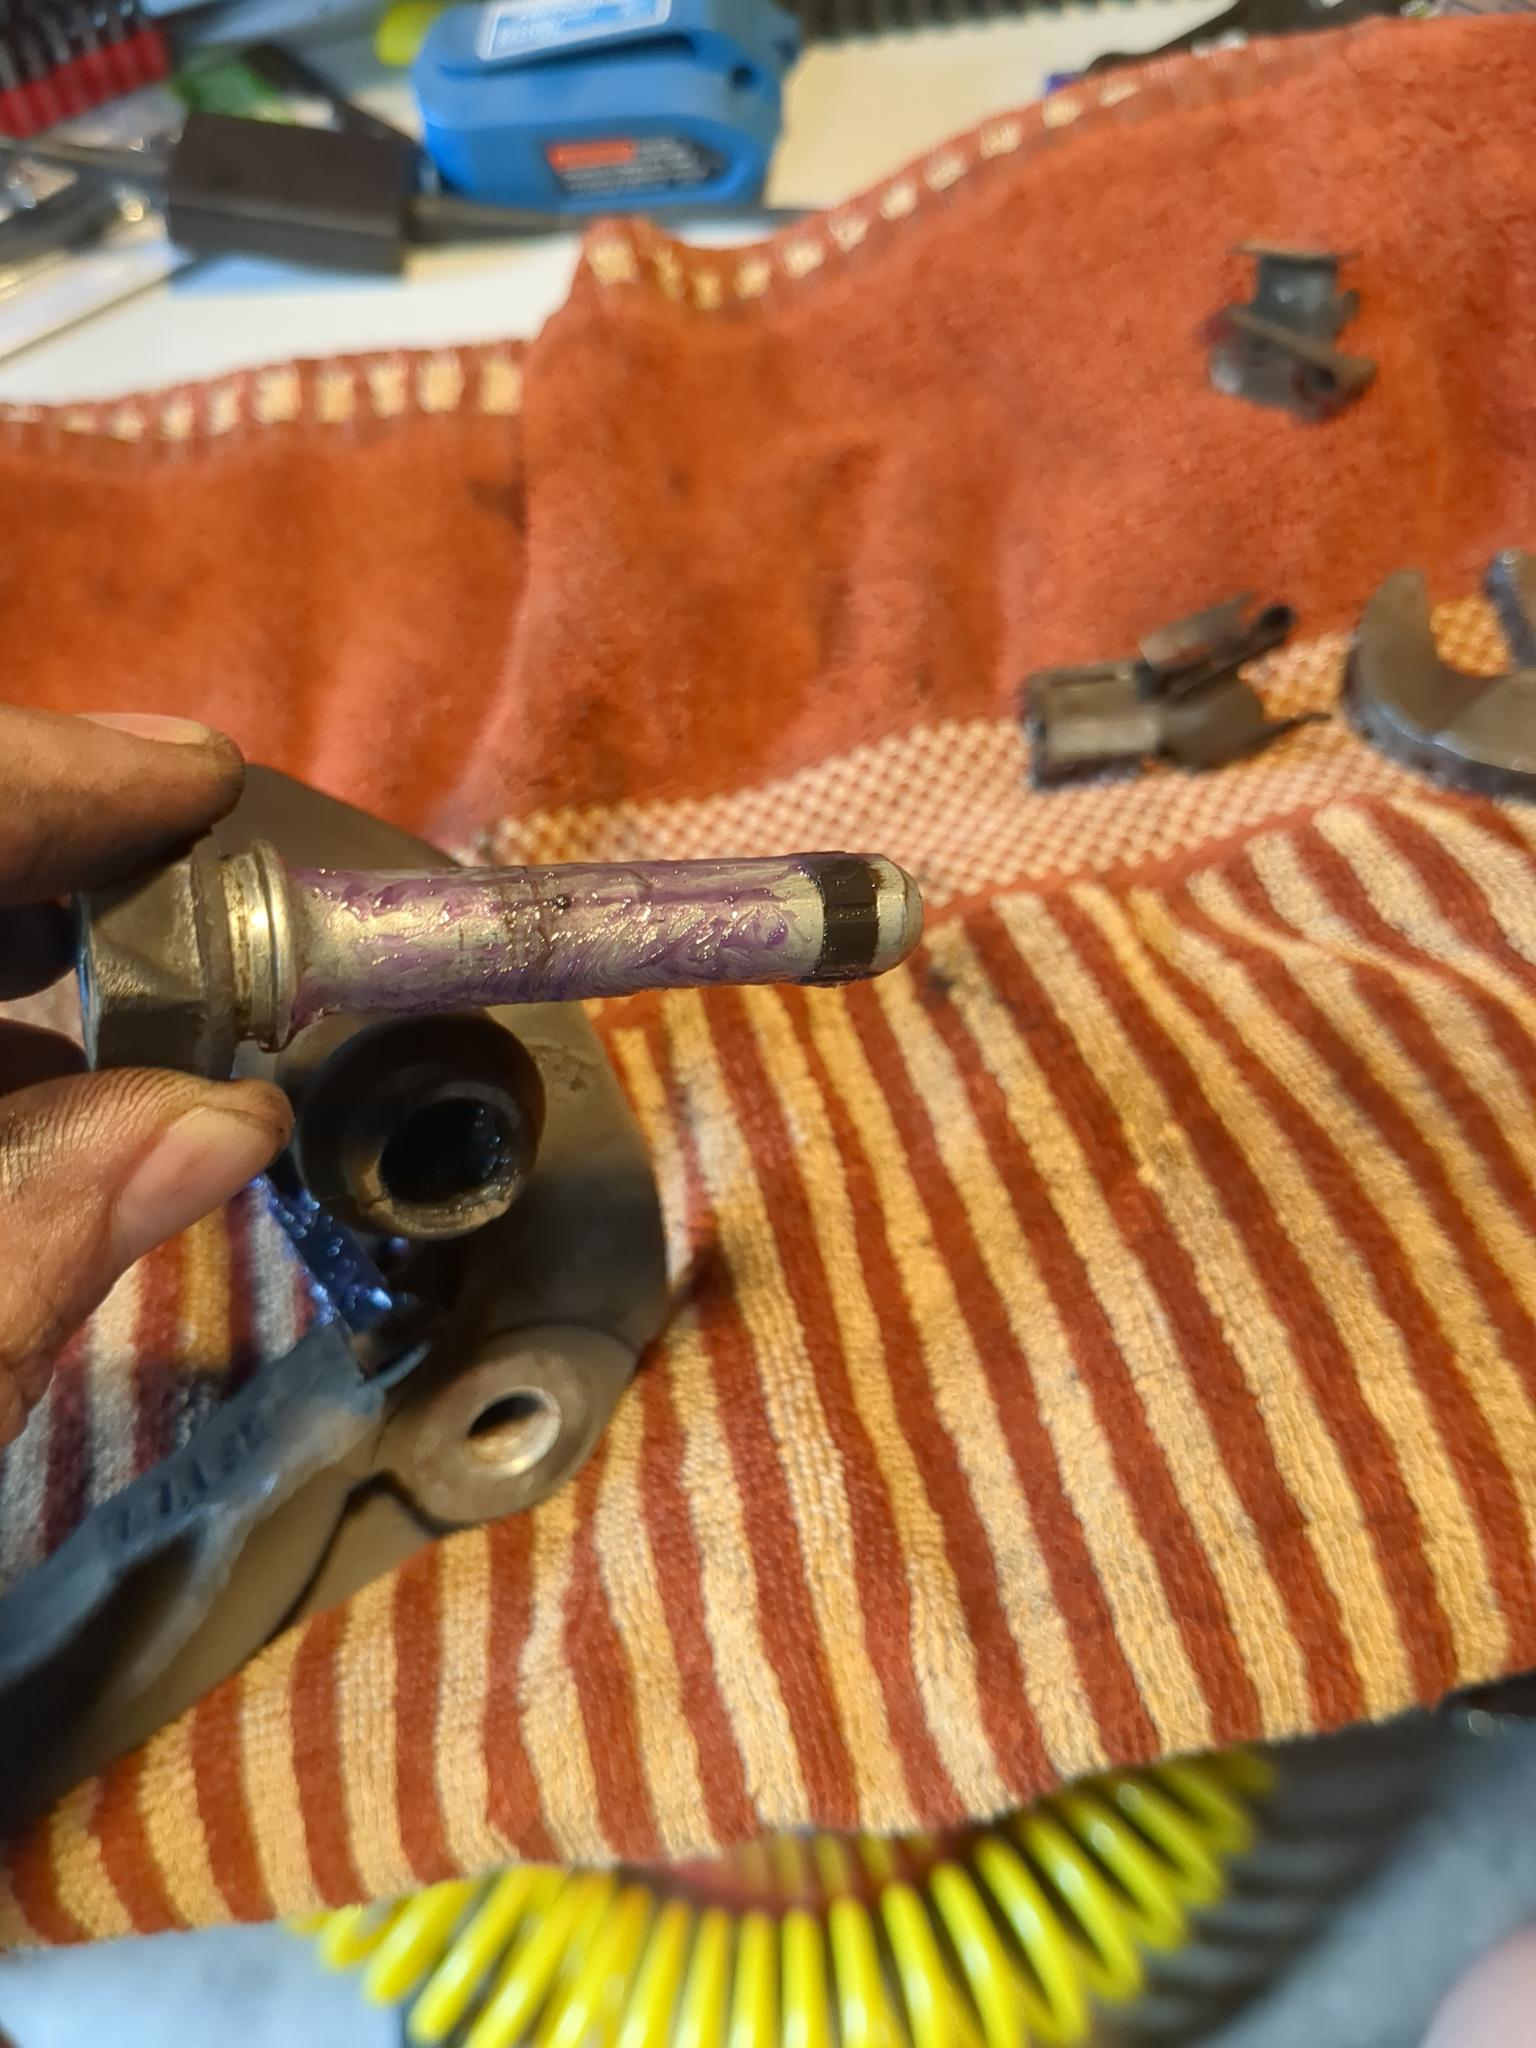
Greased slide pin. If the kit comes with new slide pin dust boots, replace the dust boots.
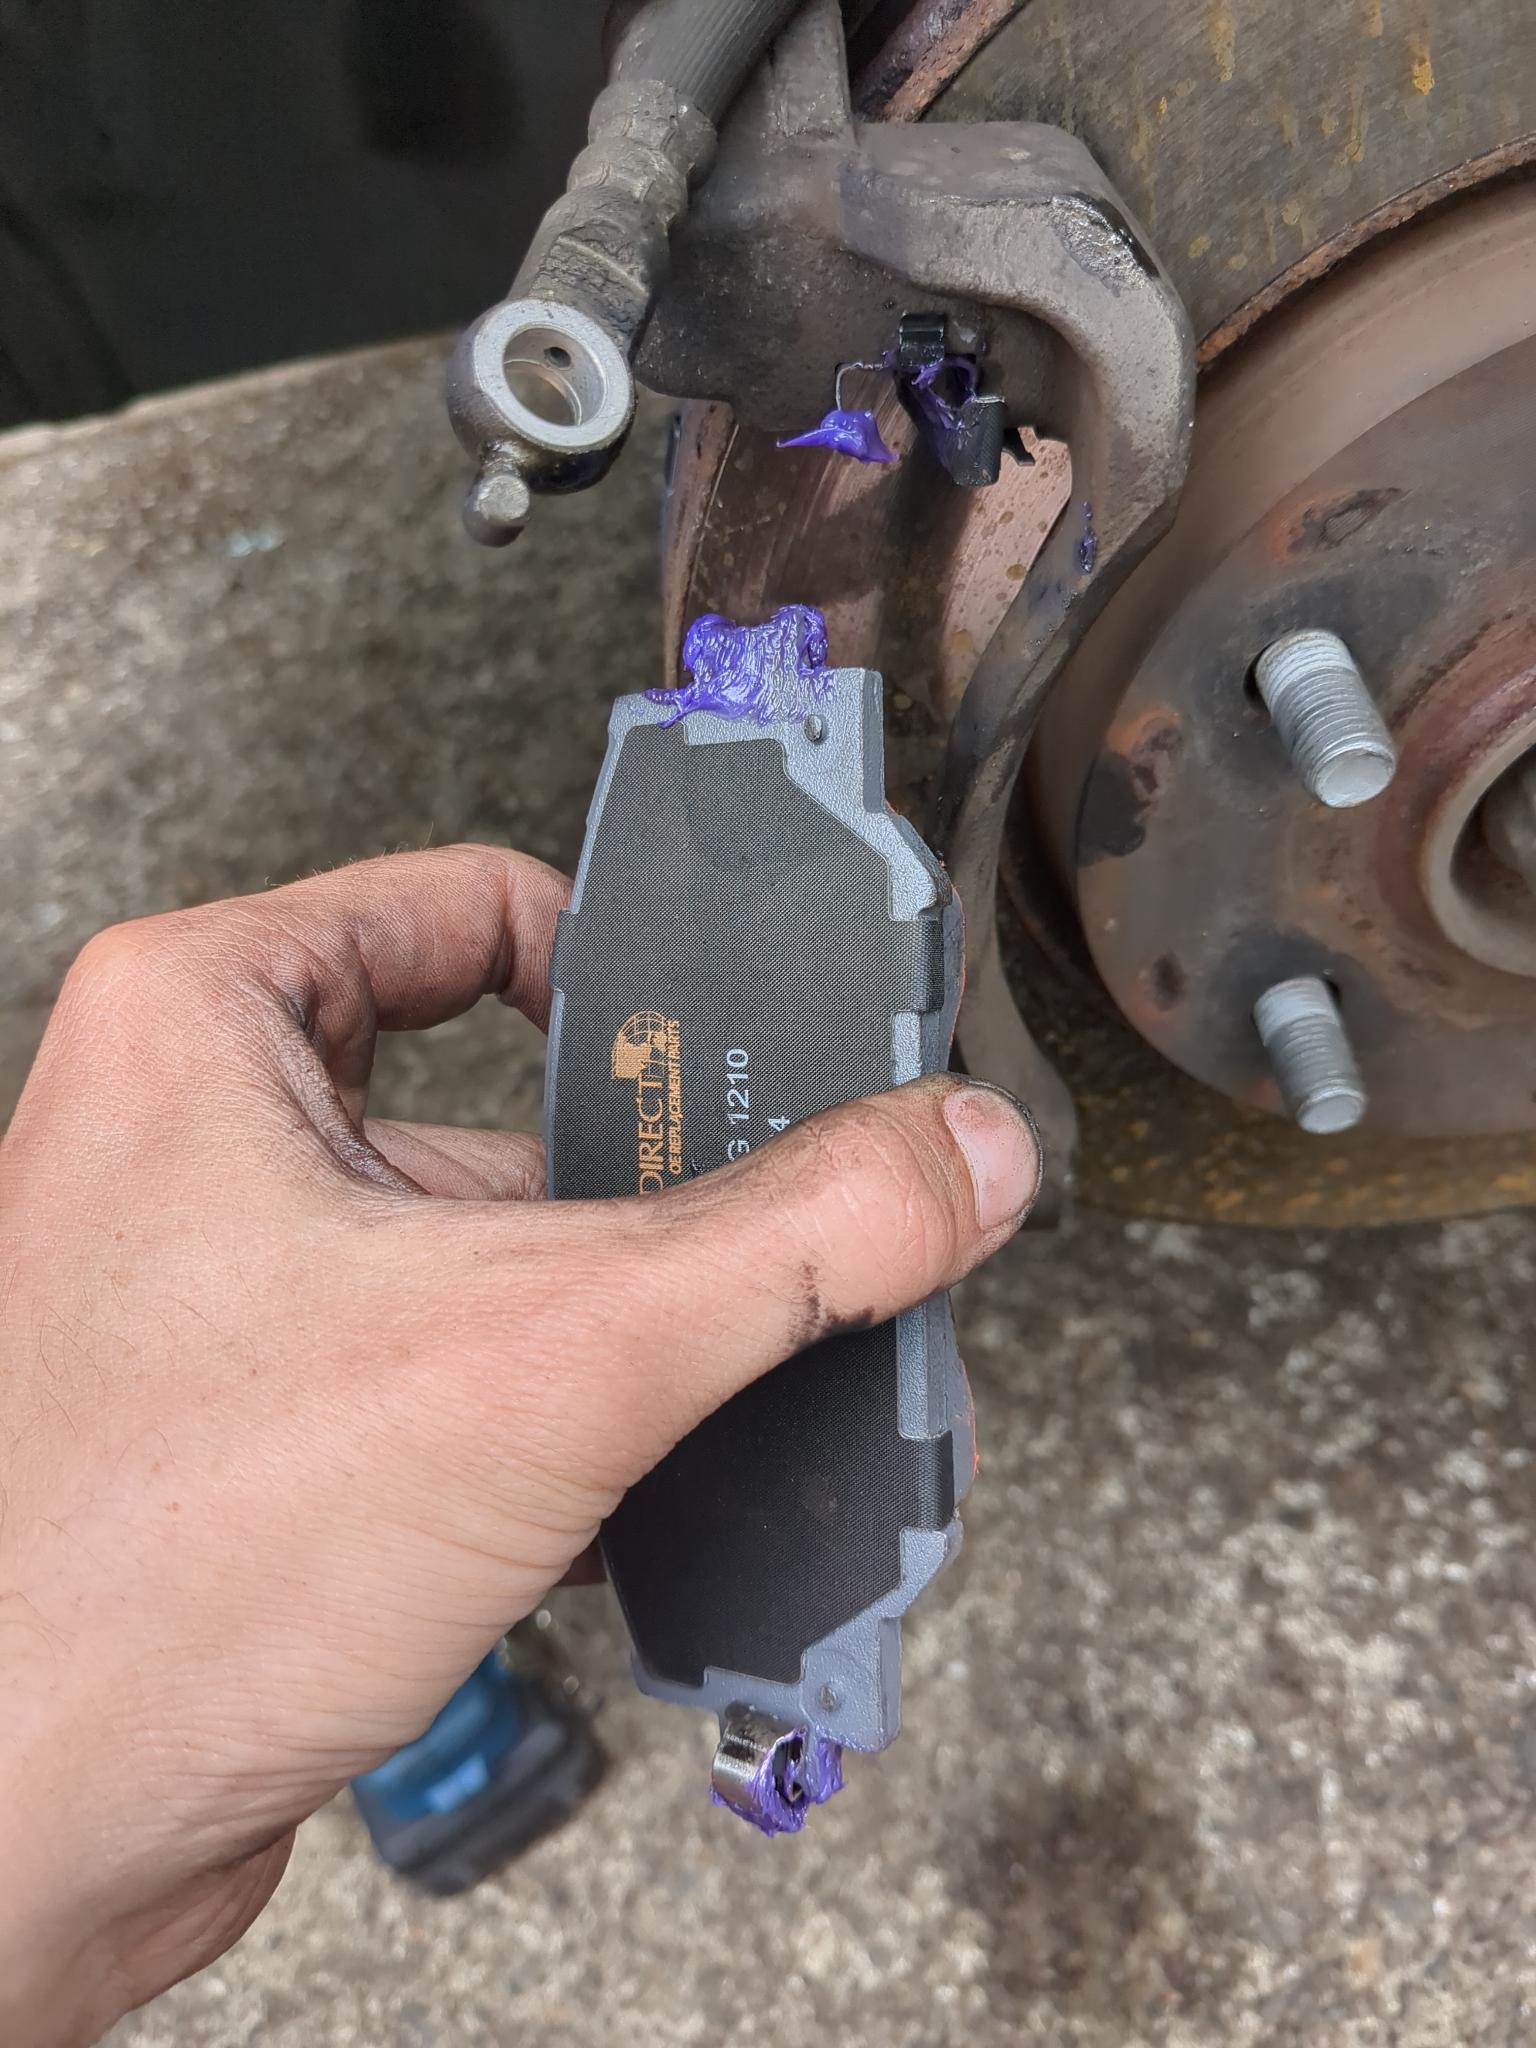
Reinstall the caliper bracket. When installing the new pads, I like to grease the surfaces of the pad that contact the bracket and the caliper. I first grease the bracket contact surfaces, install the pads, then grease the back of the pads.
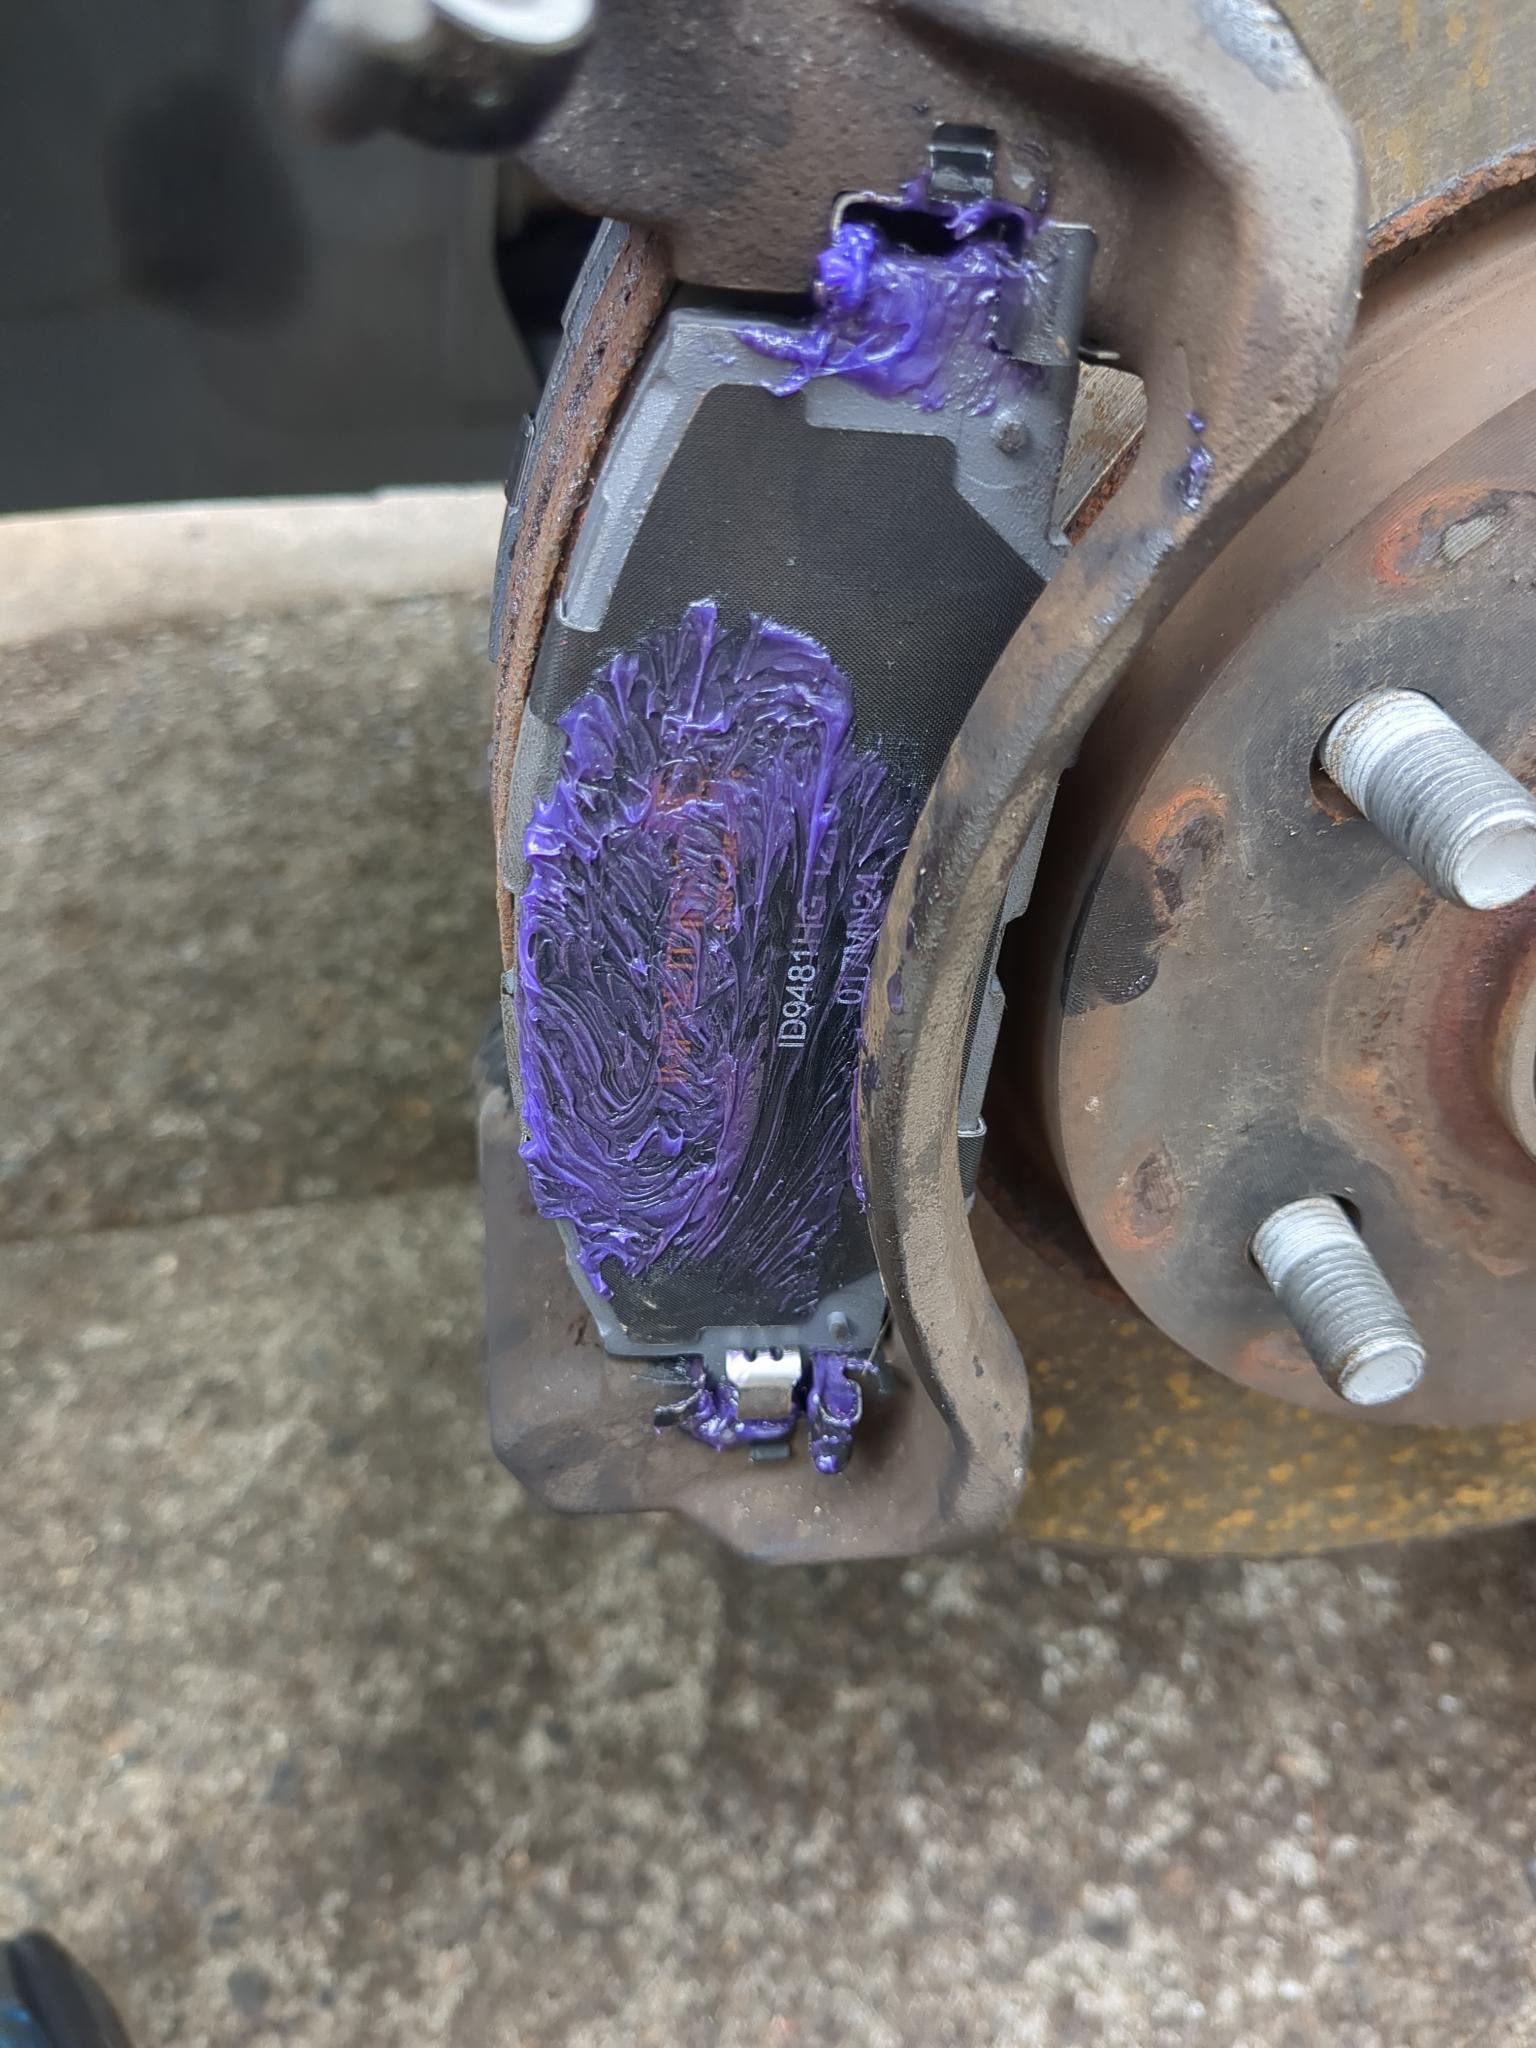
Back of the pads greased.
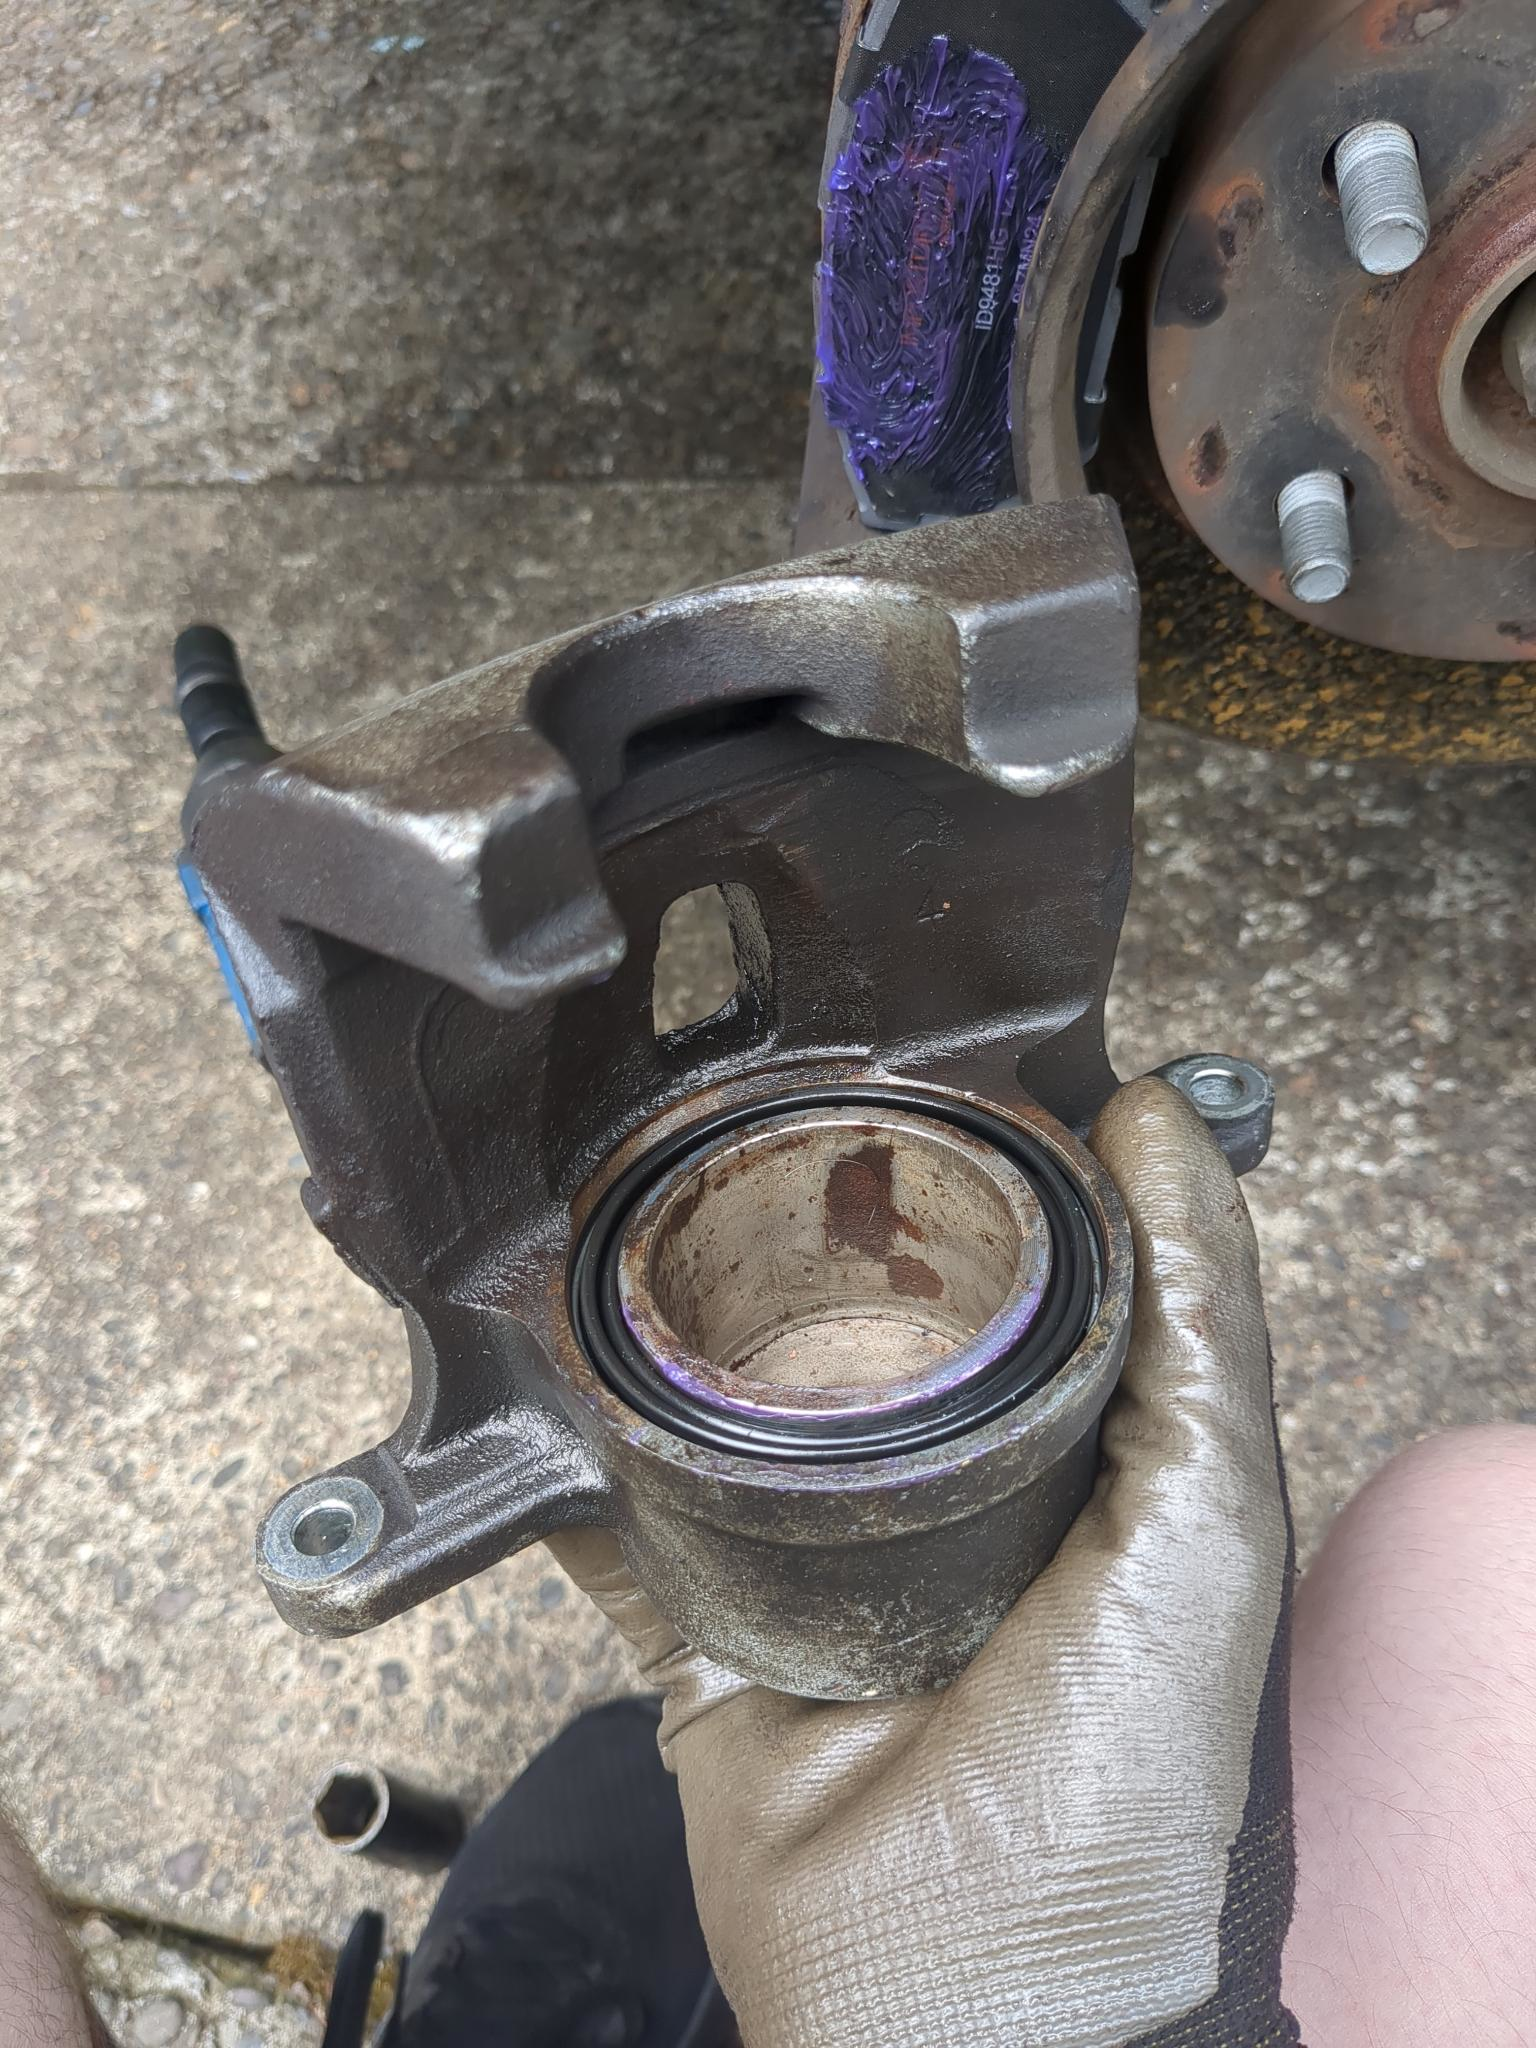
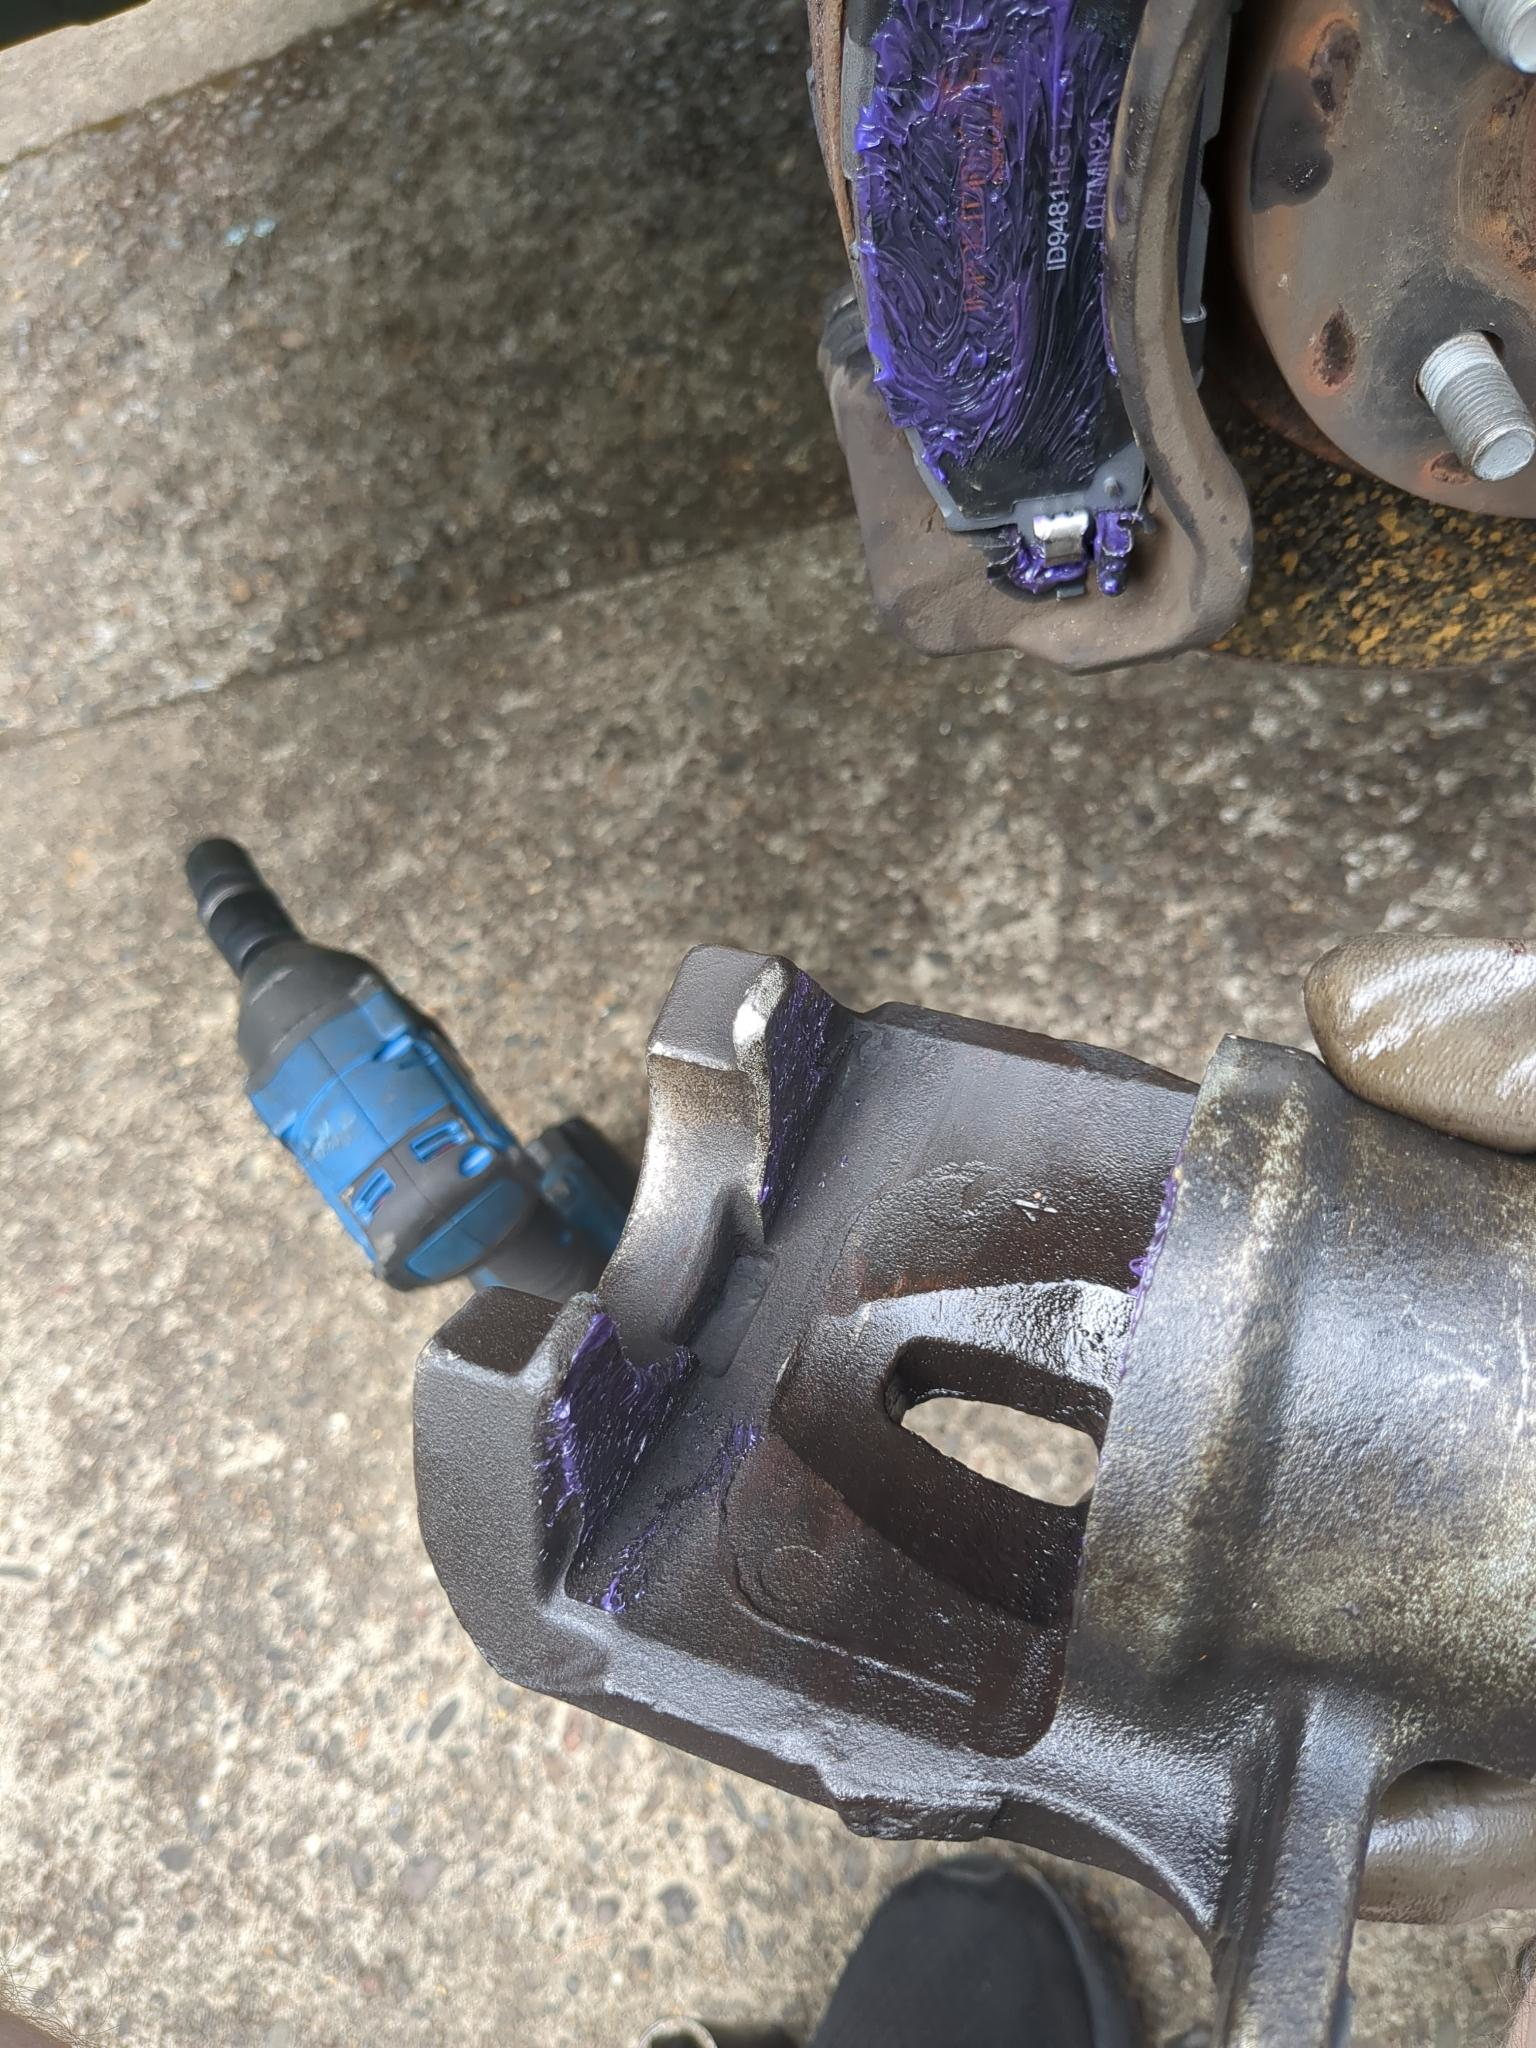
I also grease the contact surfaces of the caliper and the actual piston itself. I know it looks like I used an excessive amount of grease, but I really haven’t, and this is to ensure that there aren’t any squeaks/squeals.
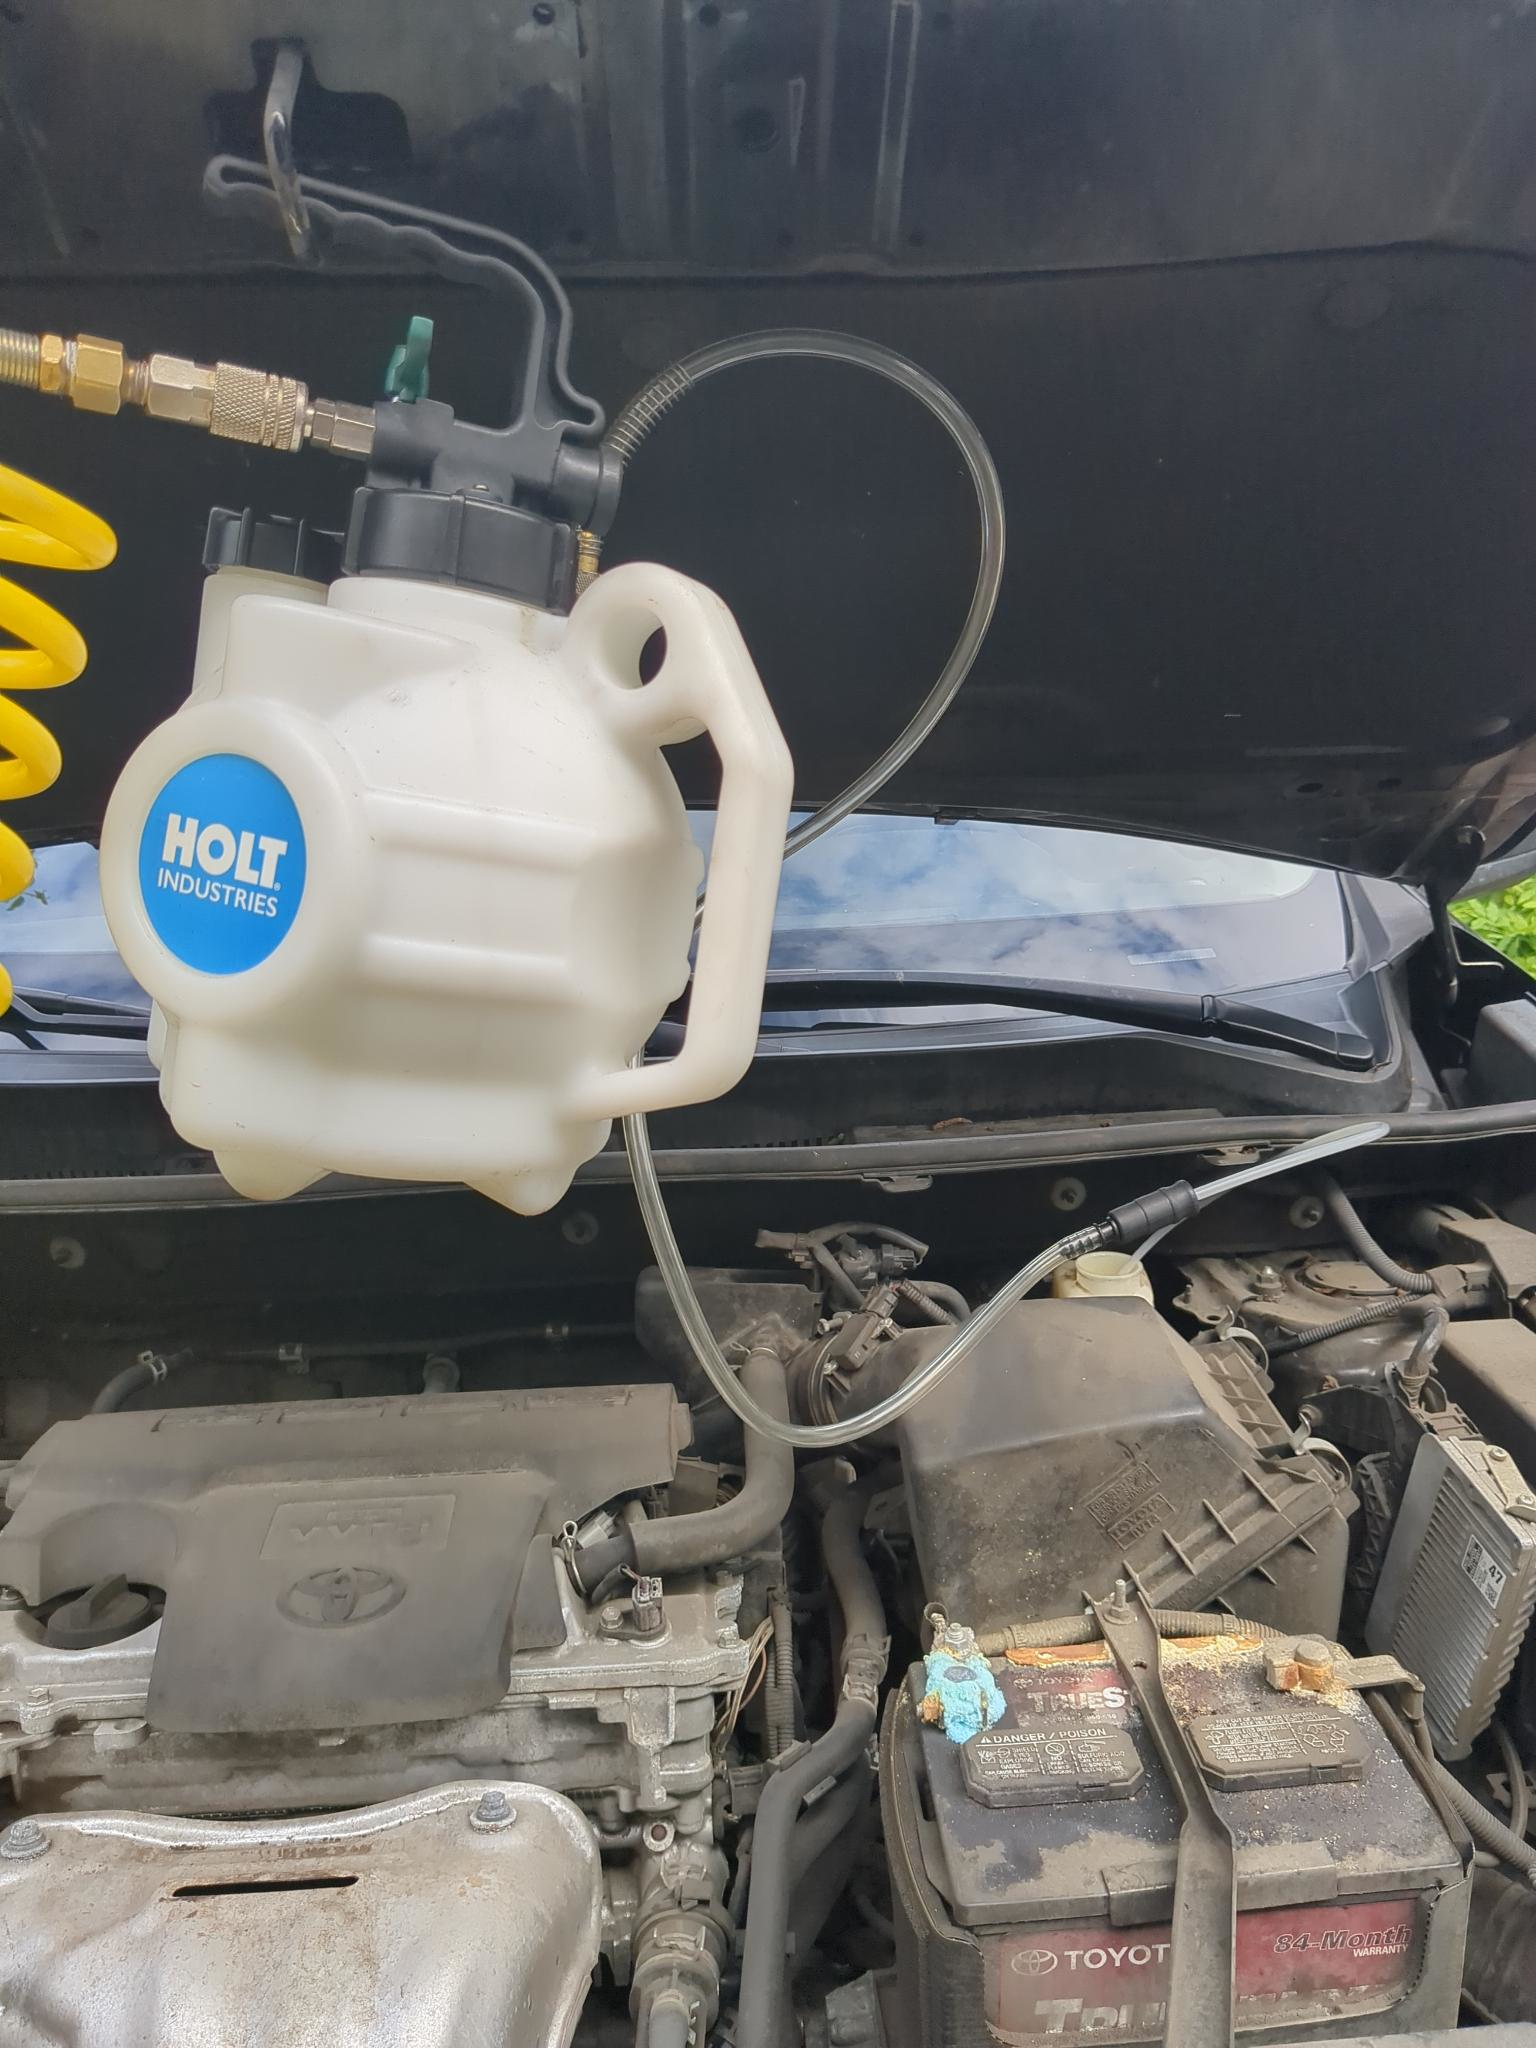
Removing the old fluid from the master cylinder. I bled the brakes of air (The drivers front lines definitely had air in them). I have a special tool that connects to an air compressor, and sucks out the fluid. However, you can either do it with a partner pushing on the brake pedal, or purchasing a small hand vacuum unit if you don’t have an air compressor.
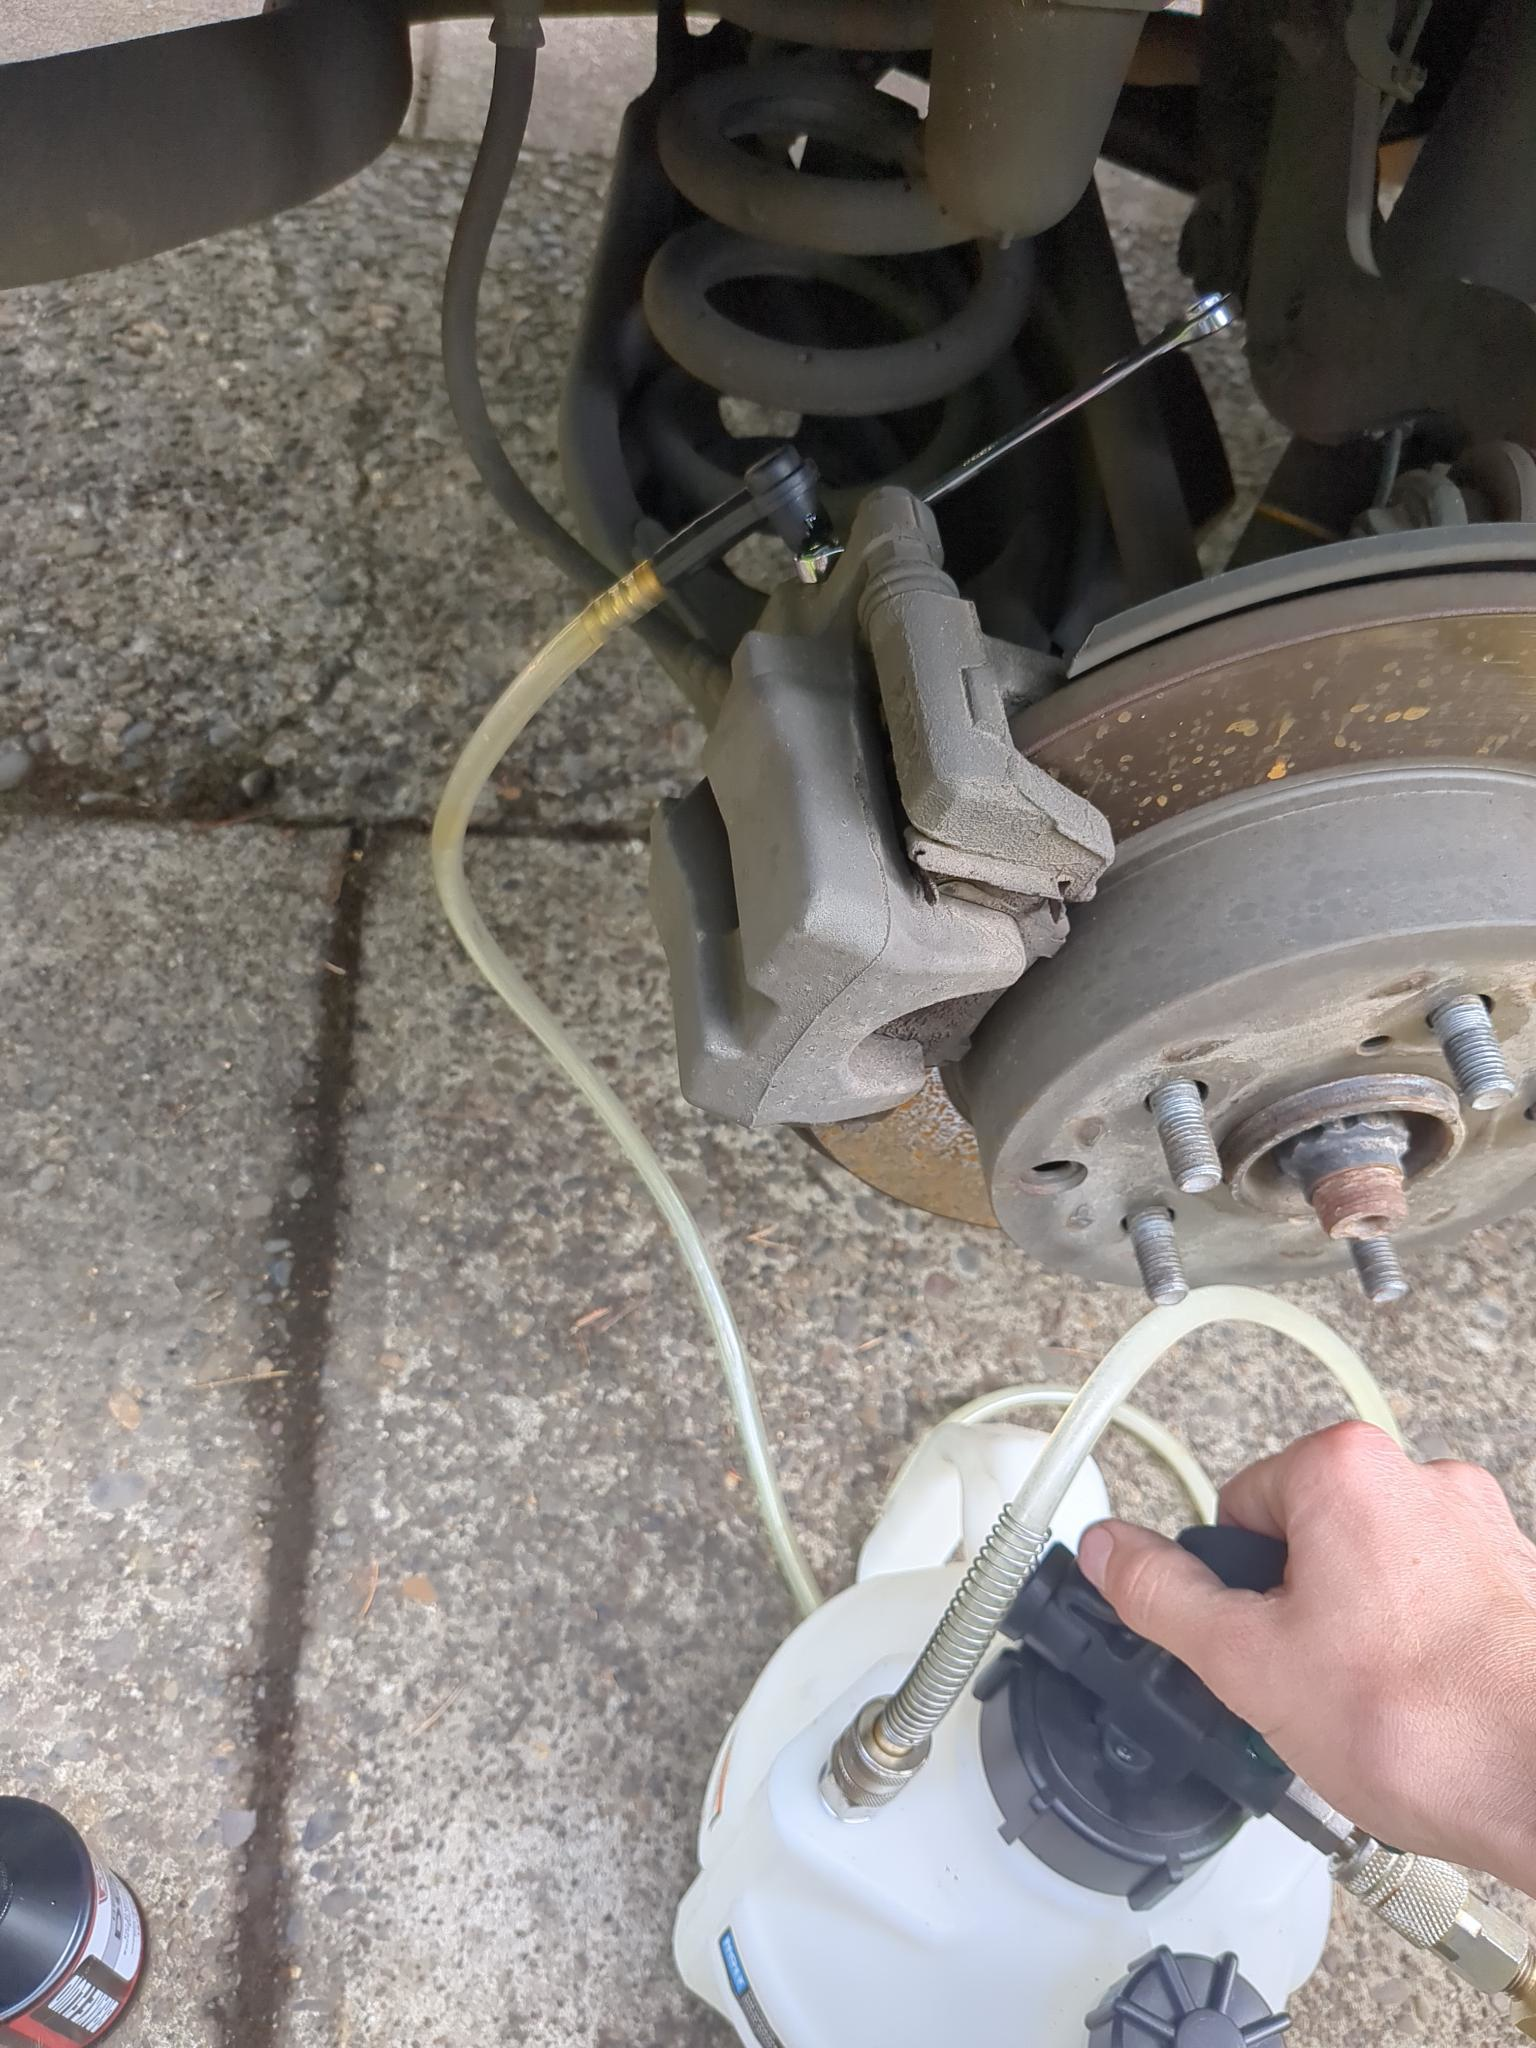
Removing the oil fluid and air from the brake lines.
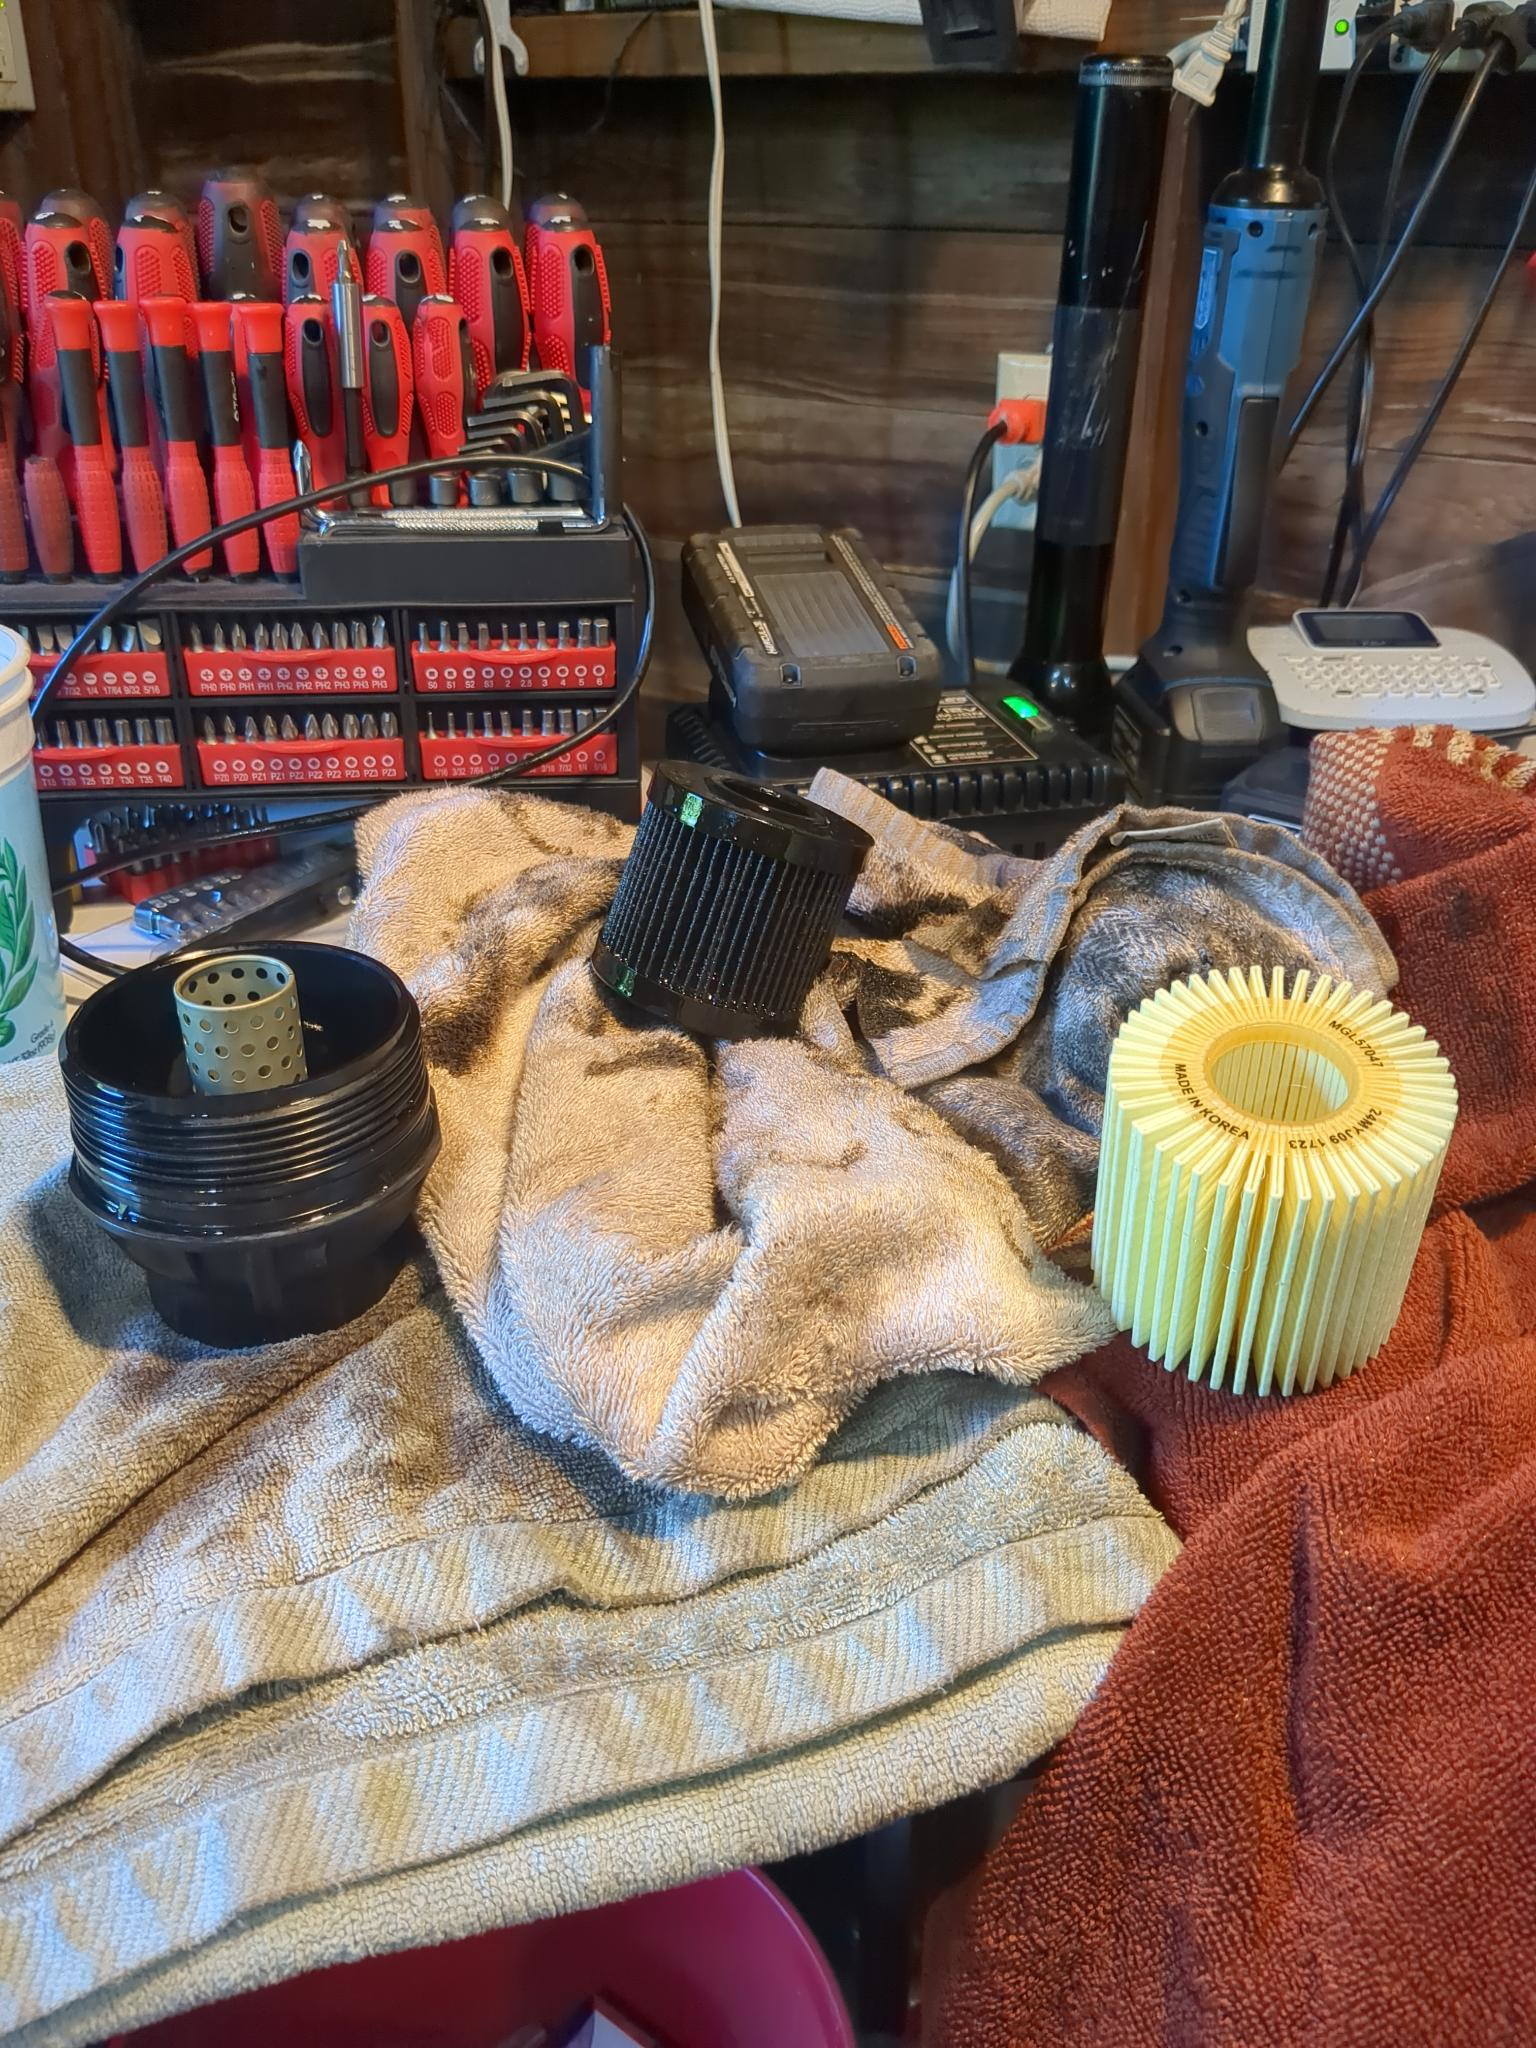
Lots of vehicles nowadays have cartridge oil filters rather than the traditional cannister (metal) oil filters. I don’t like the cartridge oil filters because typically you need special tools/oversized sockets to access them. On top of that, the filter housing is usually plastic, and is more prone to damage. Replacing a filter housing can be fairly expensive, despite it being made of cheap plastic. If you do have a cartridge filter, ensure you’re replacing all of the oil seals when replacing the filter (They usually come with the filter).
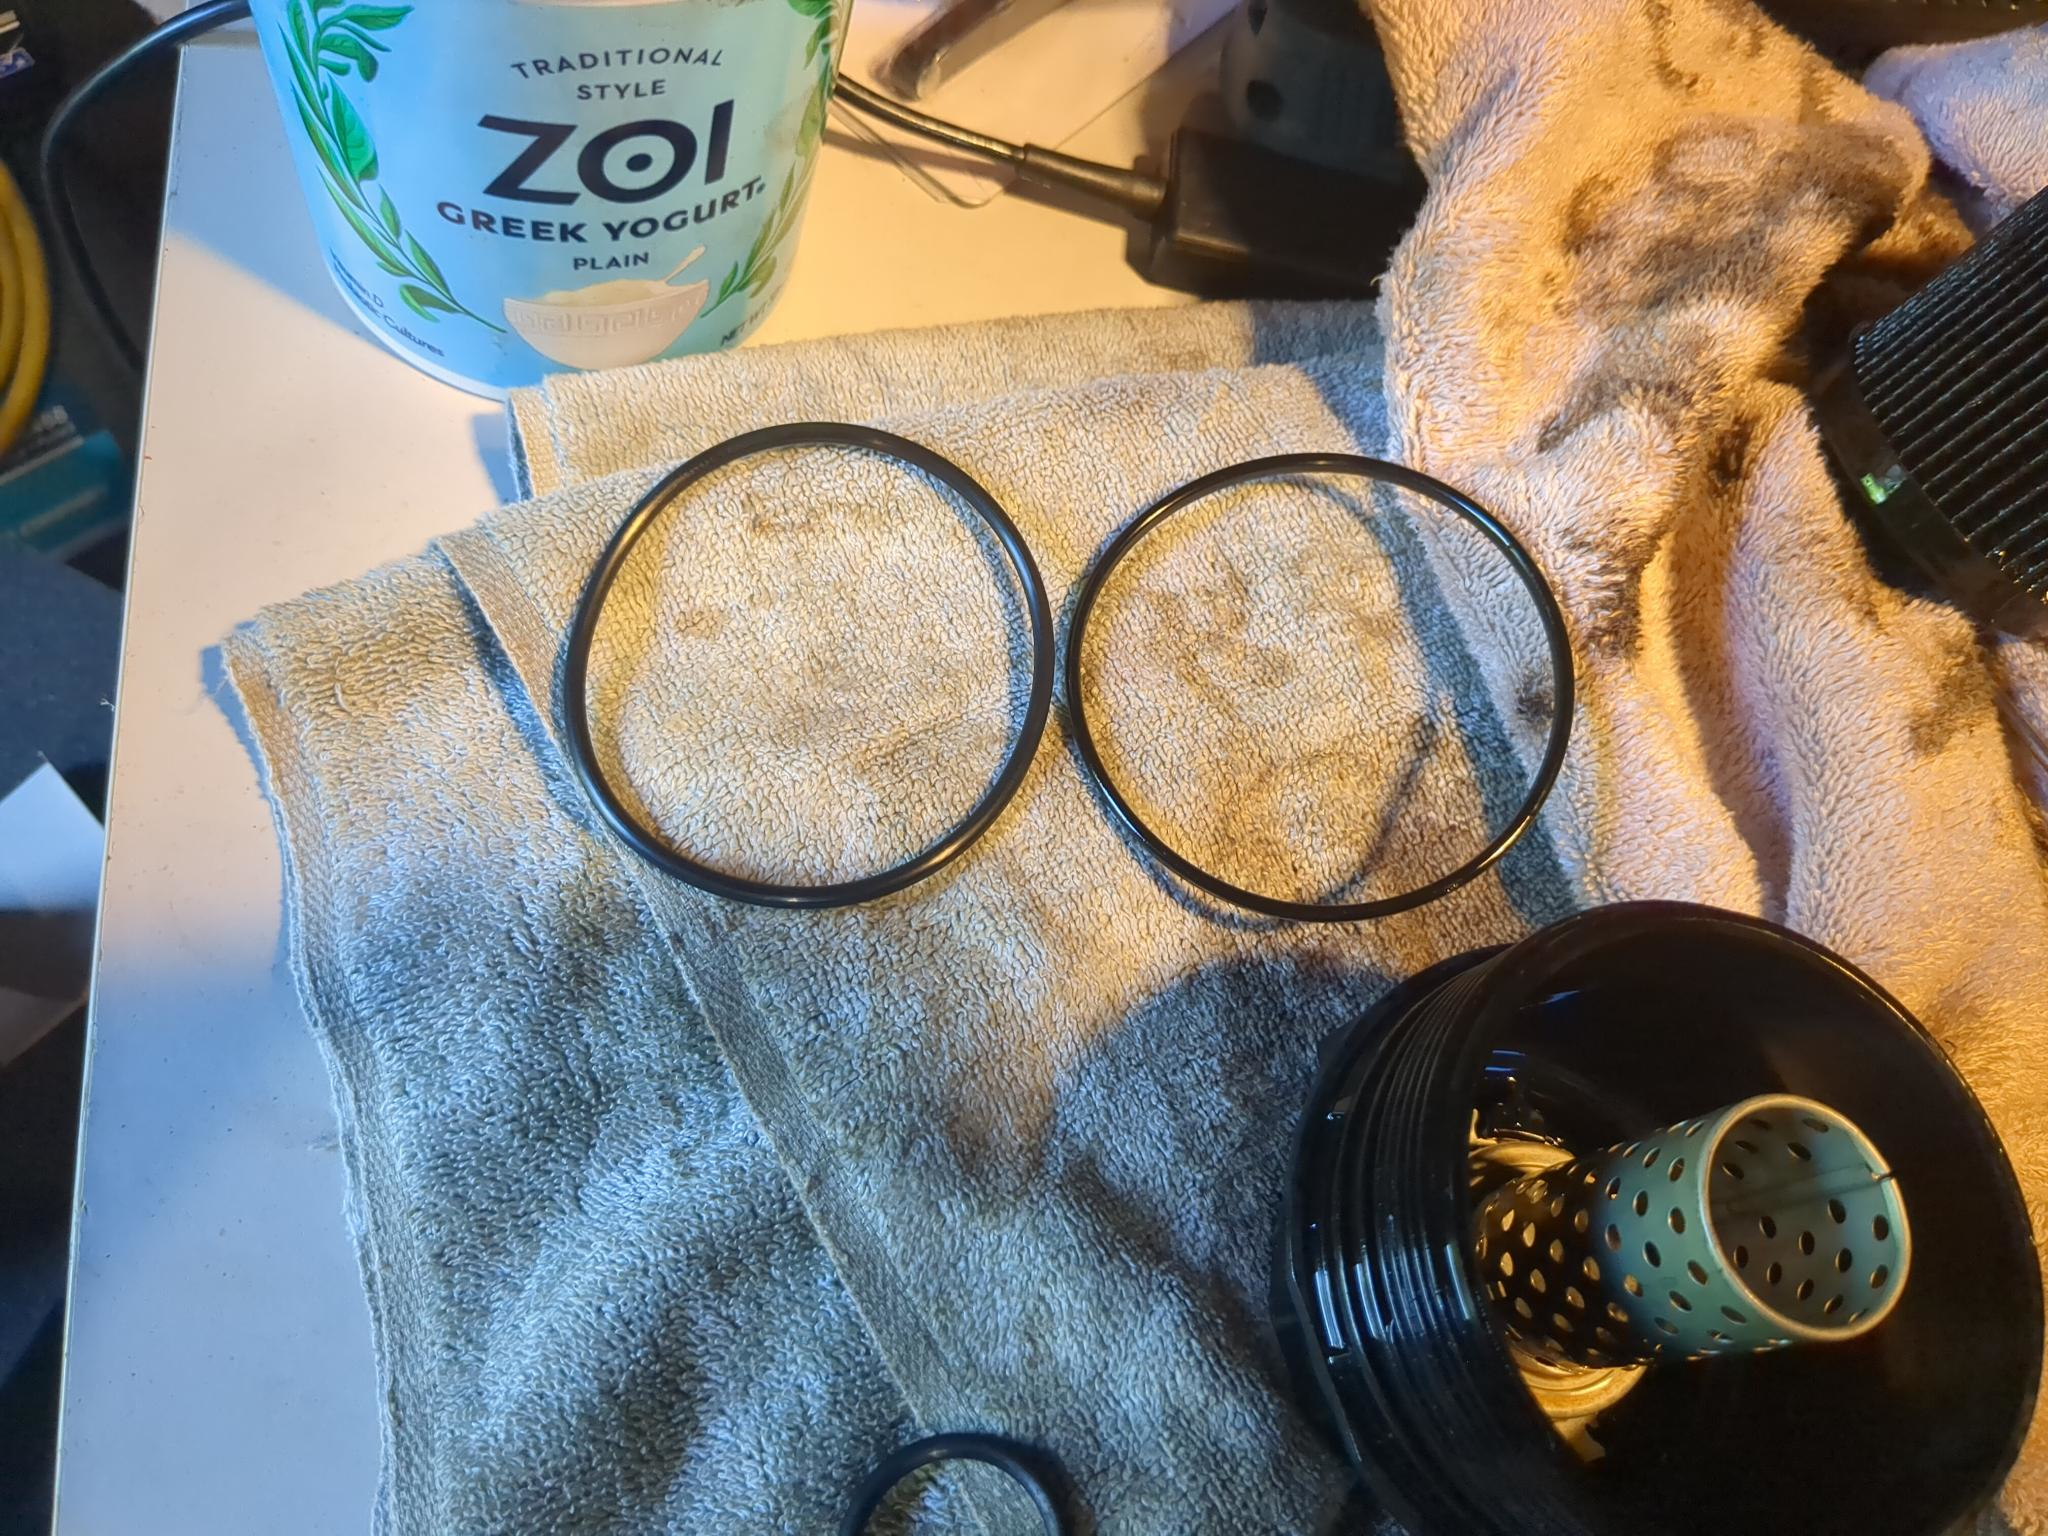
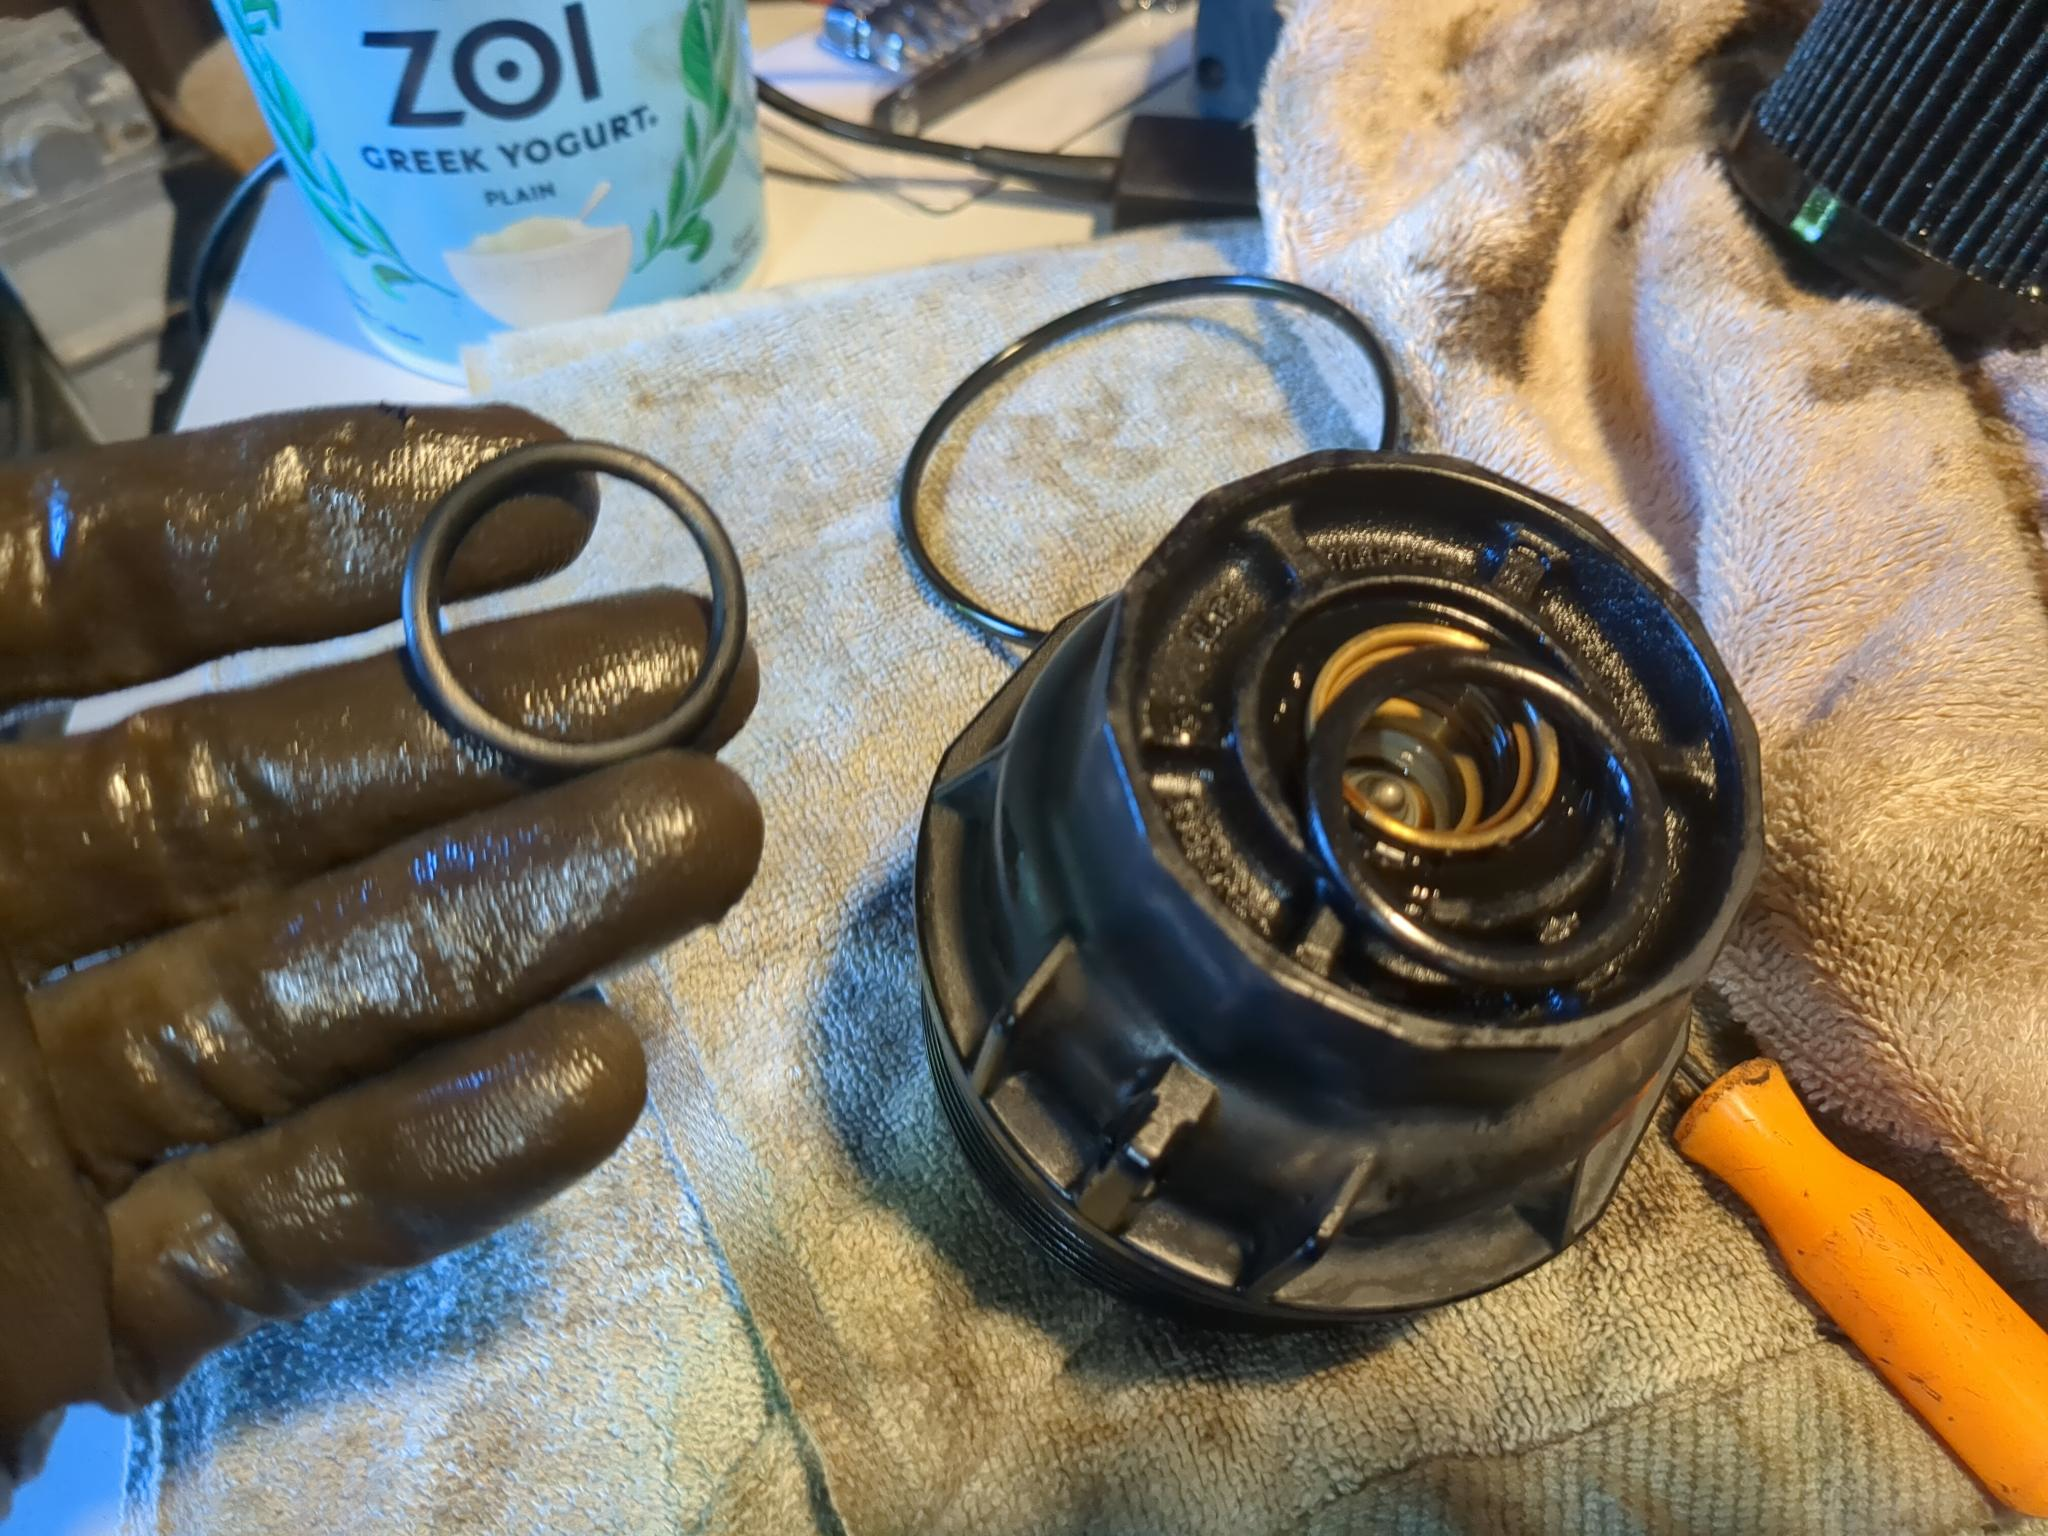
Oil up the new o rings before installation to make it easier to reinstall the filter housing. Old ring on the right vs new ring on the left.
I forgot to take a picture of this, however, once you are all done reassembling the housing, pour some oil into the new filter (you can do this with both cartridge and cannister filters) if the filter installs with the bottom of the filter facing the ground. If the filter is installed horizontally, or with the screw in end facing the ground, you cannot do this, as oil will just spill out. I like to fill the filter with oil as it keeps the engine flowing with constant oil pressure. If you don’t fill the filter with oil, there will be a very brief moment where the engine doesn’t have oil pressure due to the filter taking some time to fill up. This brief period won’t cause any measurable damage to your engine (As I said above, there are some vehicles you cannot do this with due to the orientation of the filter). However, it’s how I was taught to replace oil, so I stick to it.
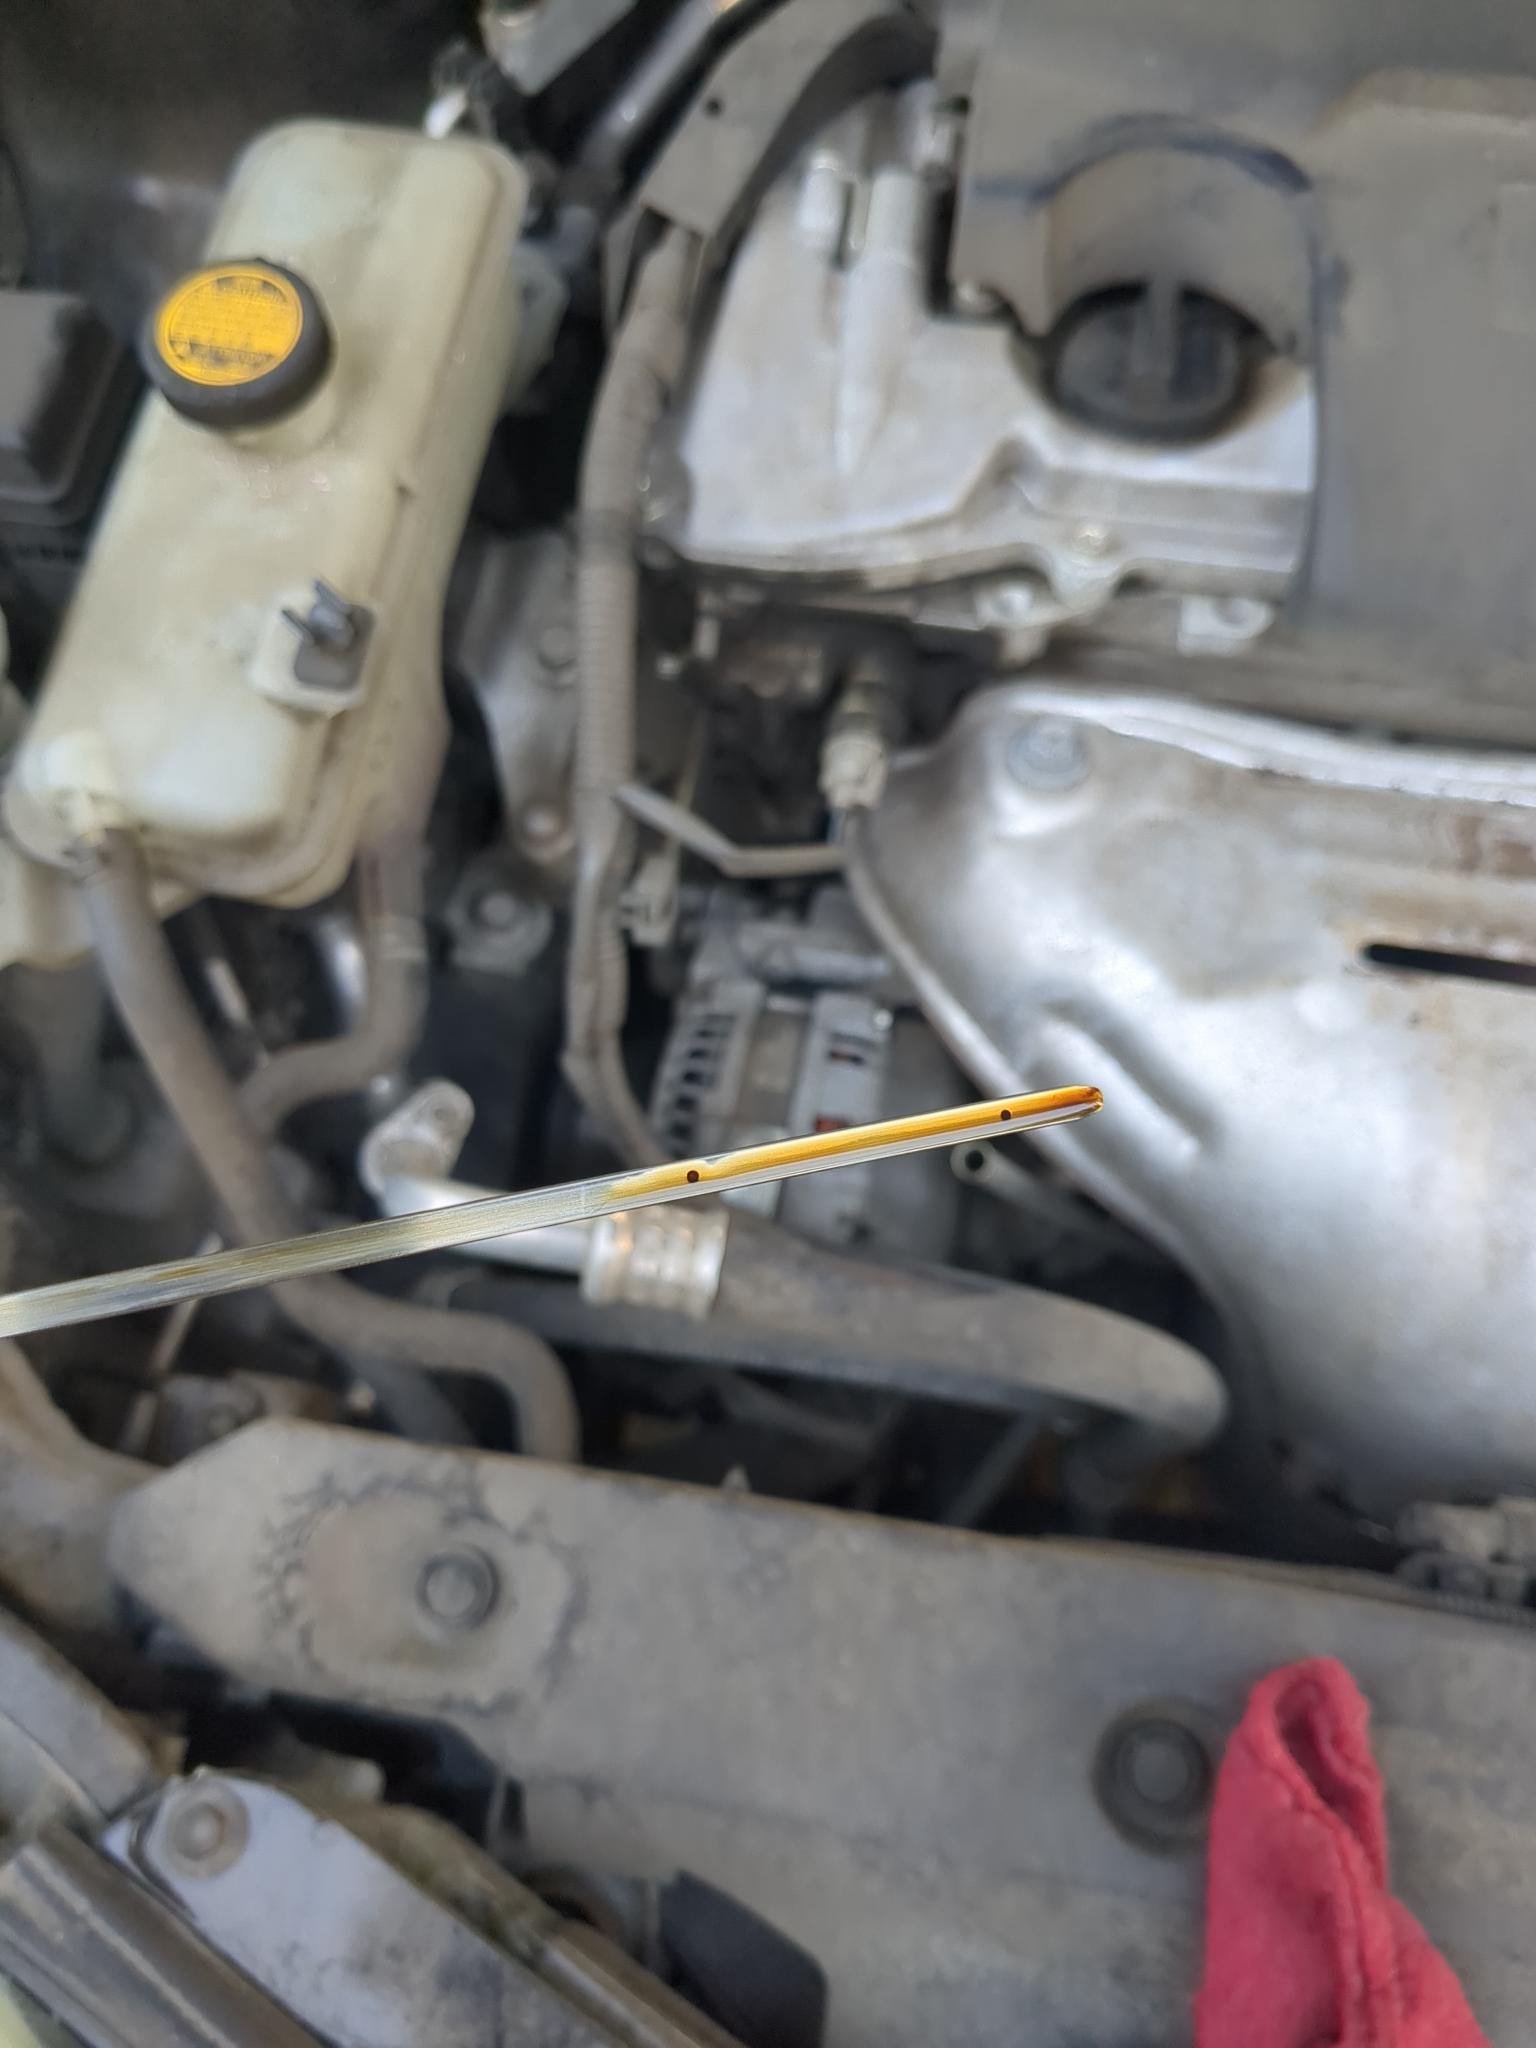
The dipstick is a little over. However, over time that oil level will decrease due to the minute amount oil that engines leak/burn. I like to start the engine for about 5 minutes after an oil change, the turn it off and let it sit for 5 minutes to let the oil settle at the bottom of the pan before i check it.
I drained the oil, replaced it, then buzzed the wheels back on, and torqued them down. ALWAYS USE A TORQUE WRENCH WHENEVER YOU ARE BOLTING WHEELS BACK ON. Never ever “ugga dugga” it back on. You can either overtorque the wheel, and cause all sorts of issues such as warping the brake rotor, or damaging the wheel bearing, or undertorque it and cause the wheel to fly off and kill/damage someone or something. Don’t be lazy, use a torque wrench. Any mechanic that does not torque wheels is a mechanic you should never take your vehicle to.
Now for some pictures of my Chevy. I only took pictures of the front differential because I spilled diff fluid all over myself and the ground while replacing the fluid, and I didn’t want to get my phone all oily. However, I changed pretty much every fluid on my truck. Going forward, I’d highly recommend getting a small hand pump like this. I tried pouring it in my squeezing the bottle, and that only lead to me leaking oil everywhere, and making a mess.
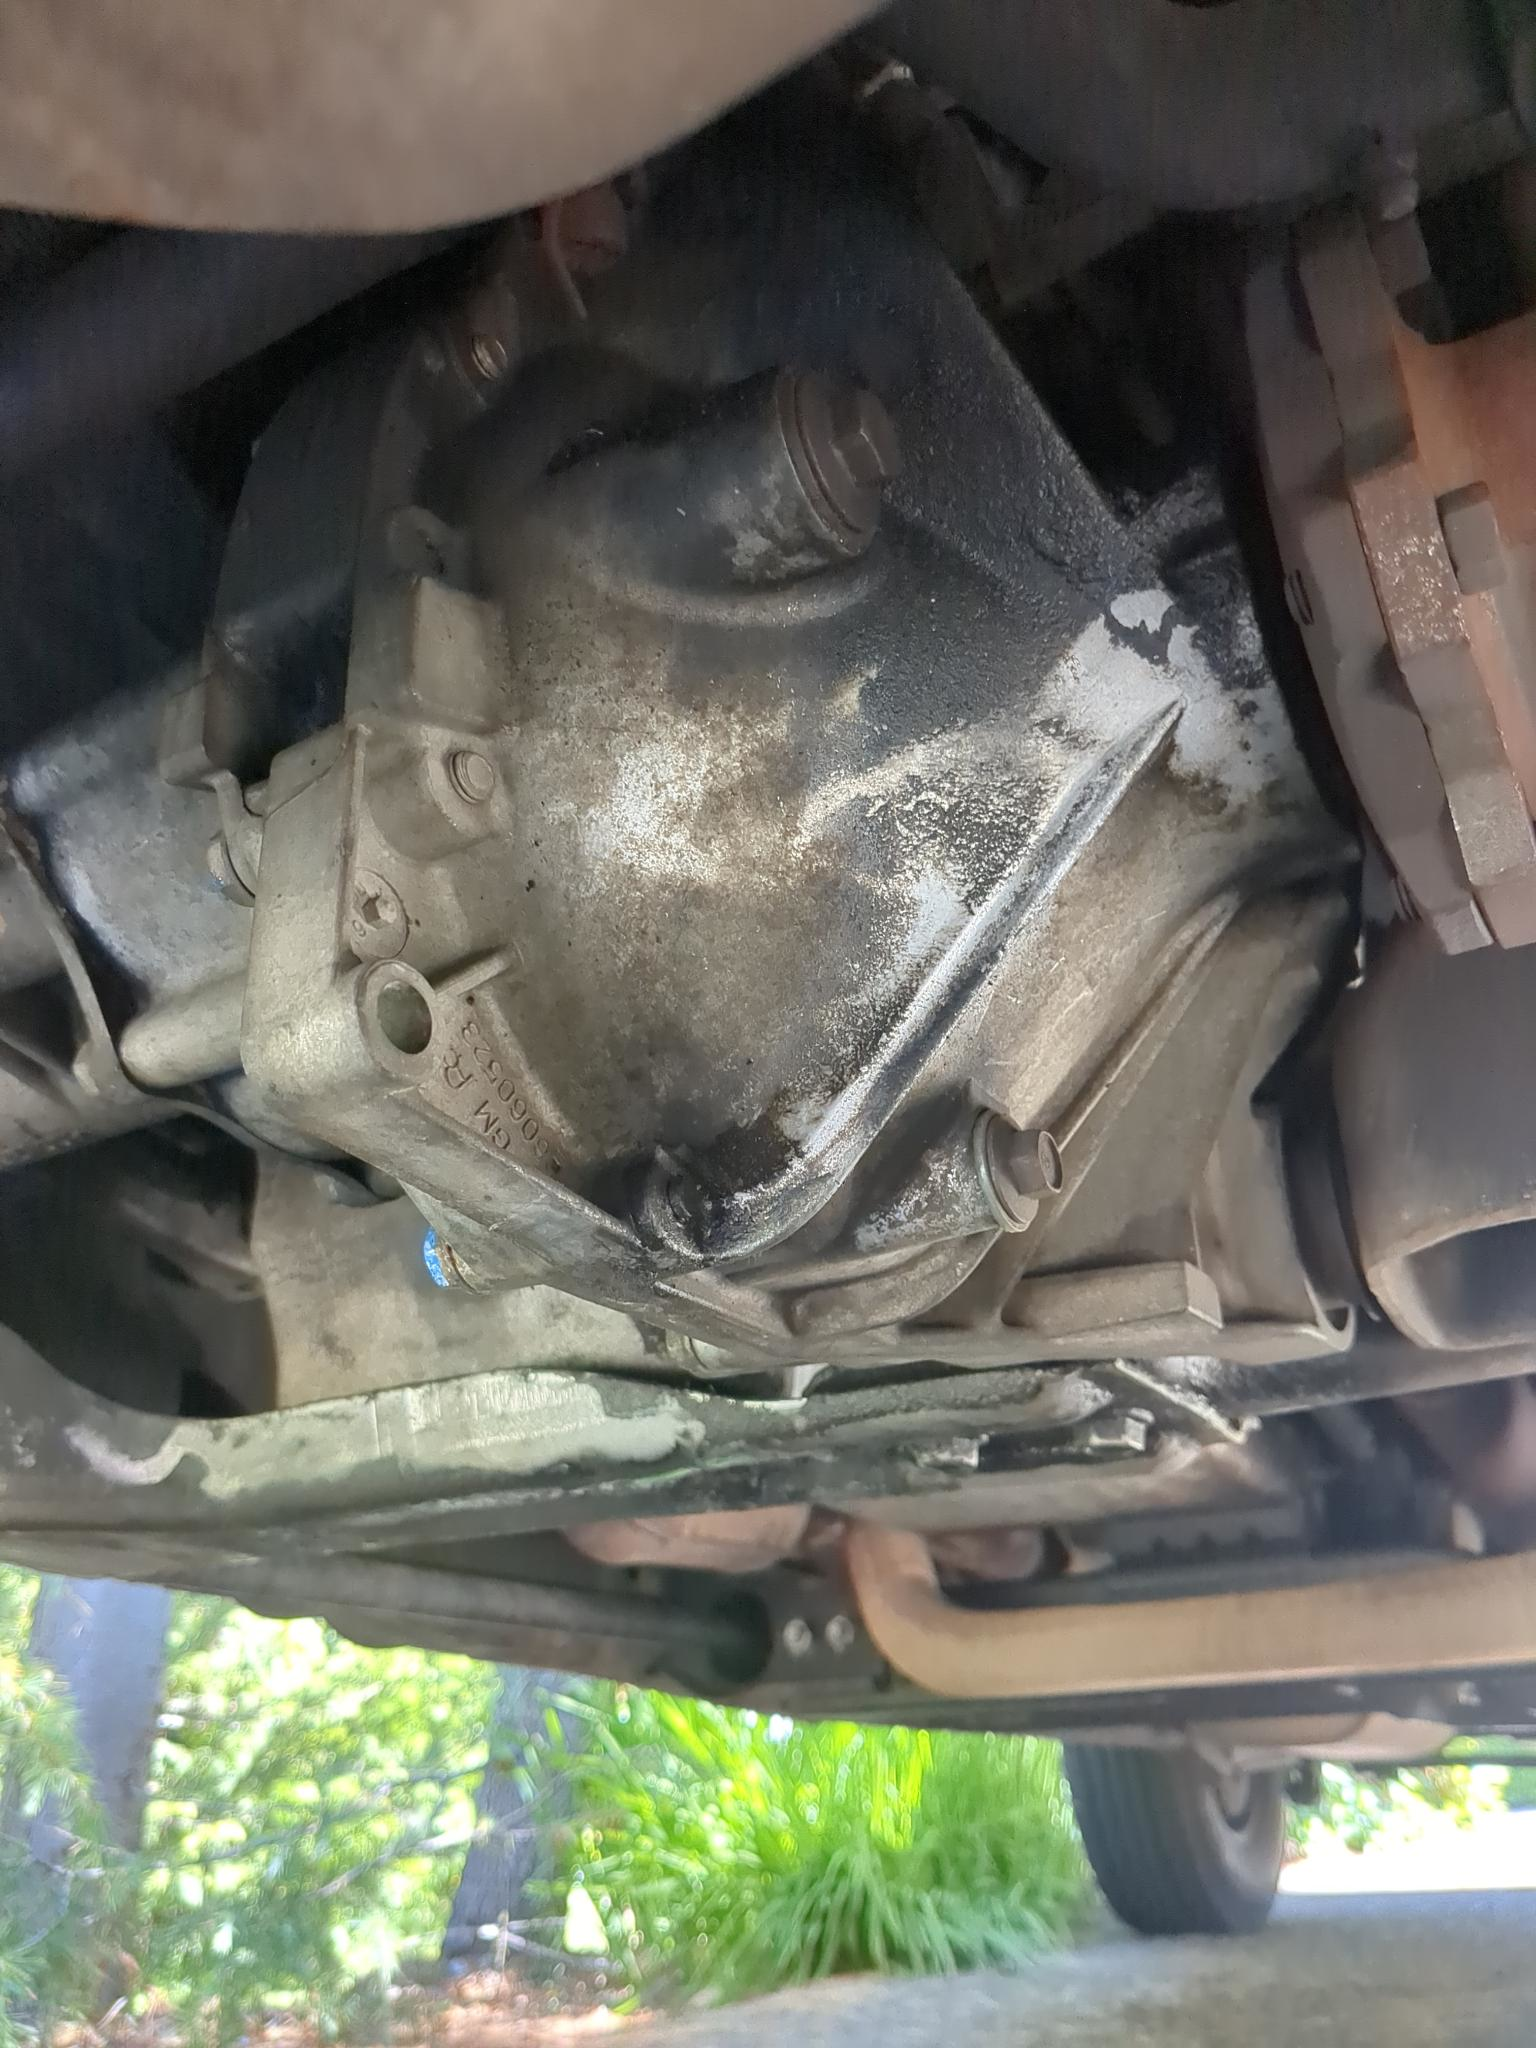
The front differential. My Chevy takes 80W-90 for the front. It took a little over 2 bottles to fill, so I’d recommend having a third bottle.
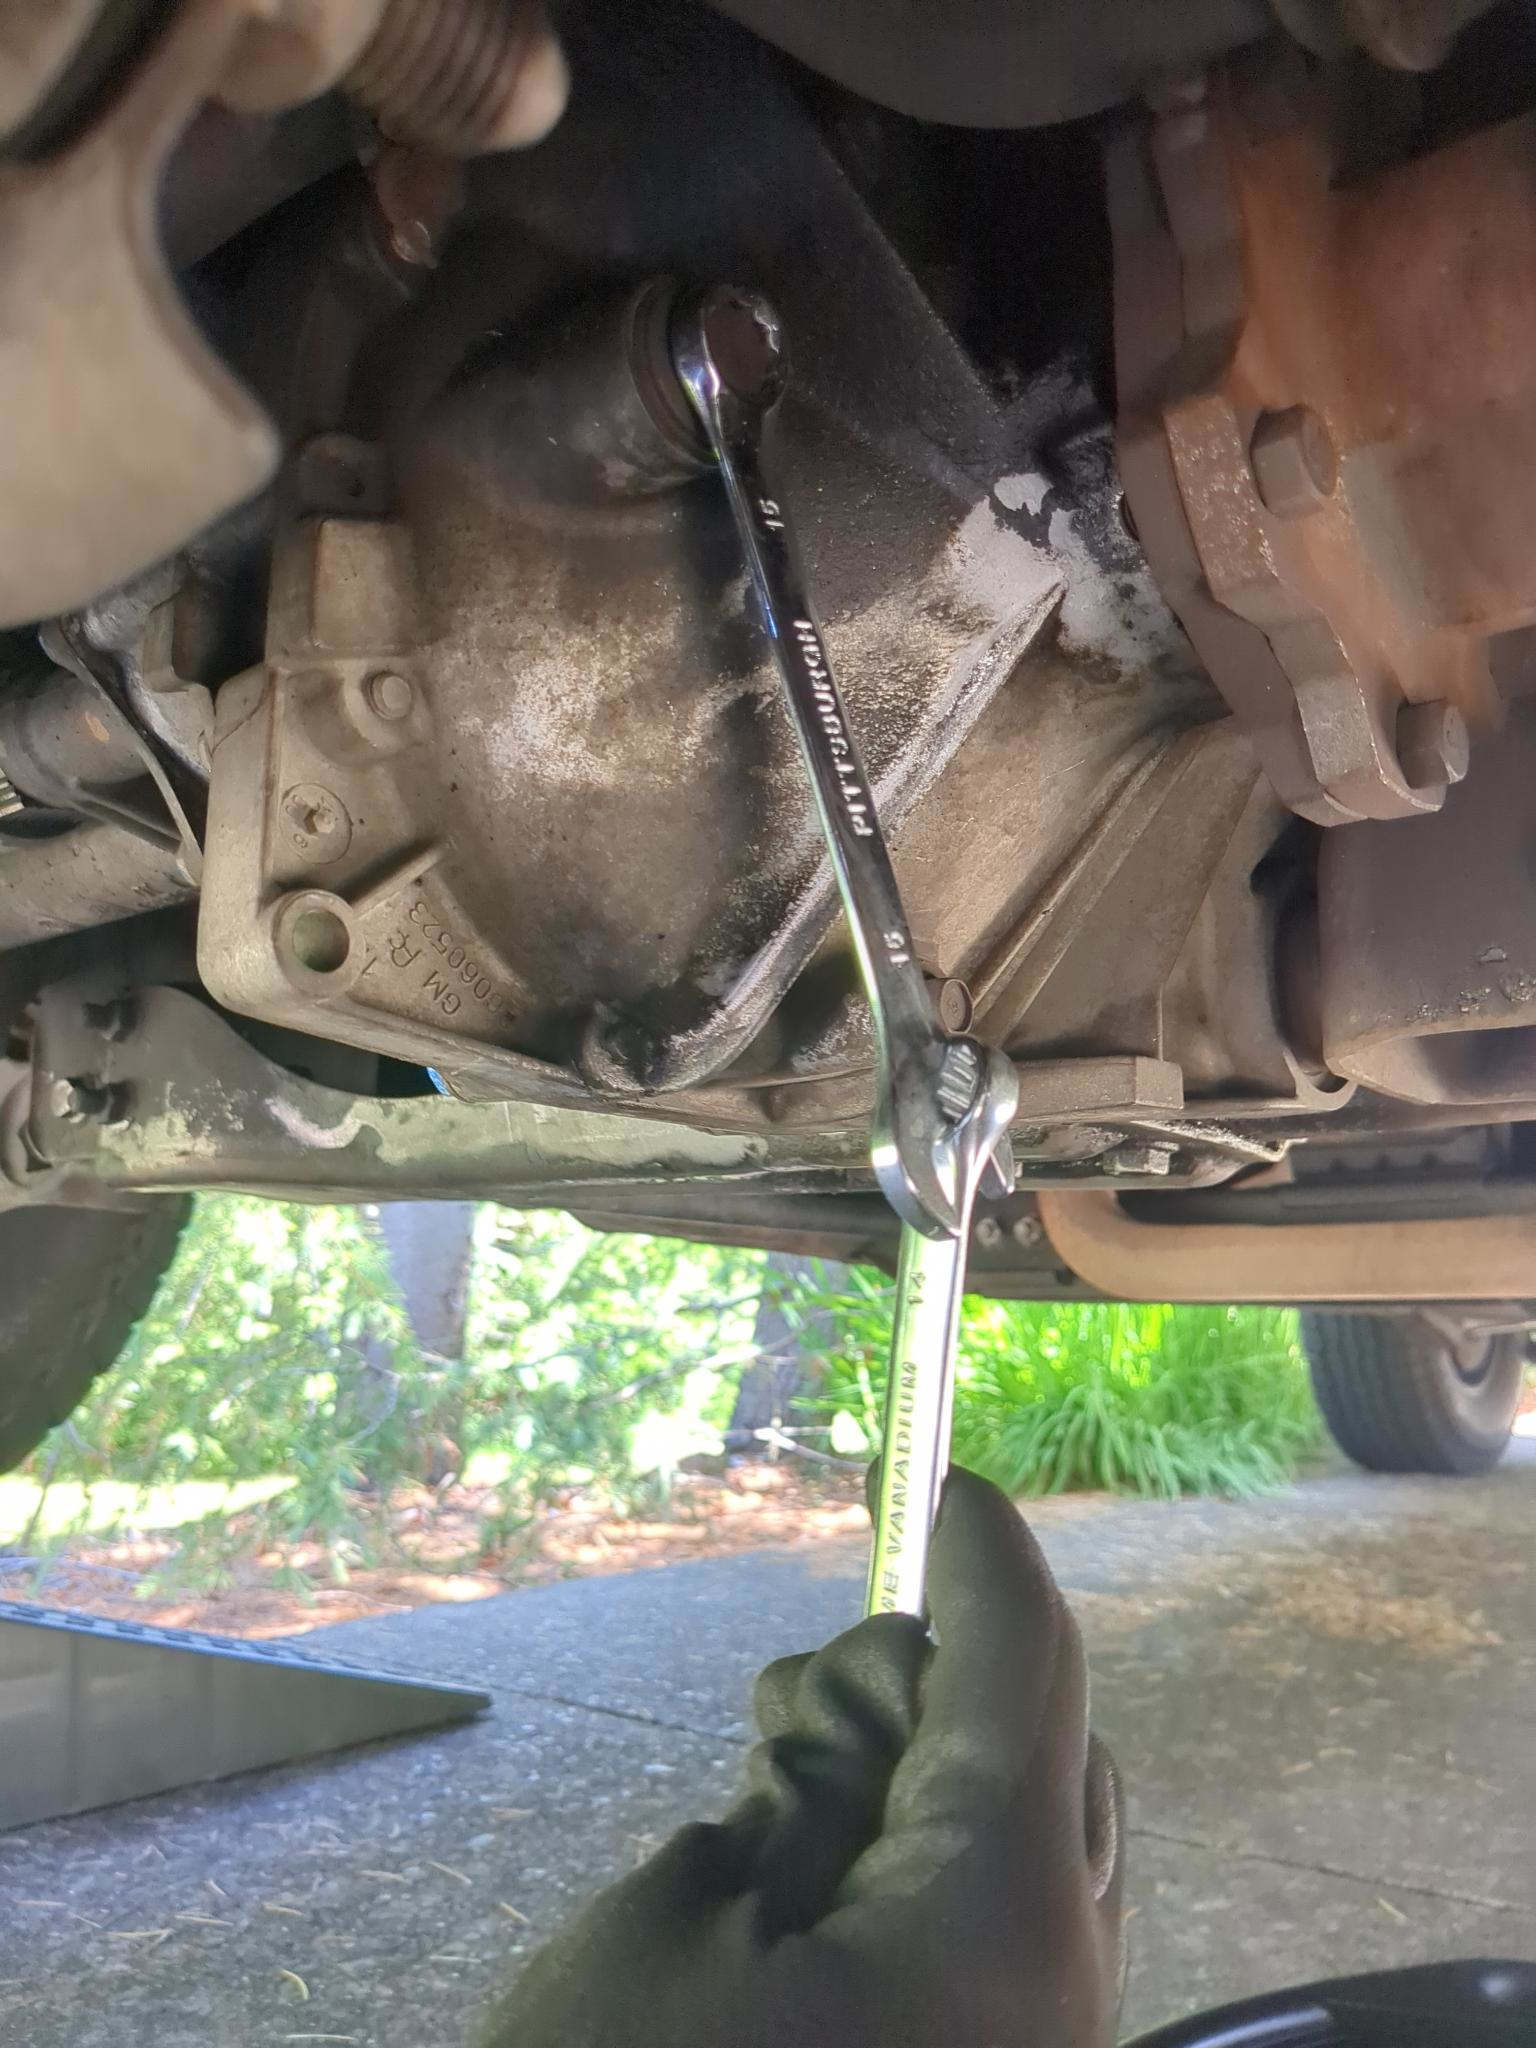
I removed the drain plug first. I did that so that I could ensure that I could remove the drain plug prior to emptying the differential so I could refill it again. If the plug was seized on, I would not have attempted to drain it, and focused on removed the plug. I used the double wrench method. I do not recommend using impacts on fluid plugs as that is a quick and easy way to strip the threads.
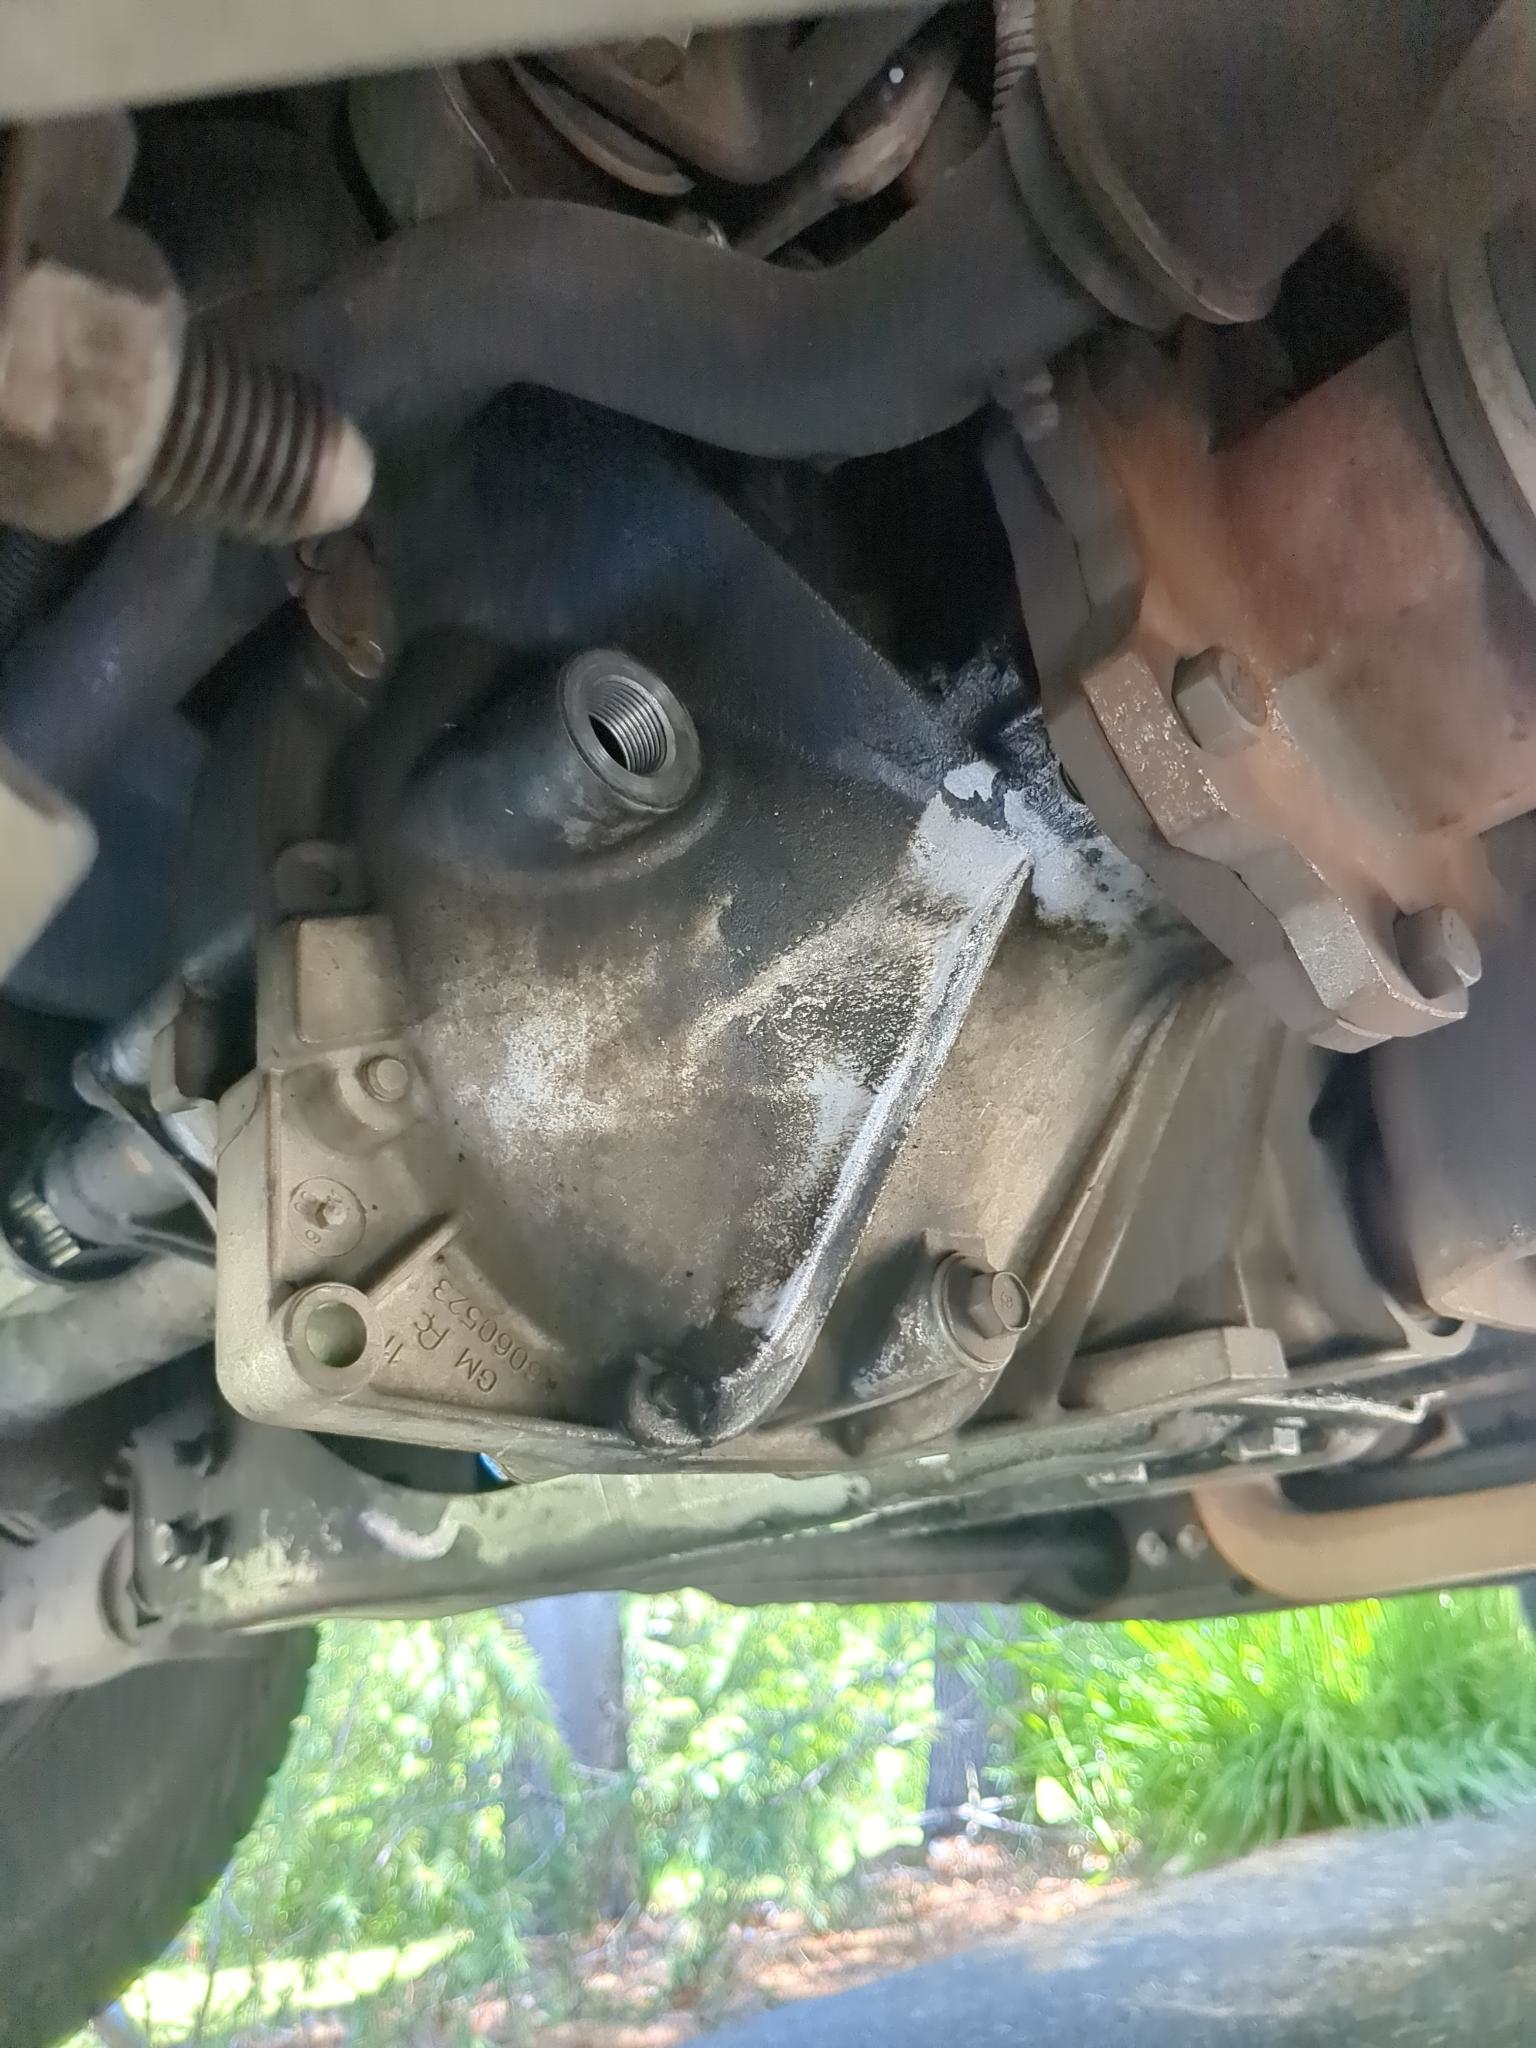
Plug removed.
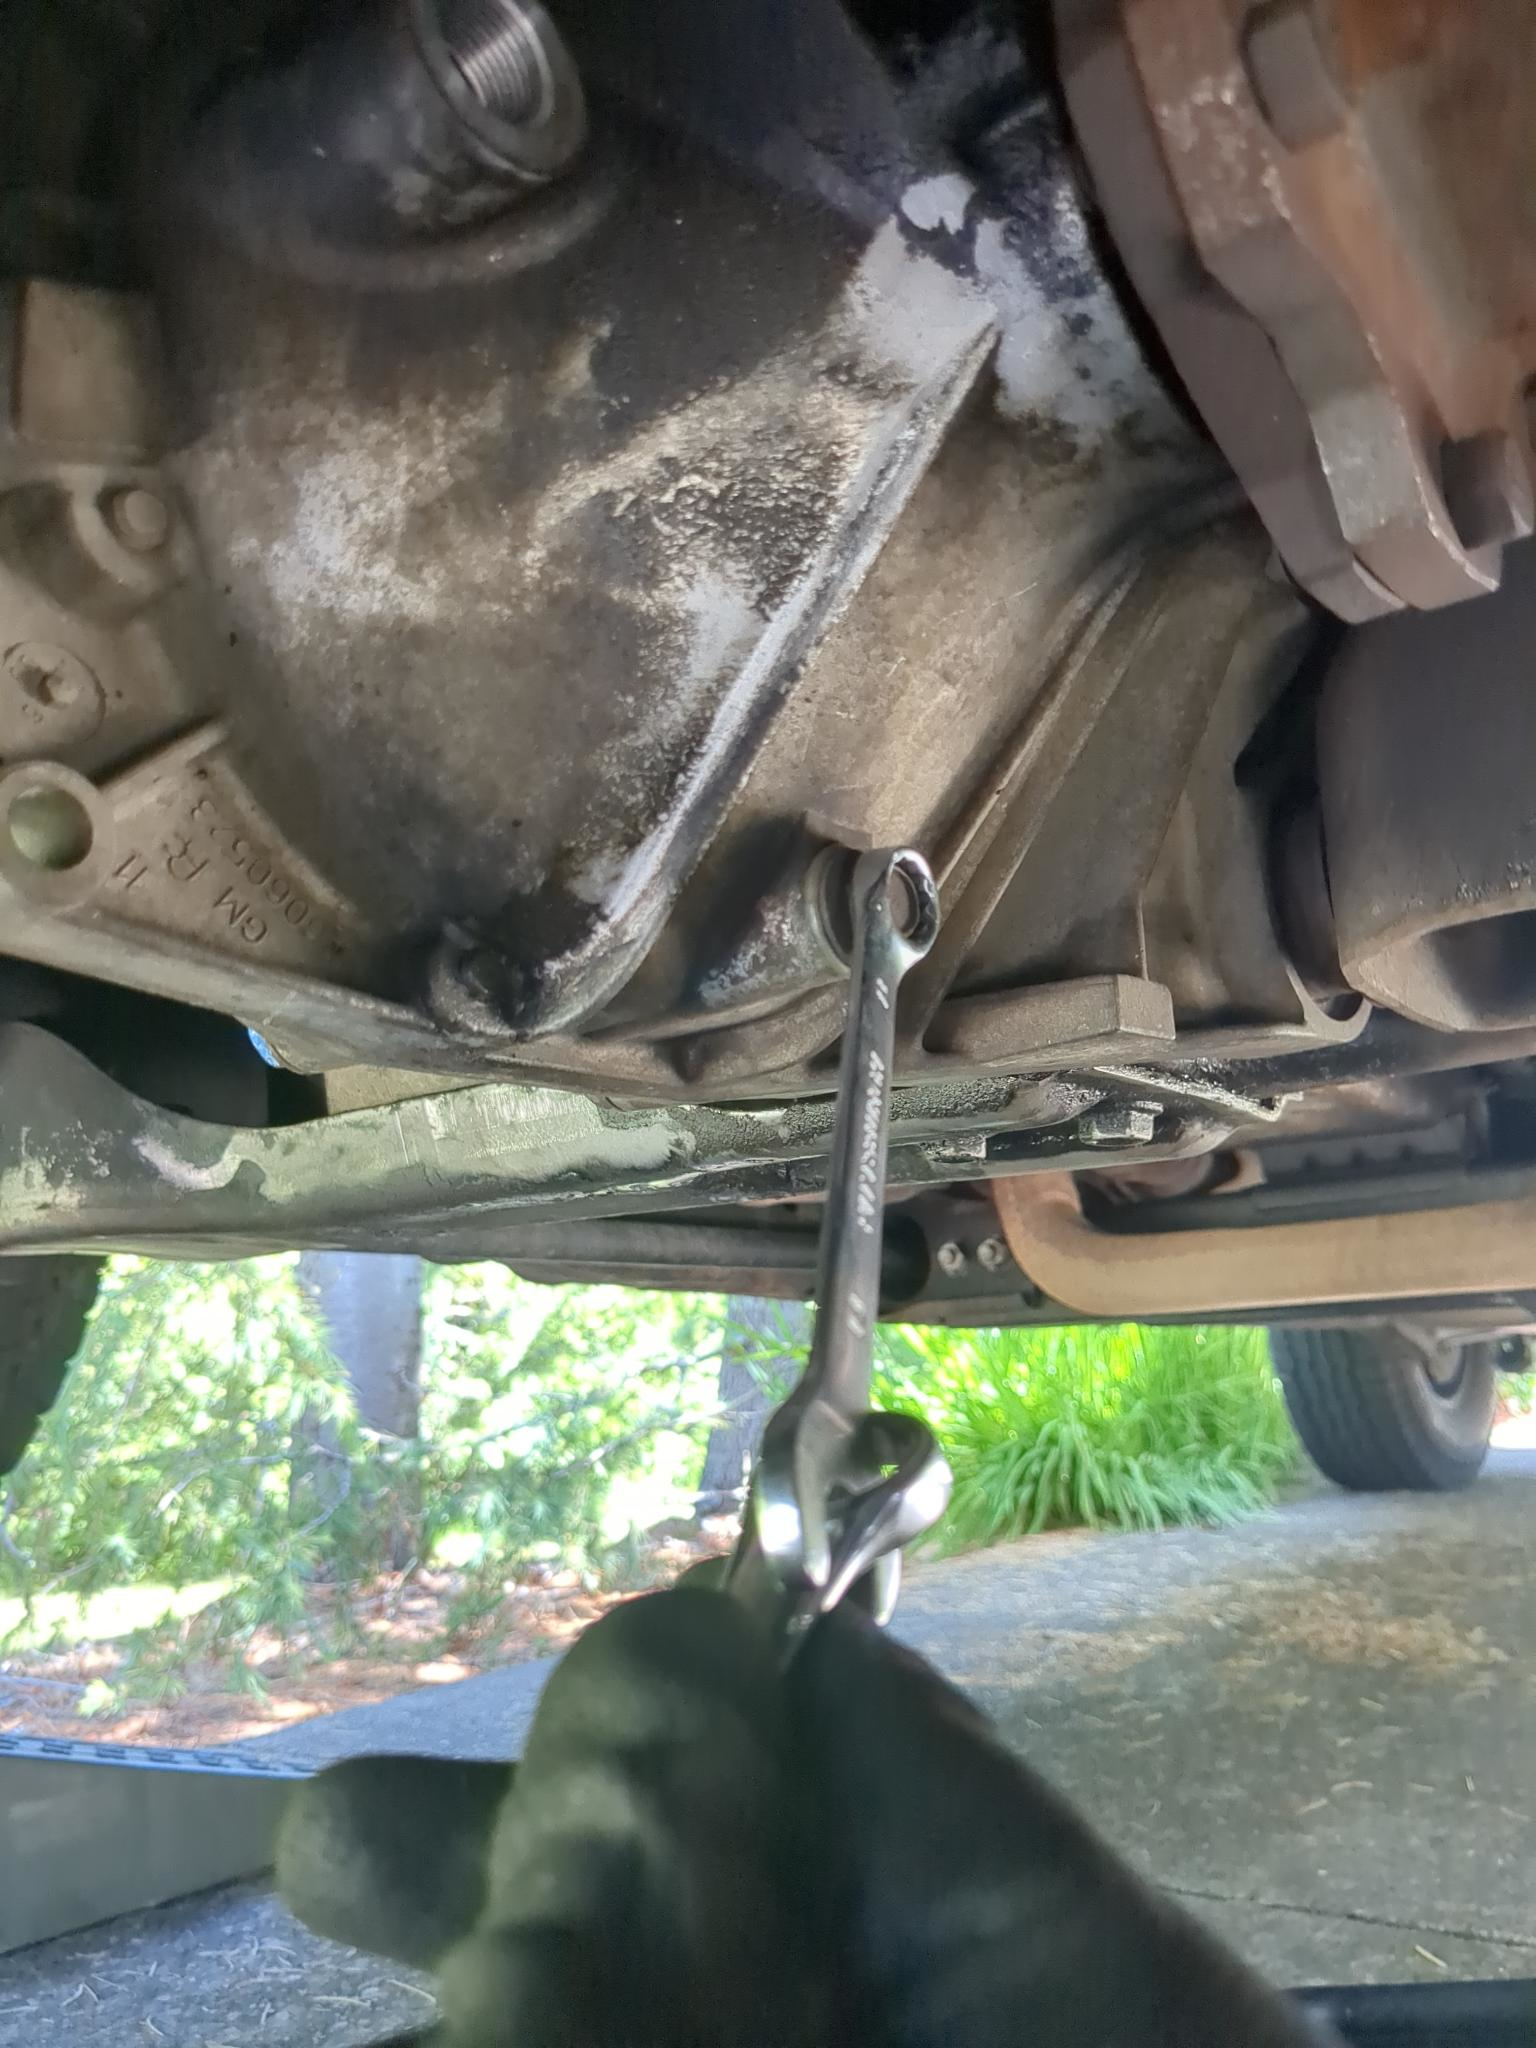
I double wrenched the drain plug. My drain pan was positioned underneath.
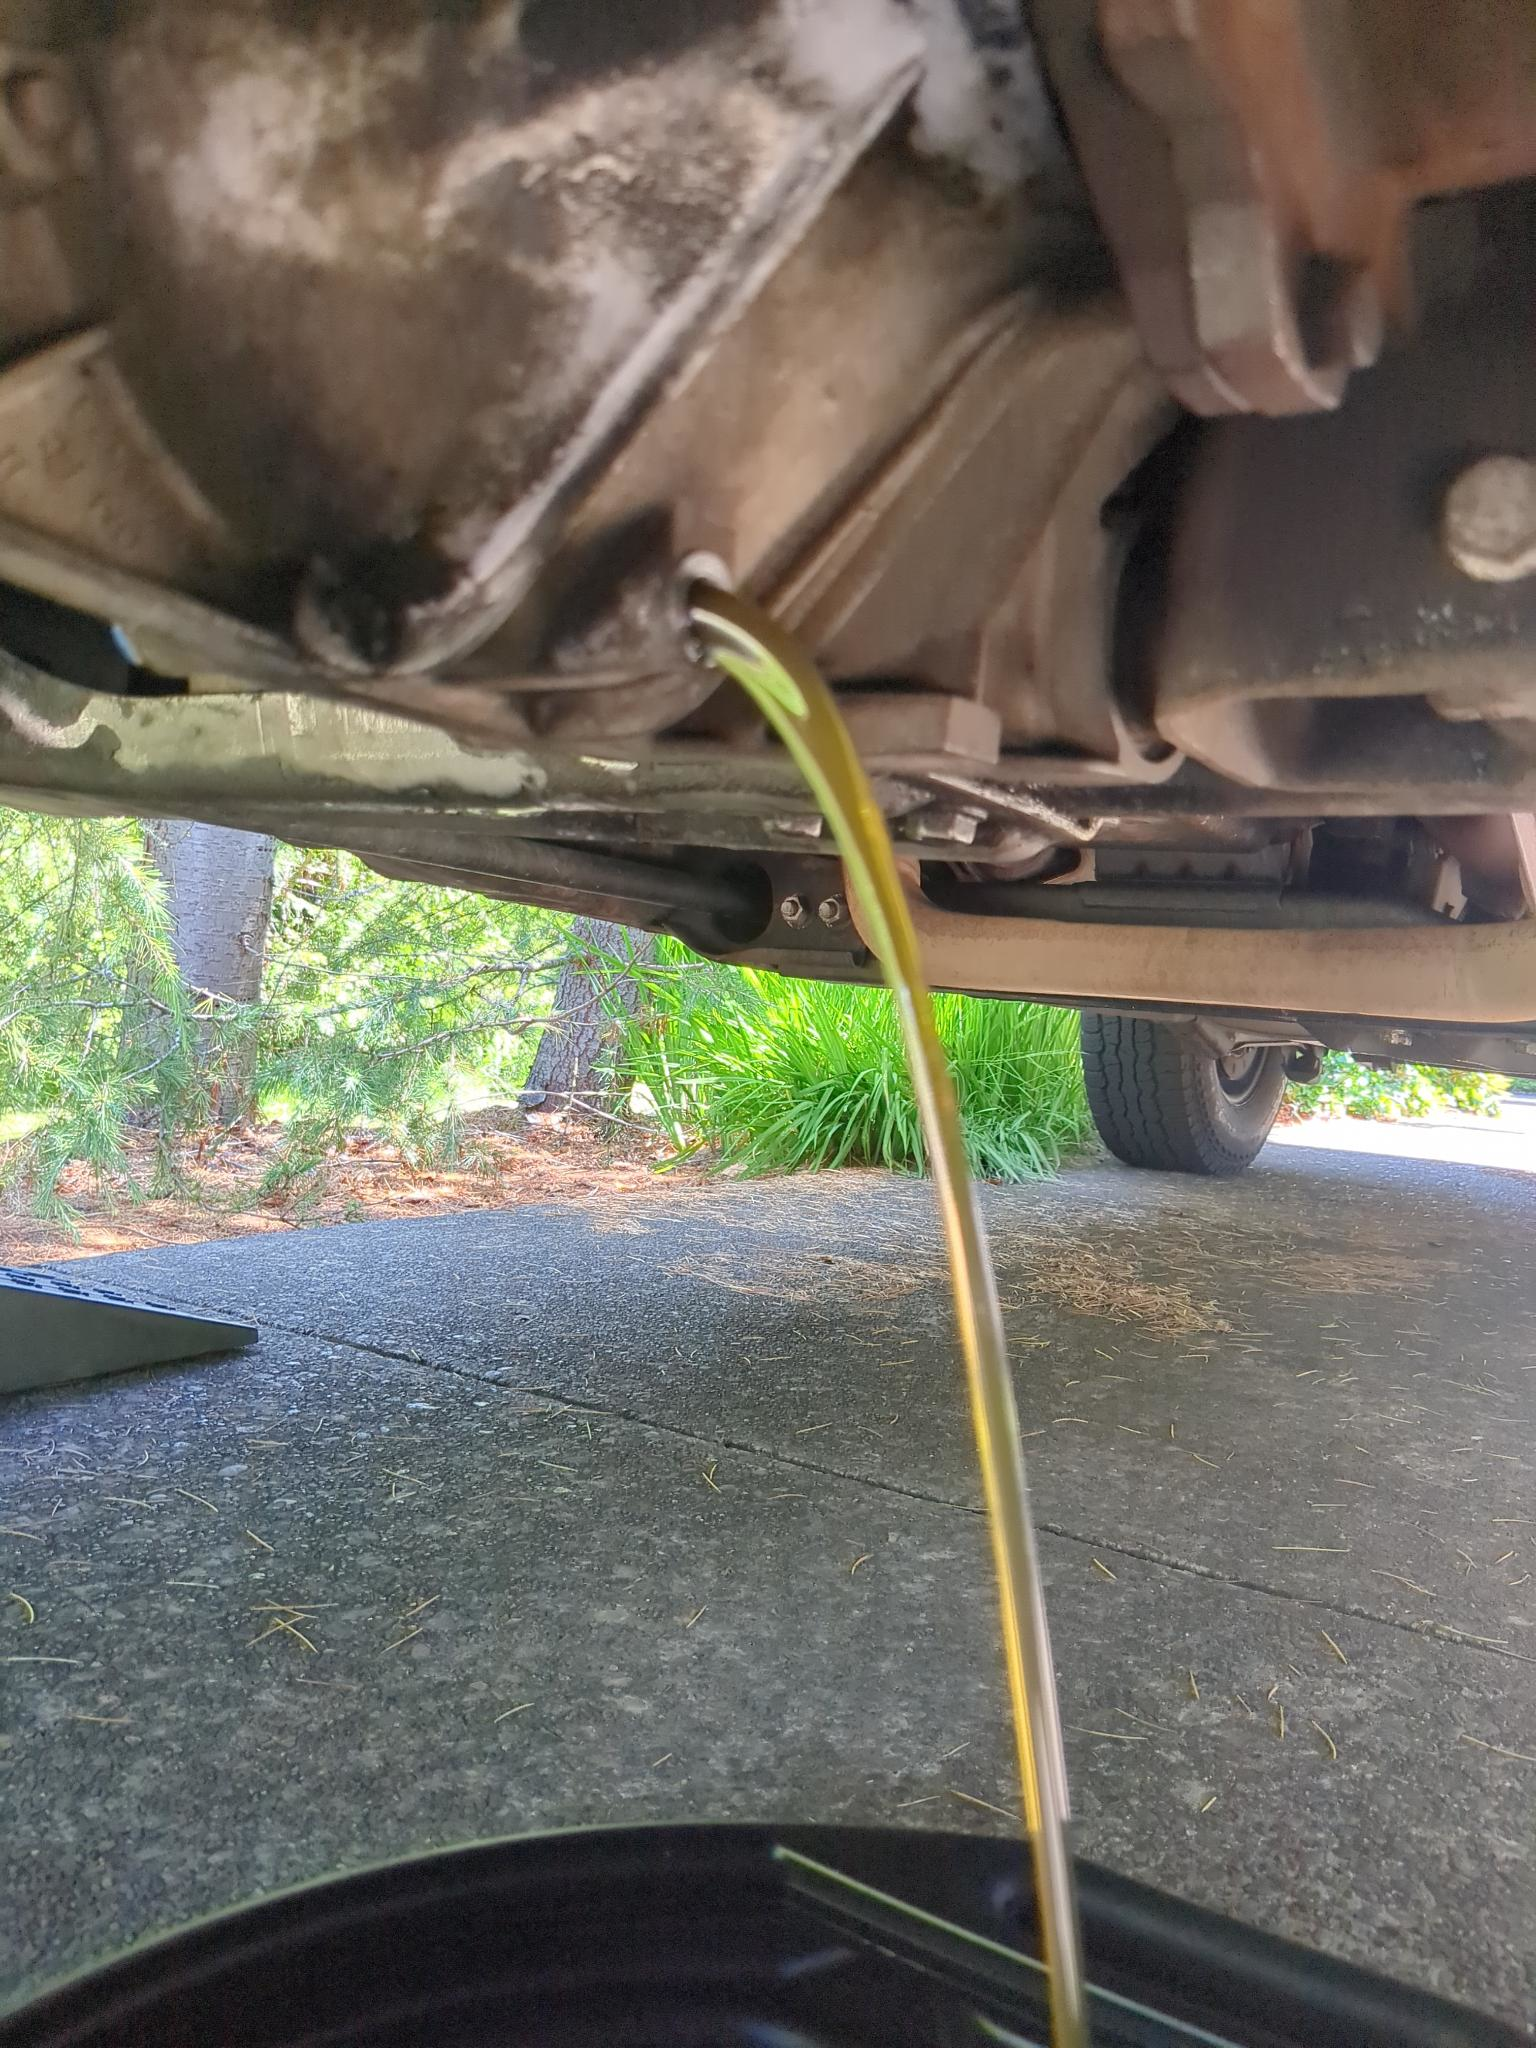
The fluid was fairly clear. However, there really is no such thing as excessive fluid changes. There is nothing wrong with replacing clean fluid with clean fluid, especially if you do not remember the last time the fluid was replaced.
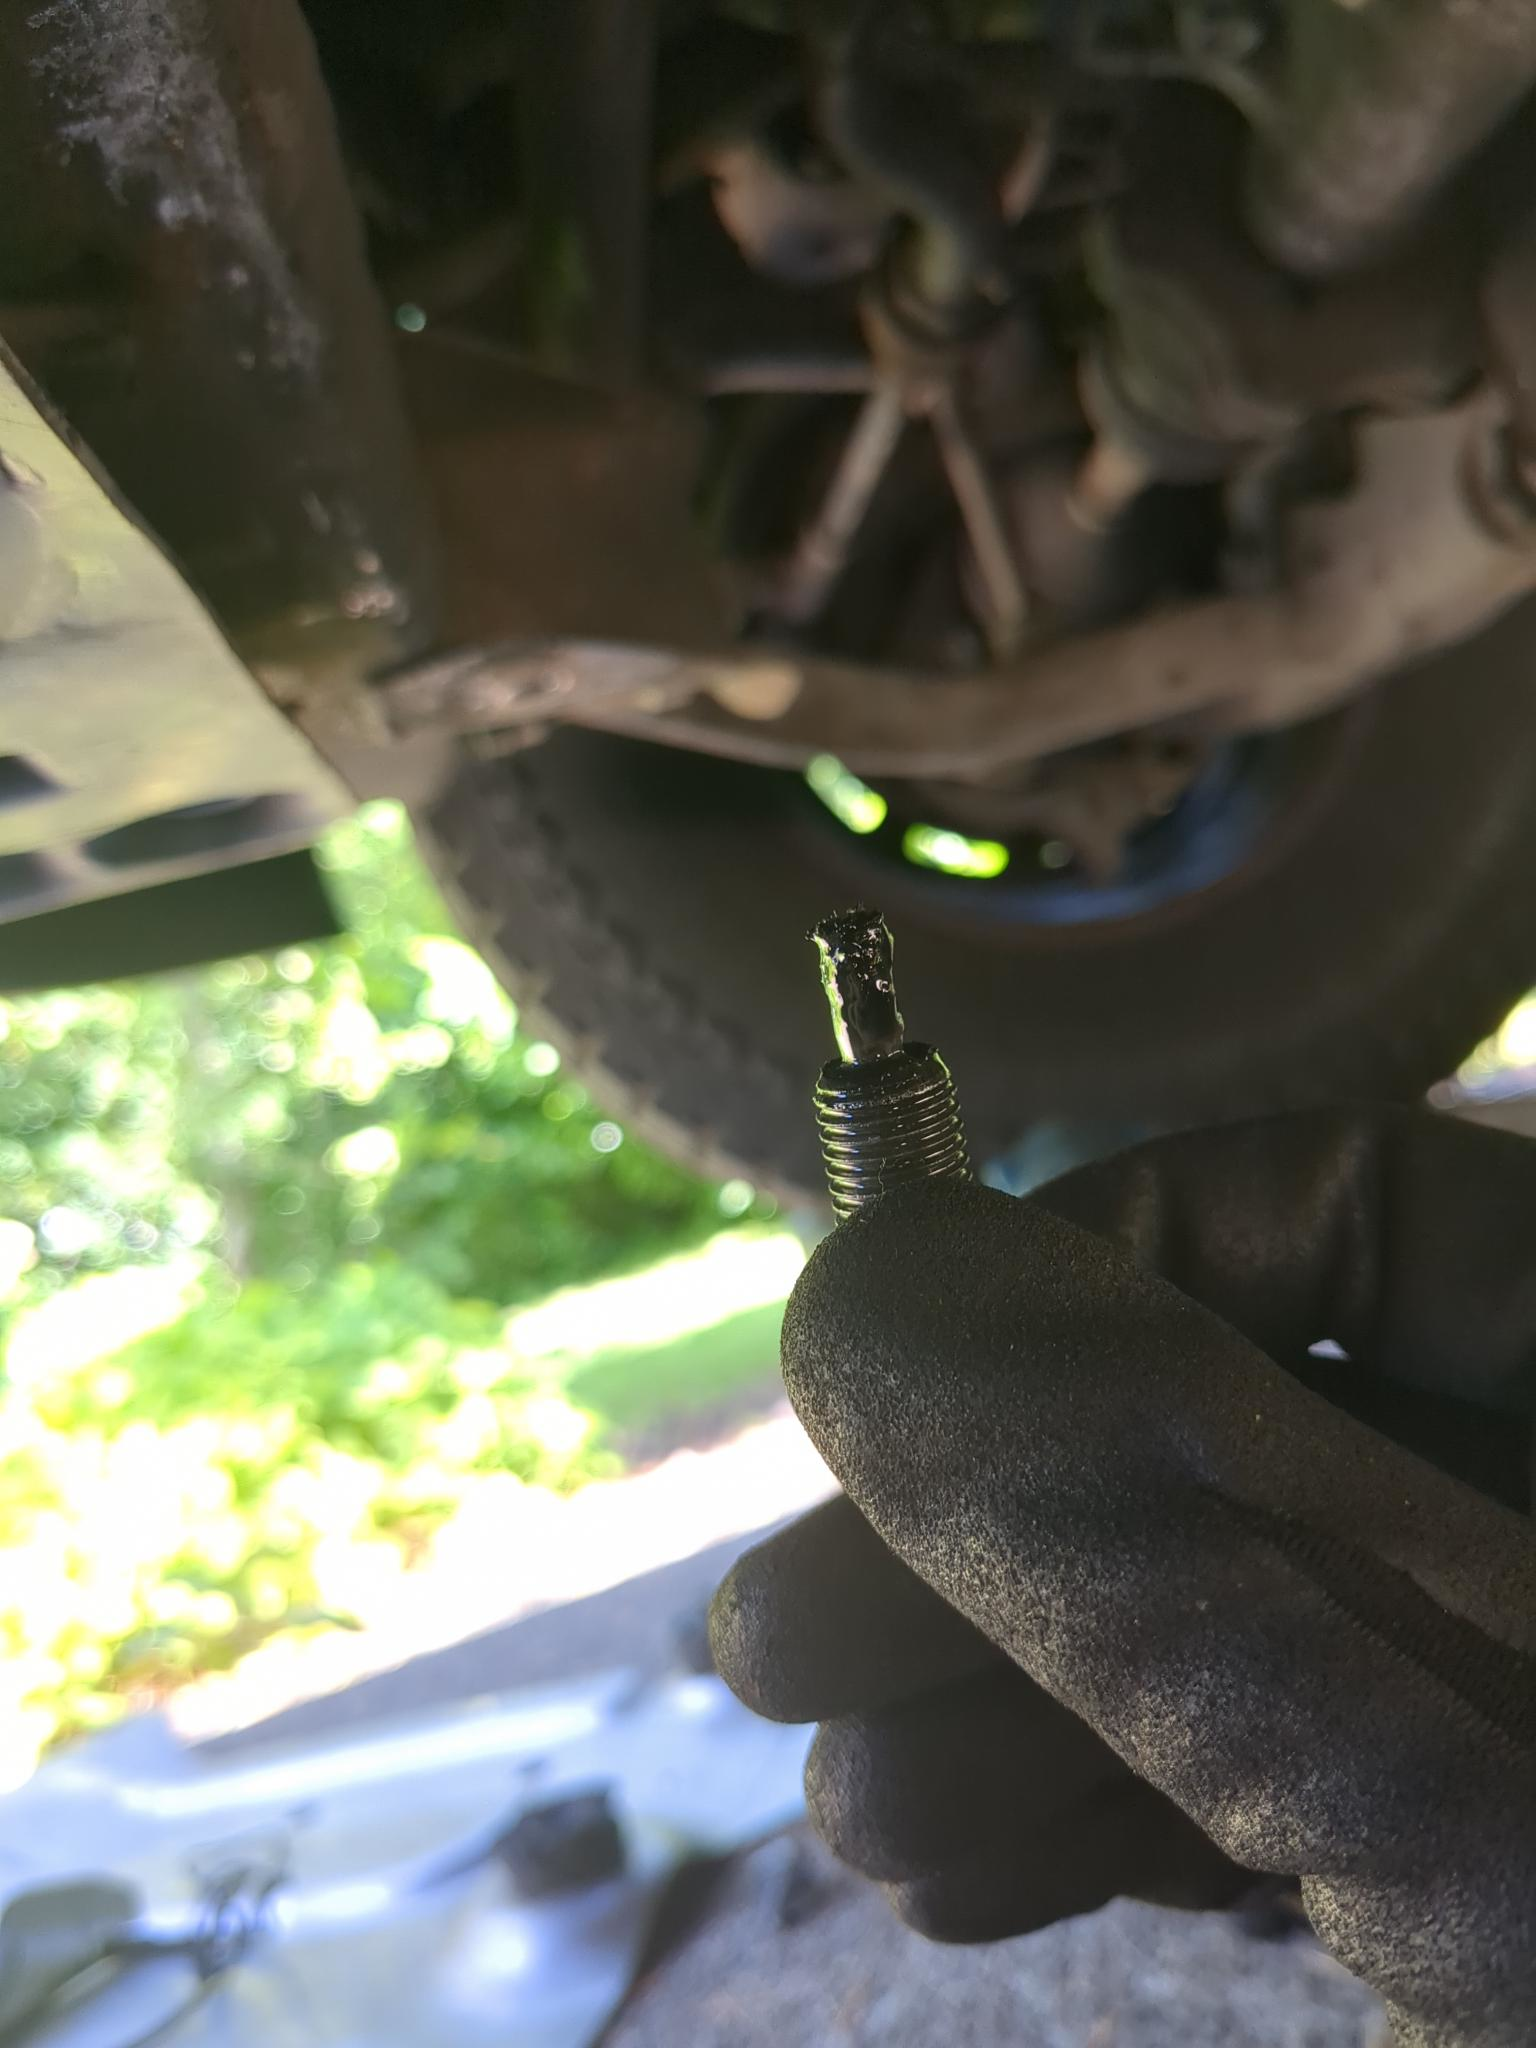
Most fluid drain plugs have a magnet on the tip to catch metal. Having a little bit of metal, especially from inside the differential, is not necessarily a bad thing. There was almost no metal on this magnet, meaning my diff is pretty clean on the inside. You want to change your fluids, especially the fluids that don’t have filters like the differentials, transfer case, or pumps like the power steering pump, to remove any debris/metals from the system which will cause damage over time. Overall, just change your fluids. Fluids are cheap, and car parts are comparatively expensive.
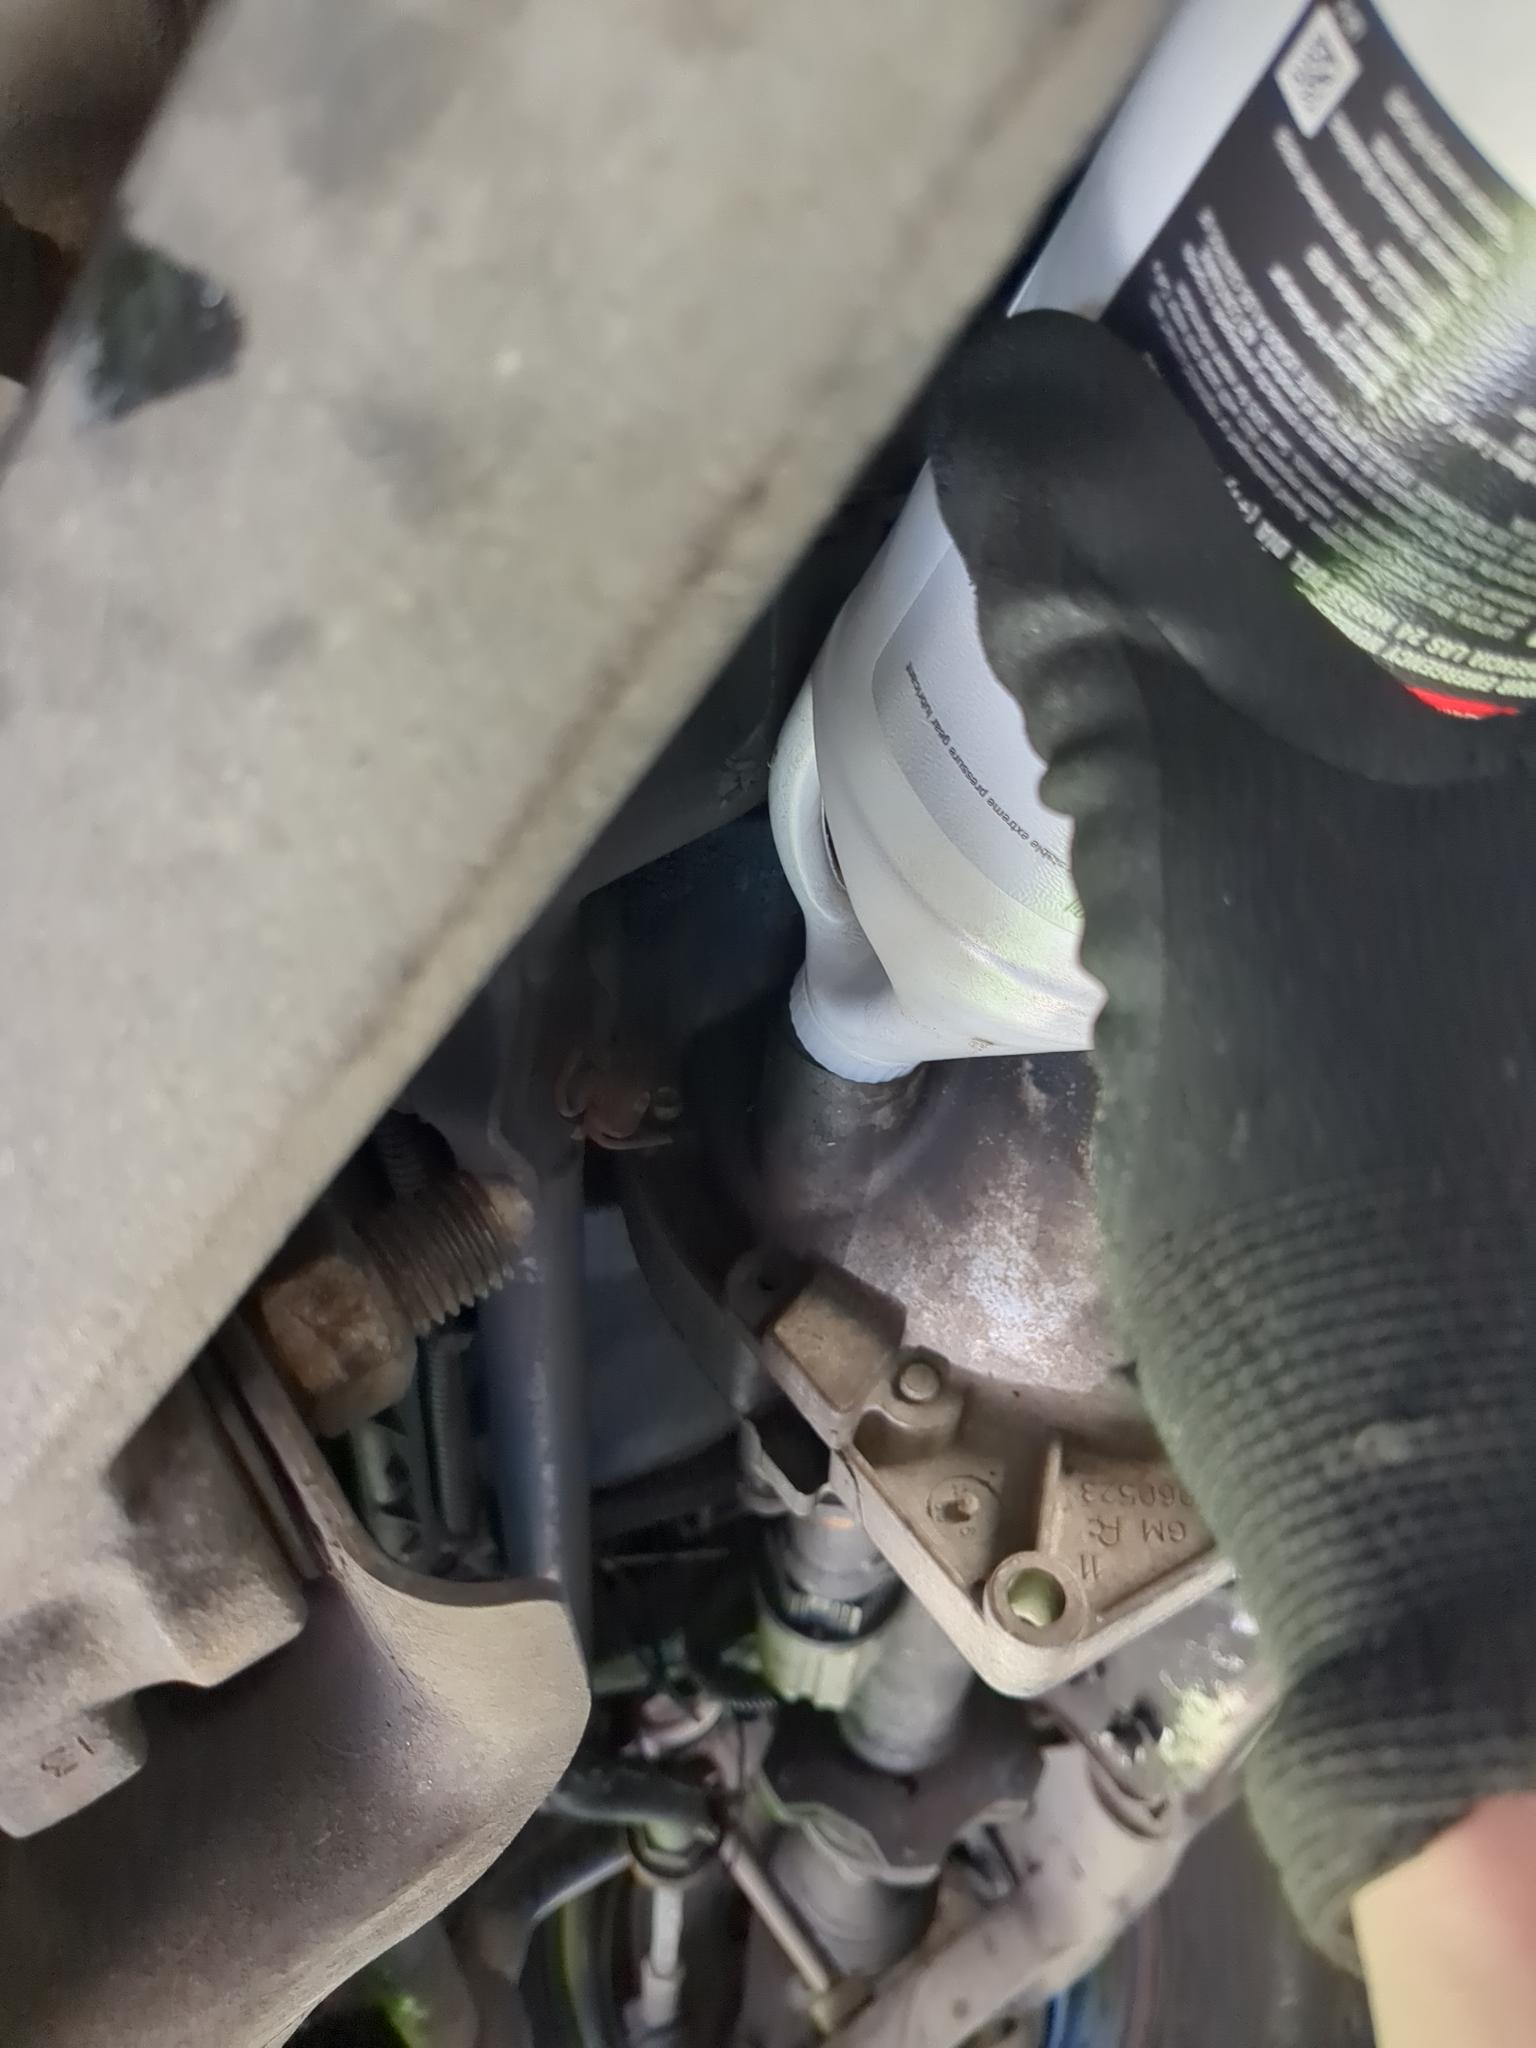
Me attempting to squeeze the diff fluid in. Just get the hand pump. And get a pump that reaches the bottom. Don’t purchase pumps like this, as they don’t have the reach to reach the bottom of the bottle to pump the fluid out. The one I linked above is the best style of pump.
I also replaced my transfer case fluid. My Chevy is a selectable 4 wheel drive model, meaning I have 2 wheel drive (which I use 95% of the time) 4 wheel drive high (where the axles both get power from the transmission, but spin at separate revolutions), and 4 wheel drive locked (where both axles spin at the same revolutions). I needed Autotrak II compatible fluid. My Haynes manual stated that I needed 2.4 quarts of fluid. However, it was pouring out of the fill hole at about 2 quarts. I’m going to check it within the next day or so, and see it it needs anymore filling, but I highly doubt it.