After completing the overhaul on the TW, I decided to tackle the Bandit, which had 2 major issues. The first one was the tires. My Michelin Road 5 tires were ground down to the wear bars, or basically below 1mm of tread left. On top of that, I noticed that there was a puncture in the tire, and that the belting of the tire, also known as cord,was exposed. Once the belt/cord is exposed, the tire is likely to experience a catastrophic failure. I knew this was coming, and already had the replacement tires, a set of Dunlop Mutant’s, ready to go. The Bandit has also been experiencing a massive power issue when the gear position sensor is plugged in, that has been getting worse over the last few months. After doing a lot of research, I figured it was either something to do with the intake system, or a sensor. I do not have any Suzuki dealership scan tools to address the sensors, so I opted to take the intake off, clean it, and replace any hoses that might be causing a vacuum leak.
I started with the tires. Tires are not difficult to dismount, mount, or balance. The tools are not that expensive, and it’s something all motorcyclists should know how to do. I’d recommend this video if you want a step by step on how to take a tire off. The two biggest things are:
-
Keep the opposite side of the bead of the tire (the part of the tire that touches the wheel) inside the drop center of the wheel when you’re mounting or dismounting it. If you don’t, you will be fighting the tire.
-
Use a lubricant. I have a special tire mounting paste (It’s basically soap), but glass cleaner, dish soap, etc works too.
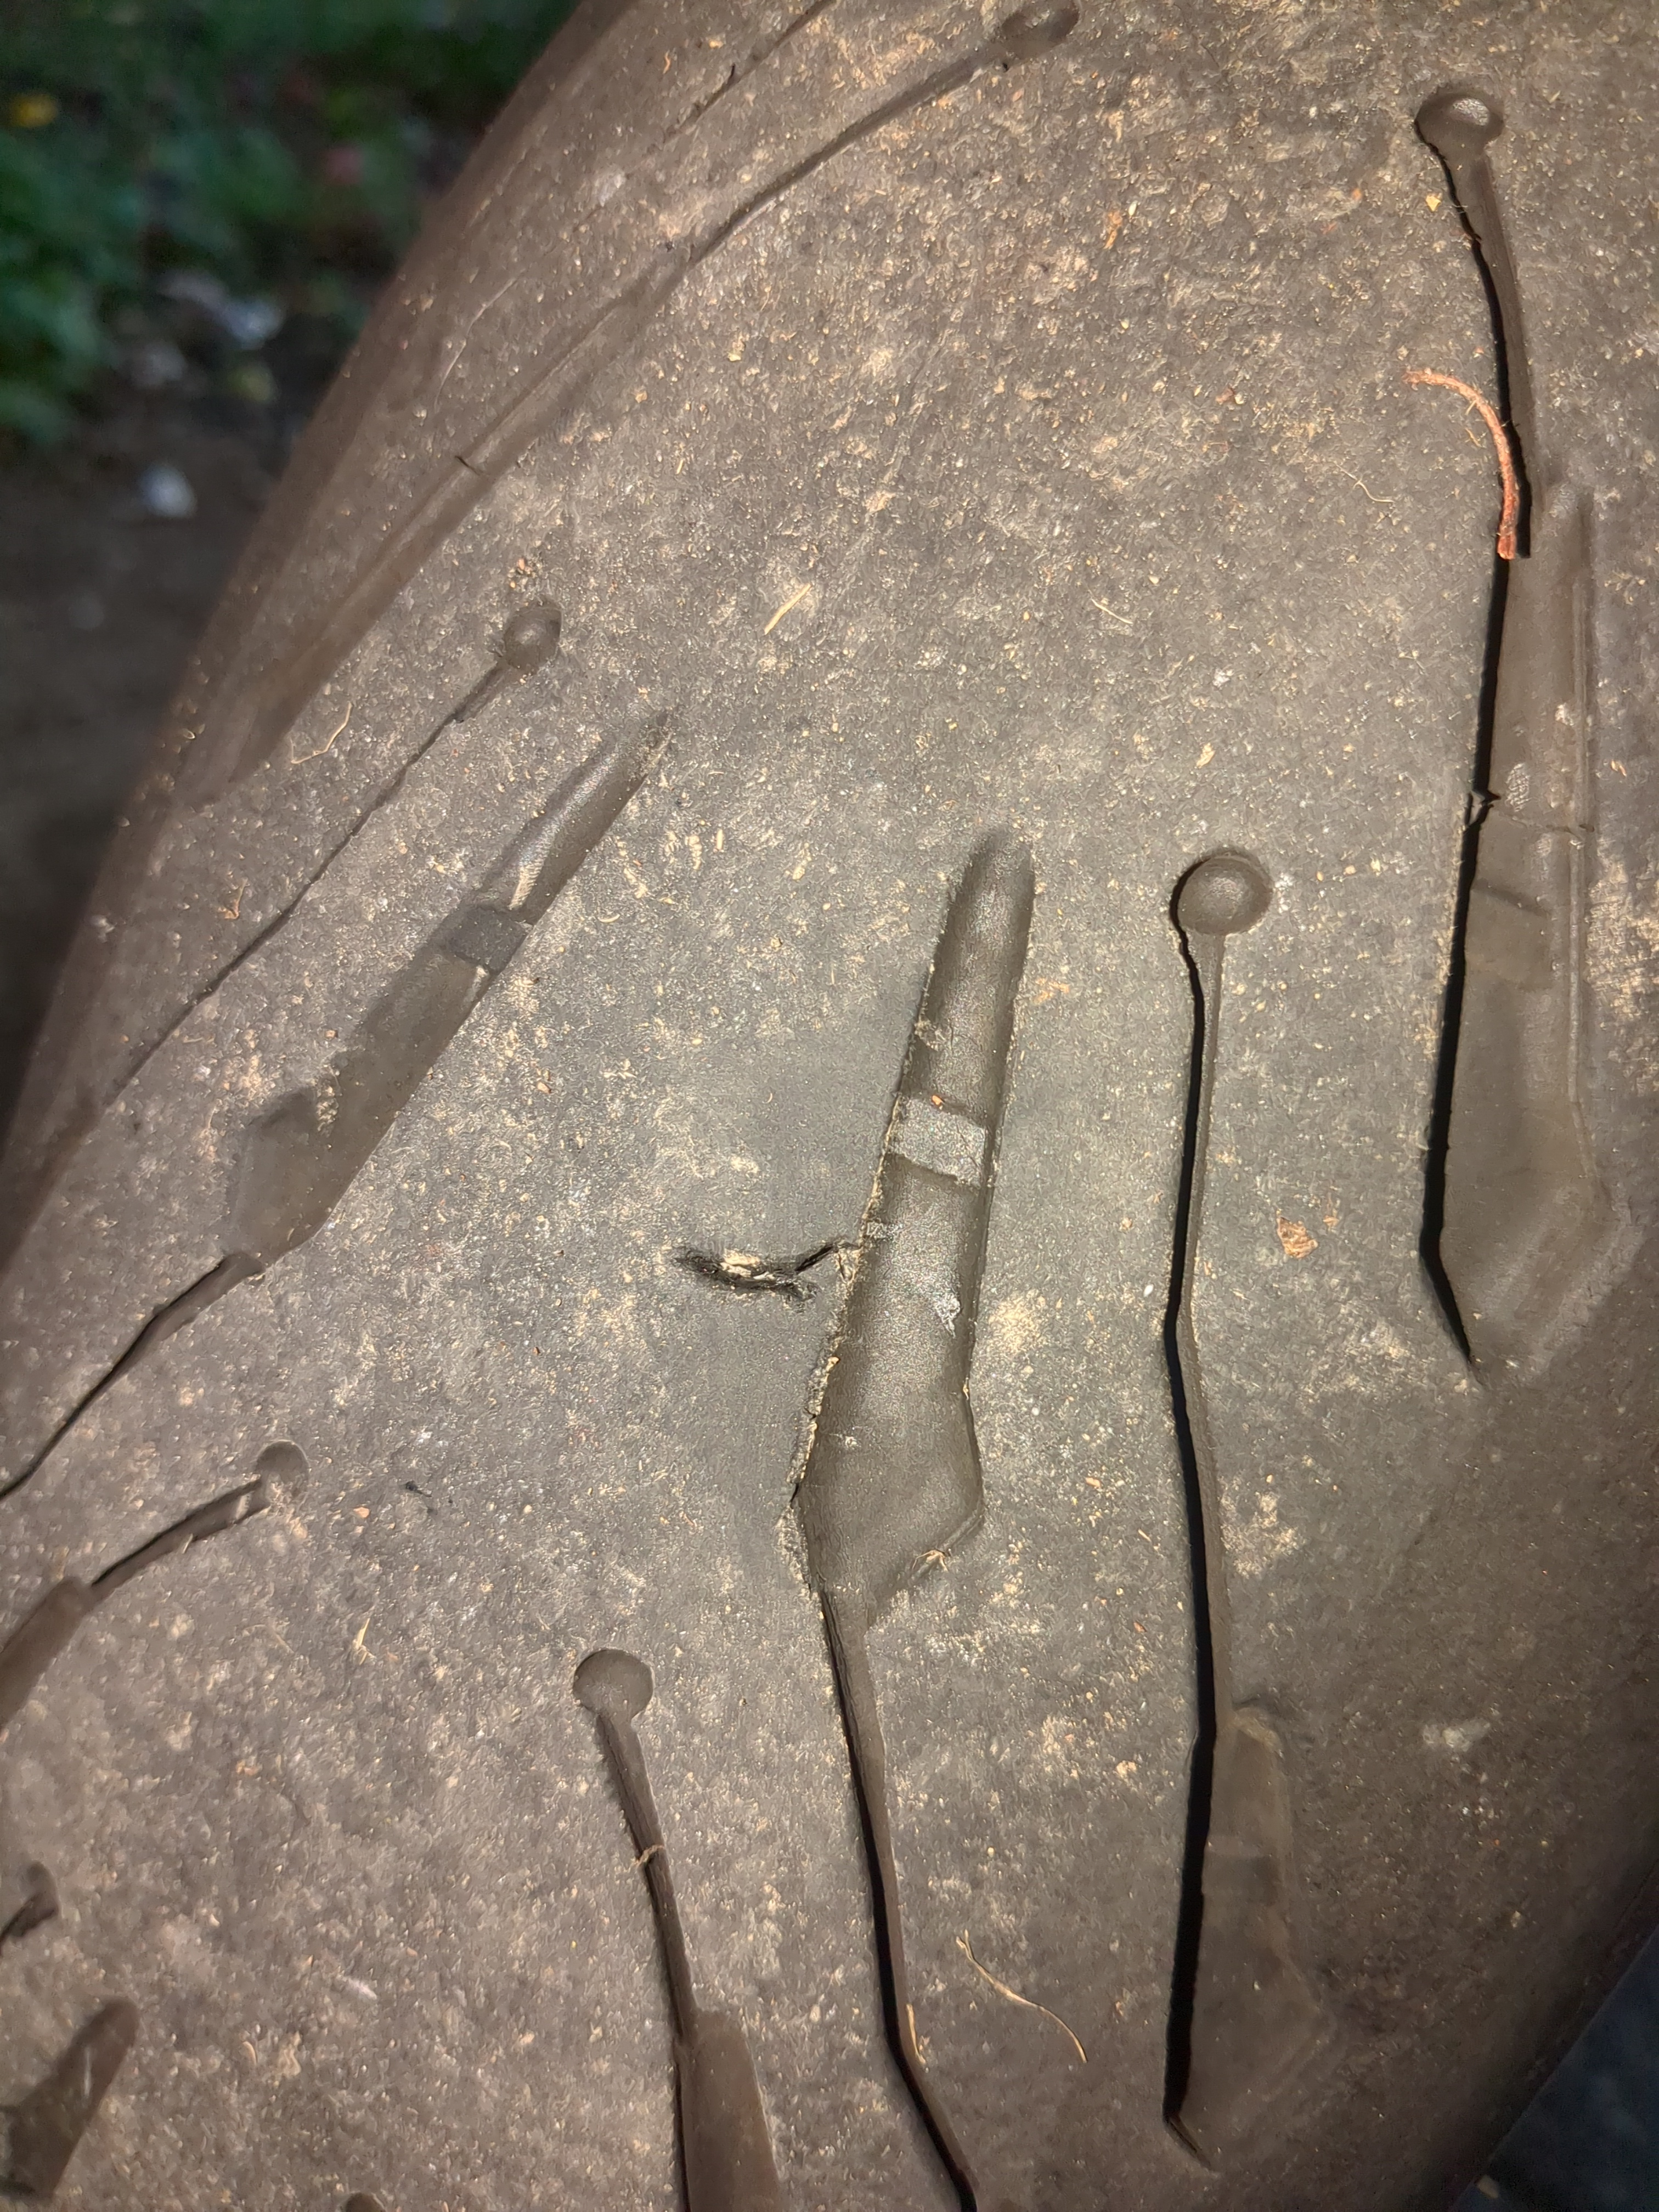
The hole with the cord exposed. If you ever see any rope material coming out of a puncture in your tire, car or motorcycle, you need a new tire.
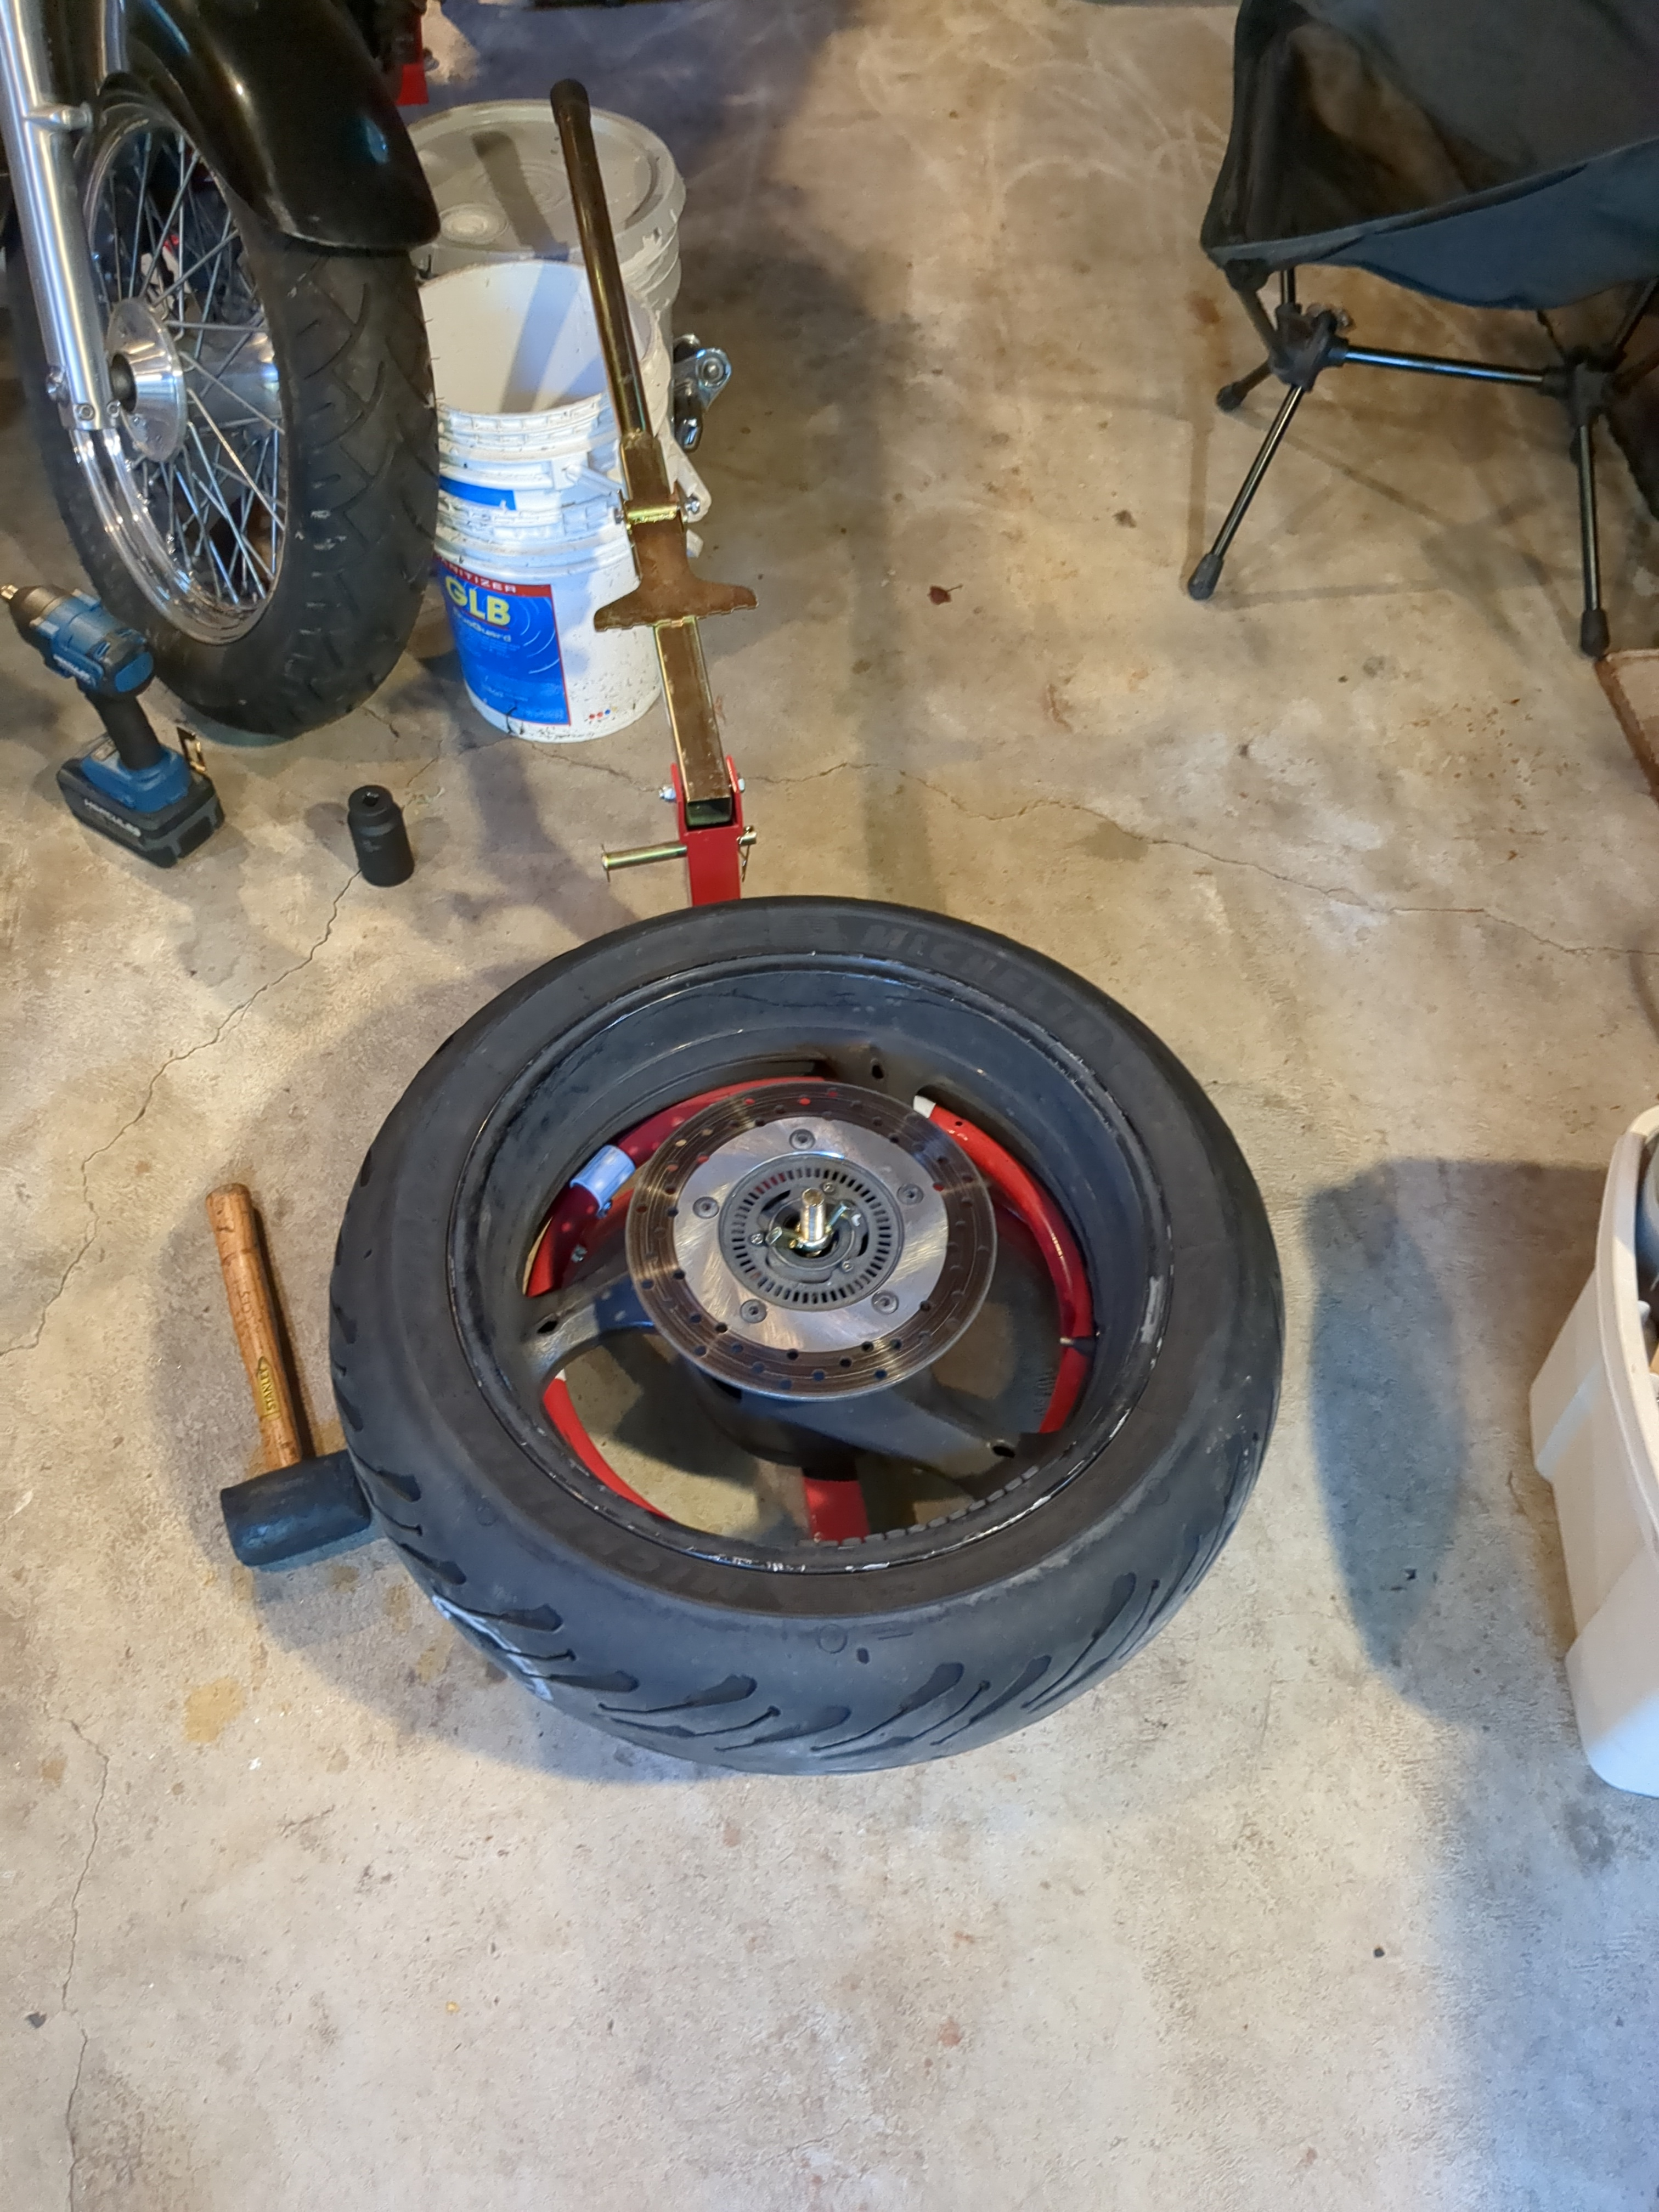
I have a bead breaker for motorcycle tires. I’d recommend getting a specific tool, because motorcycle tires can be a pain to break, especially lower profile tires.
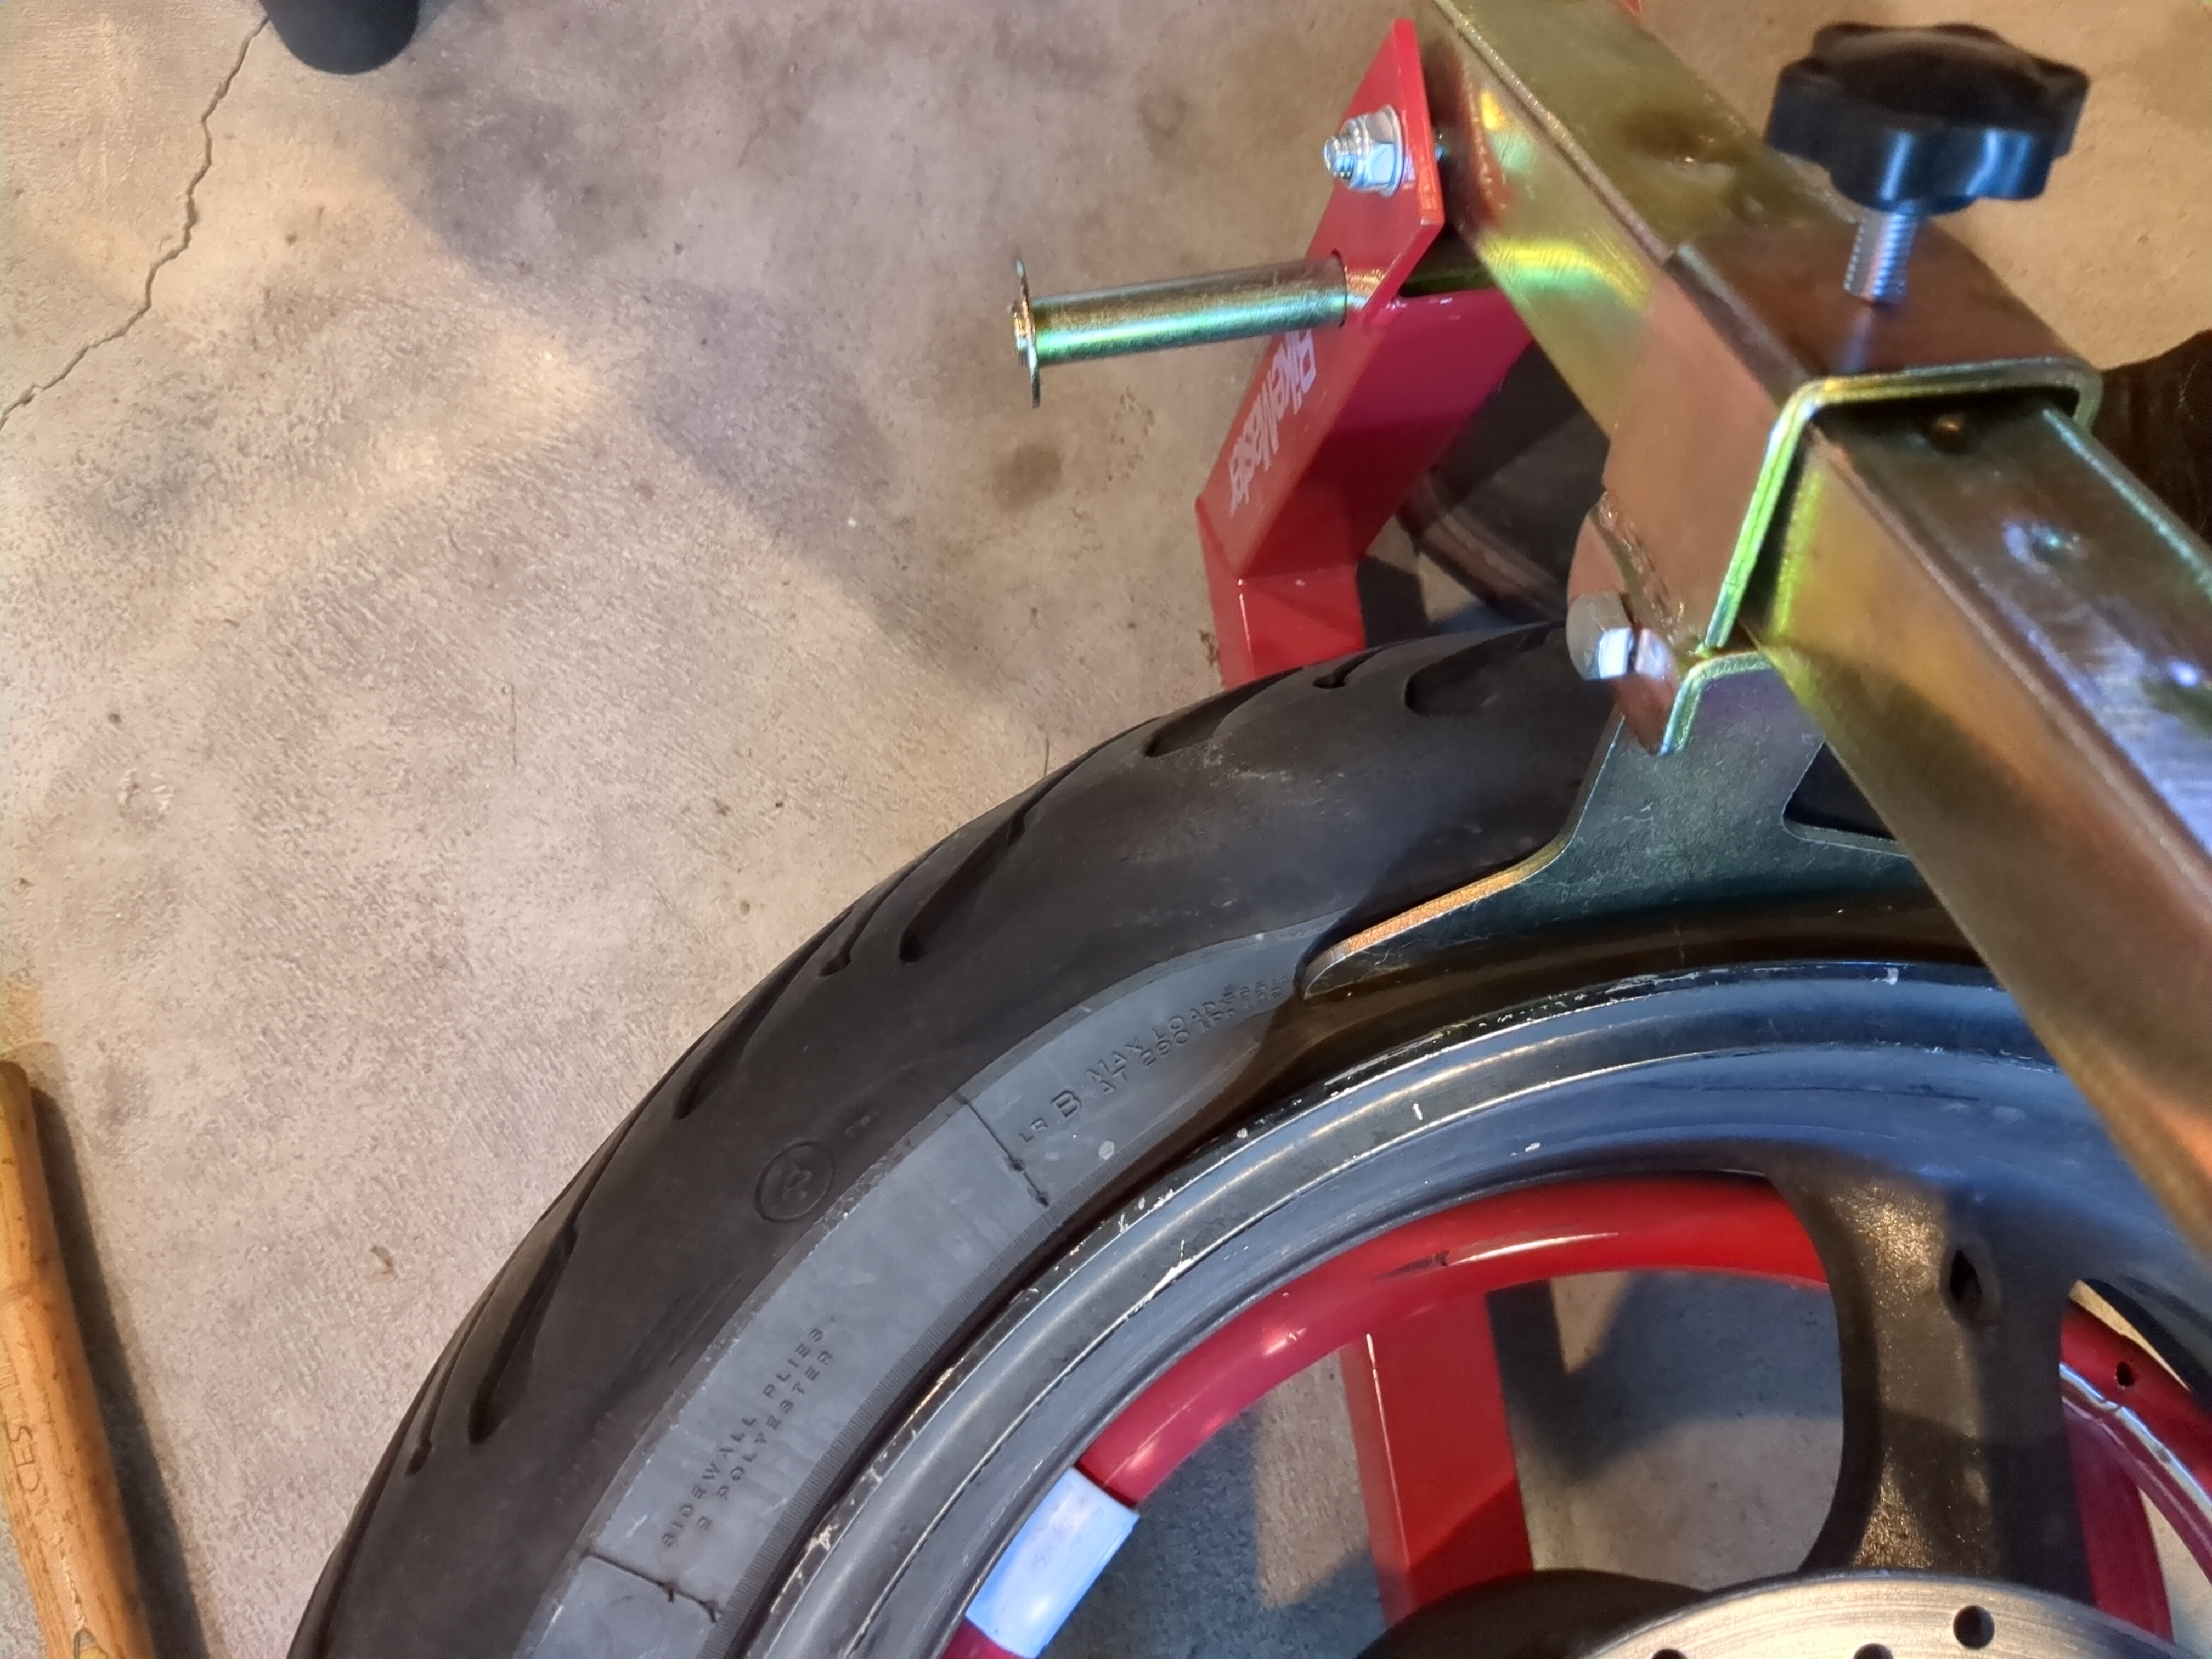
Break the bead. You have to break the bead off the rim on both sides.
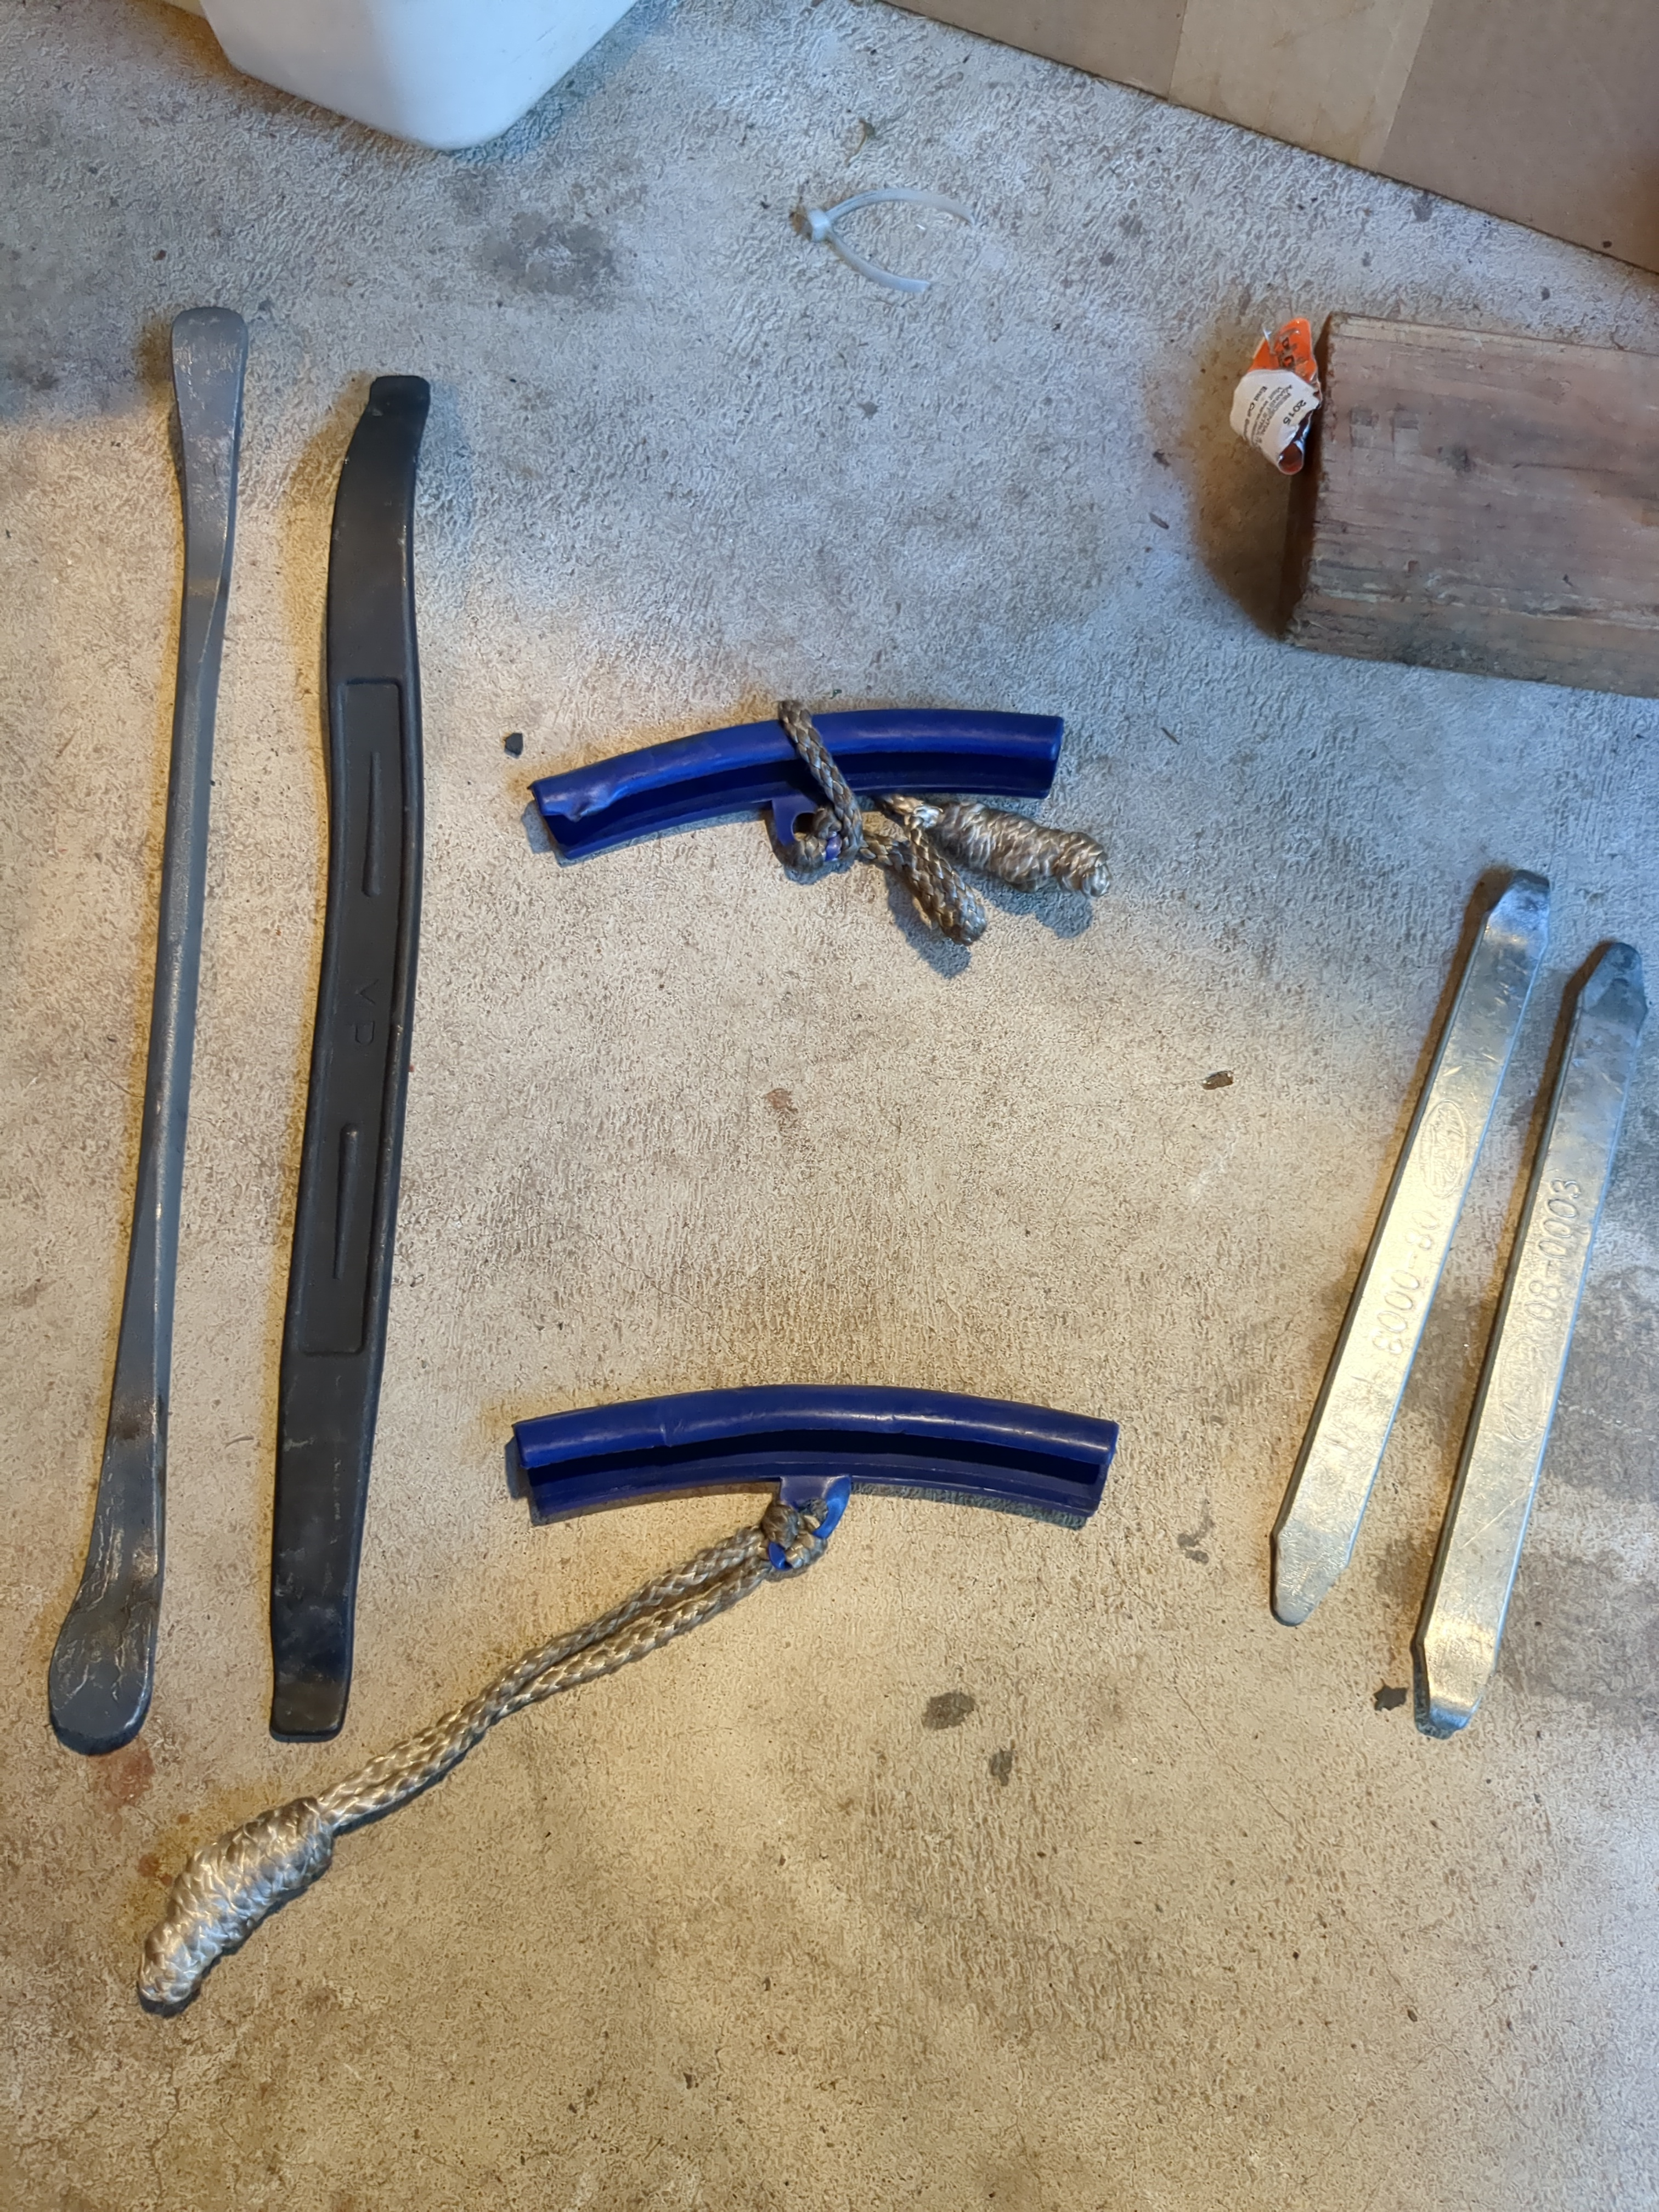
My assortment of tools. The tire spoons on the left, the rim protectors (Don’t get those ones, get the ones used in the video above), and some extra spoons.
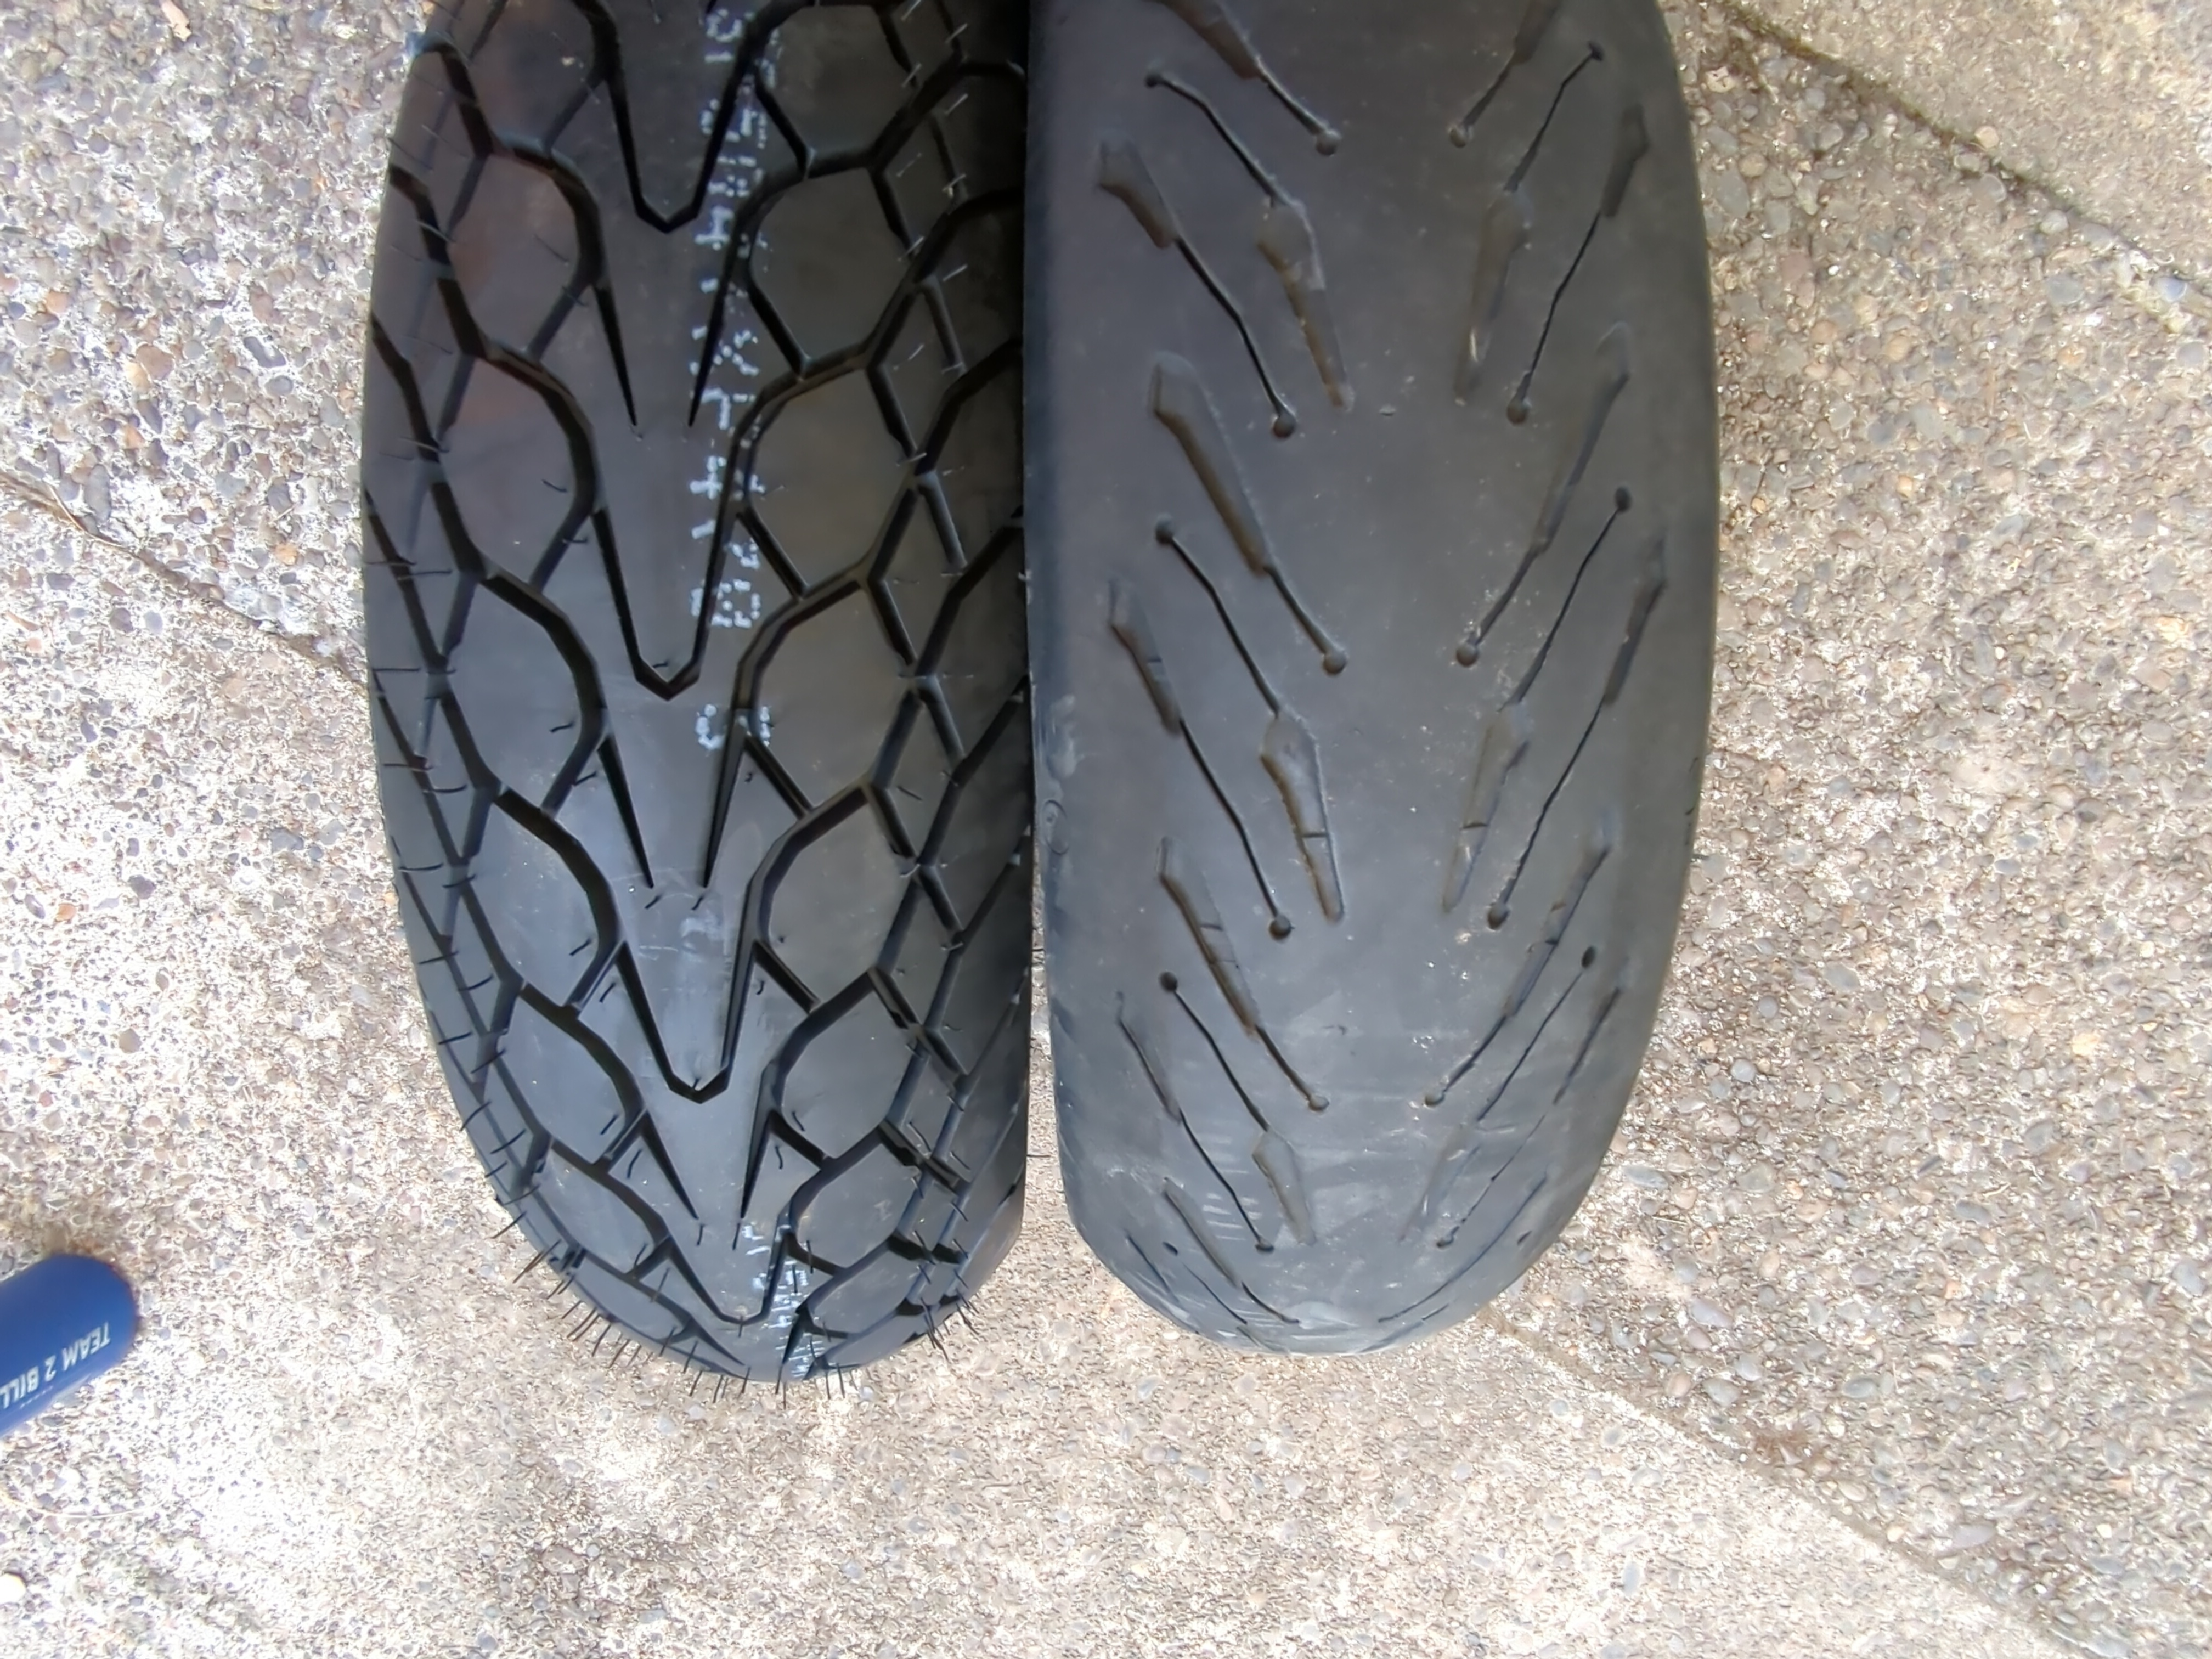
The old Road 5 on the right, and the new Mutant on the left. If you look closely at the Road 5, in some of the sipes, you will see the wear bars. If those are level with the tread, the tire needs to be replaced.
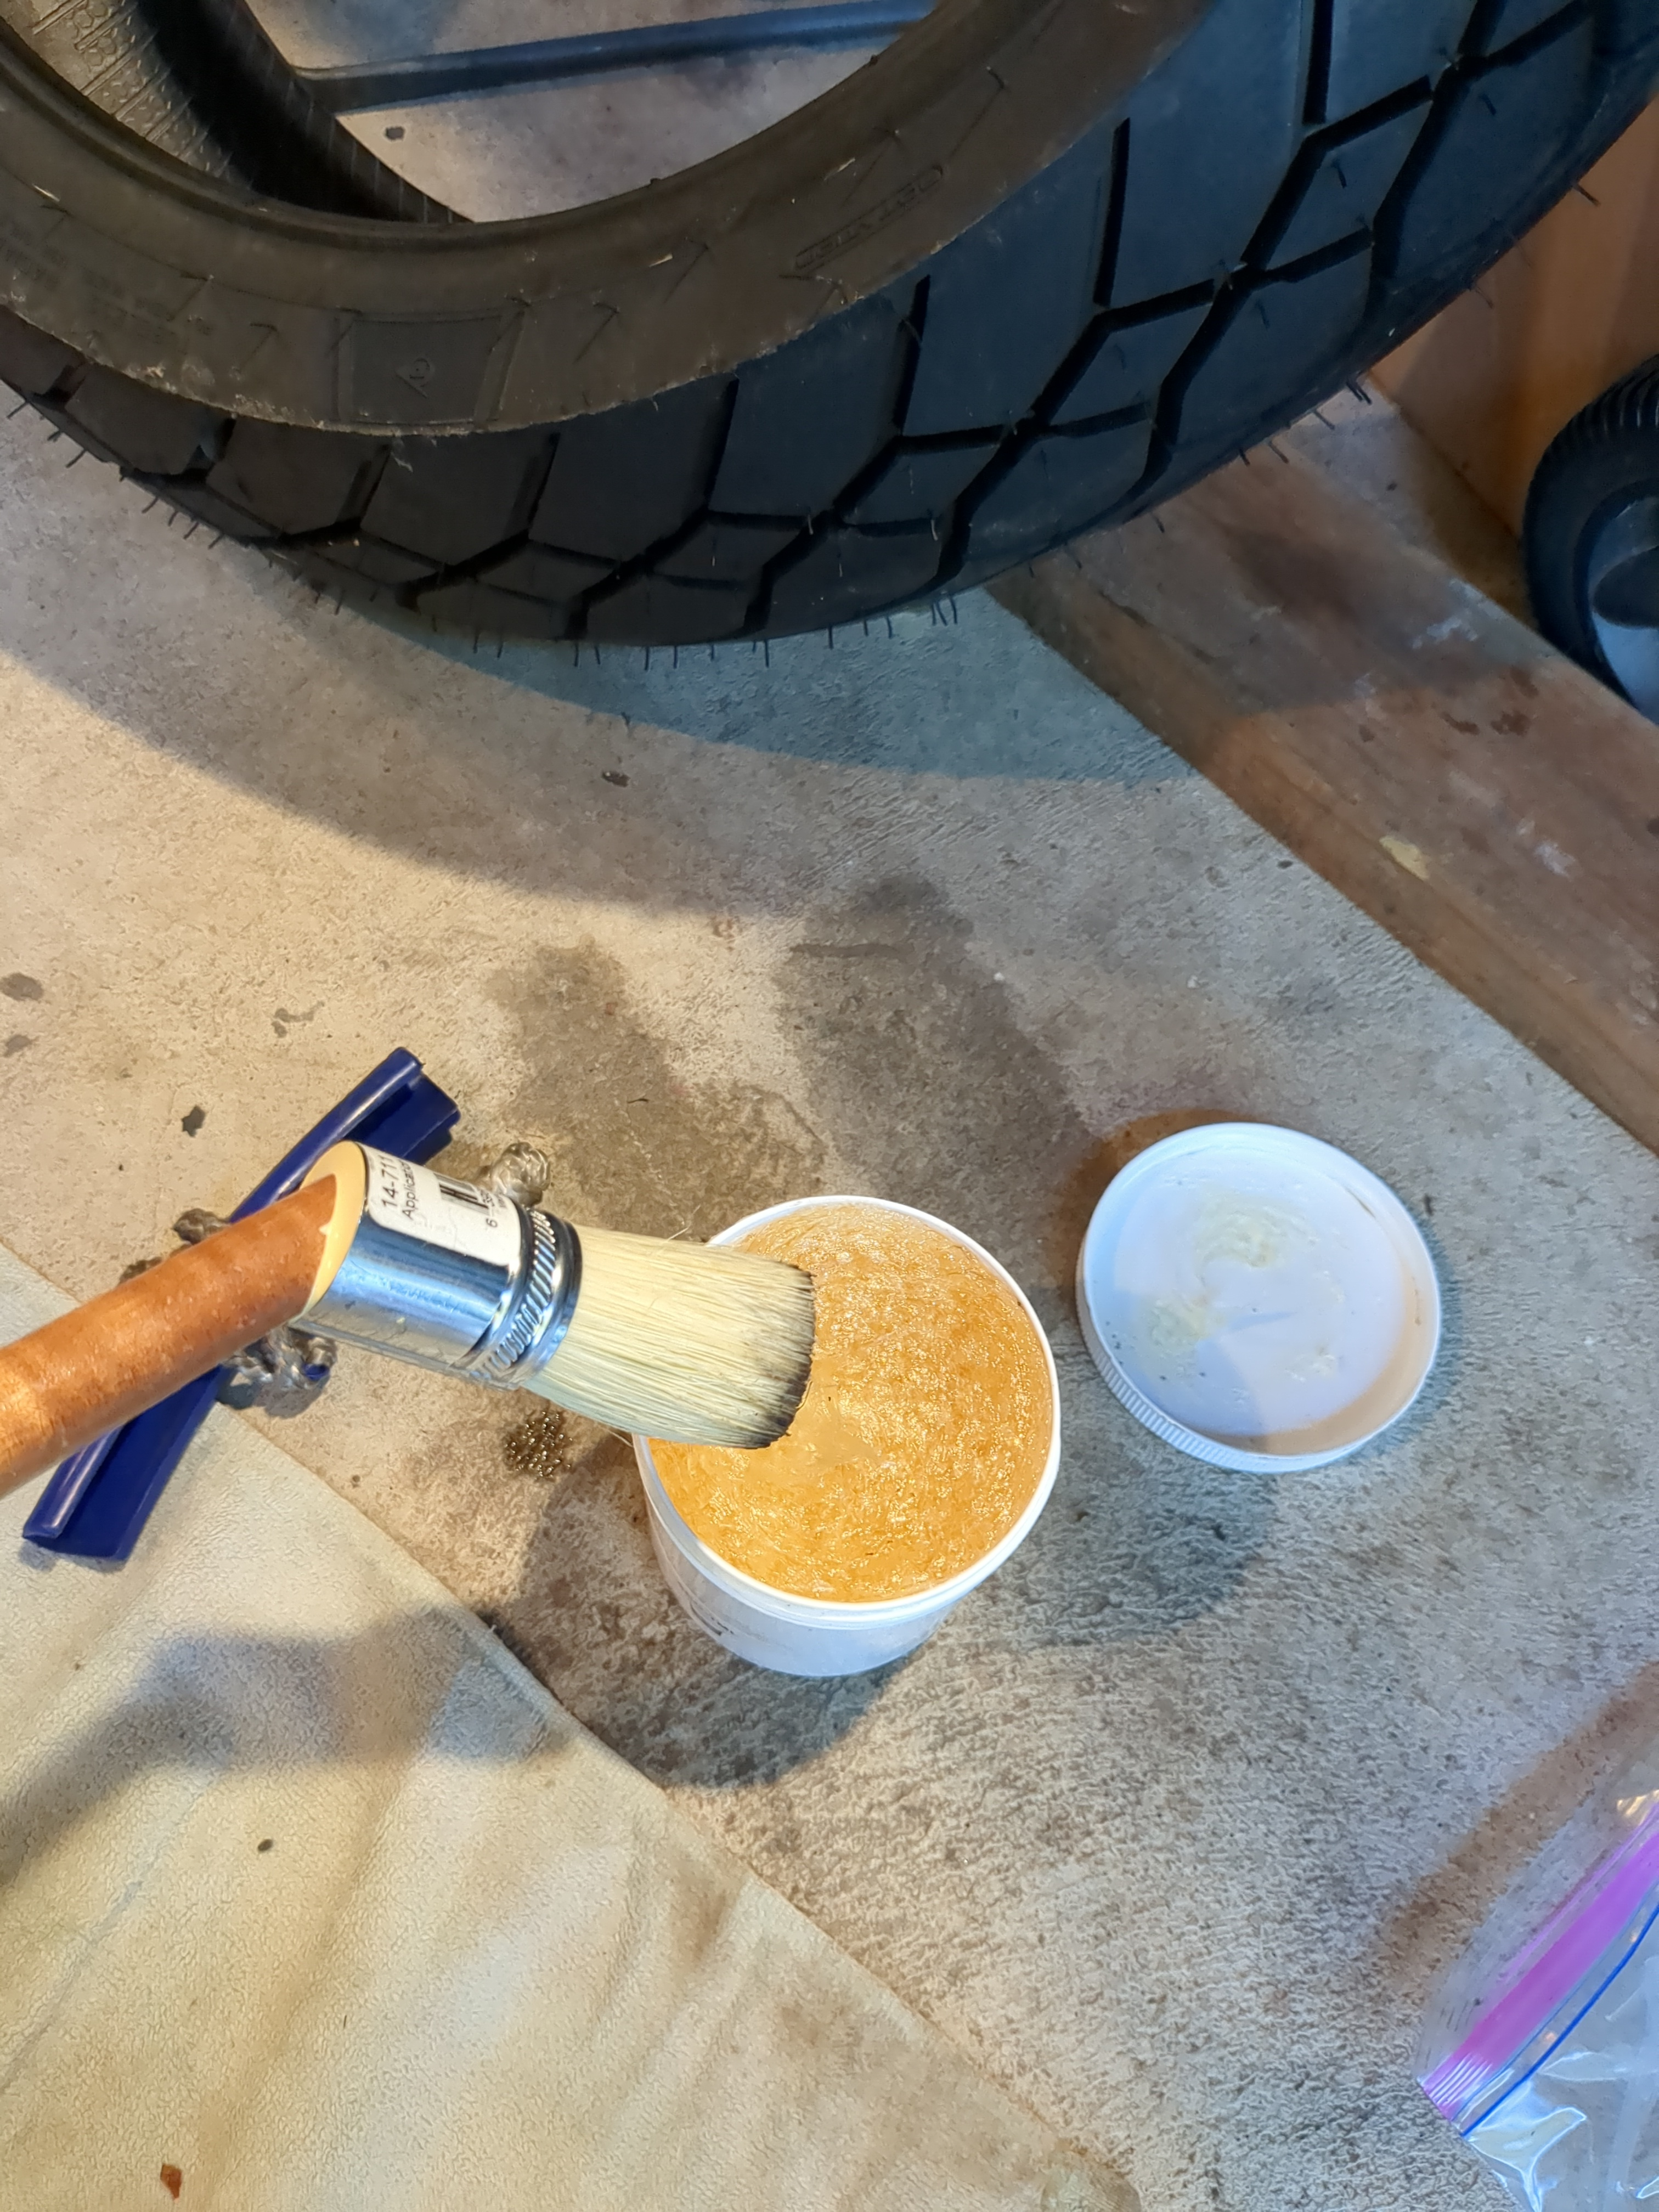
Some mounting paste and a brush.
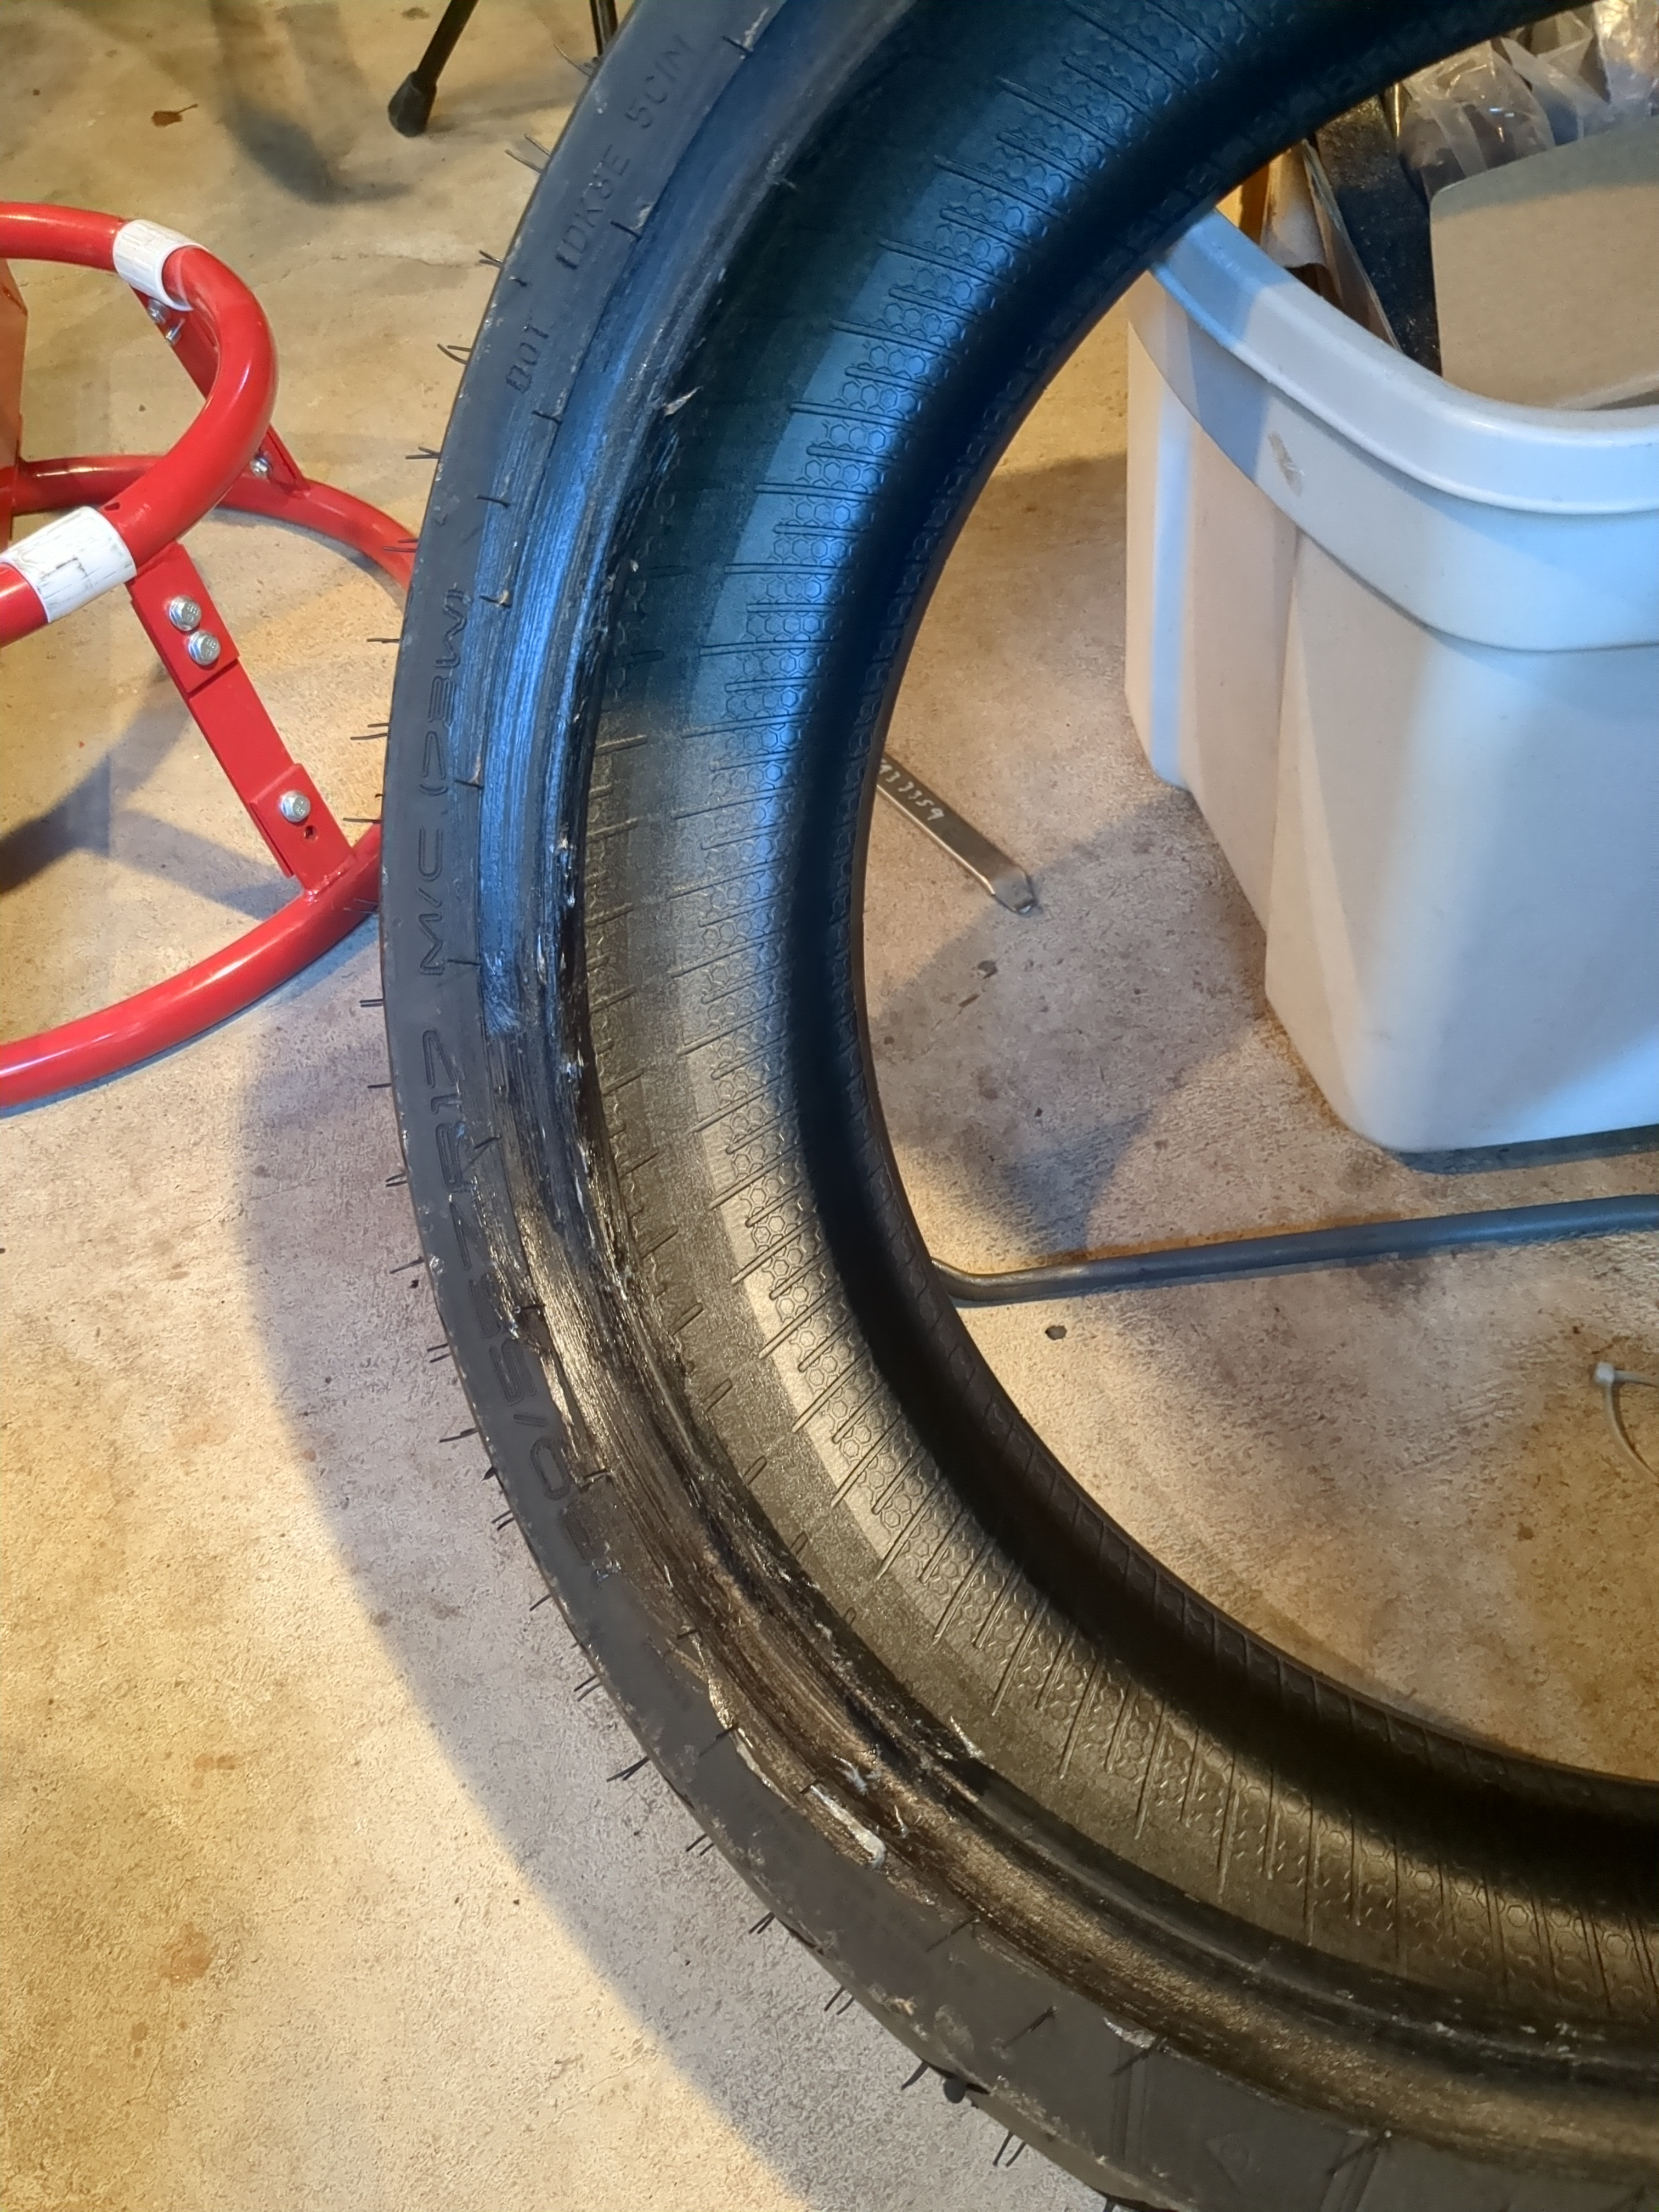
The bead of the tire is lubricated. Ensure that you put plenty of lube on the bottom bead, the first bead that you put down on the rim. The top bead will be more difficult to work with if you lube it all the way around, so only lube half of it, then spoon the othe half in, keep the lubed half in the drop center.
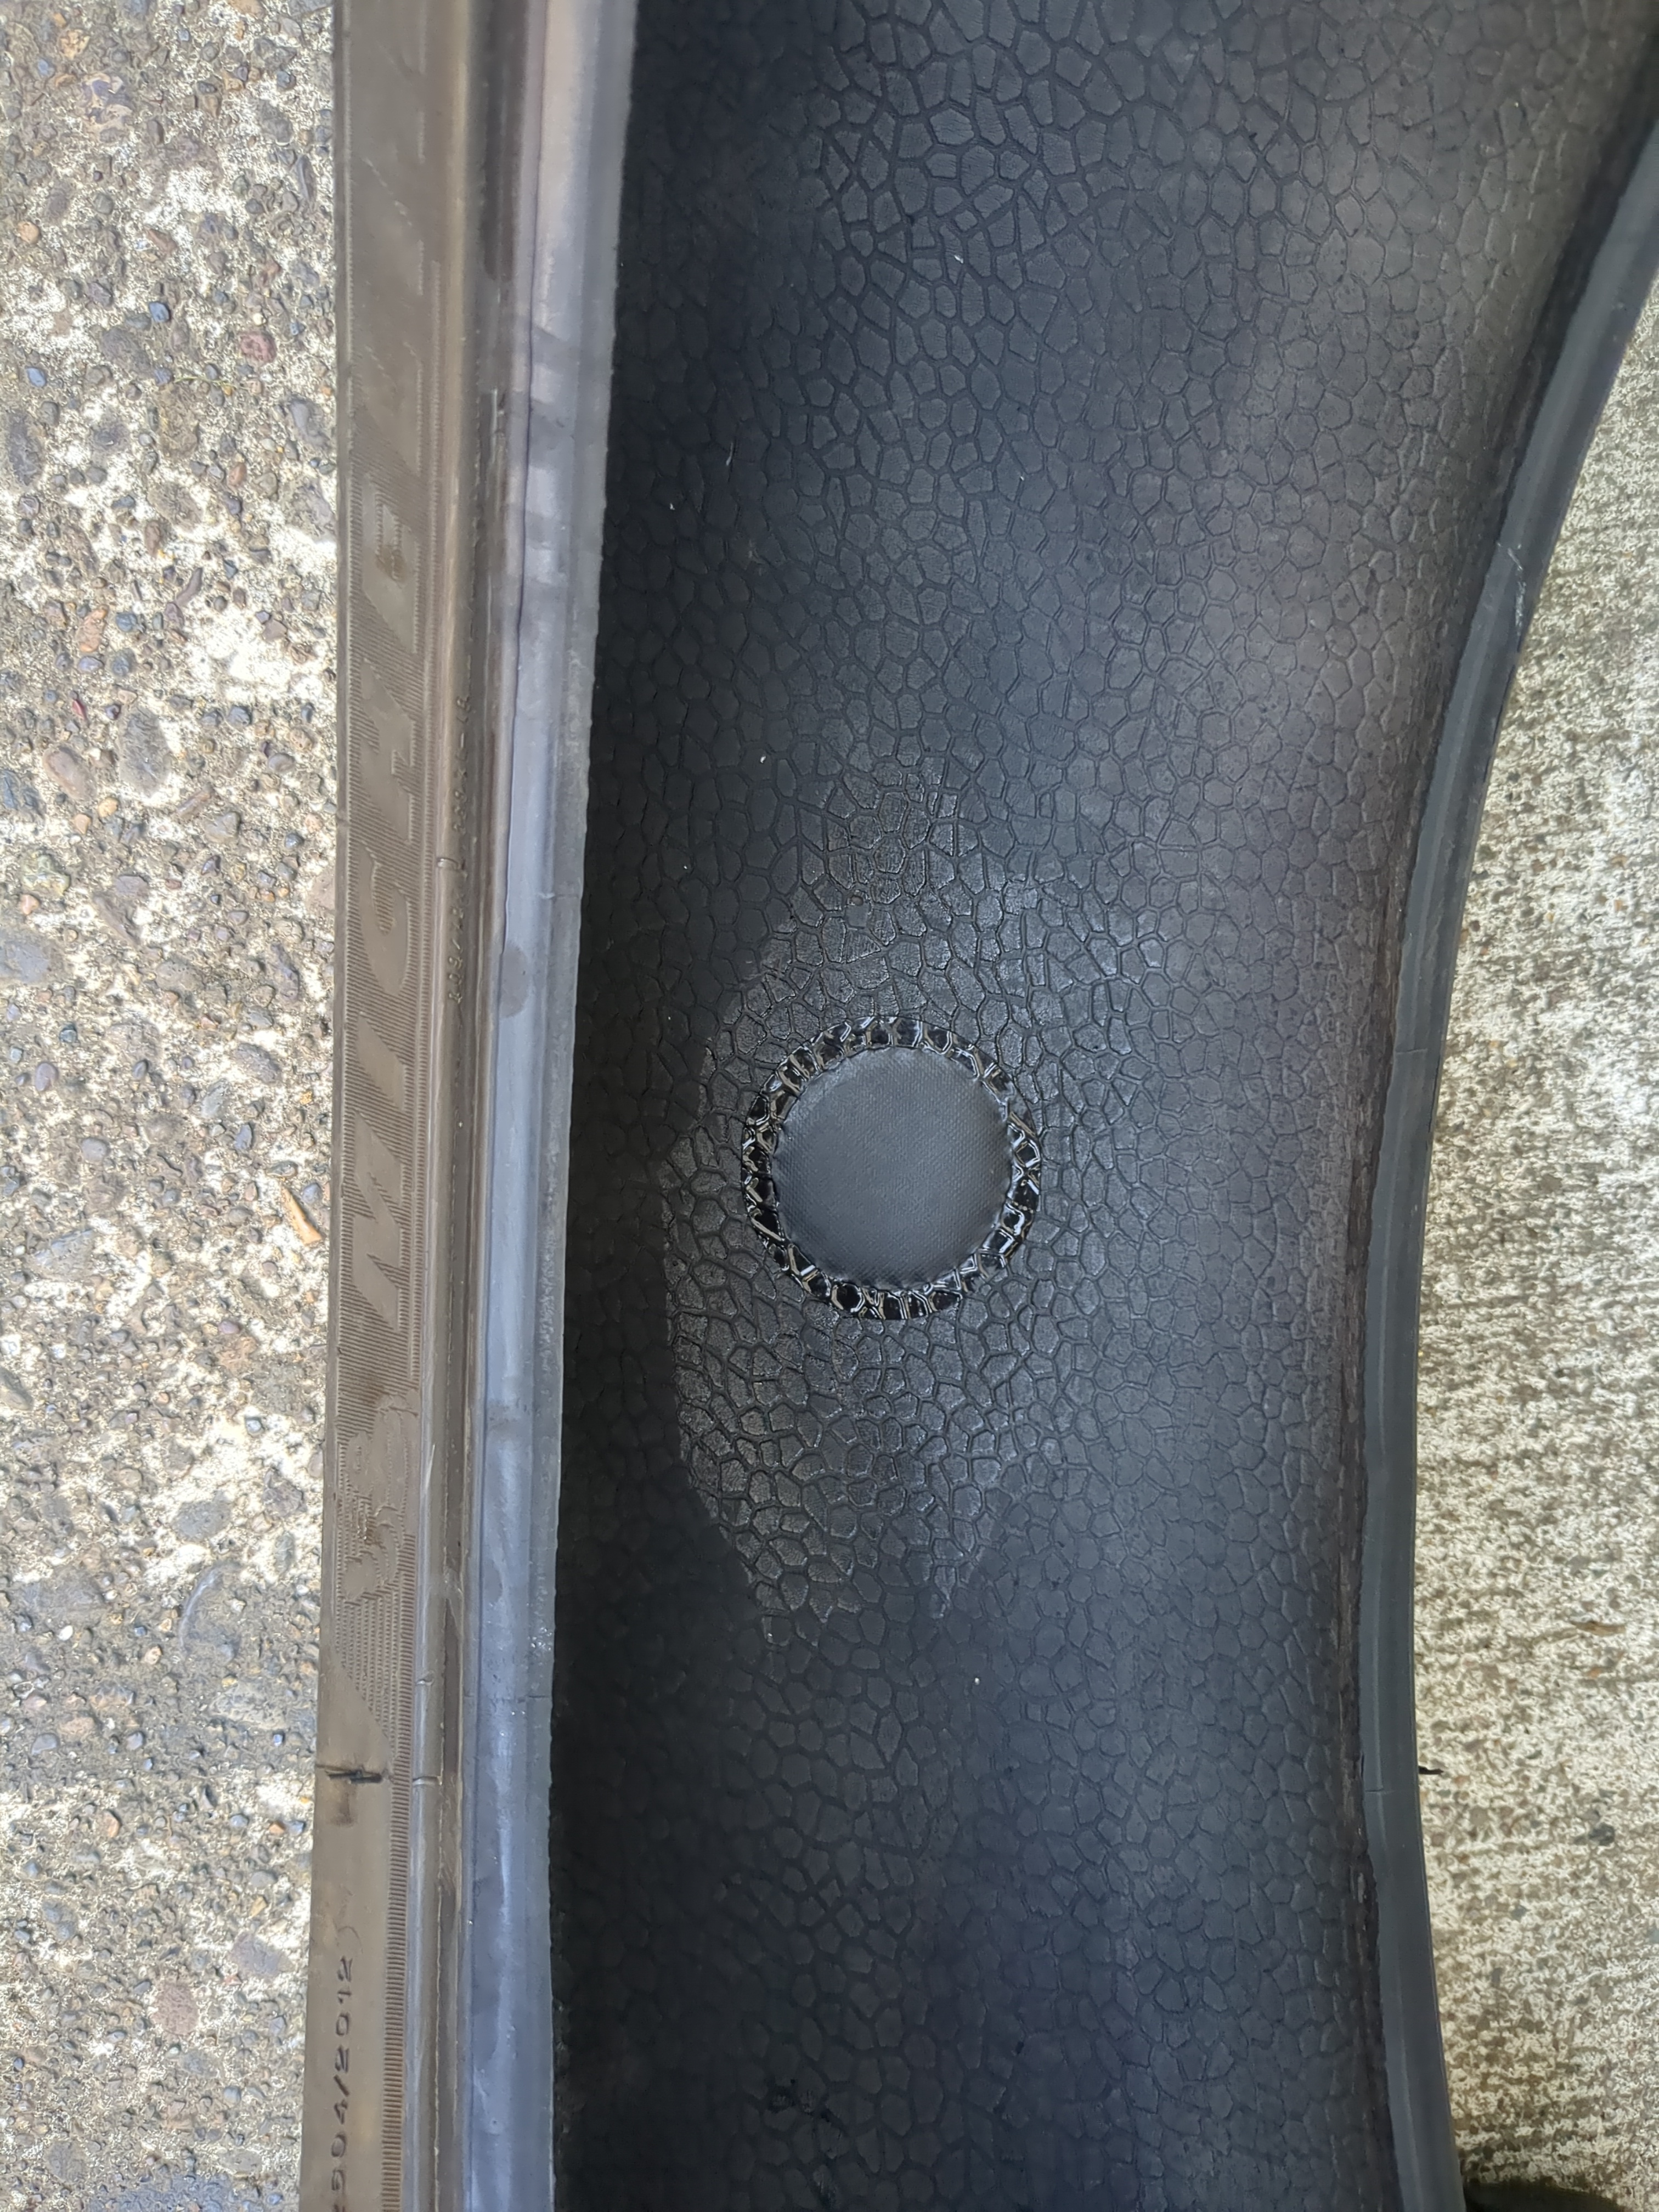
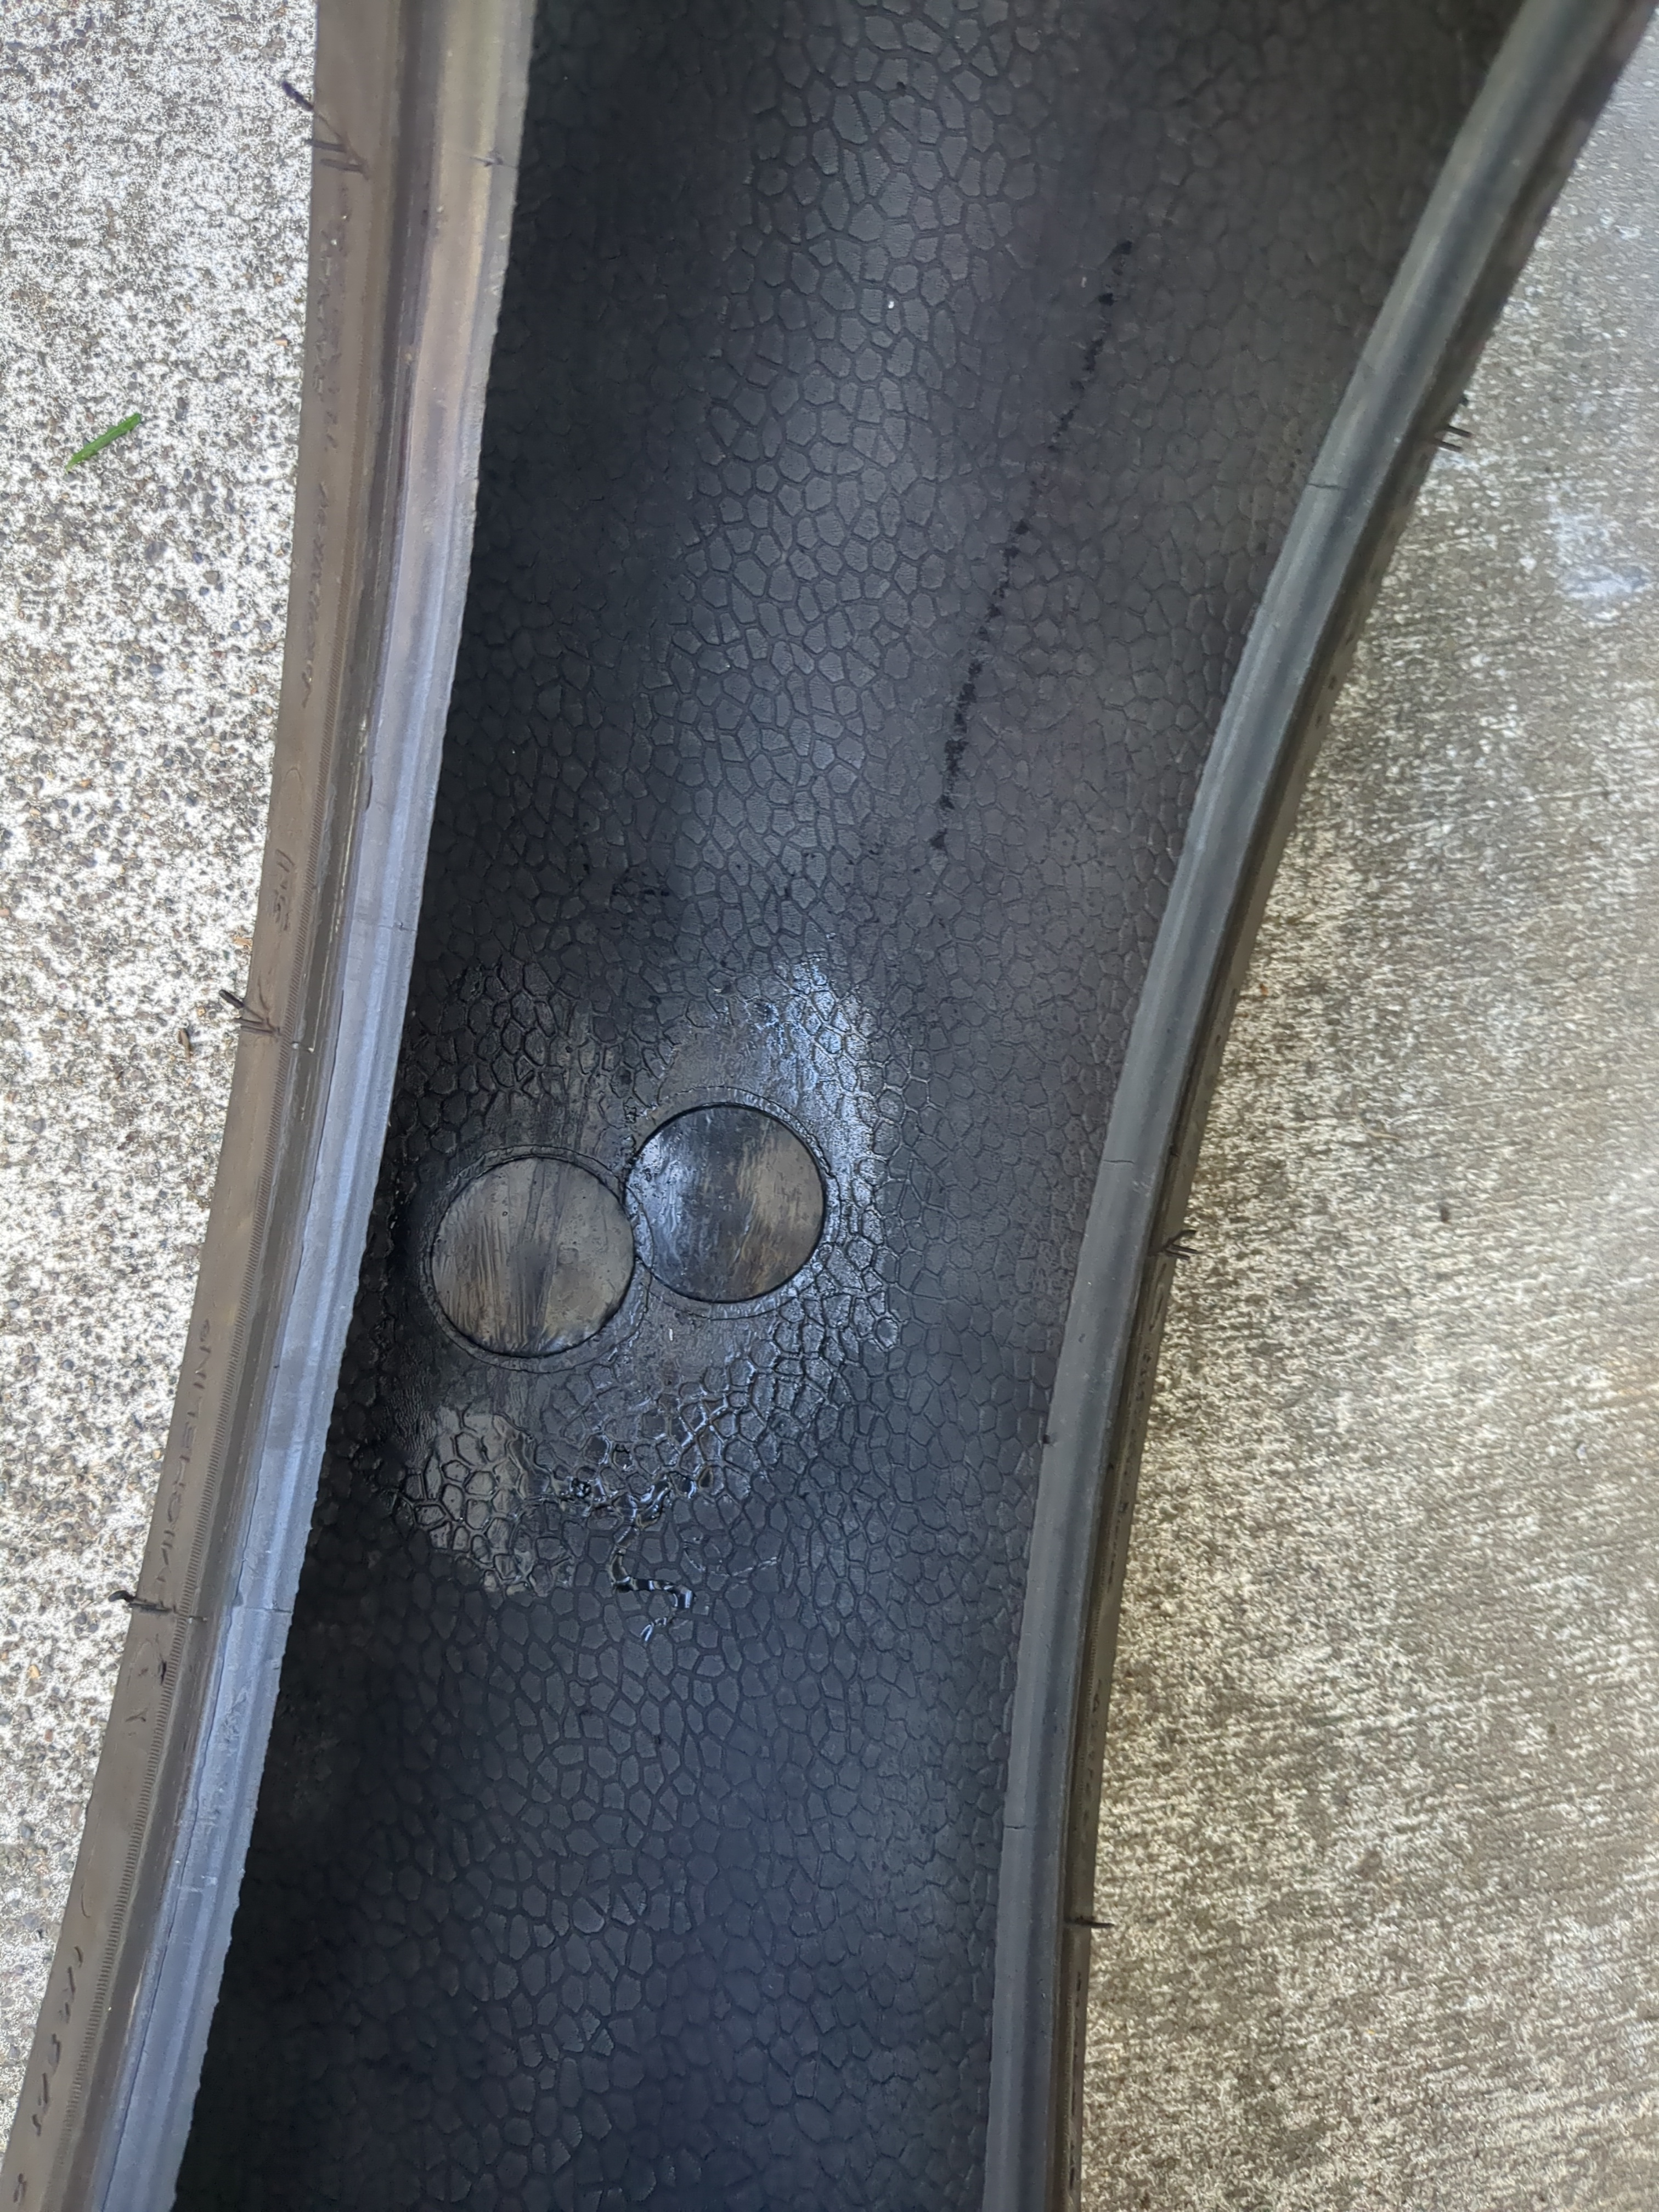
The 3 punctures I fixed. You can repair a motorcycle tire. I rode this tire until it began to separate due to lack of tread. Just ensure that your tires are filled to the correct pressure. As for balancing, I have a MotionPro balancer. All you have to do is mount the tire on the balancer, give it a little push, wait until it settles at the heaviest point, mark the top (the lightest point), give it another small spin, then add weights accordingly. Fortnine also has a good demonstration at how easy it is to balance a tire. It’s honestly something you should do every once in a while, as your tire does need to be rebalanced every now and again.
For the throttle body, it only required removing the actual throttle bodies themselves. However, I opted to also remove the airbox, and replace the hoses connected to the crankcase, and drain hose. Removing the throttle bodies was not difficult, I only had to undo the clamps attaching it to the intake manifolds and to the airbox, and remove the throttle cable.i
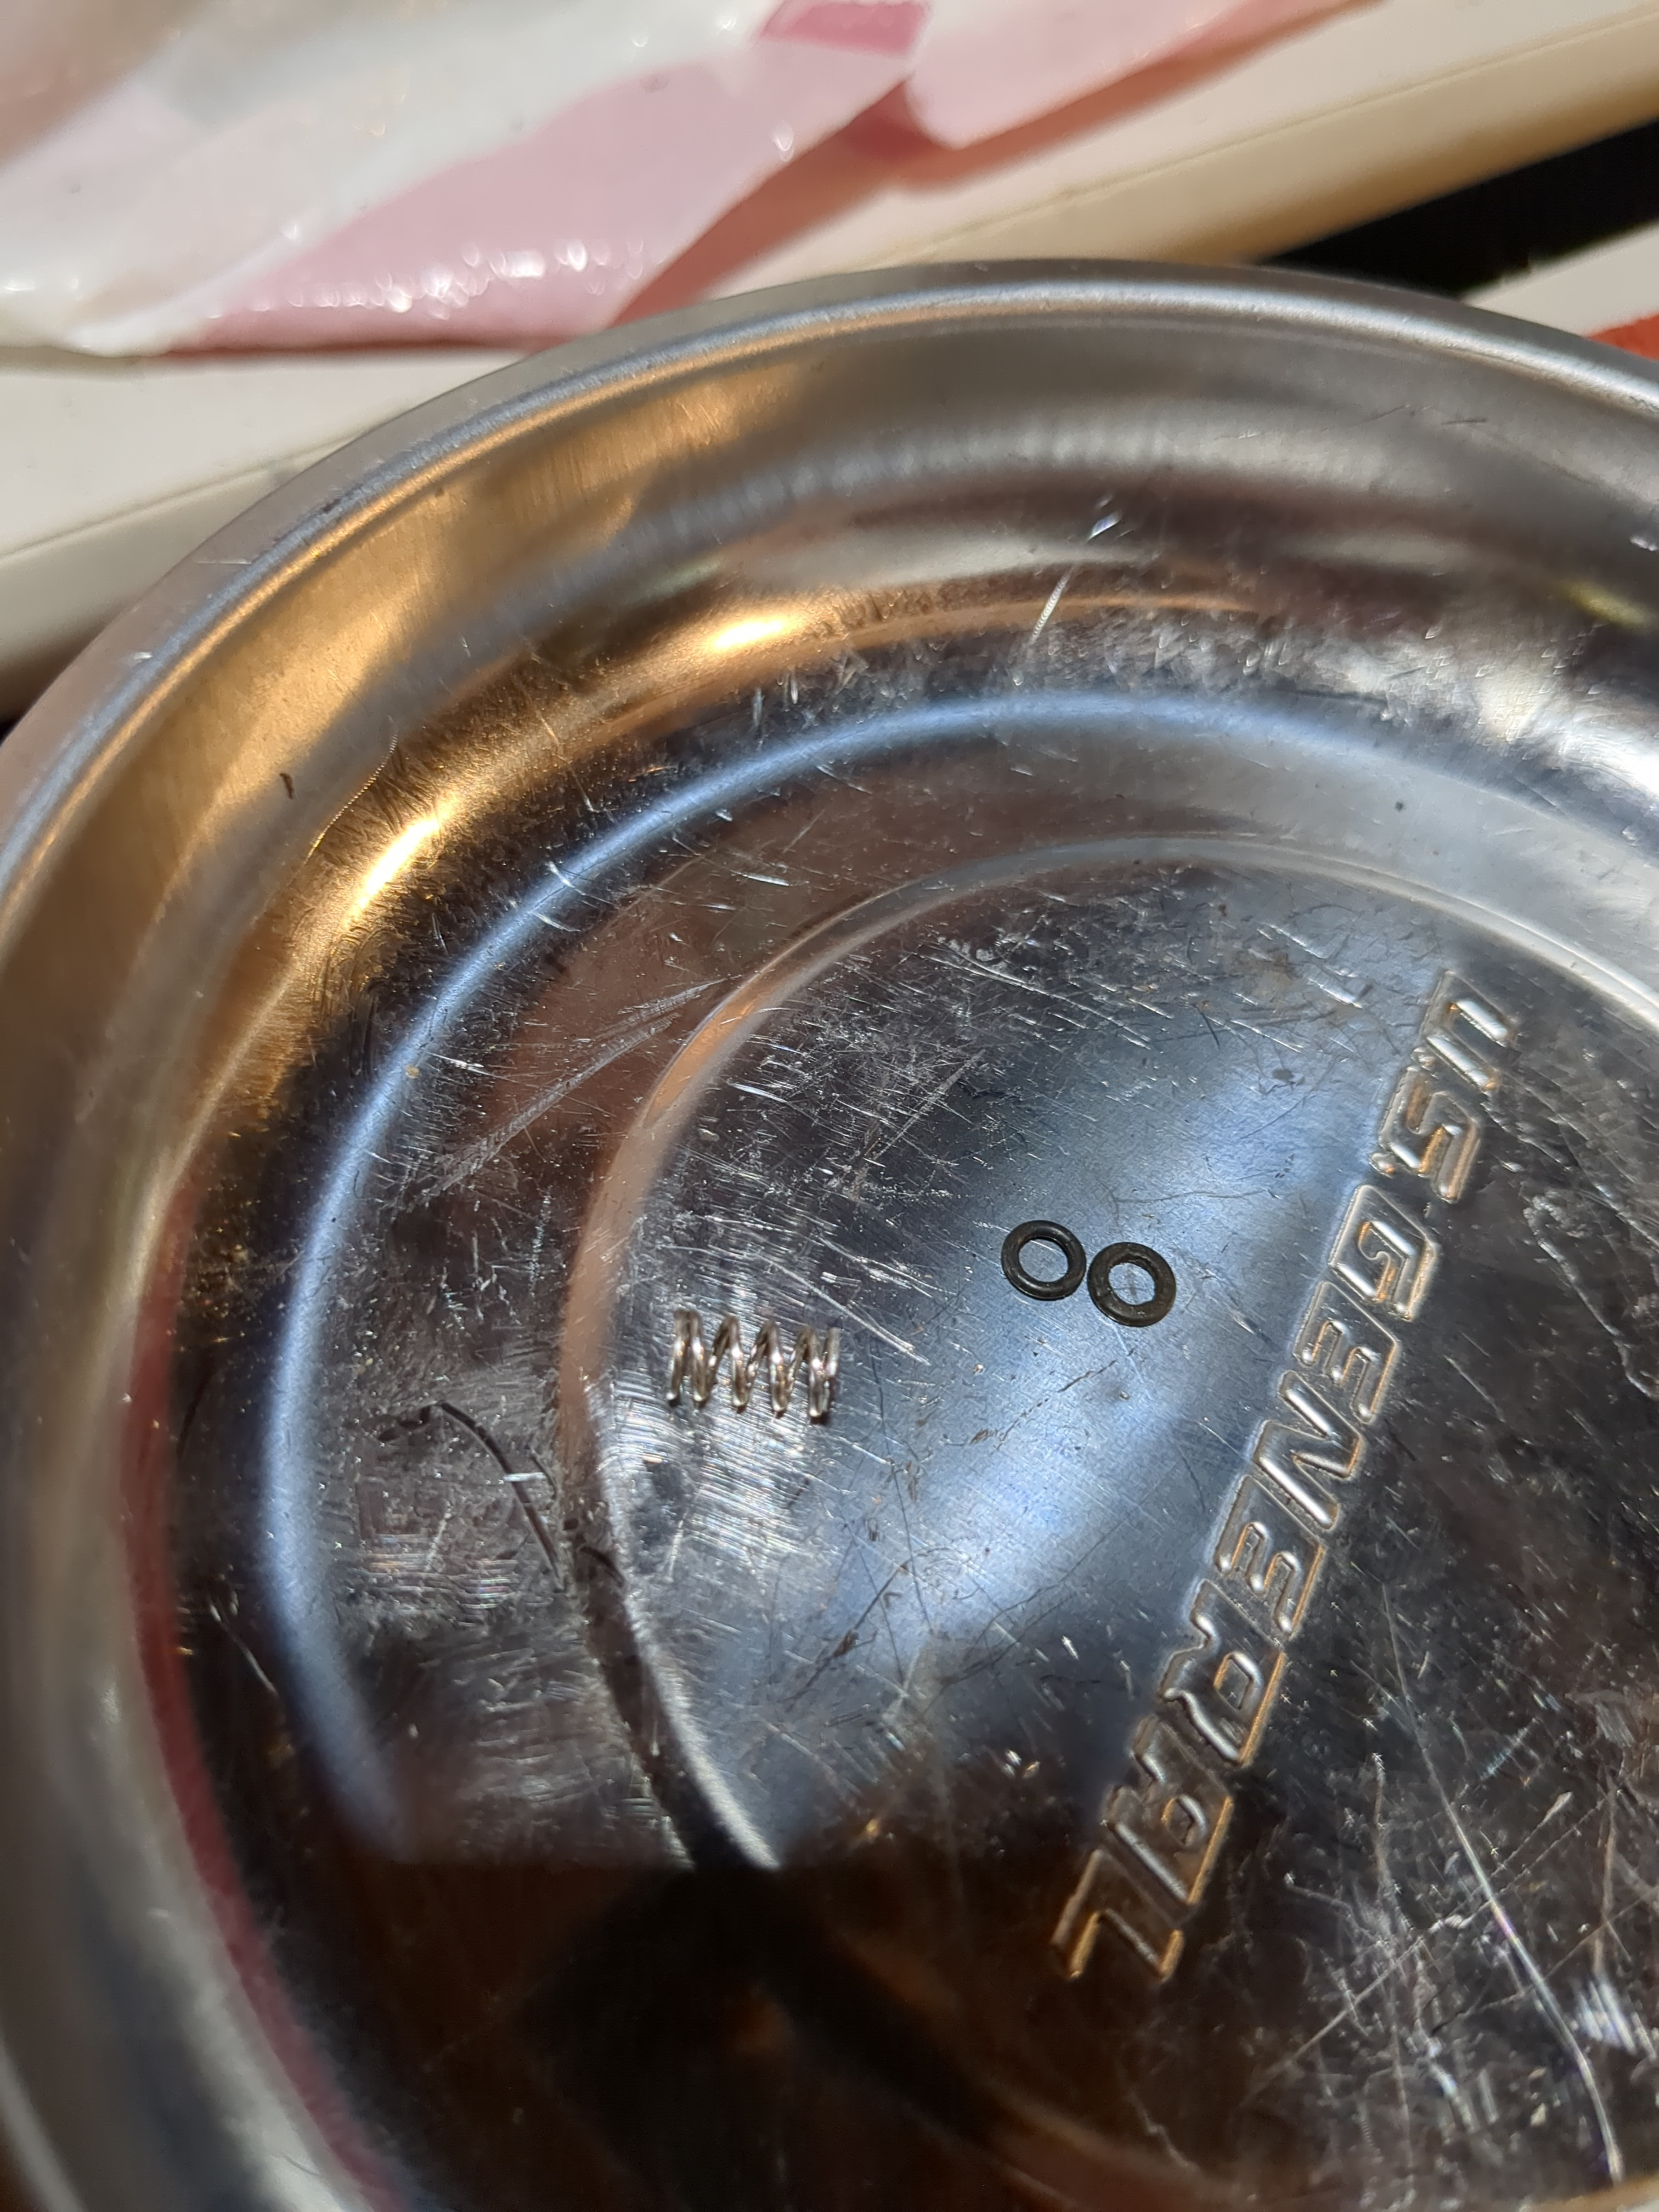
I disassembled the air screws, as I believed intitially that they were covered with dirt and debris. The o rings were hard. The new o ring is on the left, and the old one was on the right. O rings should be soft and springy.
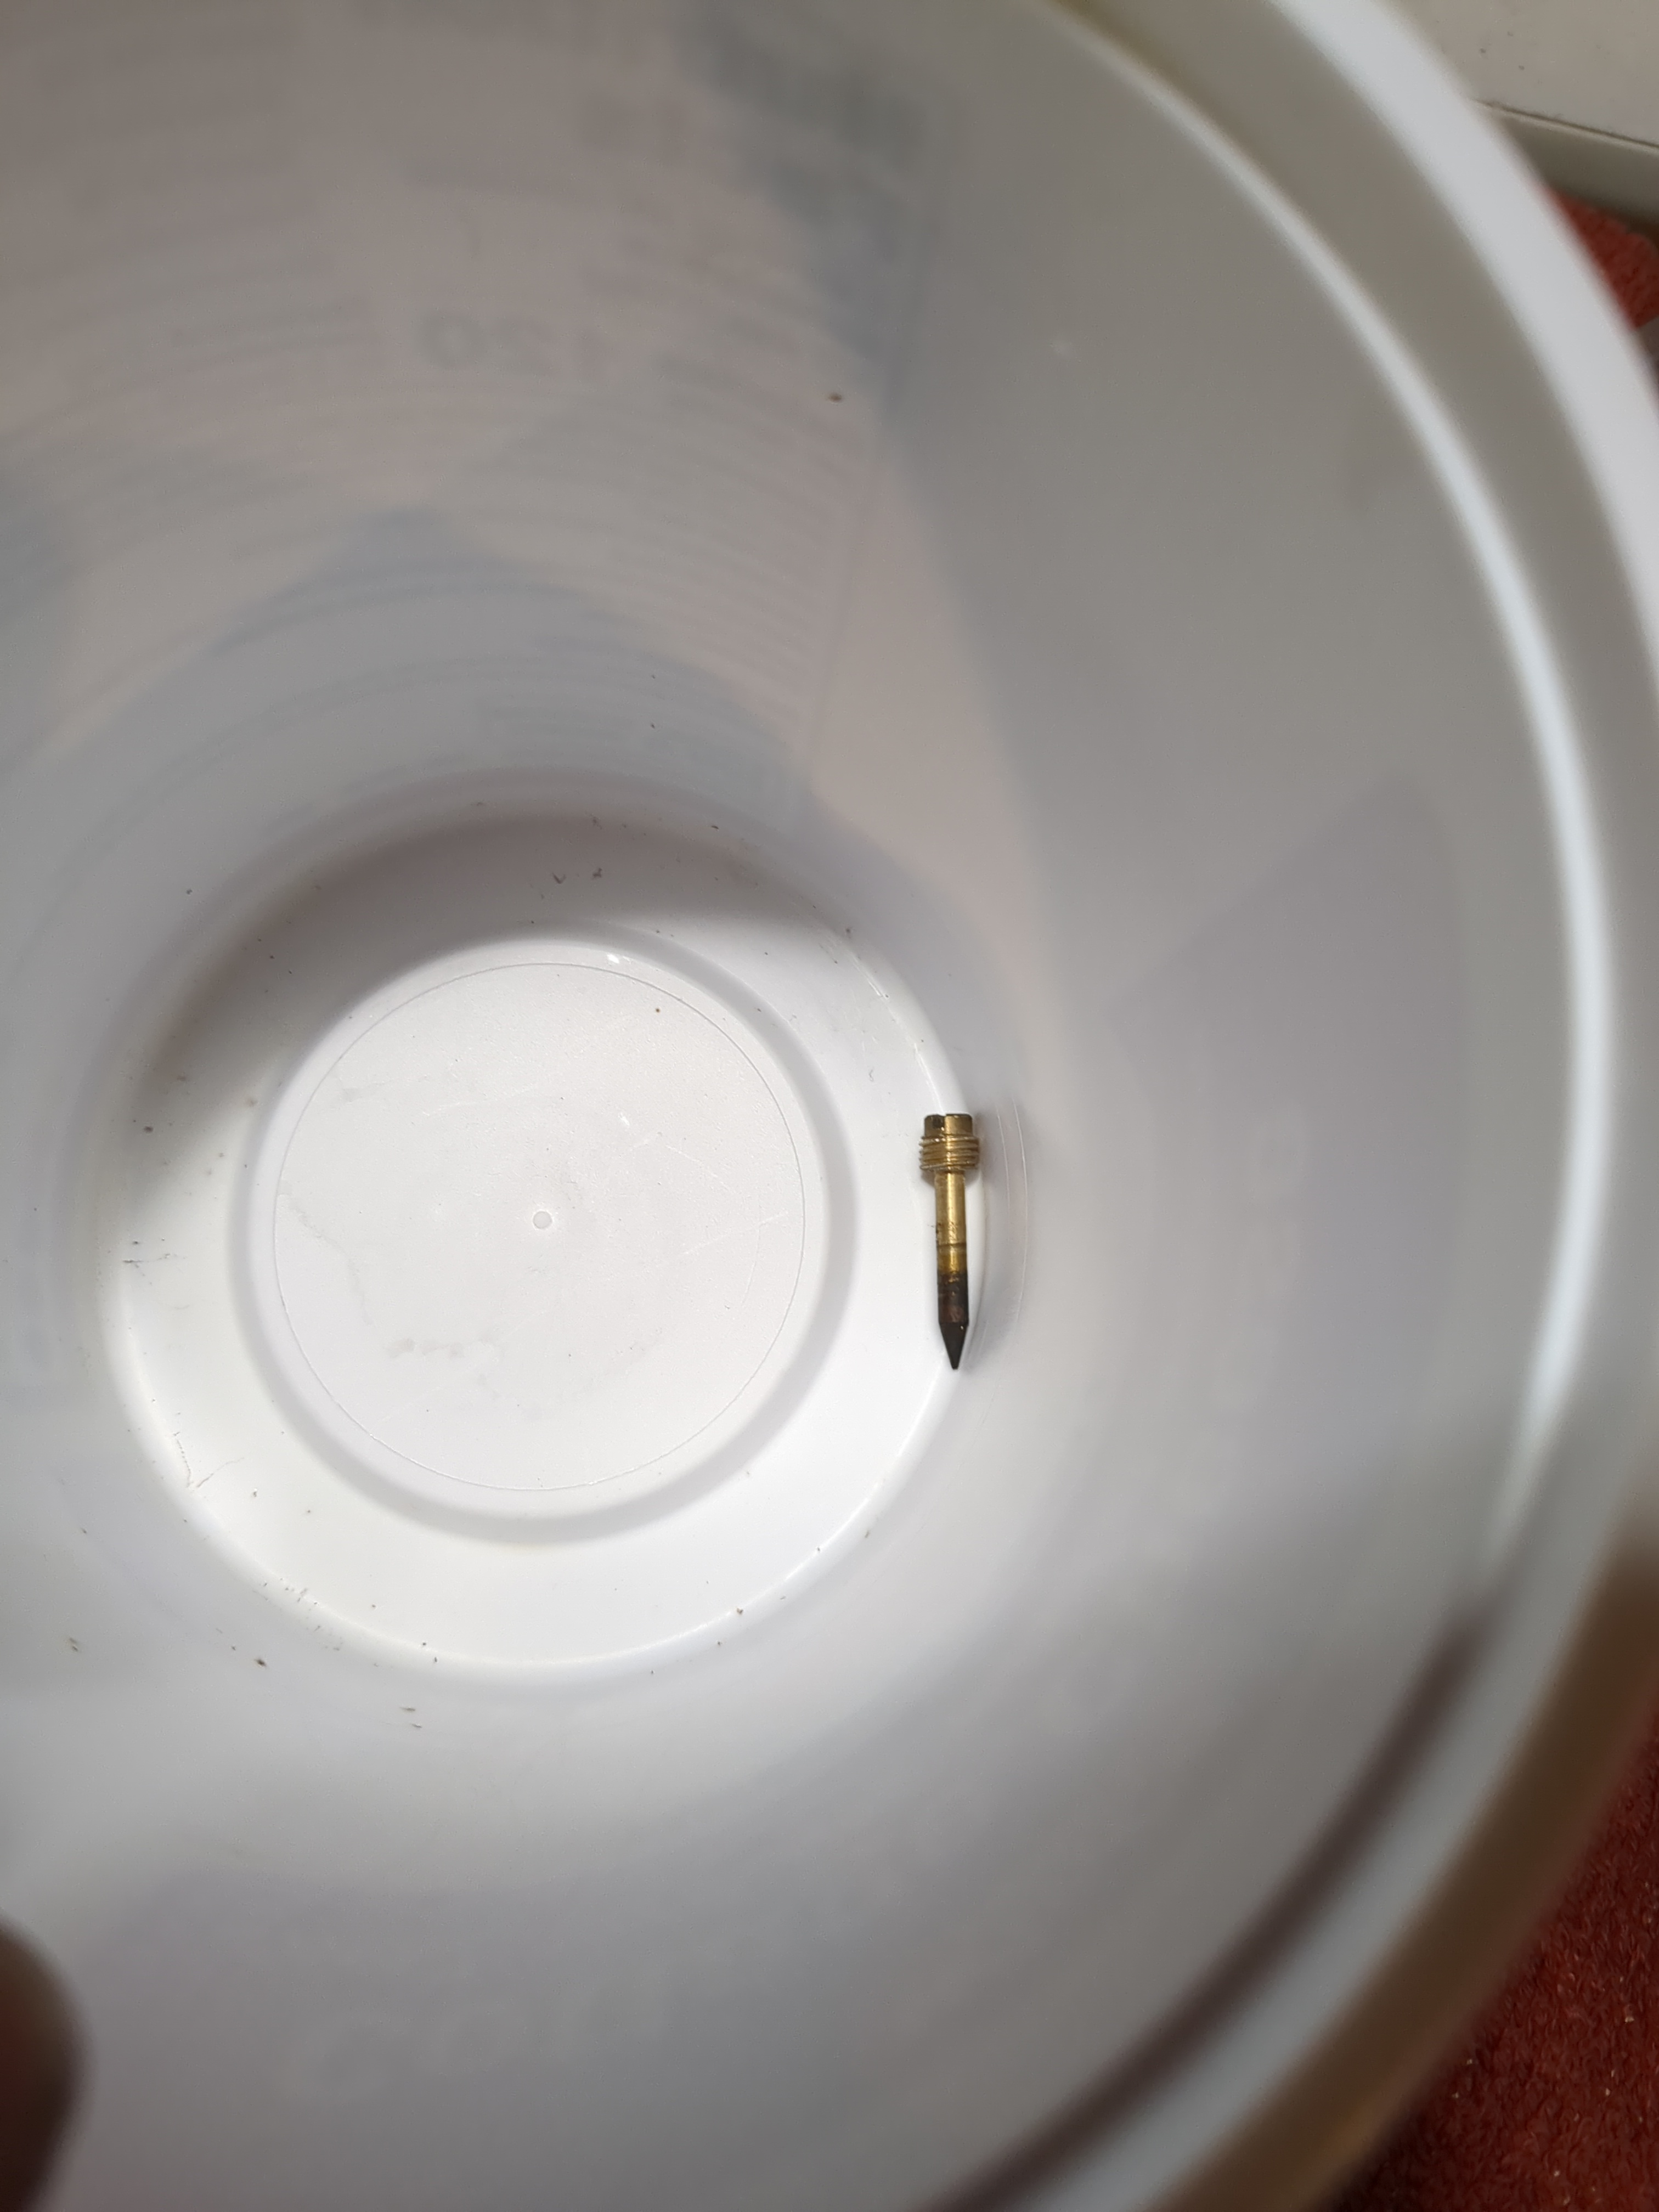
The air screw. It’s covered in dirt.
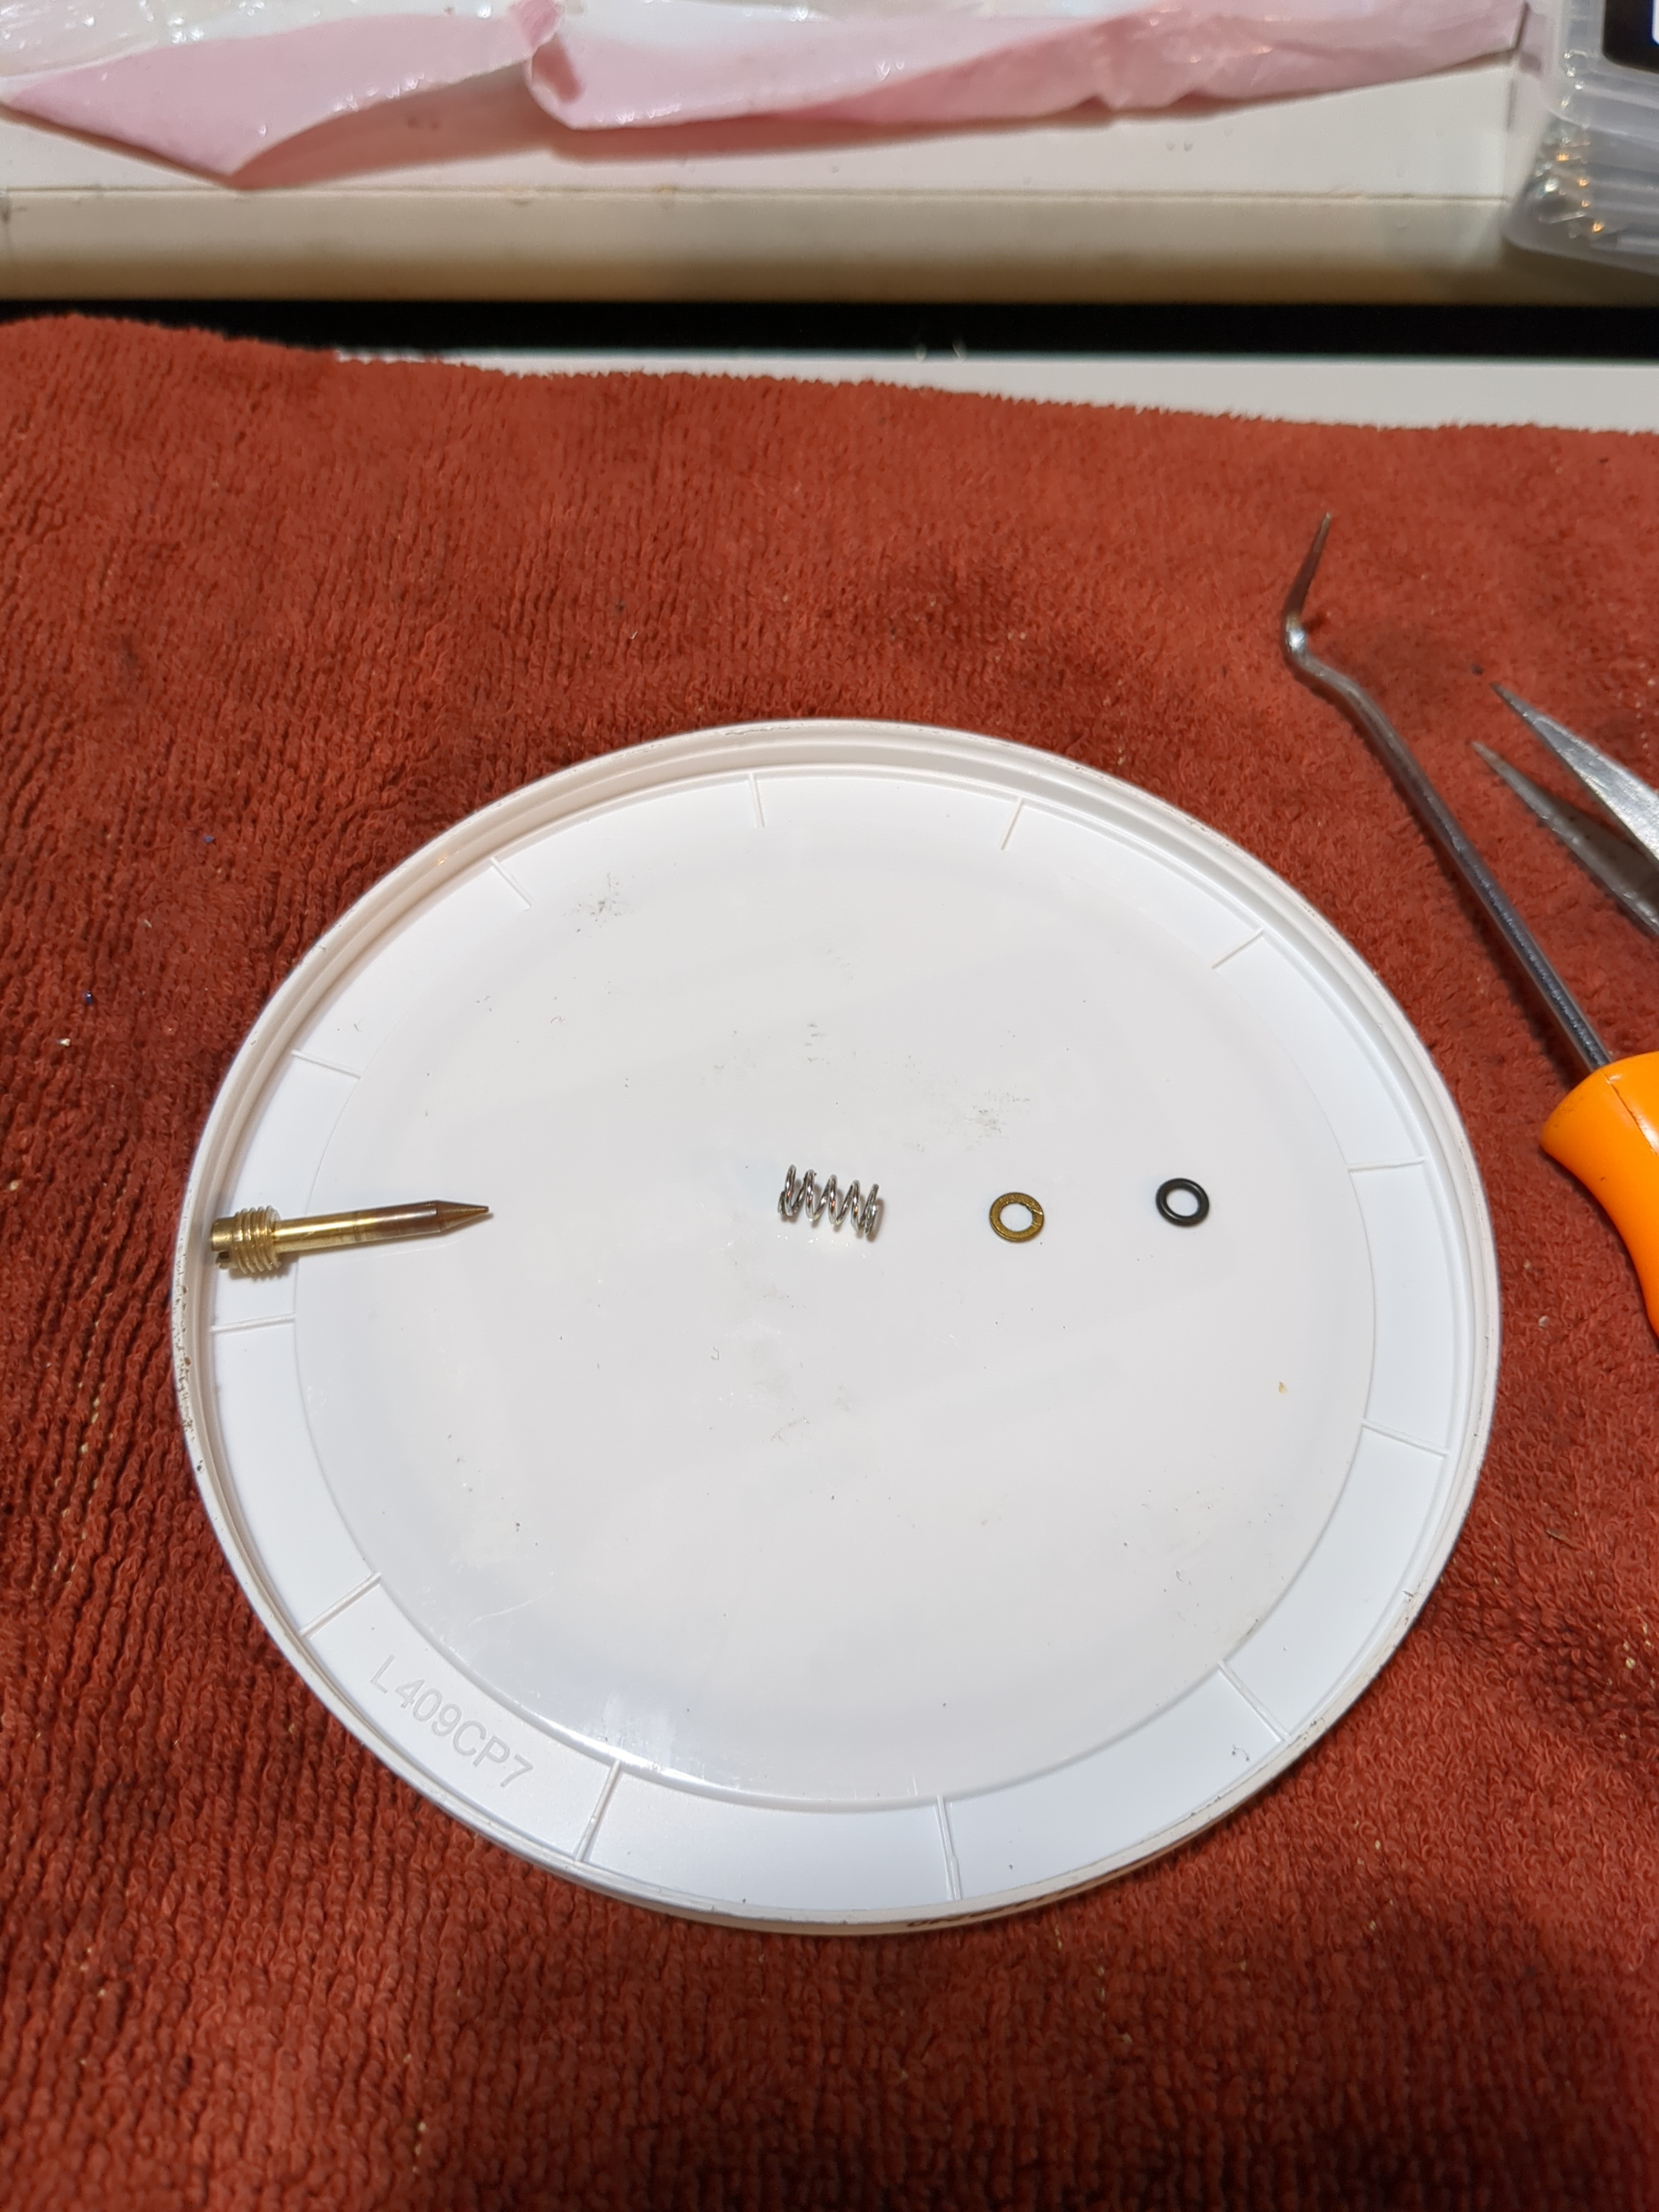
How the air screw is reassembled.
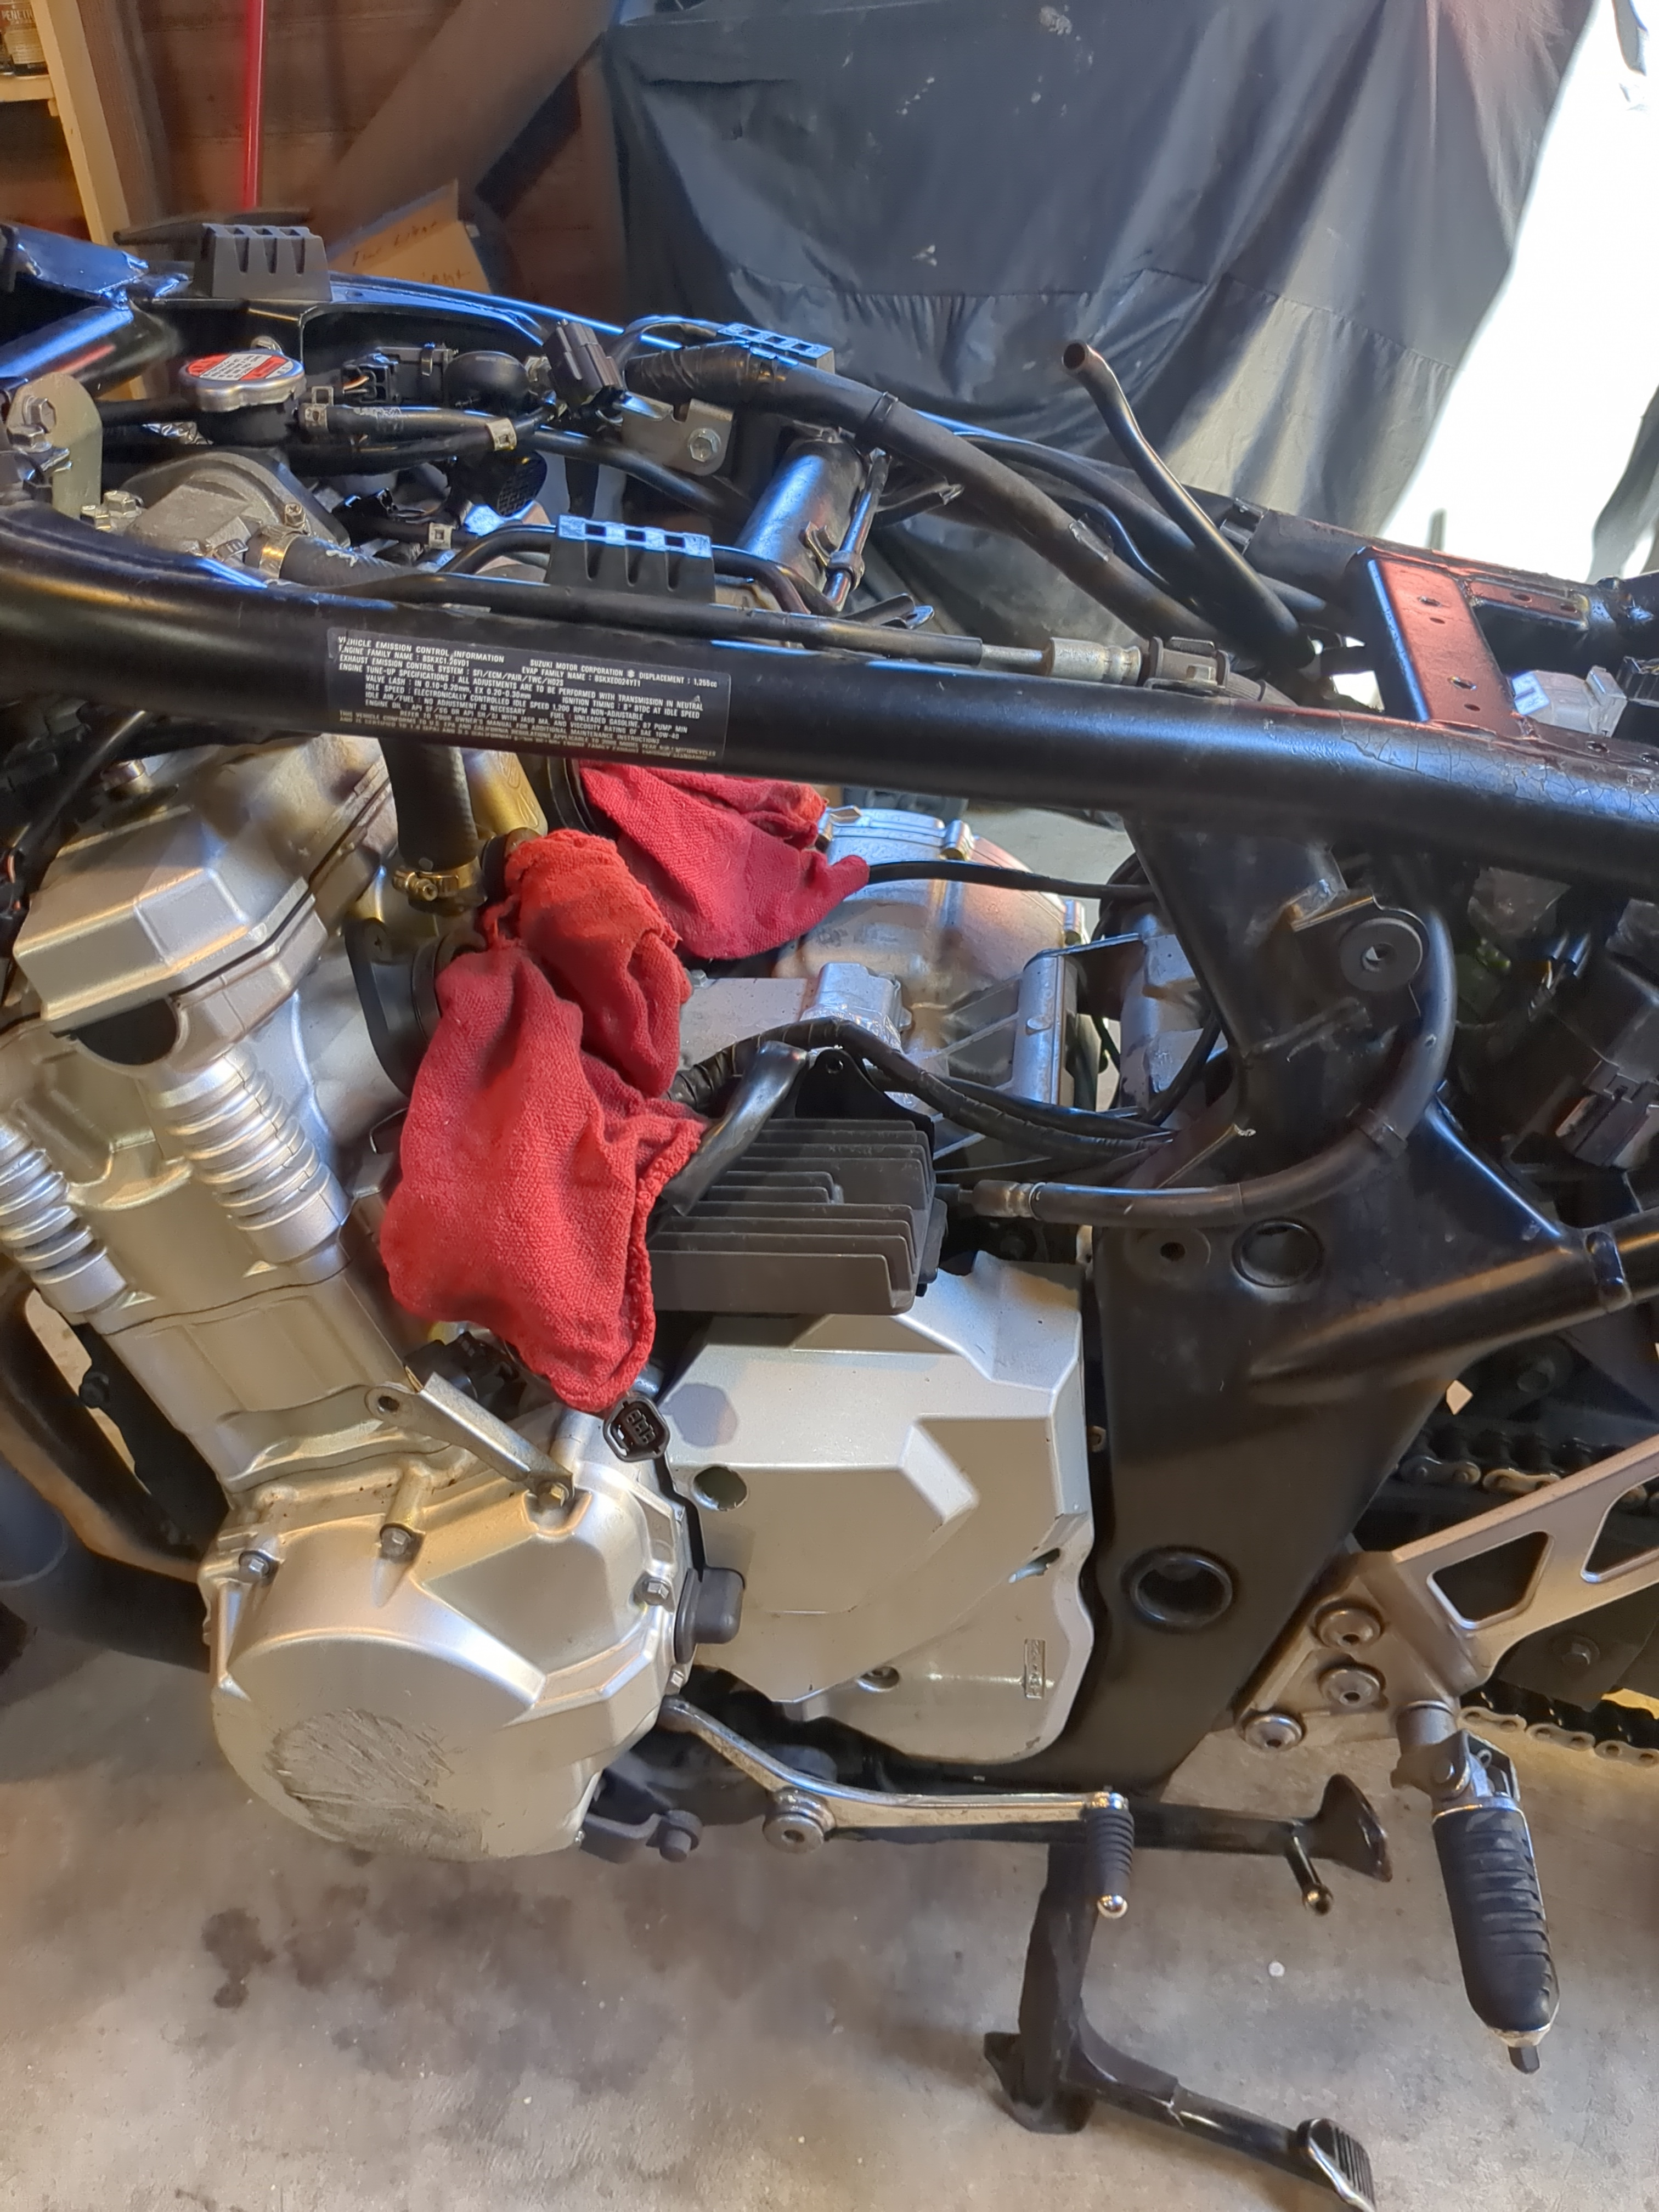
The throttle bodies and air box removed. I put shop towels inside the intake manifolds, and over the crankcase breather port to prevent debris from falling in.
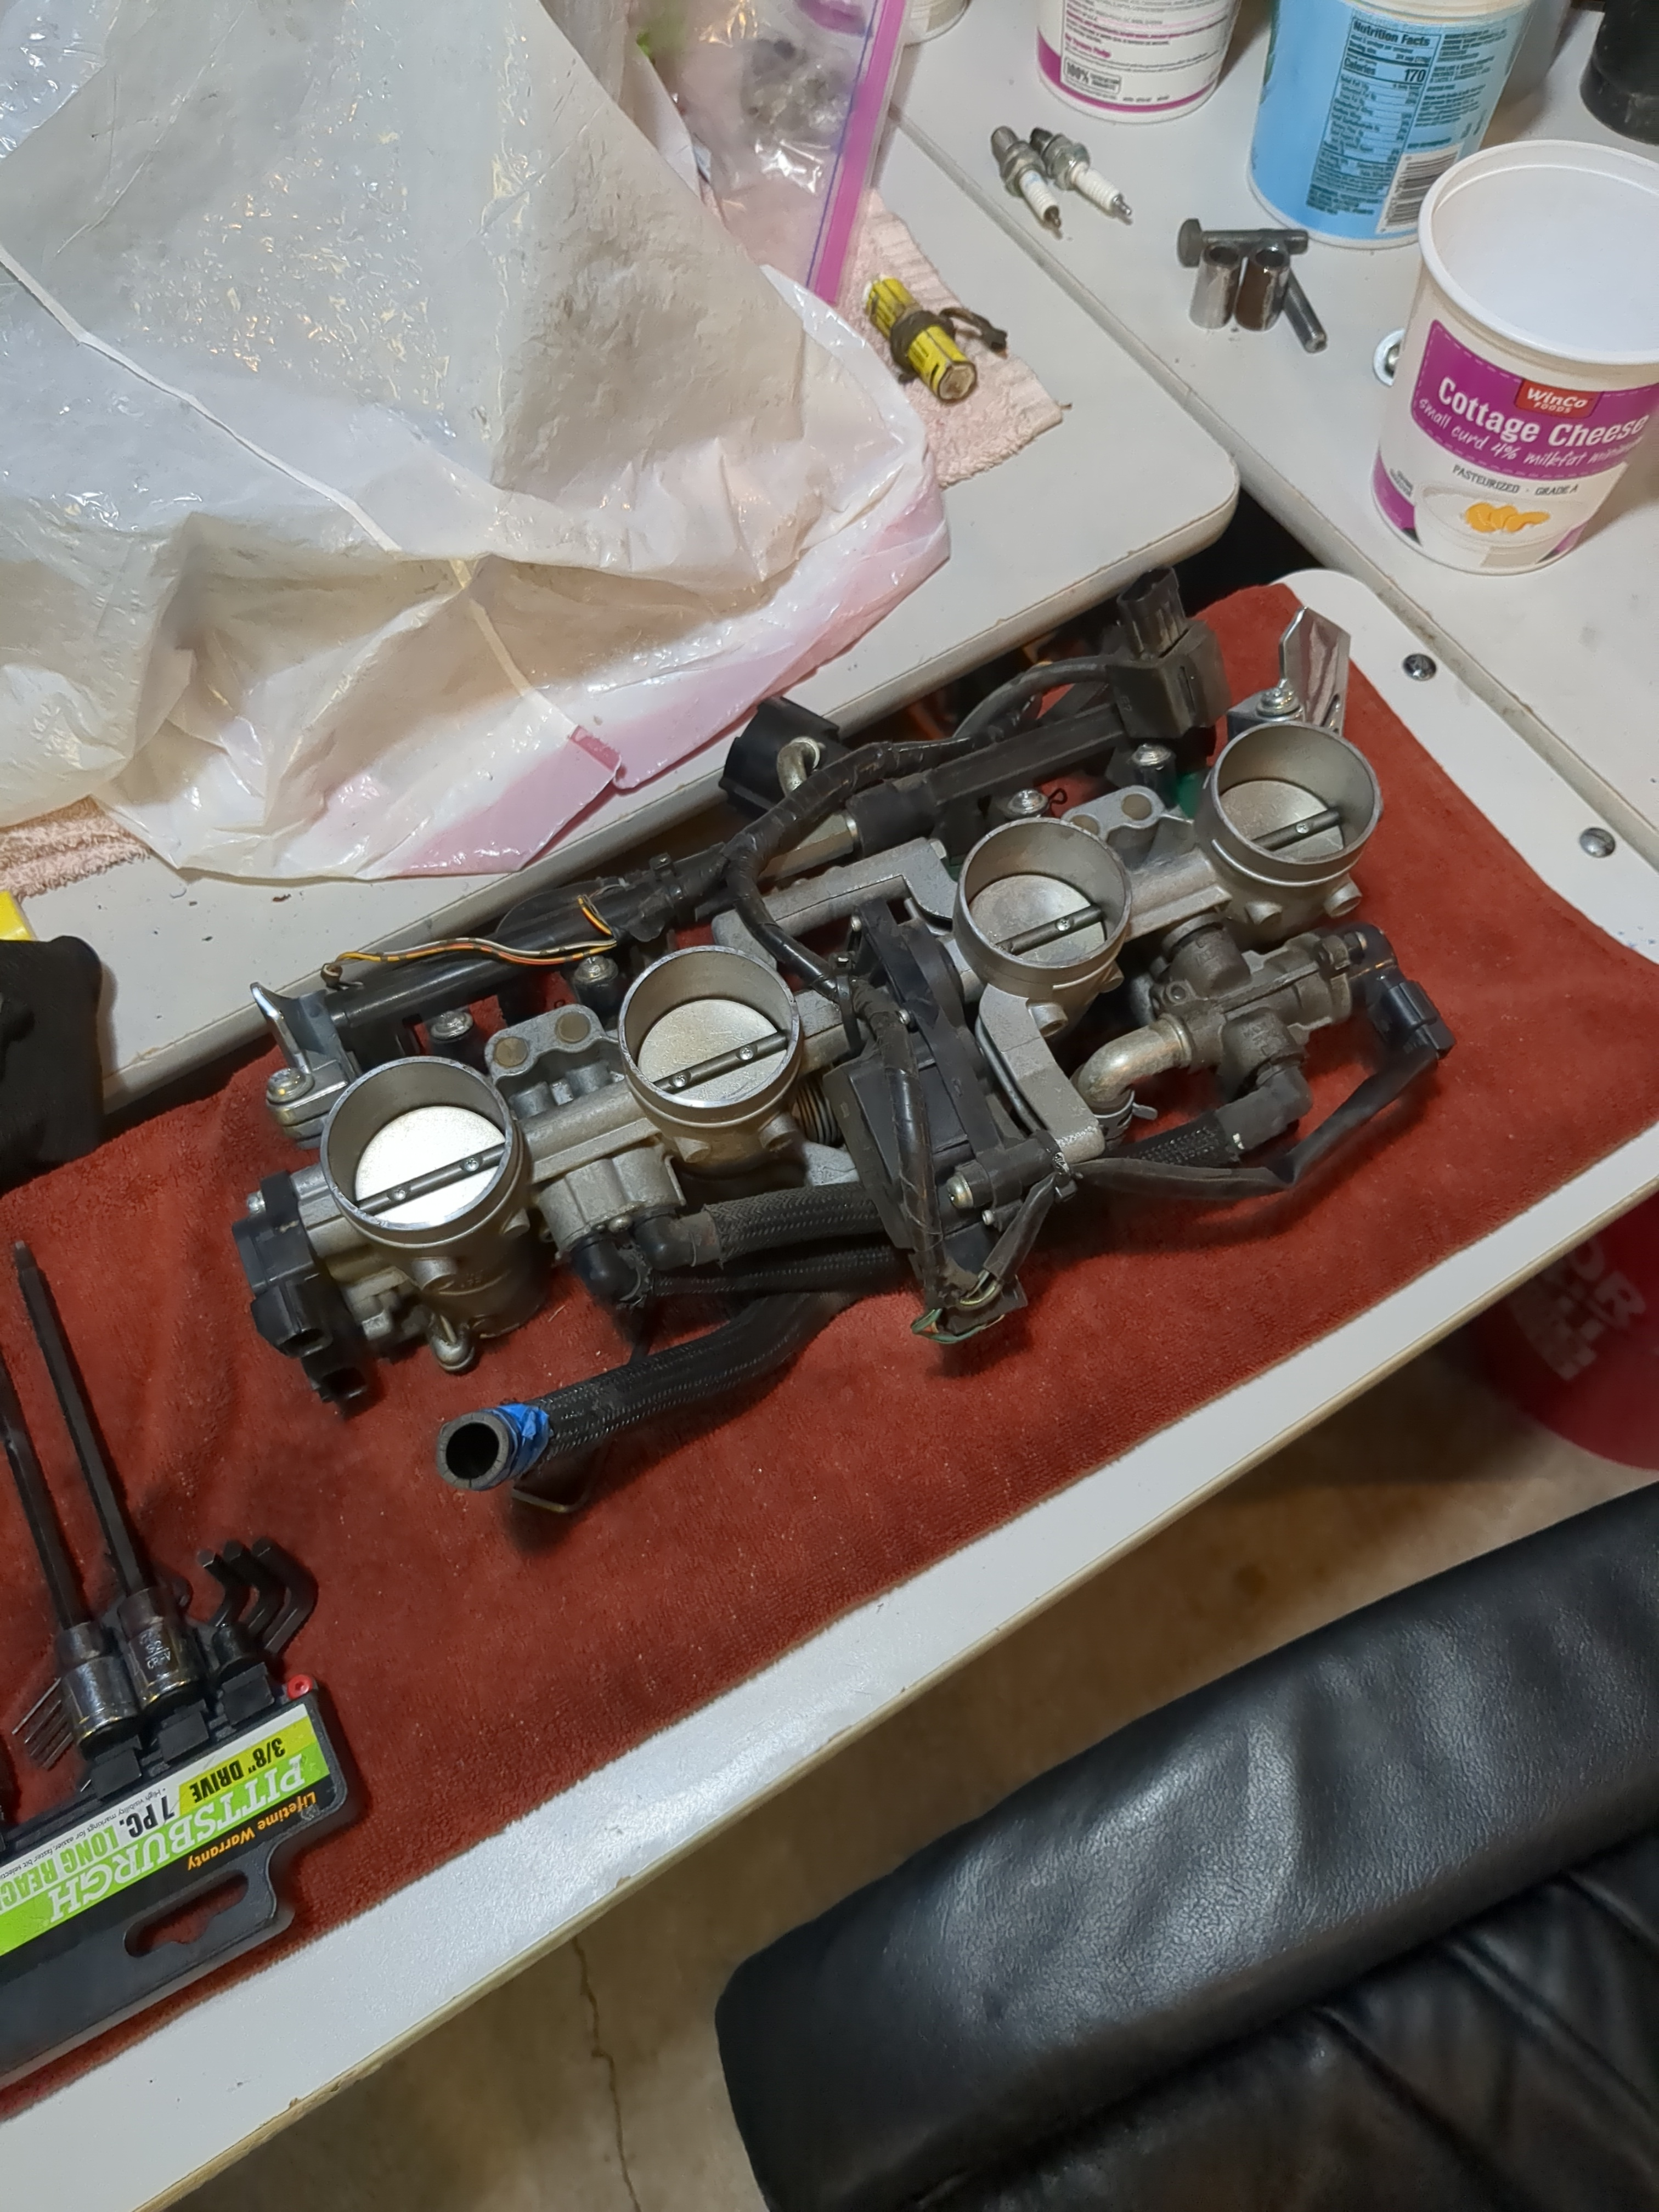
The throttle bodies removed from the bike, prior to cleaning. Most bikes have multiple throttle bodies. Most cars have a single throttle body. The throttle body is basically like the carburetor of a fuel injected vehicle. It has butterfly valves that open, which sucks air into the engine. On top of the throttle bodies is the fuel rail, which feeds fuel from the gas tank (via the fuel pump) into the injectors. Motorcycles tend to be port injected, so the fuel injectors work literally like a carburetor, just spraying fuel into the flowing air that gets sucked into the cylinder during the intake stroke.
You can see on the hose with the blue tape around it, a little bit of cracking. The rubber has turned brittle, and is allowing air to seep past it. I replaced all of the hoses.
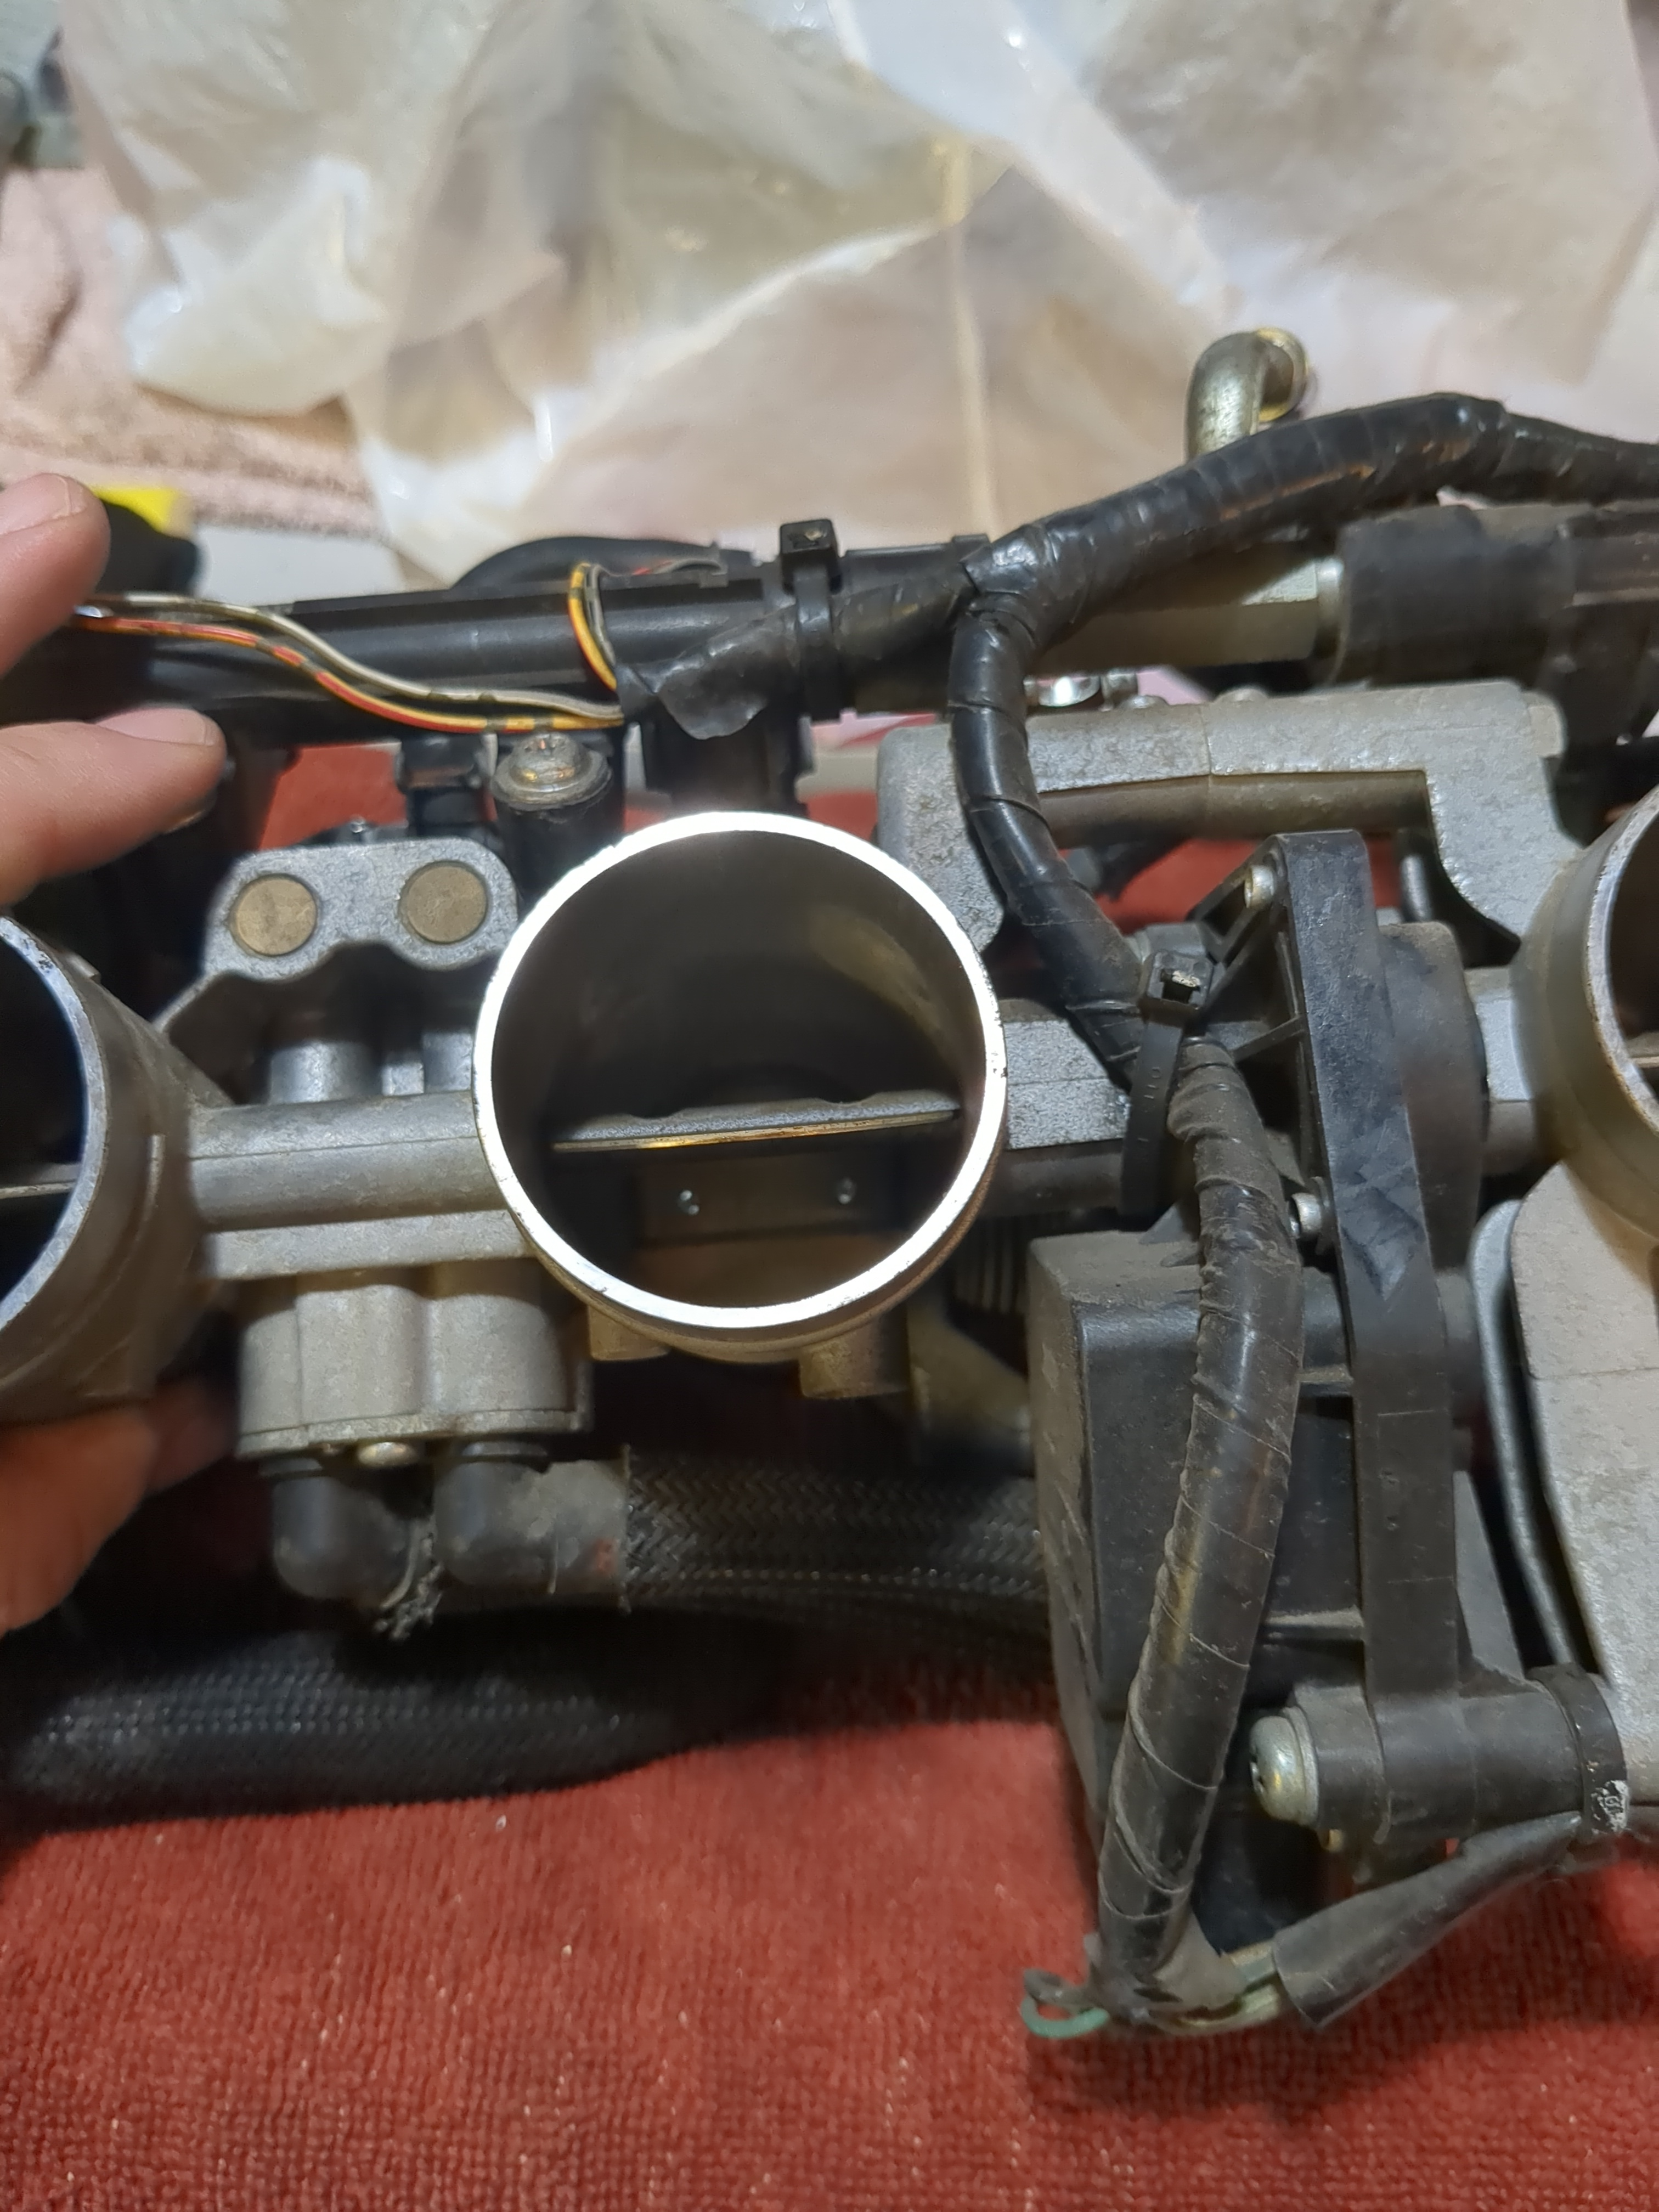
Suzuki is interesting, as they were among the first to implement a solenoid actuated butterfly valve. Basically, the engine will run slightly rich or lean based on the airflow into the engine, due to the RPM’s of the engine. Most conventional throttle bodies are just a single butterfly valve, however, Suzuki included that second, solenoid actuated valve, that will open or close slightly by detecting the air pressure and throttle position, and adjust the second set of butterfly valves to adjust the air/fuel mixture. This is what allowed the gen1 Hayabusa to be so powerful.
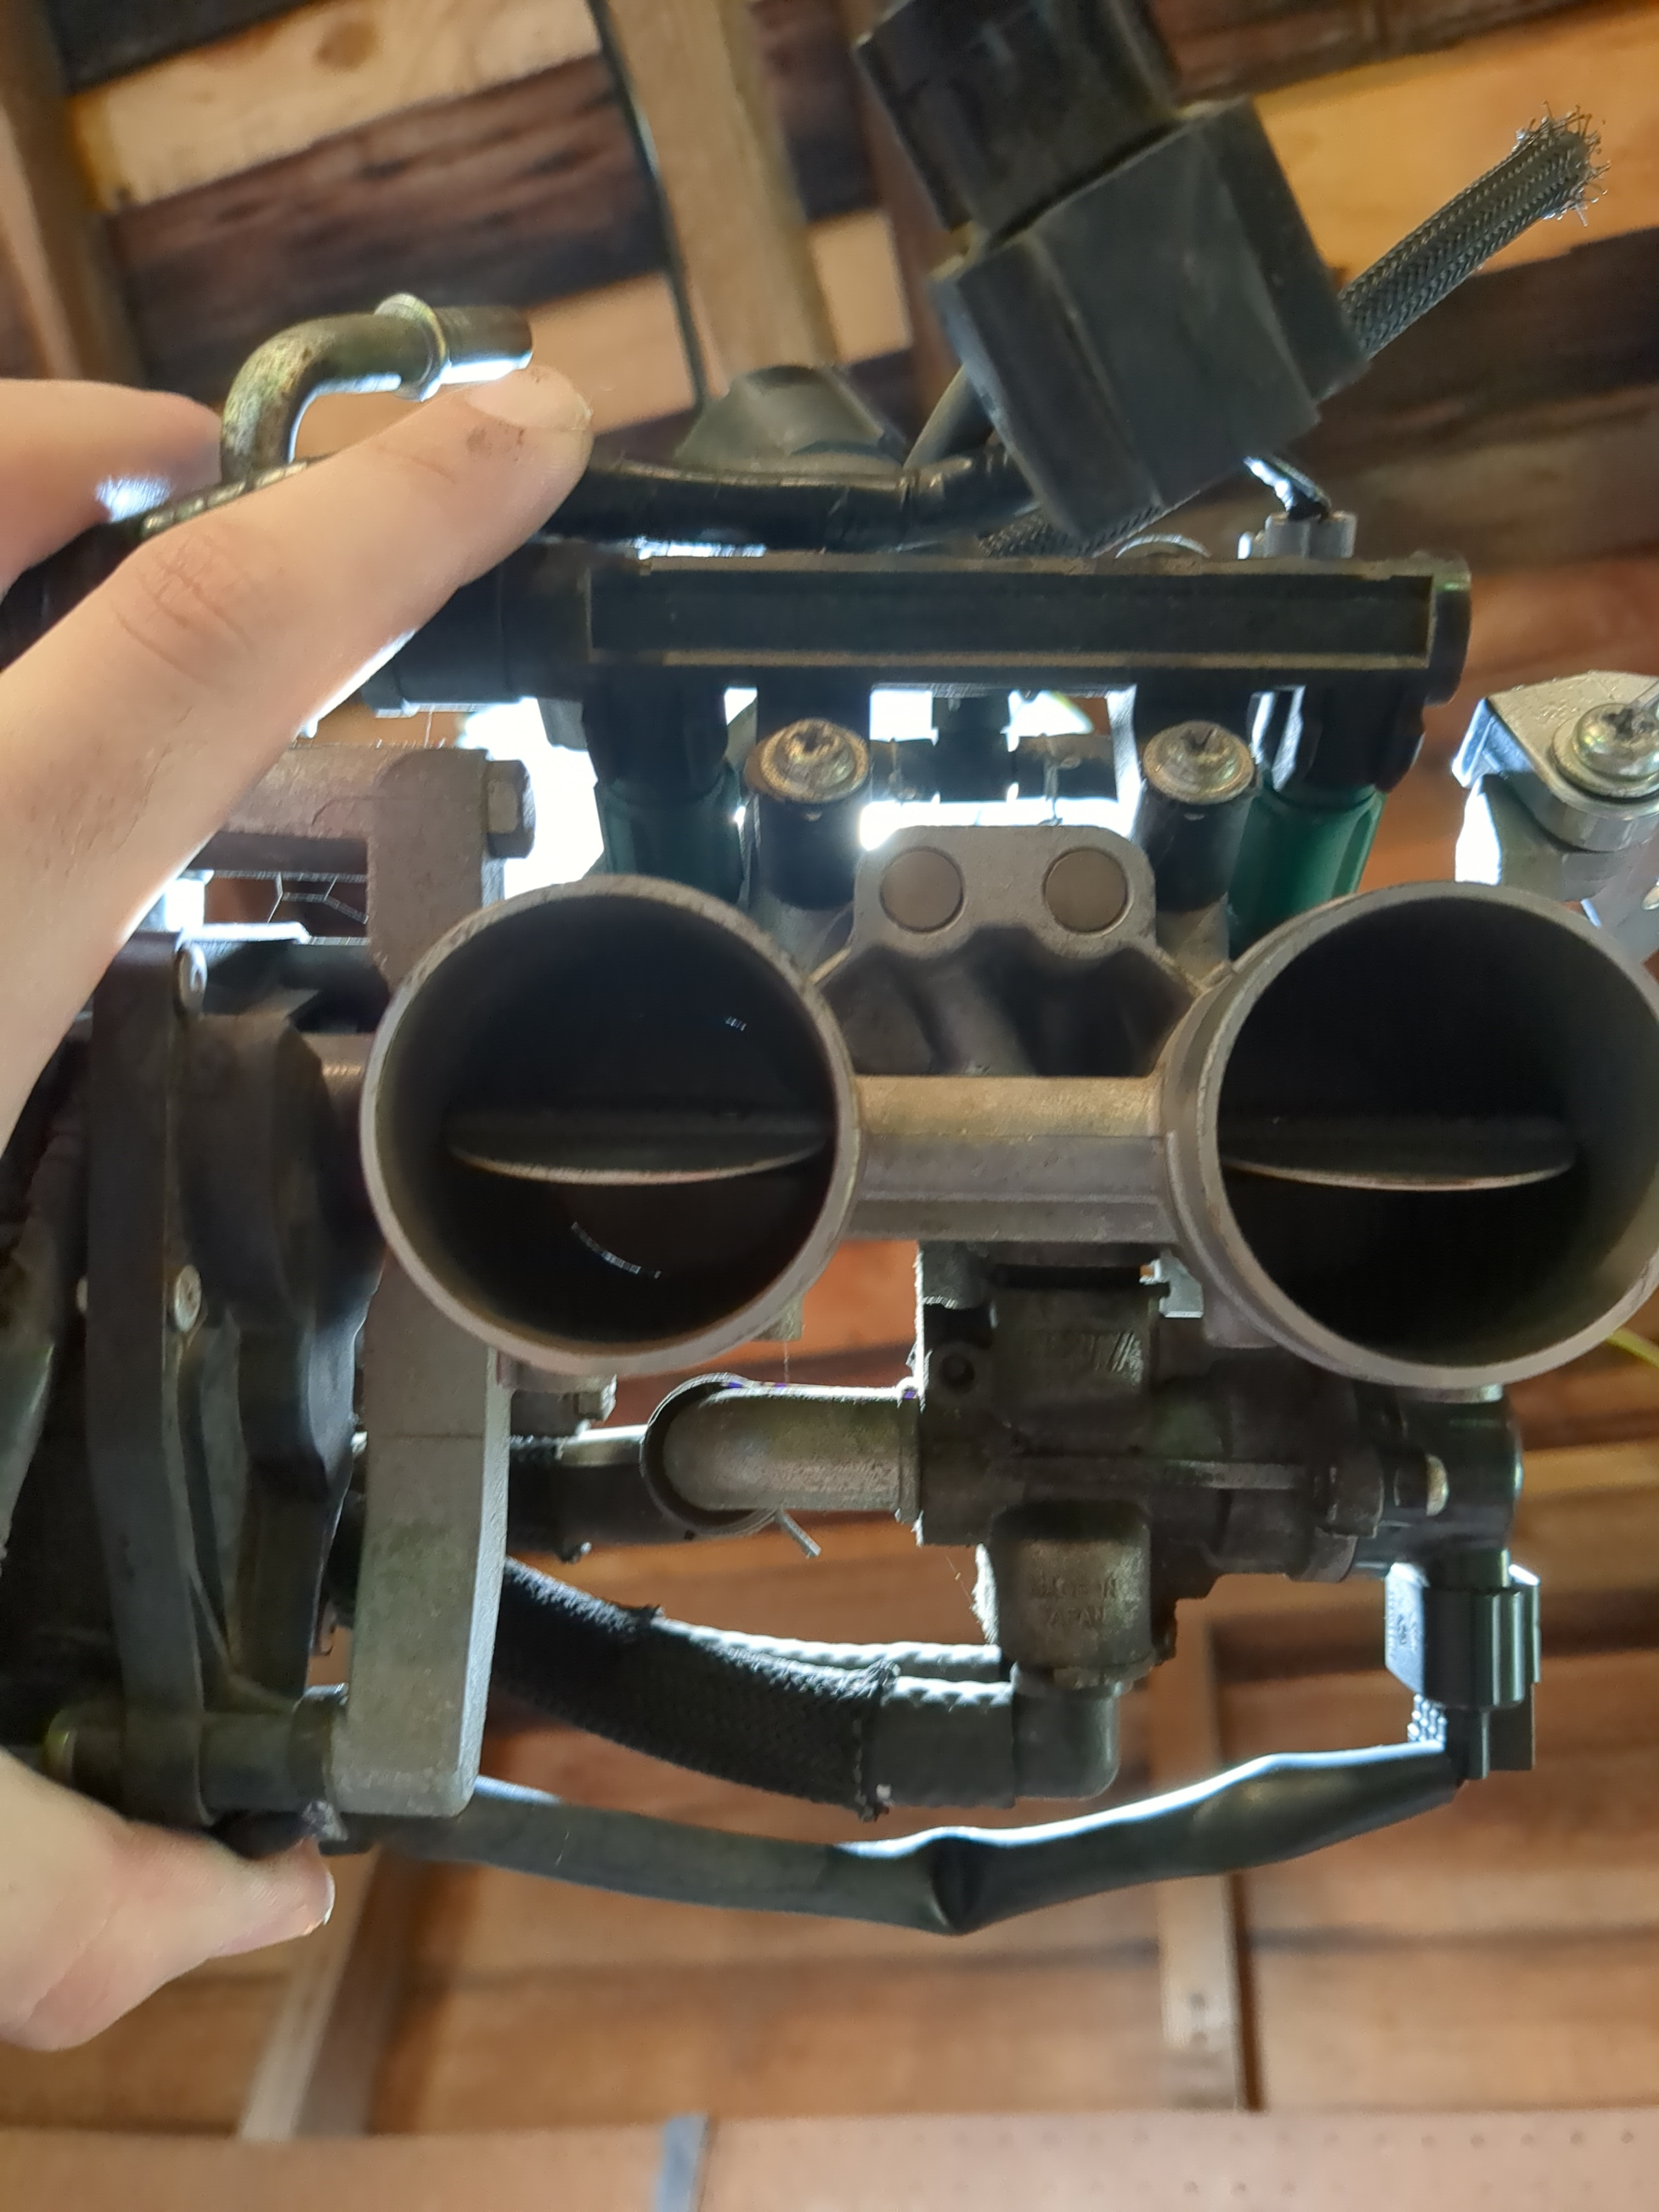
One way to check how dirty throttle bodies are, is to shine a light through them. They should have a small crescent moon of light beaming through. Mine were fairly dirty, and did not have that crescent moon shape.
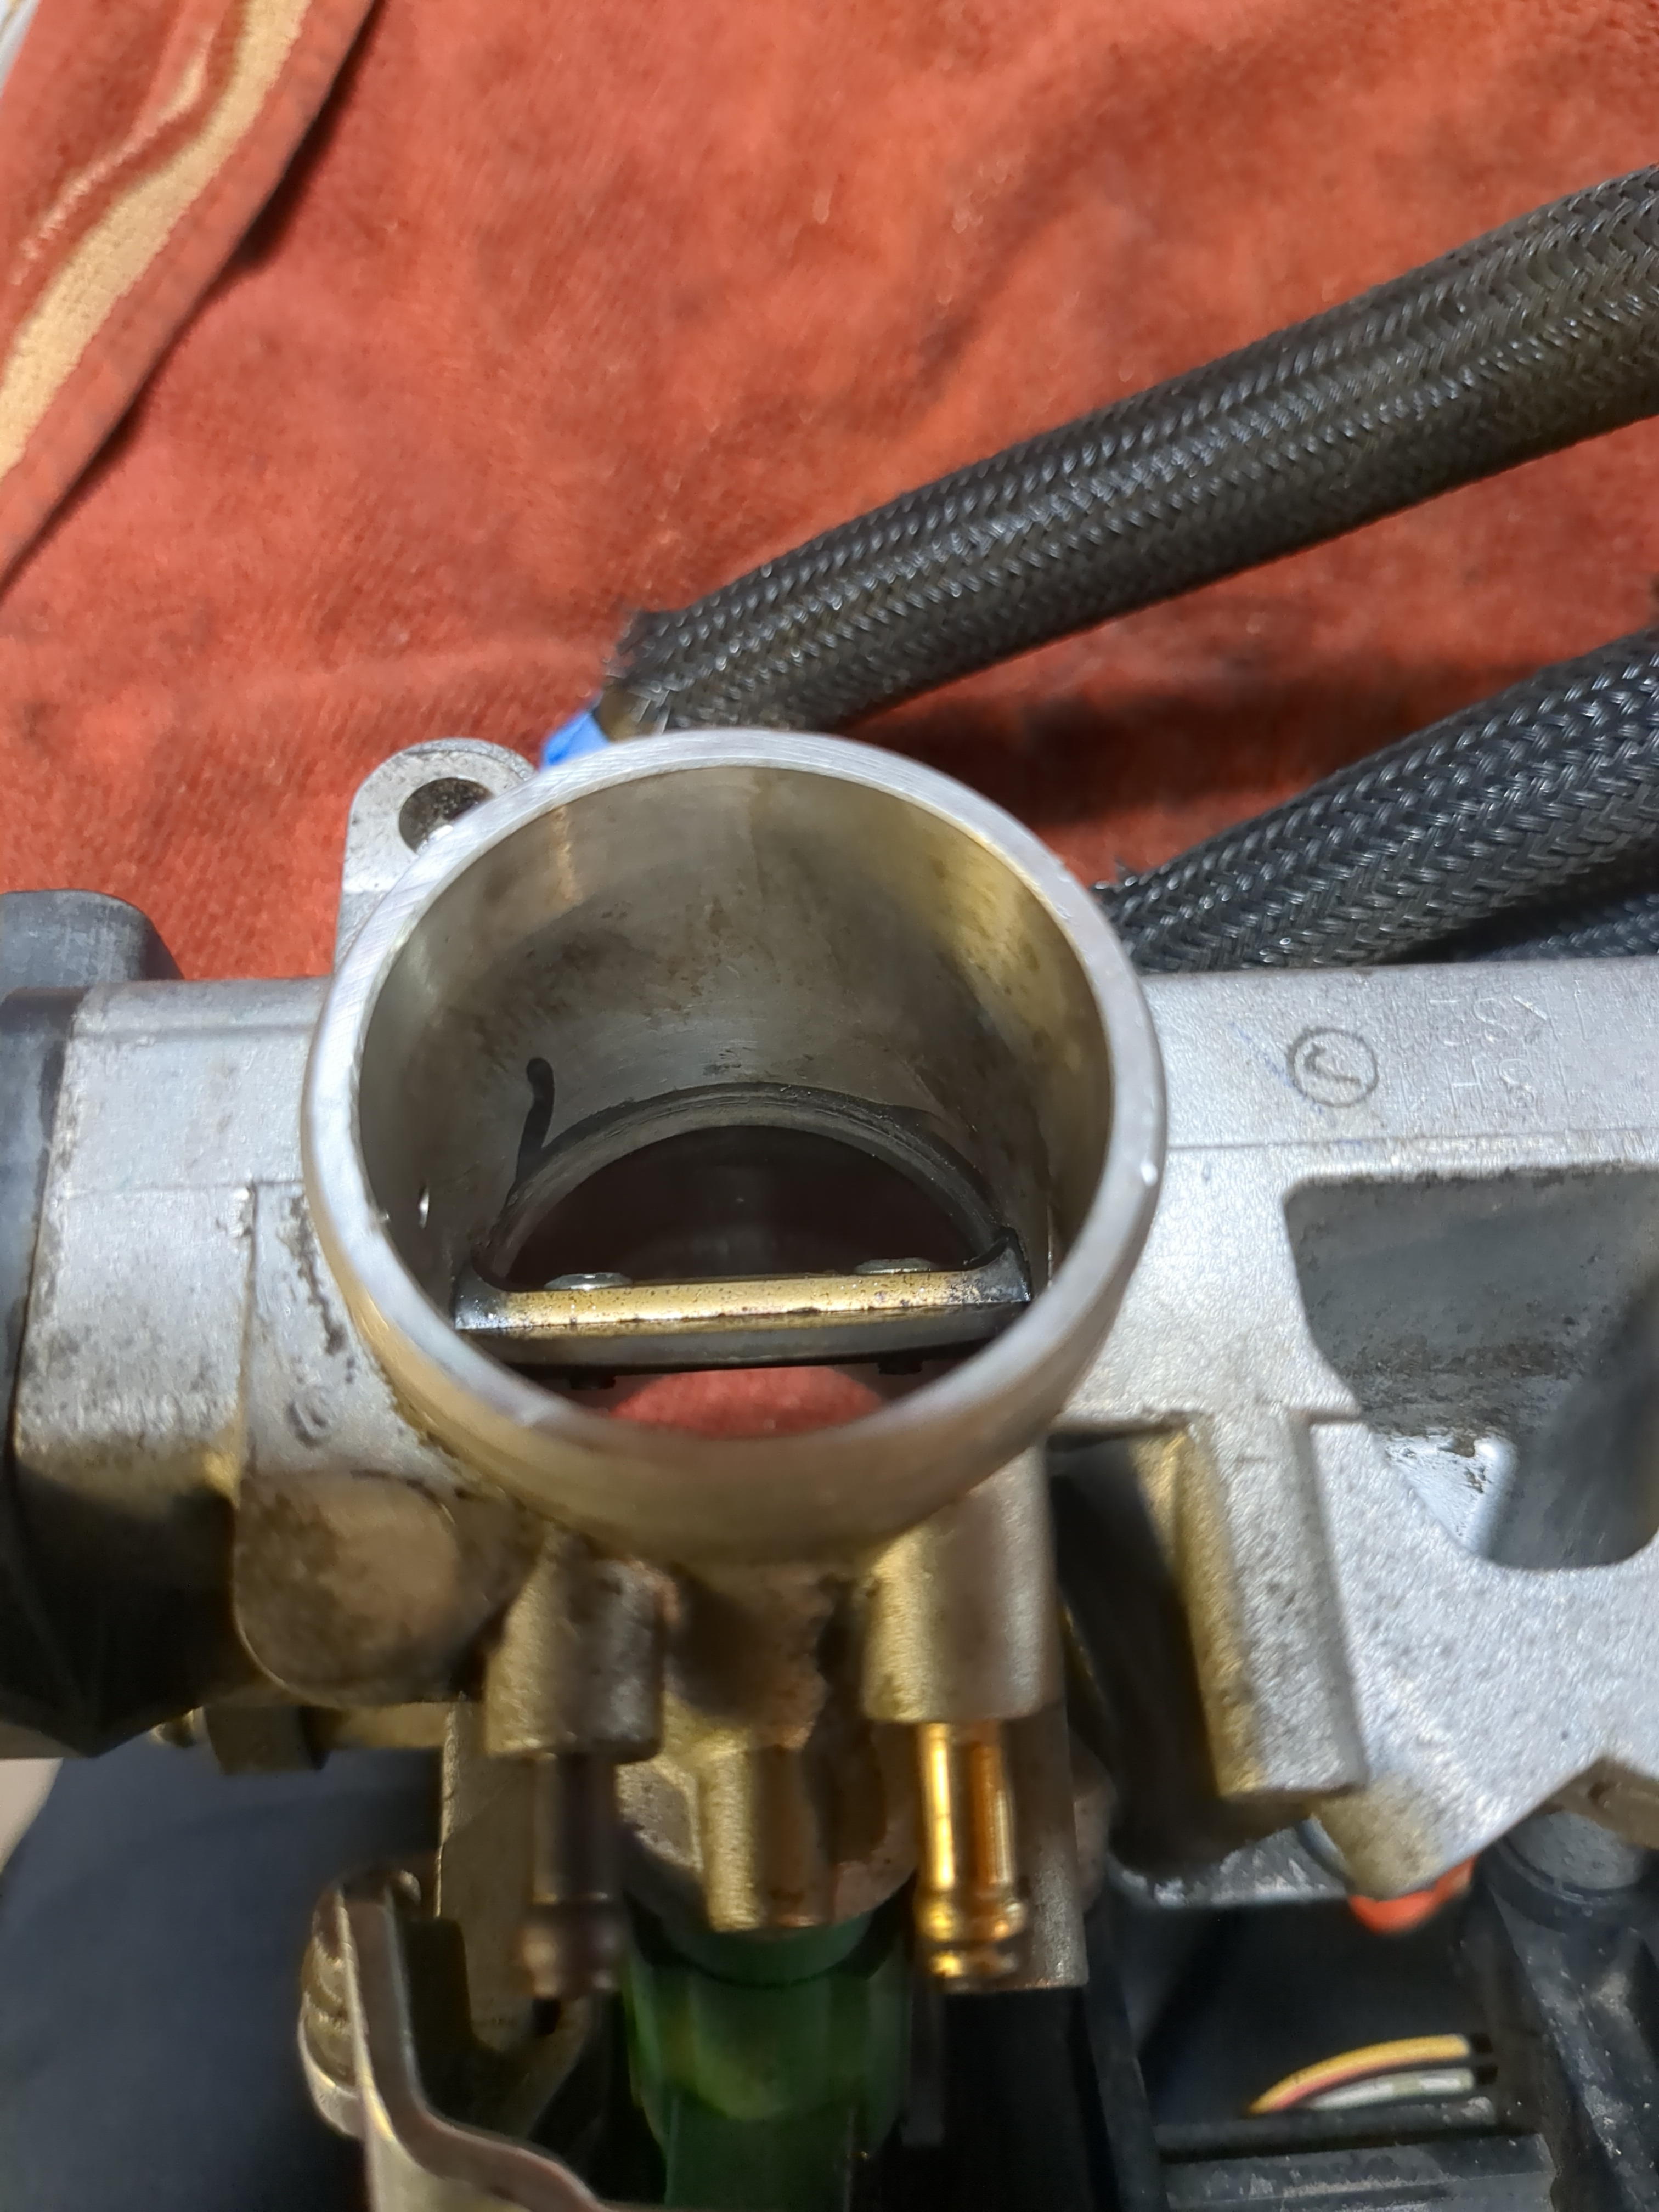
Be careful if you push on the butterfly valves (I pushed on the throttle cable plate). You can see the dirt/debris where the butterfly valves almost meet the inside of the barrel. I used a rough sponge scrub pad, a toothbrush, some throttle body cleaner, and compressed air.
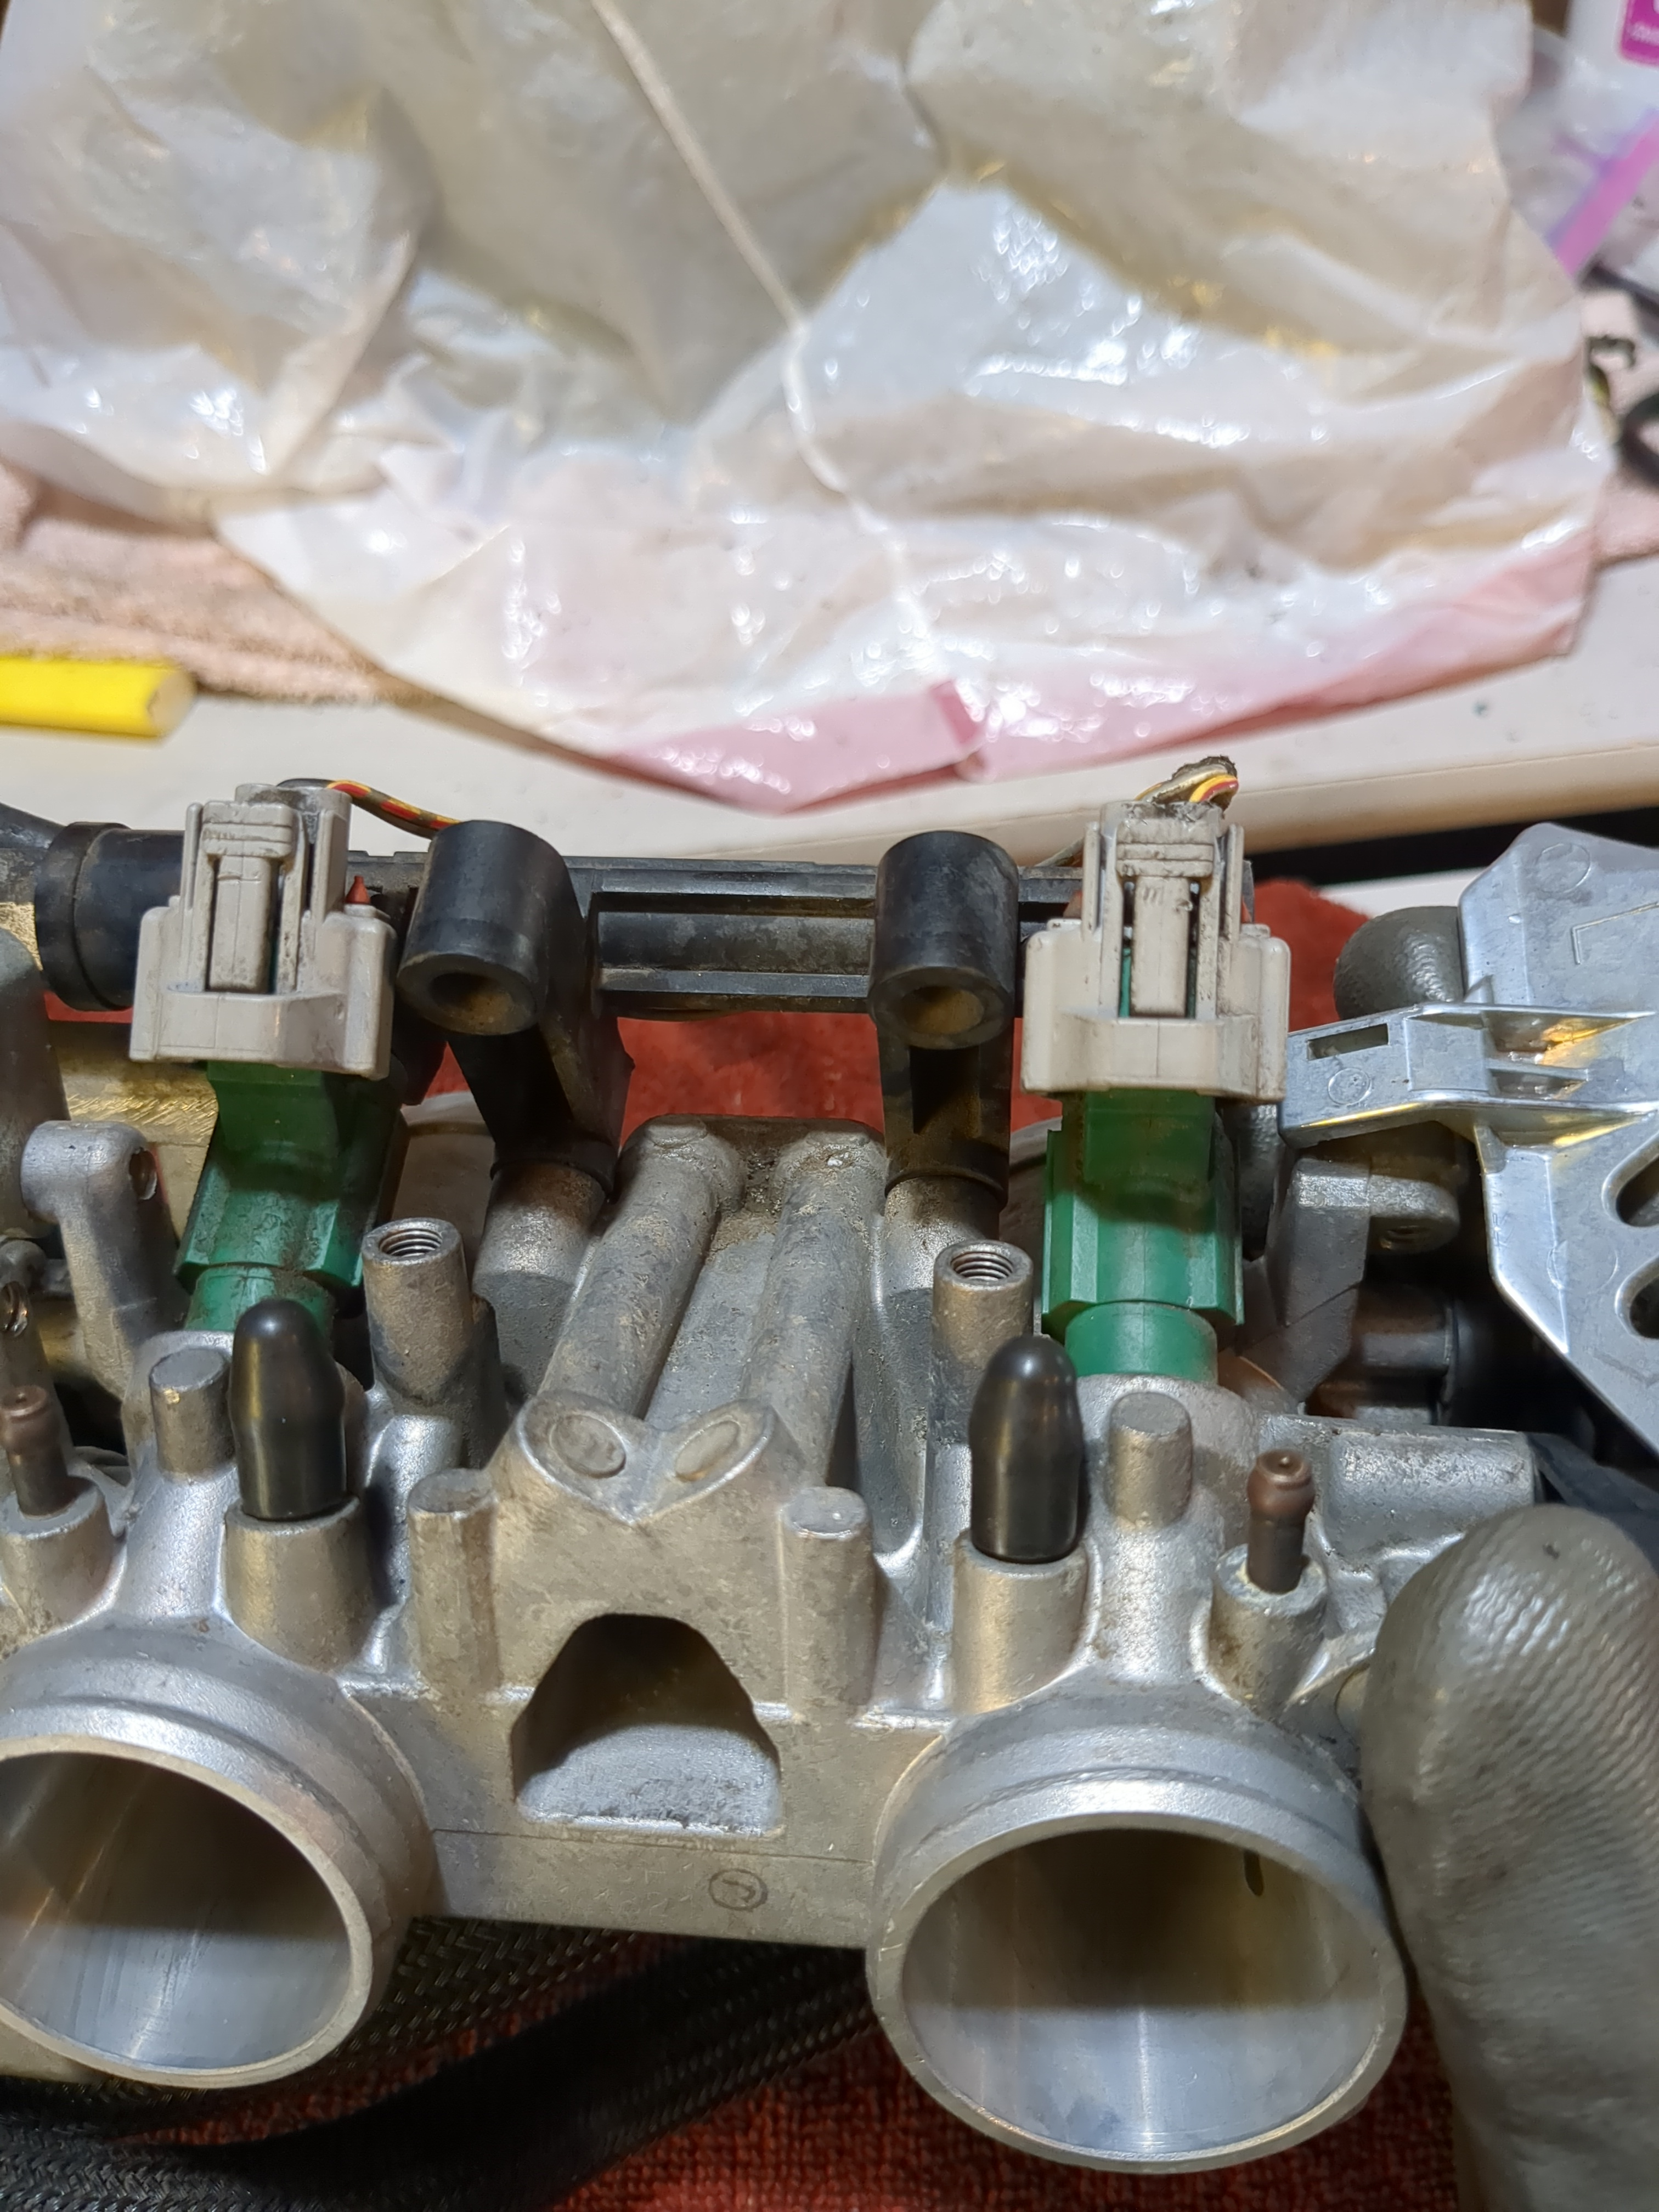
Since I was going to take the EVAP system off, I decided to buy some plugs to place over the ports where the EVAP system fed the vapors into the engine. All thee EVAP system does is provide a way for vapors to be used by the machine (car or motorcycle), instead of leaking into the atmosphere. Suzuki accomplishes this by having the gas tank attached to a charcoal cannister filter, that has outside atmosphere flowing through it. The gas vapors flow into the charcoal filter, and are trapped. When the engine is running, the vapors are pulled back into the engine and burned. Removing the EVAP doesn’t give you that much power. I only removed it because I suspected that it could be causing a vacuum leak, and my vehicle does not need to pass an emissions inspection. I did retain all the parts in case I want to sell the bike, or move some place where it does need emissions testing.
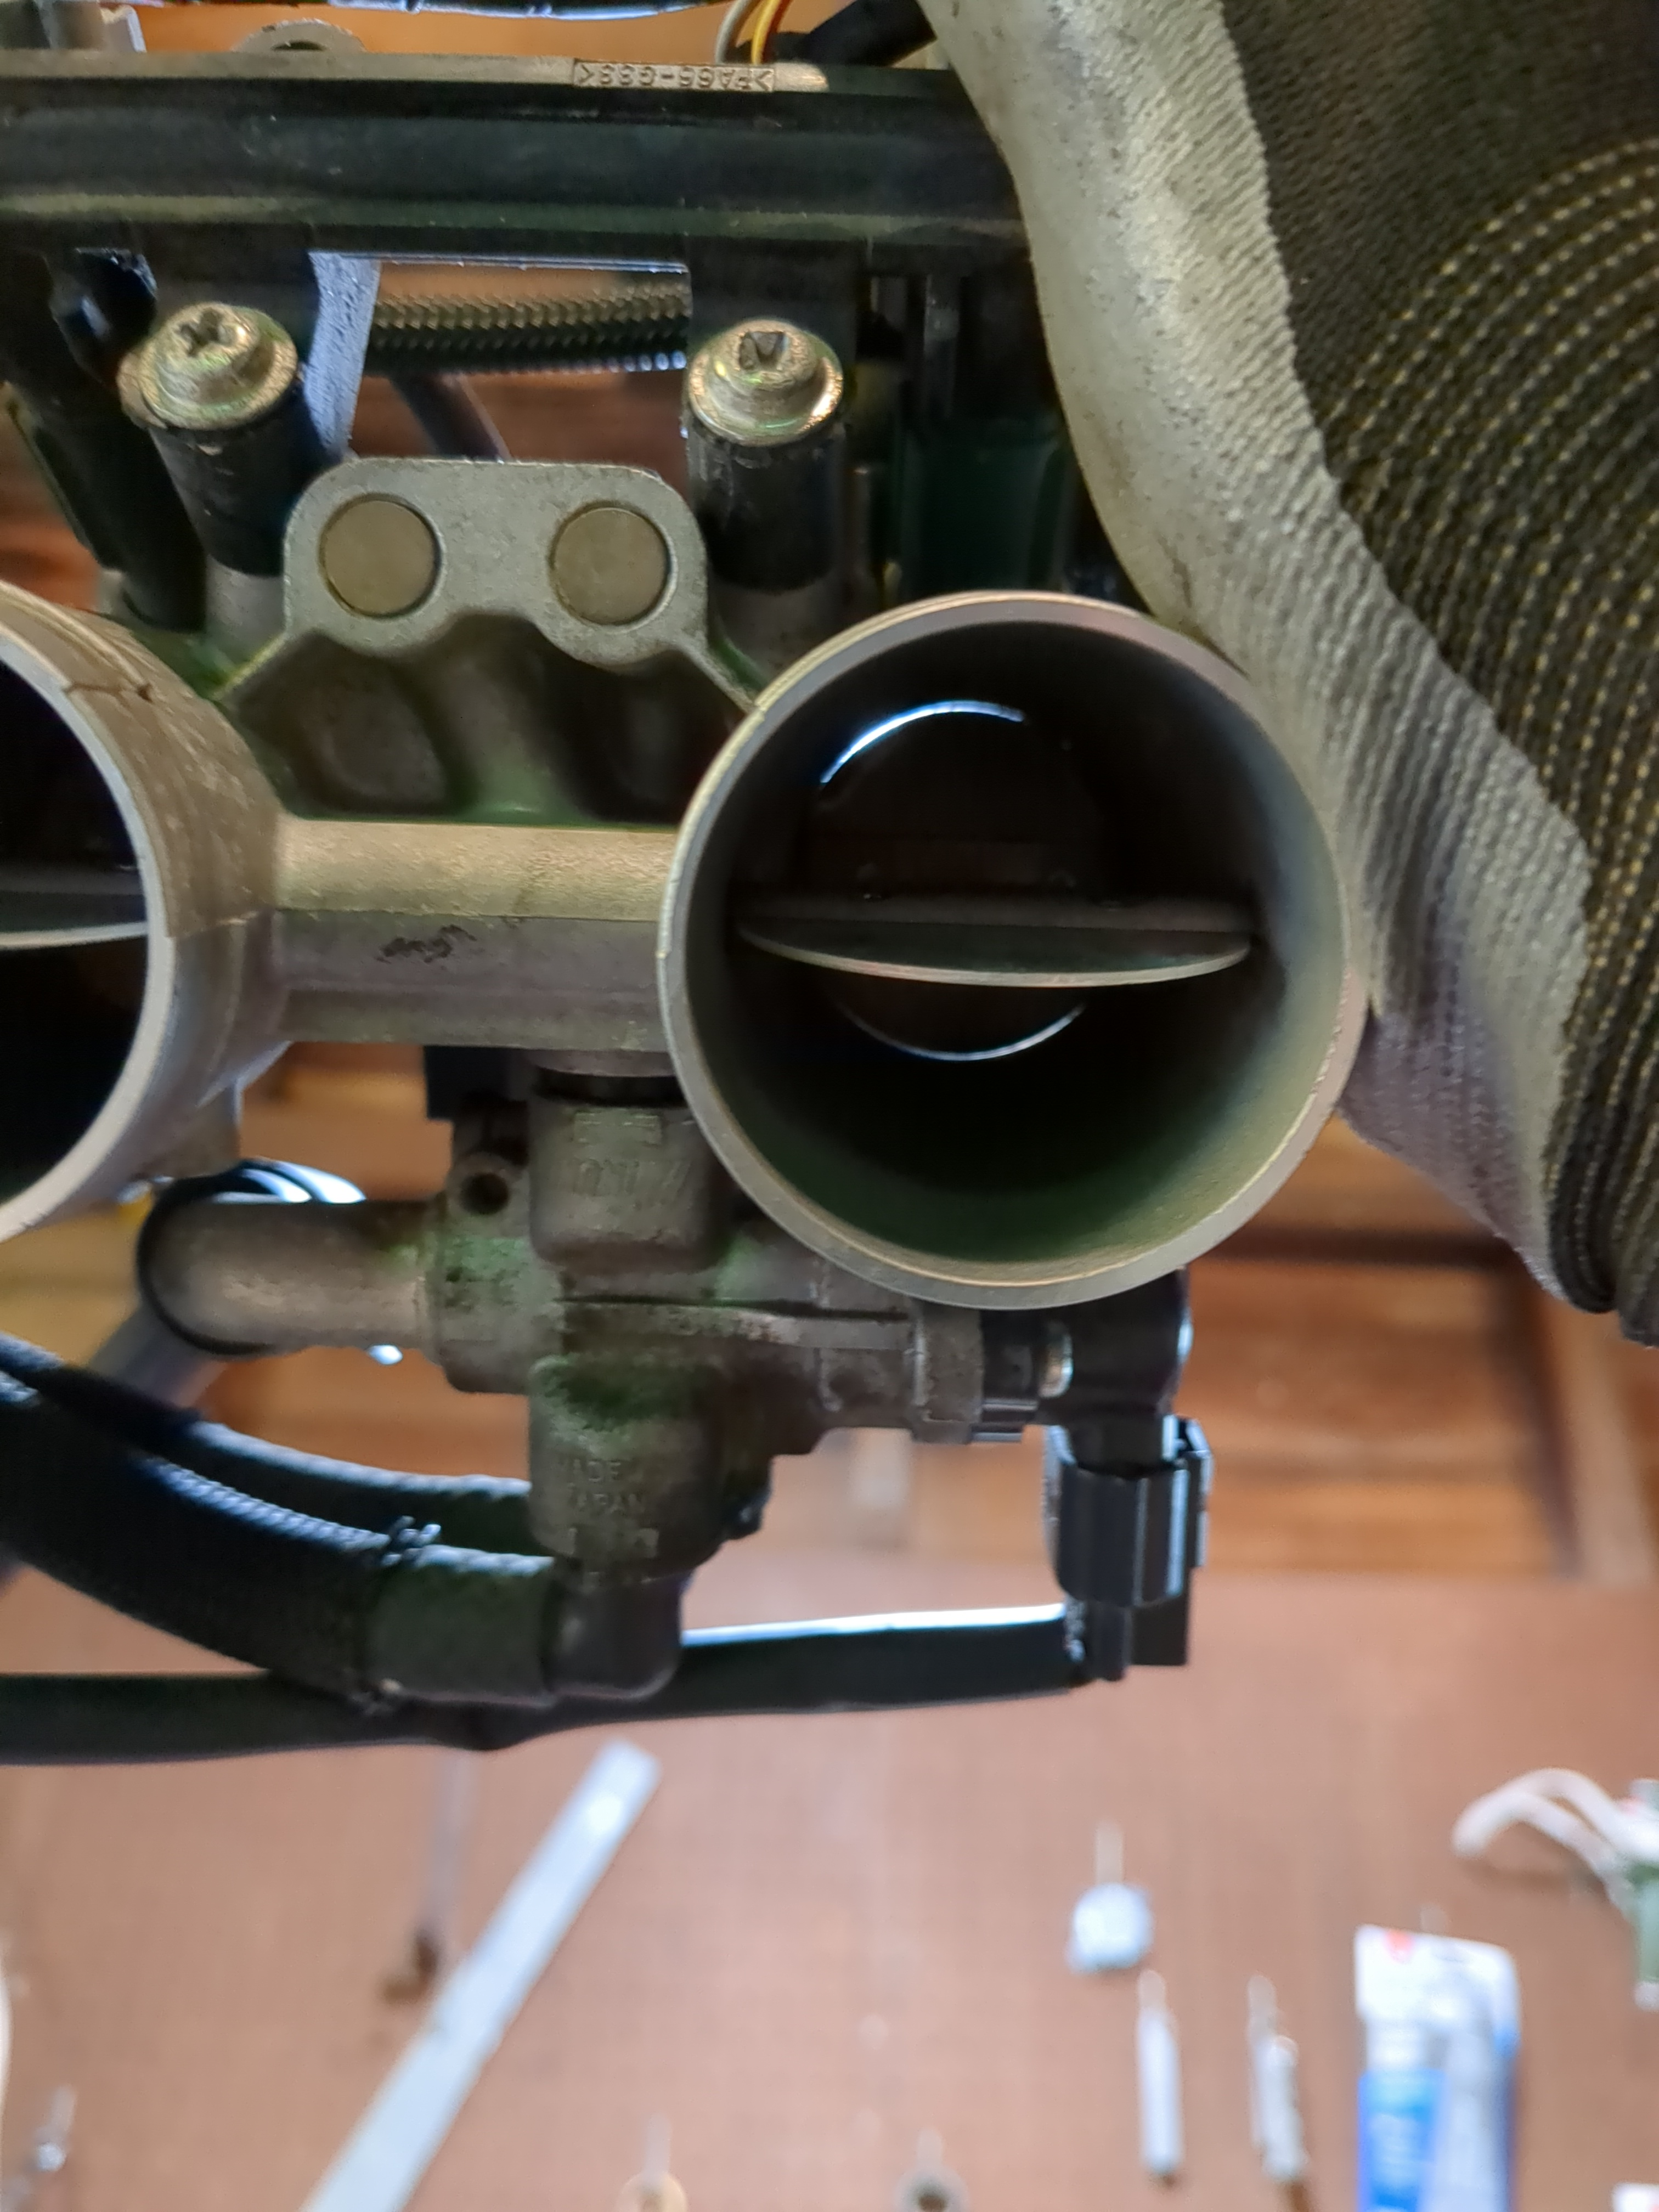
After the cleaning. I also replaced all of the hoses, as they were beginning to crack, and were likely causing a vacuum leak.
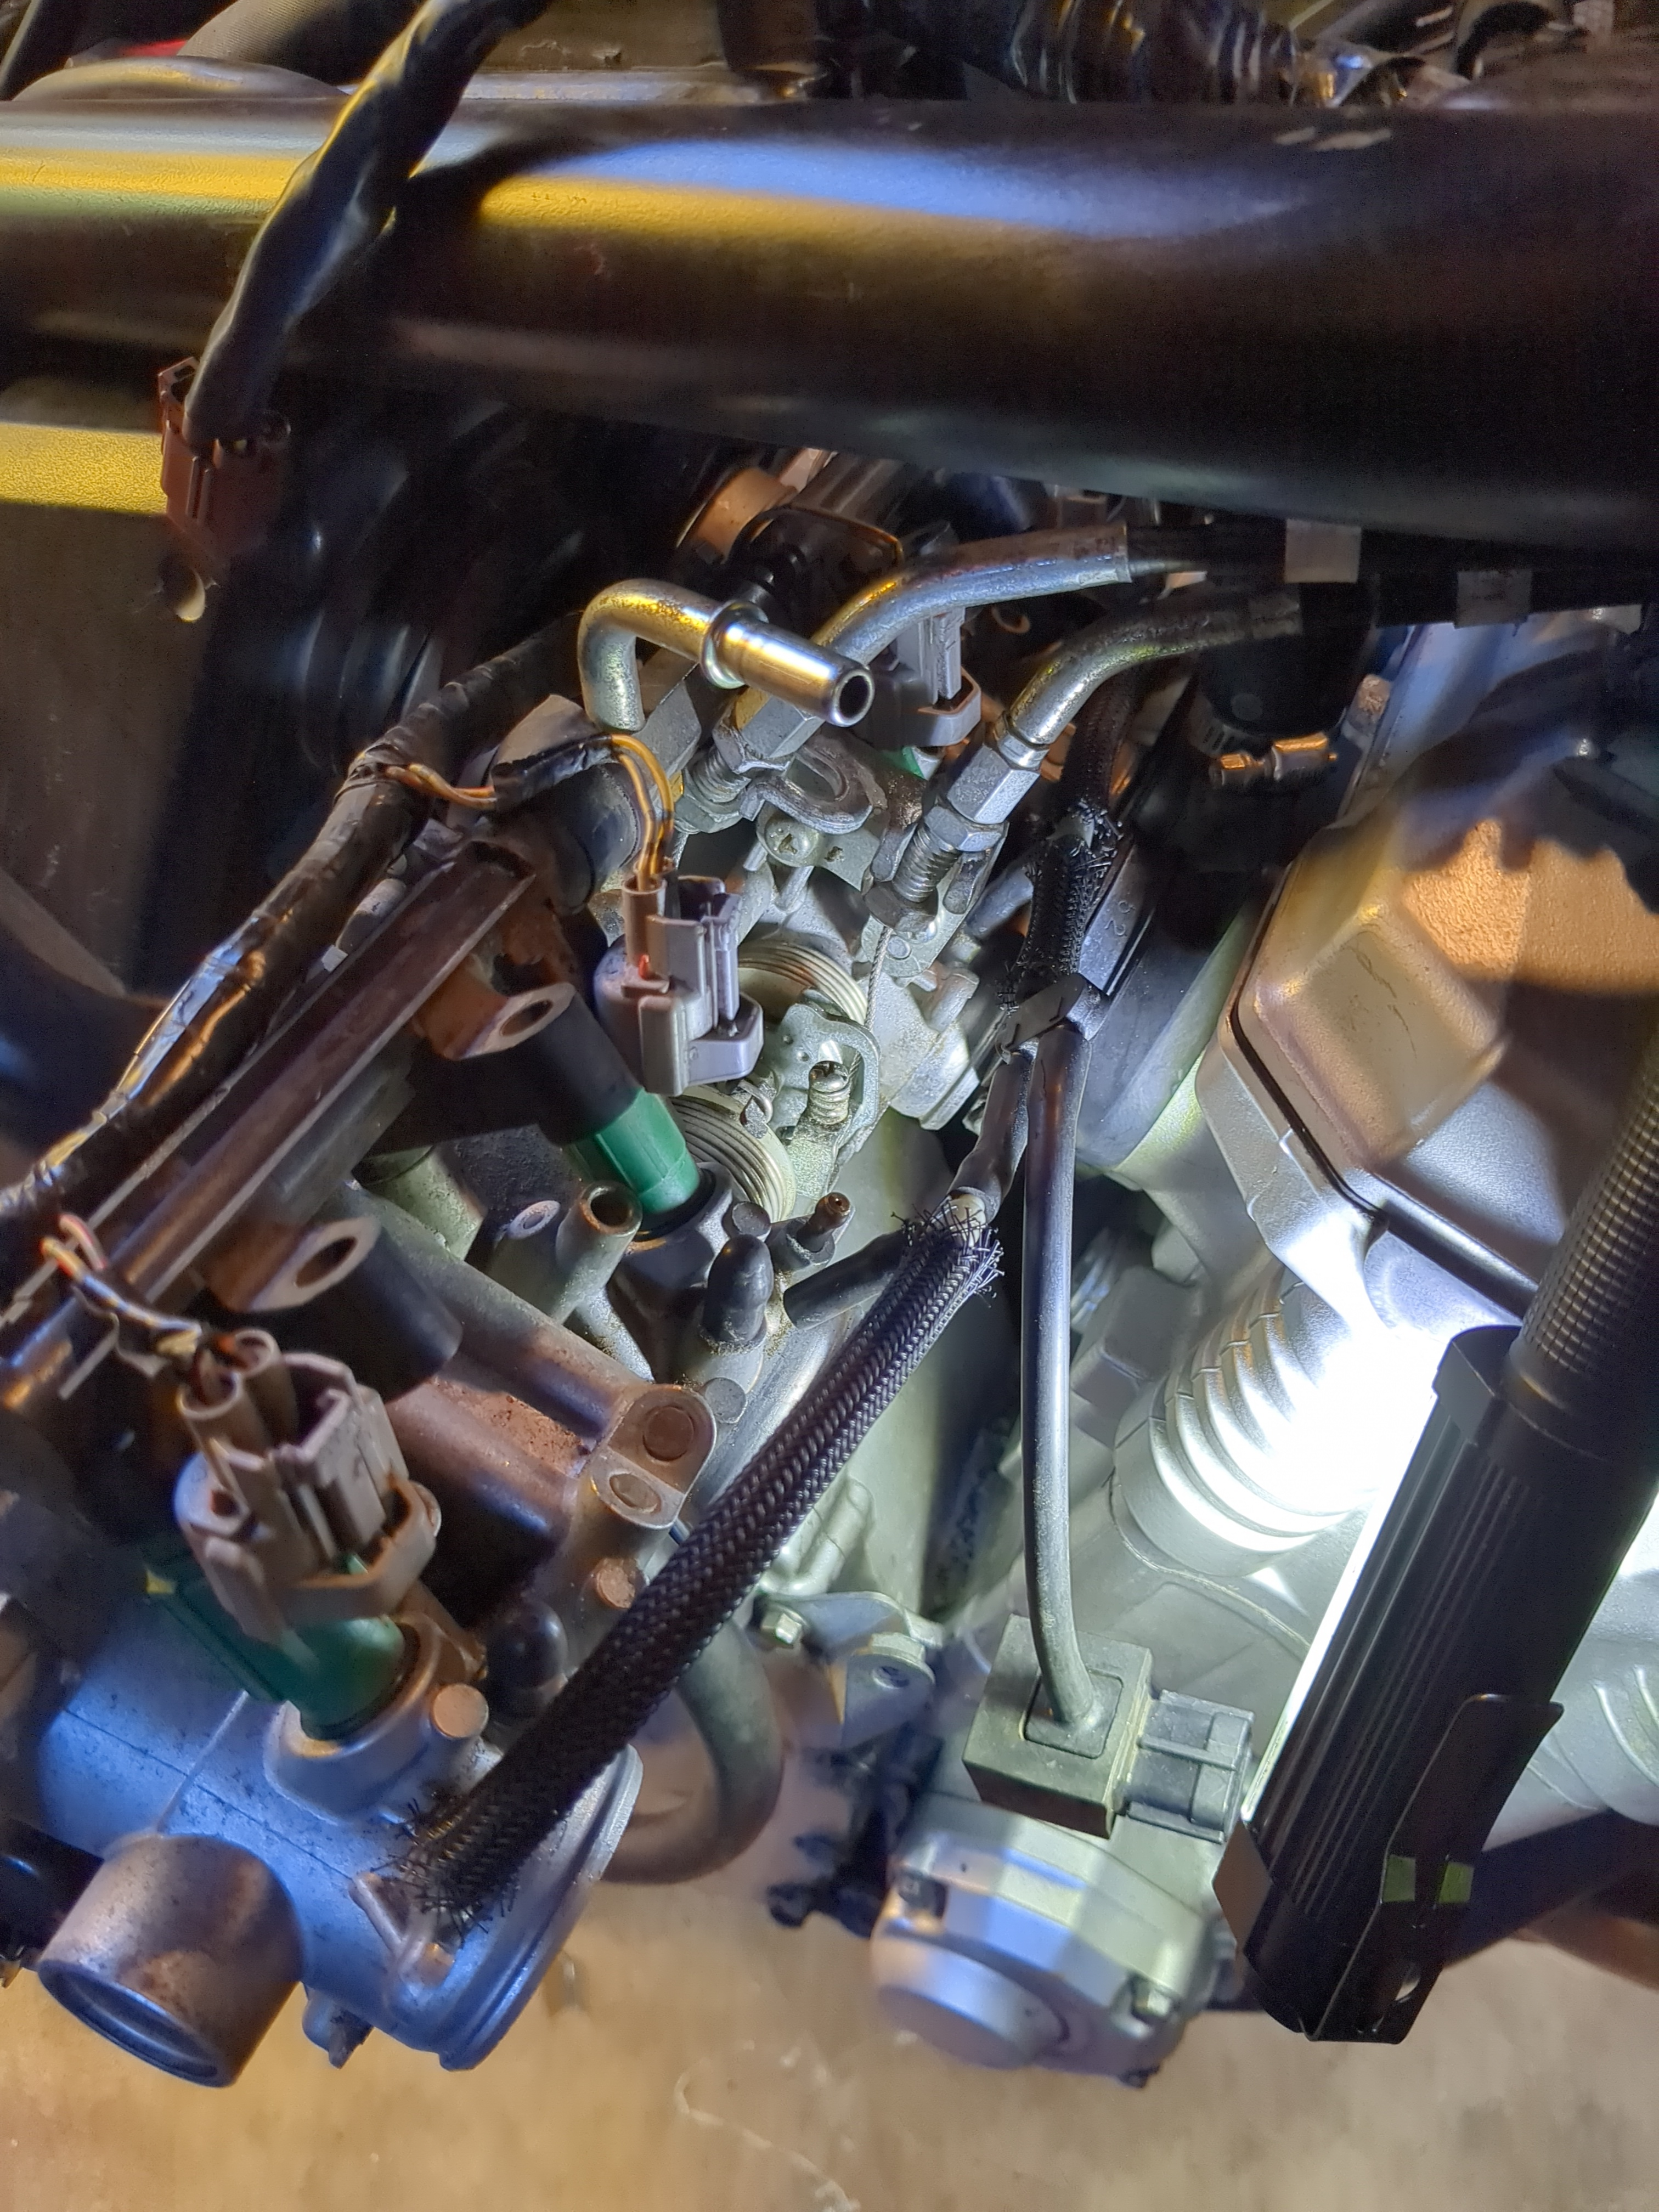
After installing the airbox, I installed the throttle bodies back on the bike. The biggest pain was hooking the throttle cables back onto the throttle plate. I had to use a pick, a pair of needle nose pliers, and a zip tie to maneuver the cables back into place. I used a paint pen to mark the side of the cables facing out. If you install them in backwards, you can sometimes put extra tension on the cables, and cause them to bind up. It’s an issue I encountered on the TW and the Shadow.
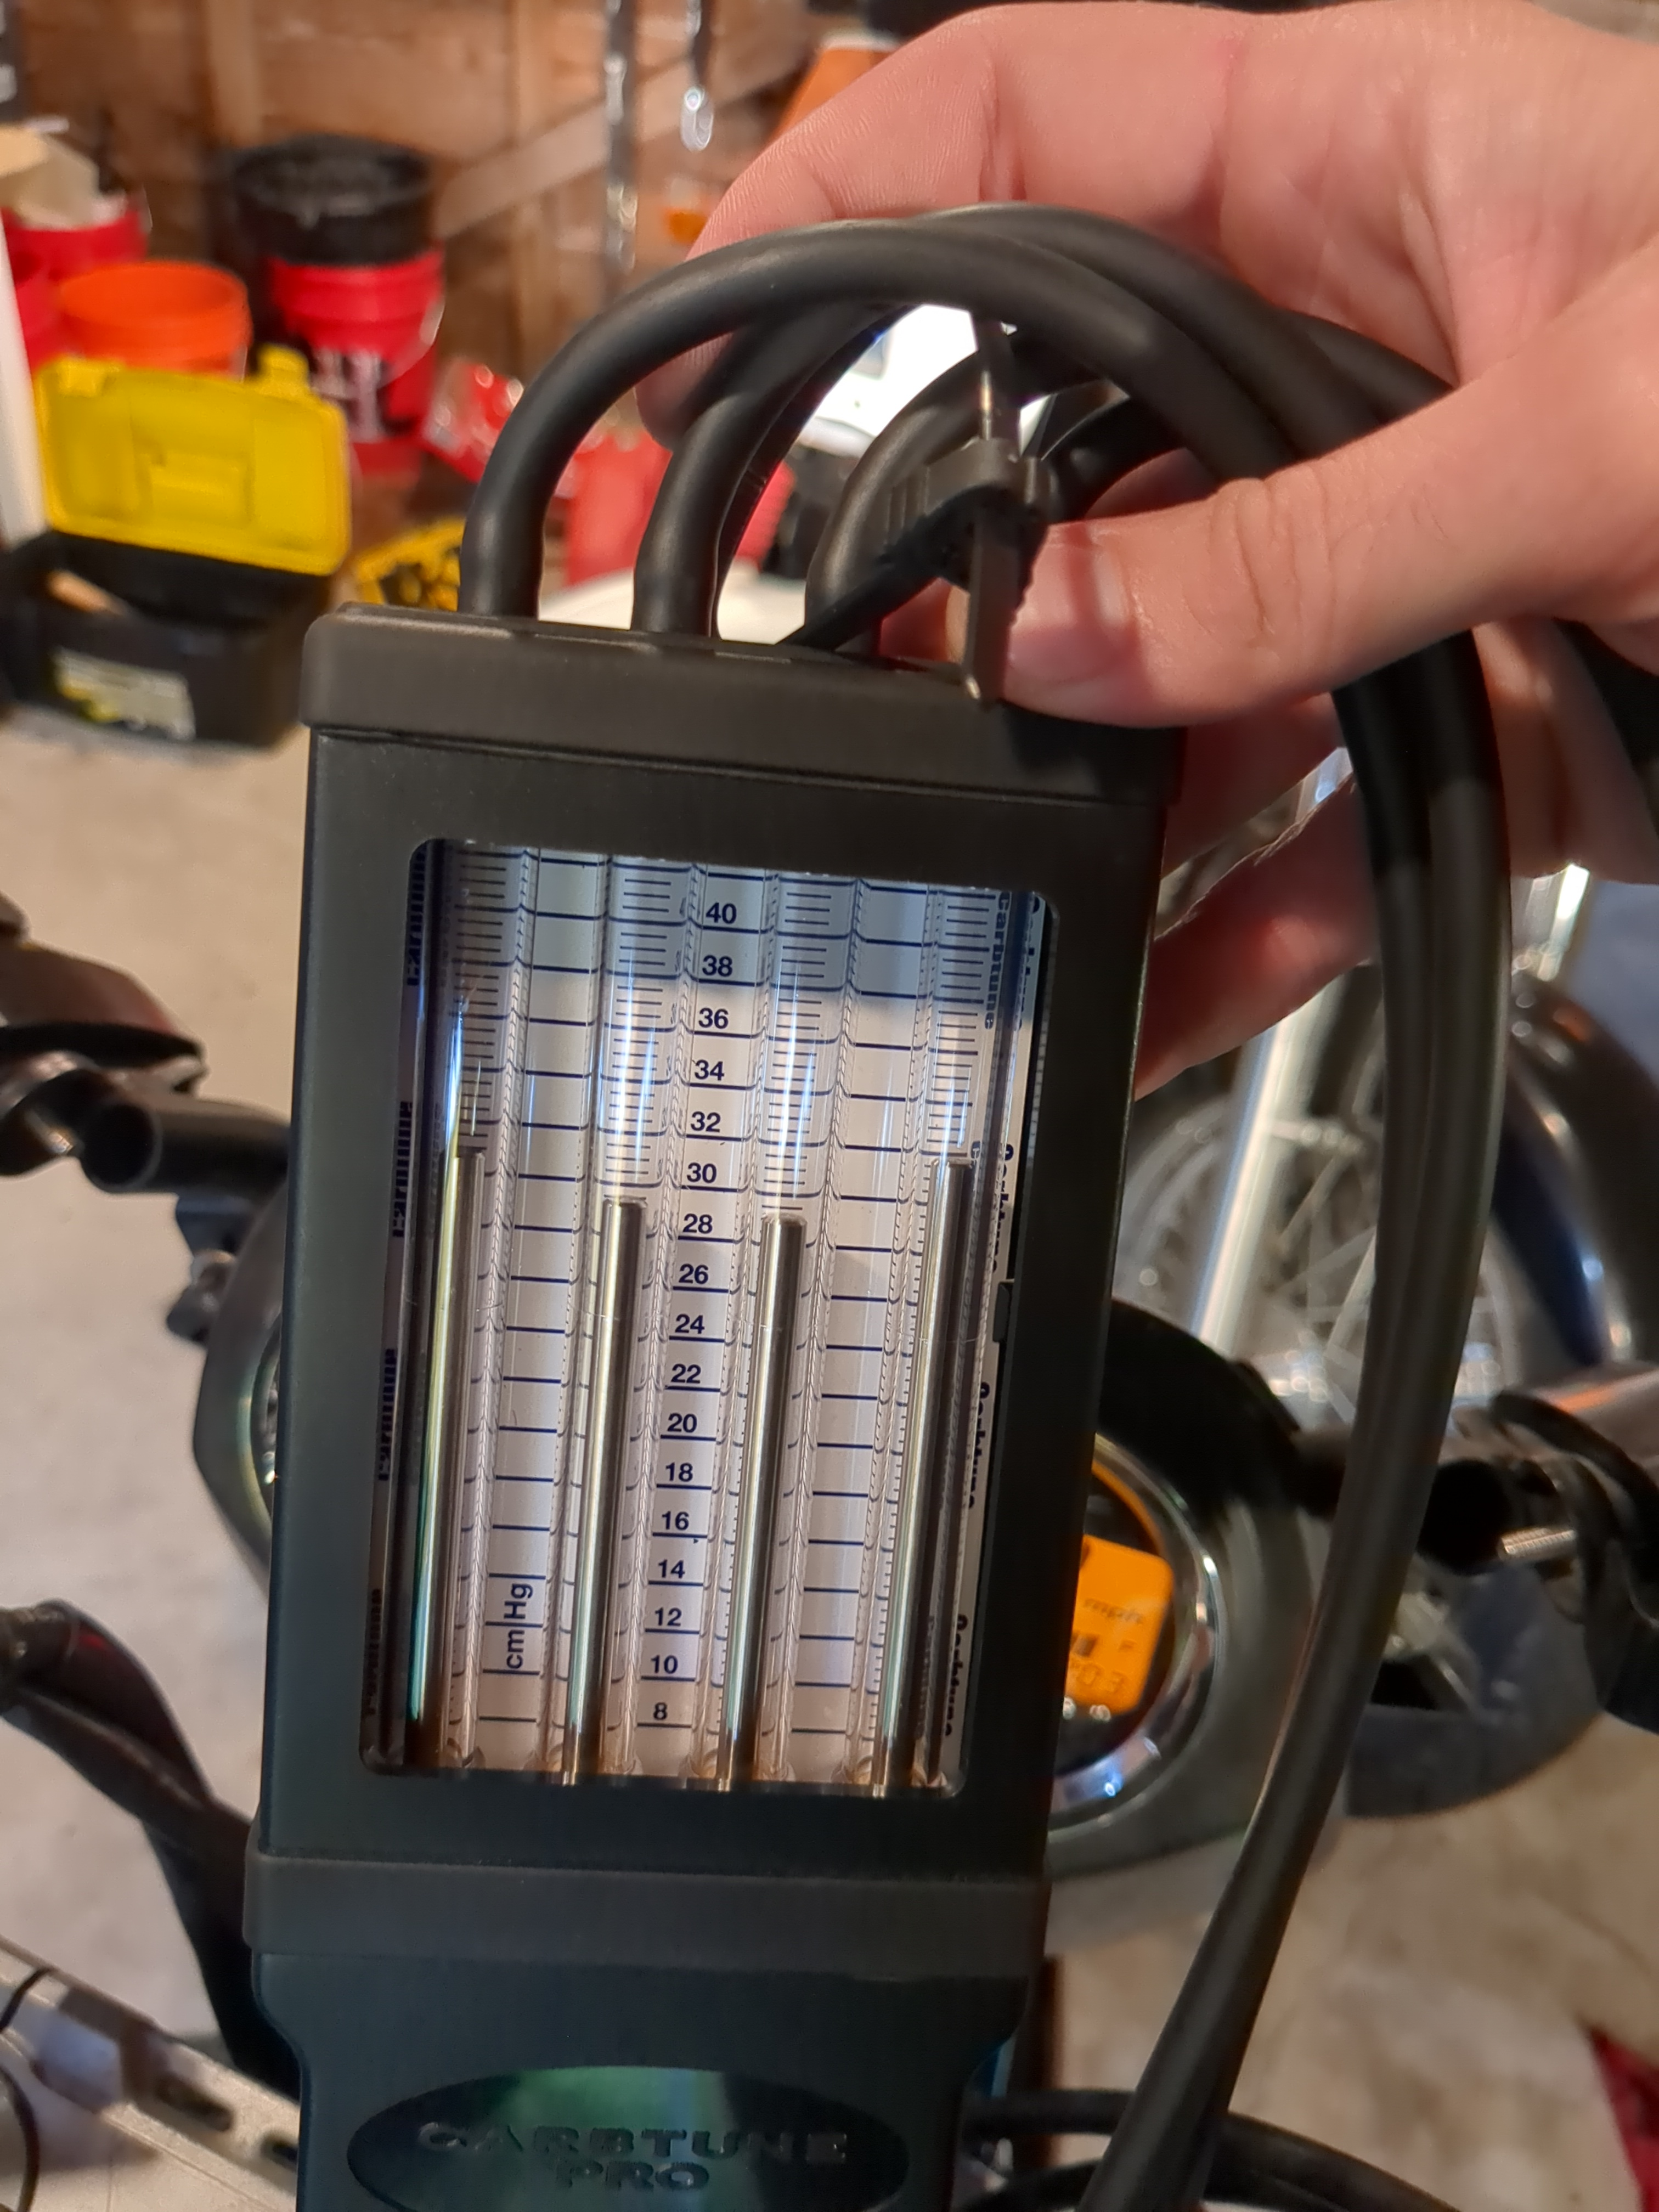
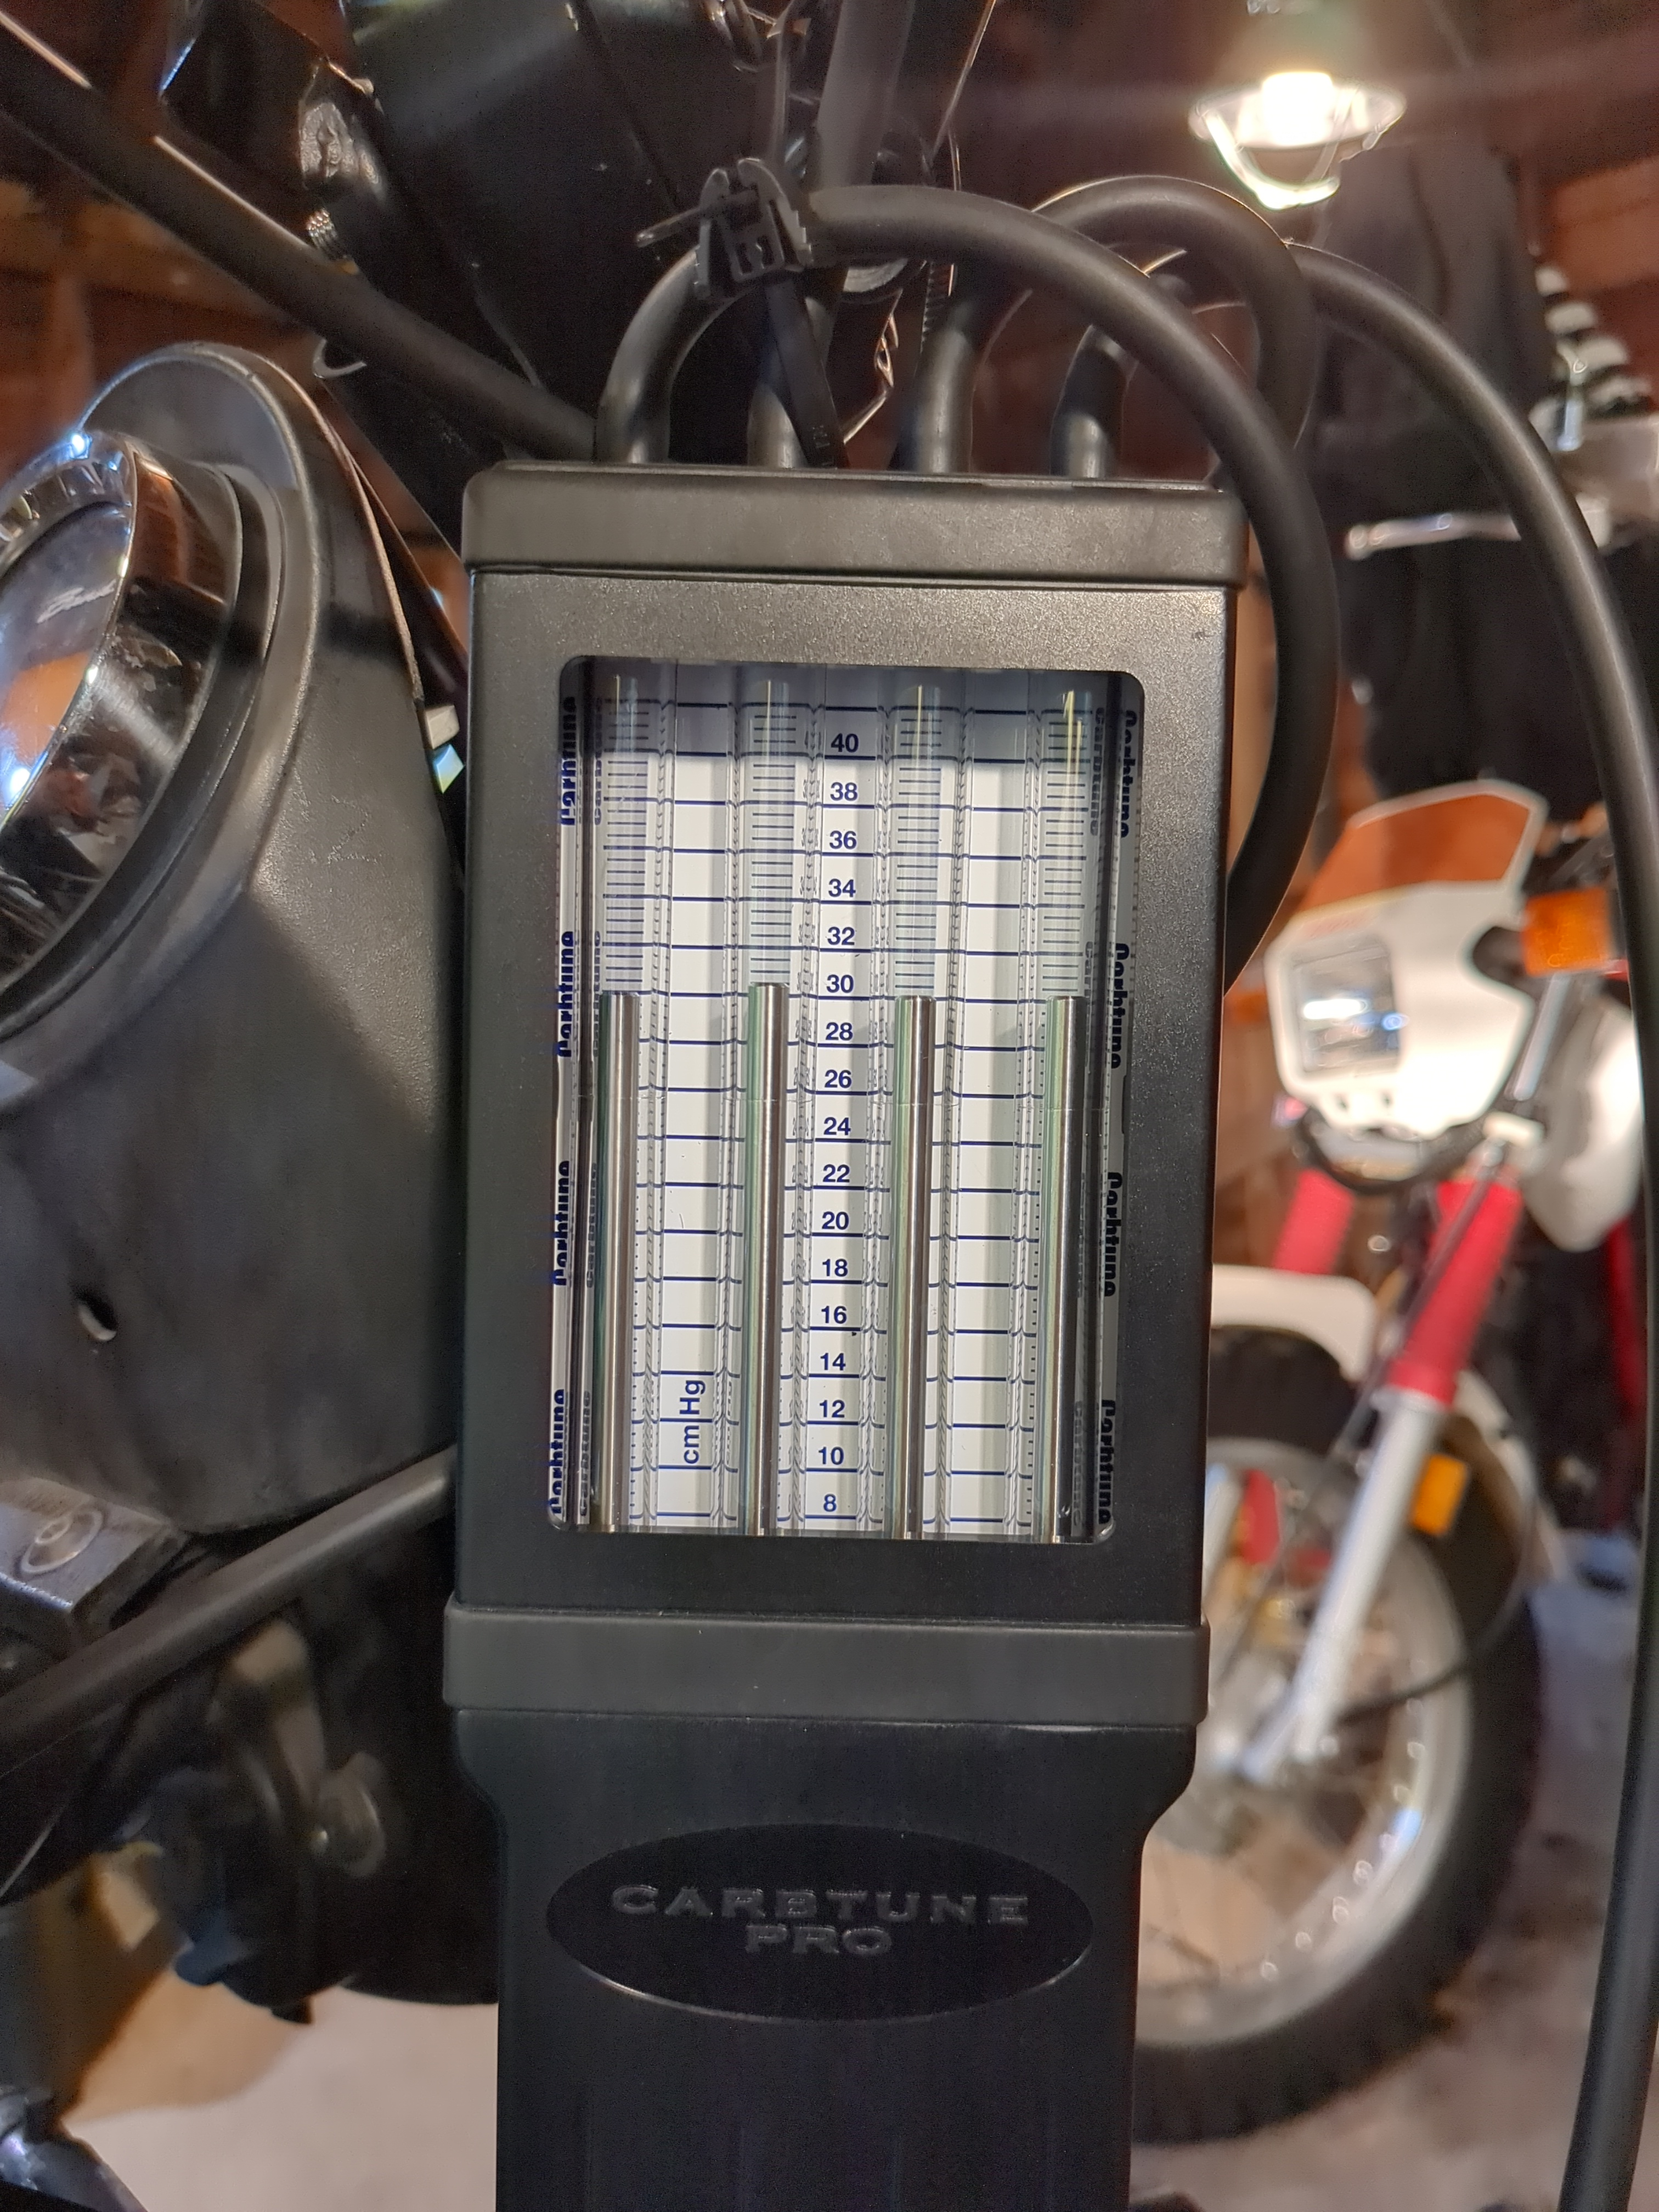
After reinstalling everything else, I got out my vacuum gauge set, and balanced the throttle bodies.
The bike has a lot more power, and is more responsive now. I think a huge part of the issue was the dirty throttle bodies, and likely a vacuum leak.
Finally, I removed the entire EVAP system.
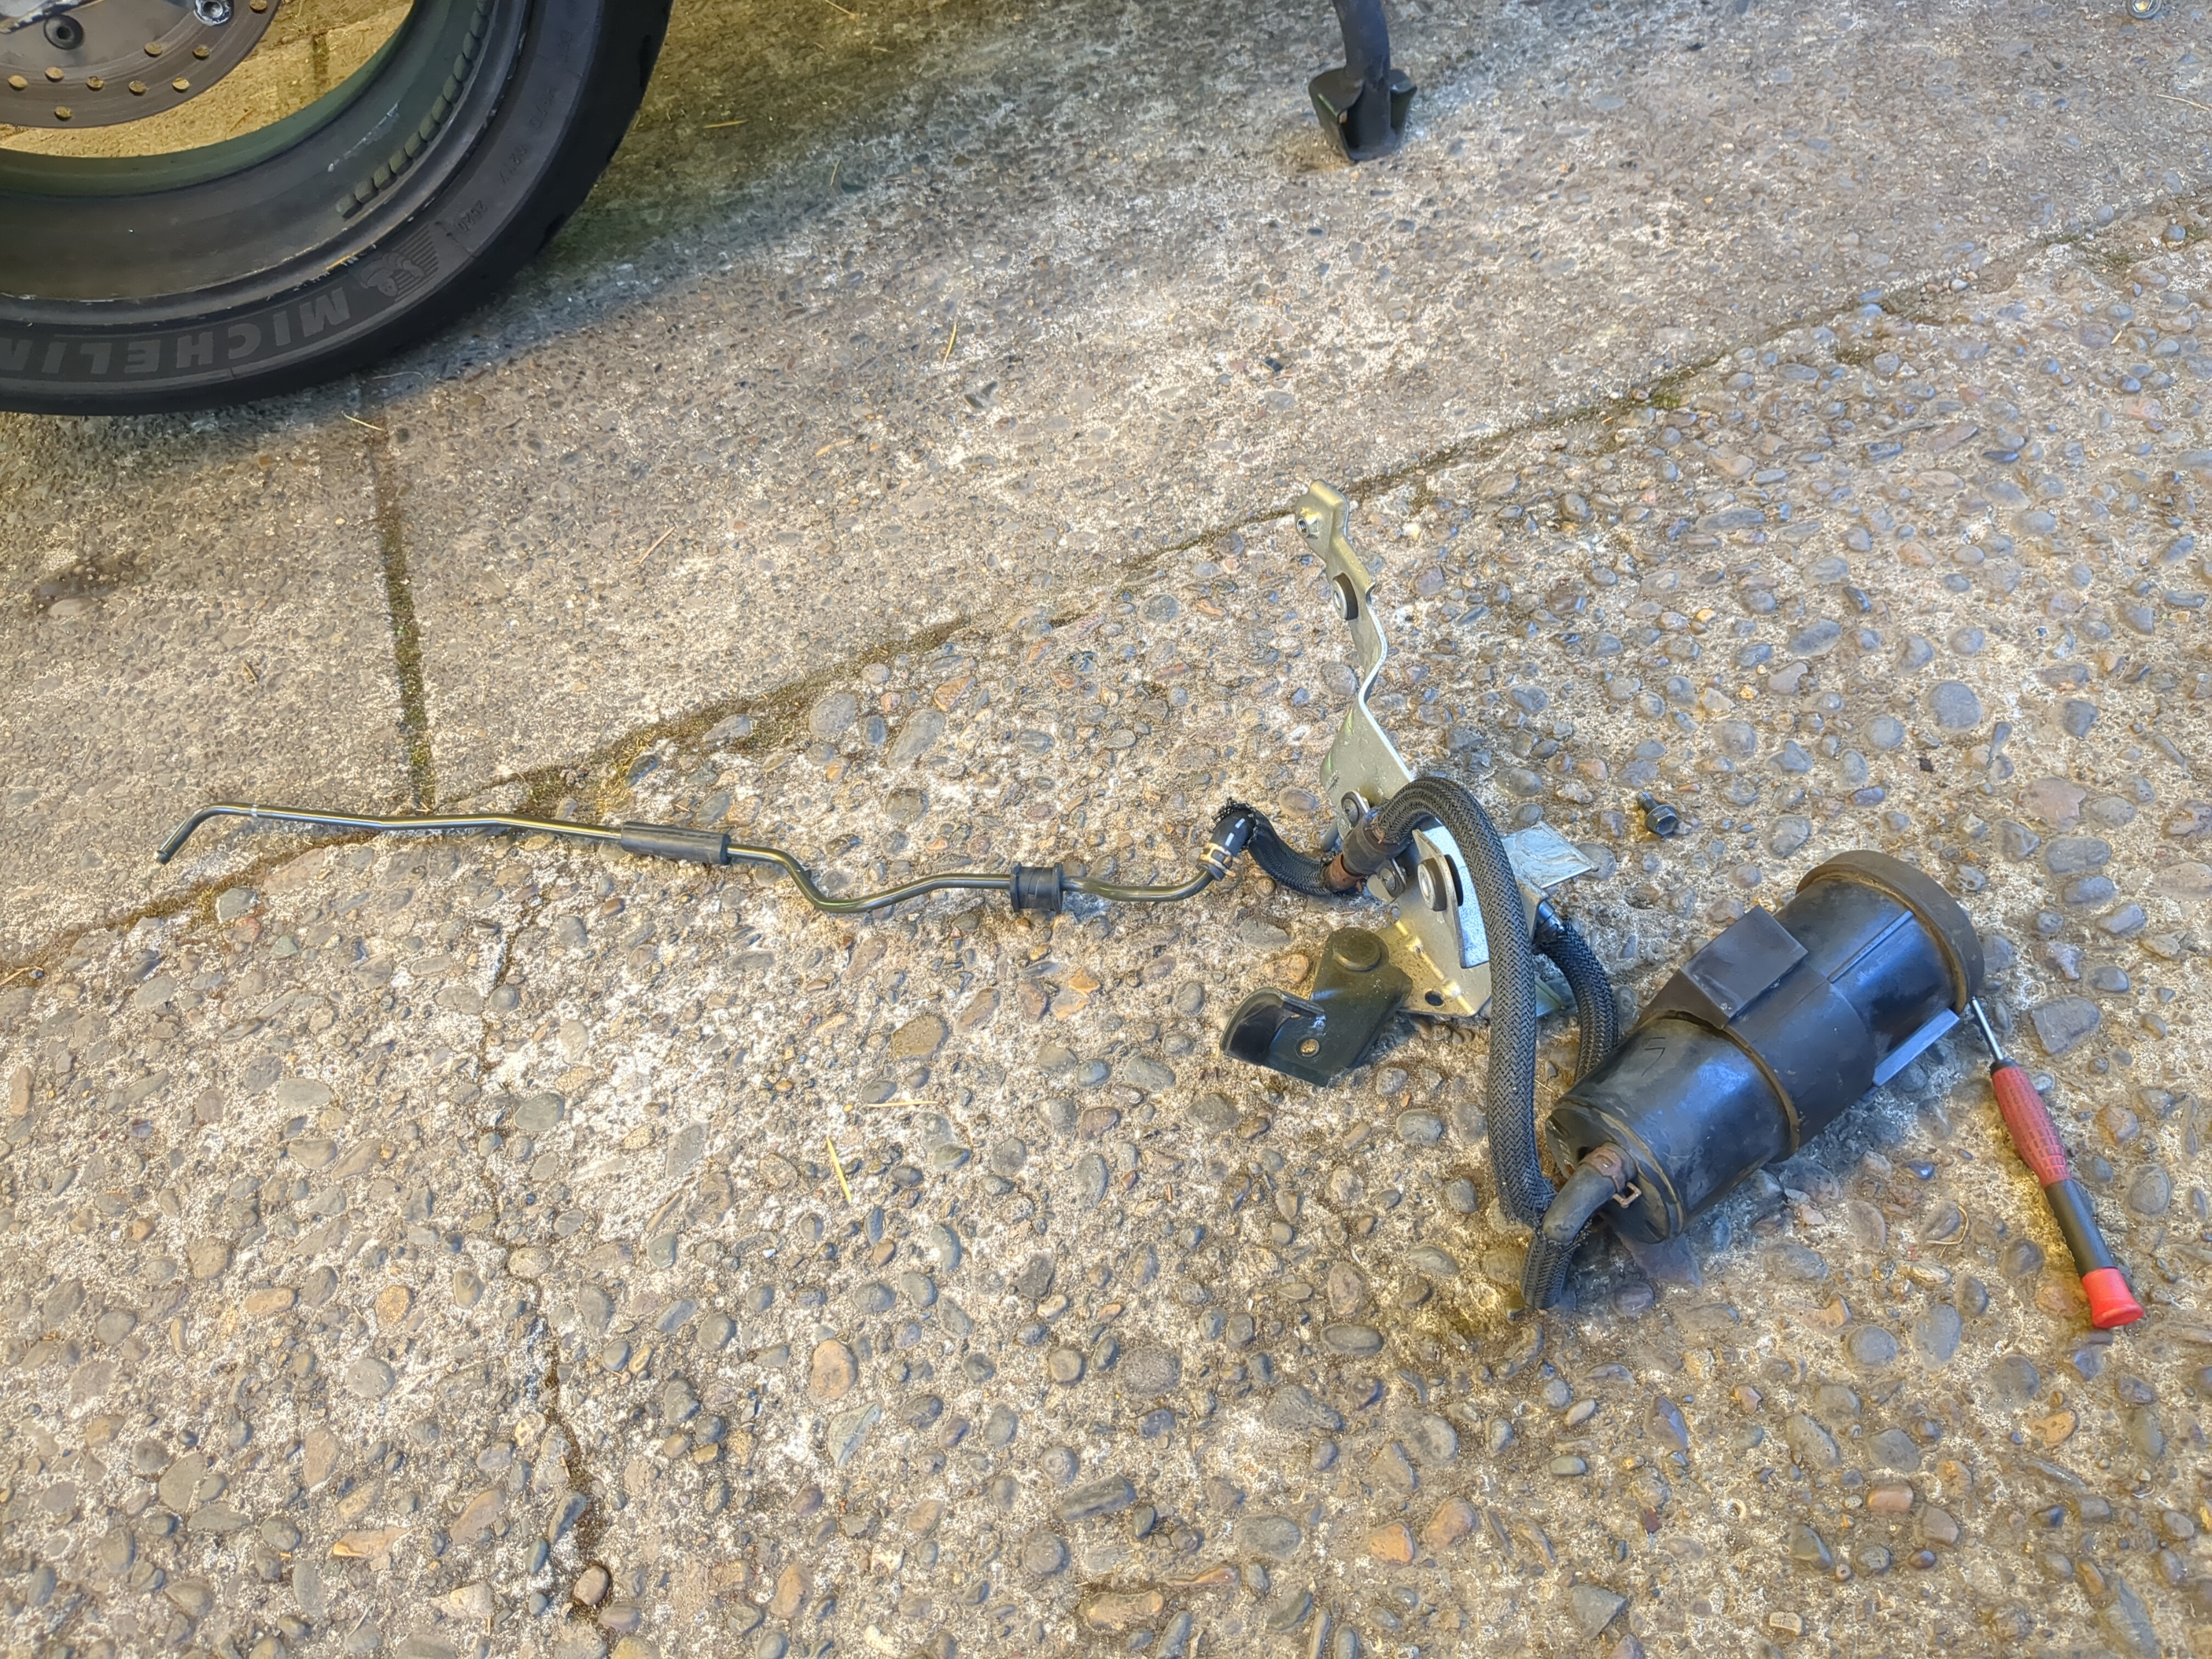
The entire EVAP system removed. The charcoal filter cannister is on the right. The system functions as follows: Vapors flow from a hose attached to a fuel tank breather port, into the charcoal filter. The filter catches the vapors, and retains them. A set of hoses connected from the throttle bodies, to a sensor, connected to the filter, suck the vapors out while the engine is running, and pulling a vacuum. There are a lot of rubber hoses on this system, and virtually all of them need to be replaced. However, as stated above, I don’t need to do any emissions testing, so there’s no need to have something that is already designed for a minor vacuum leak to be replaced.
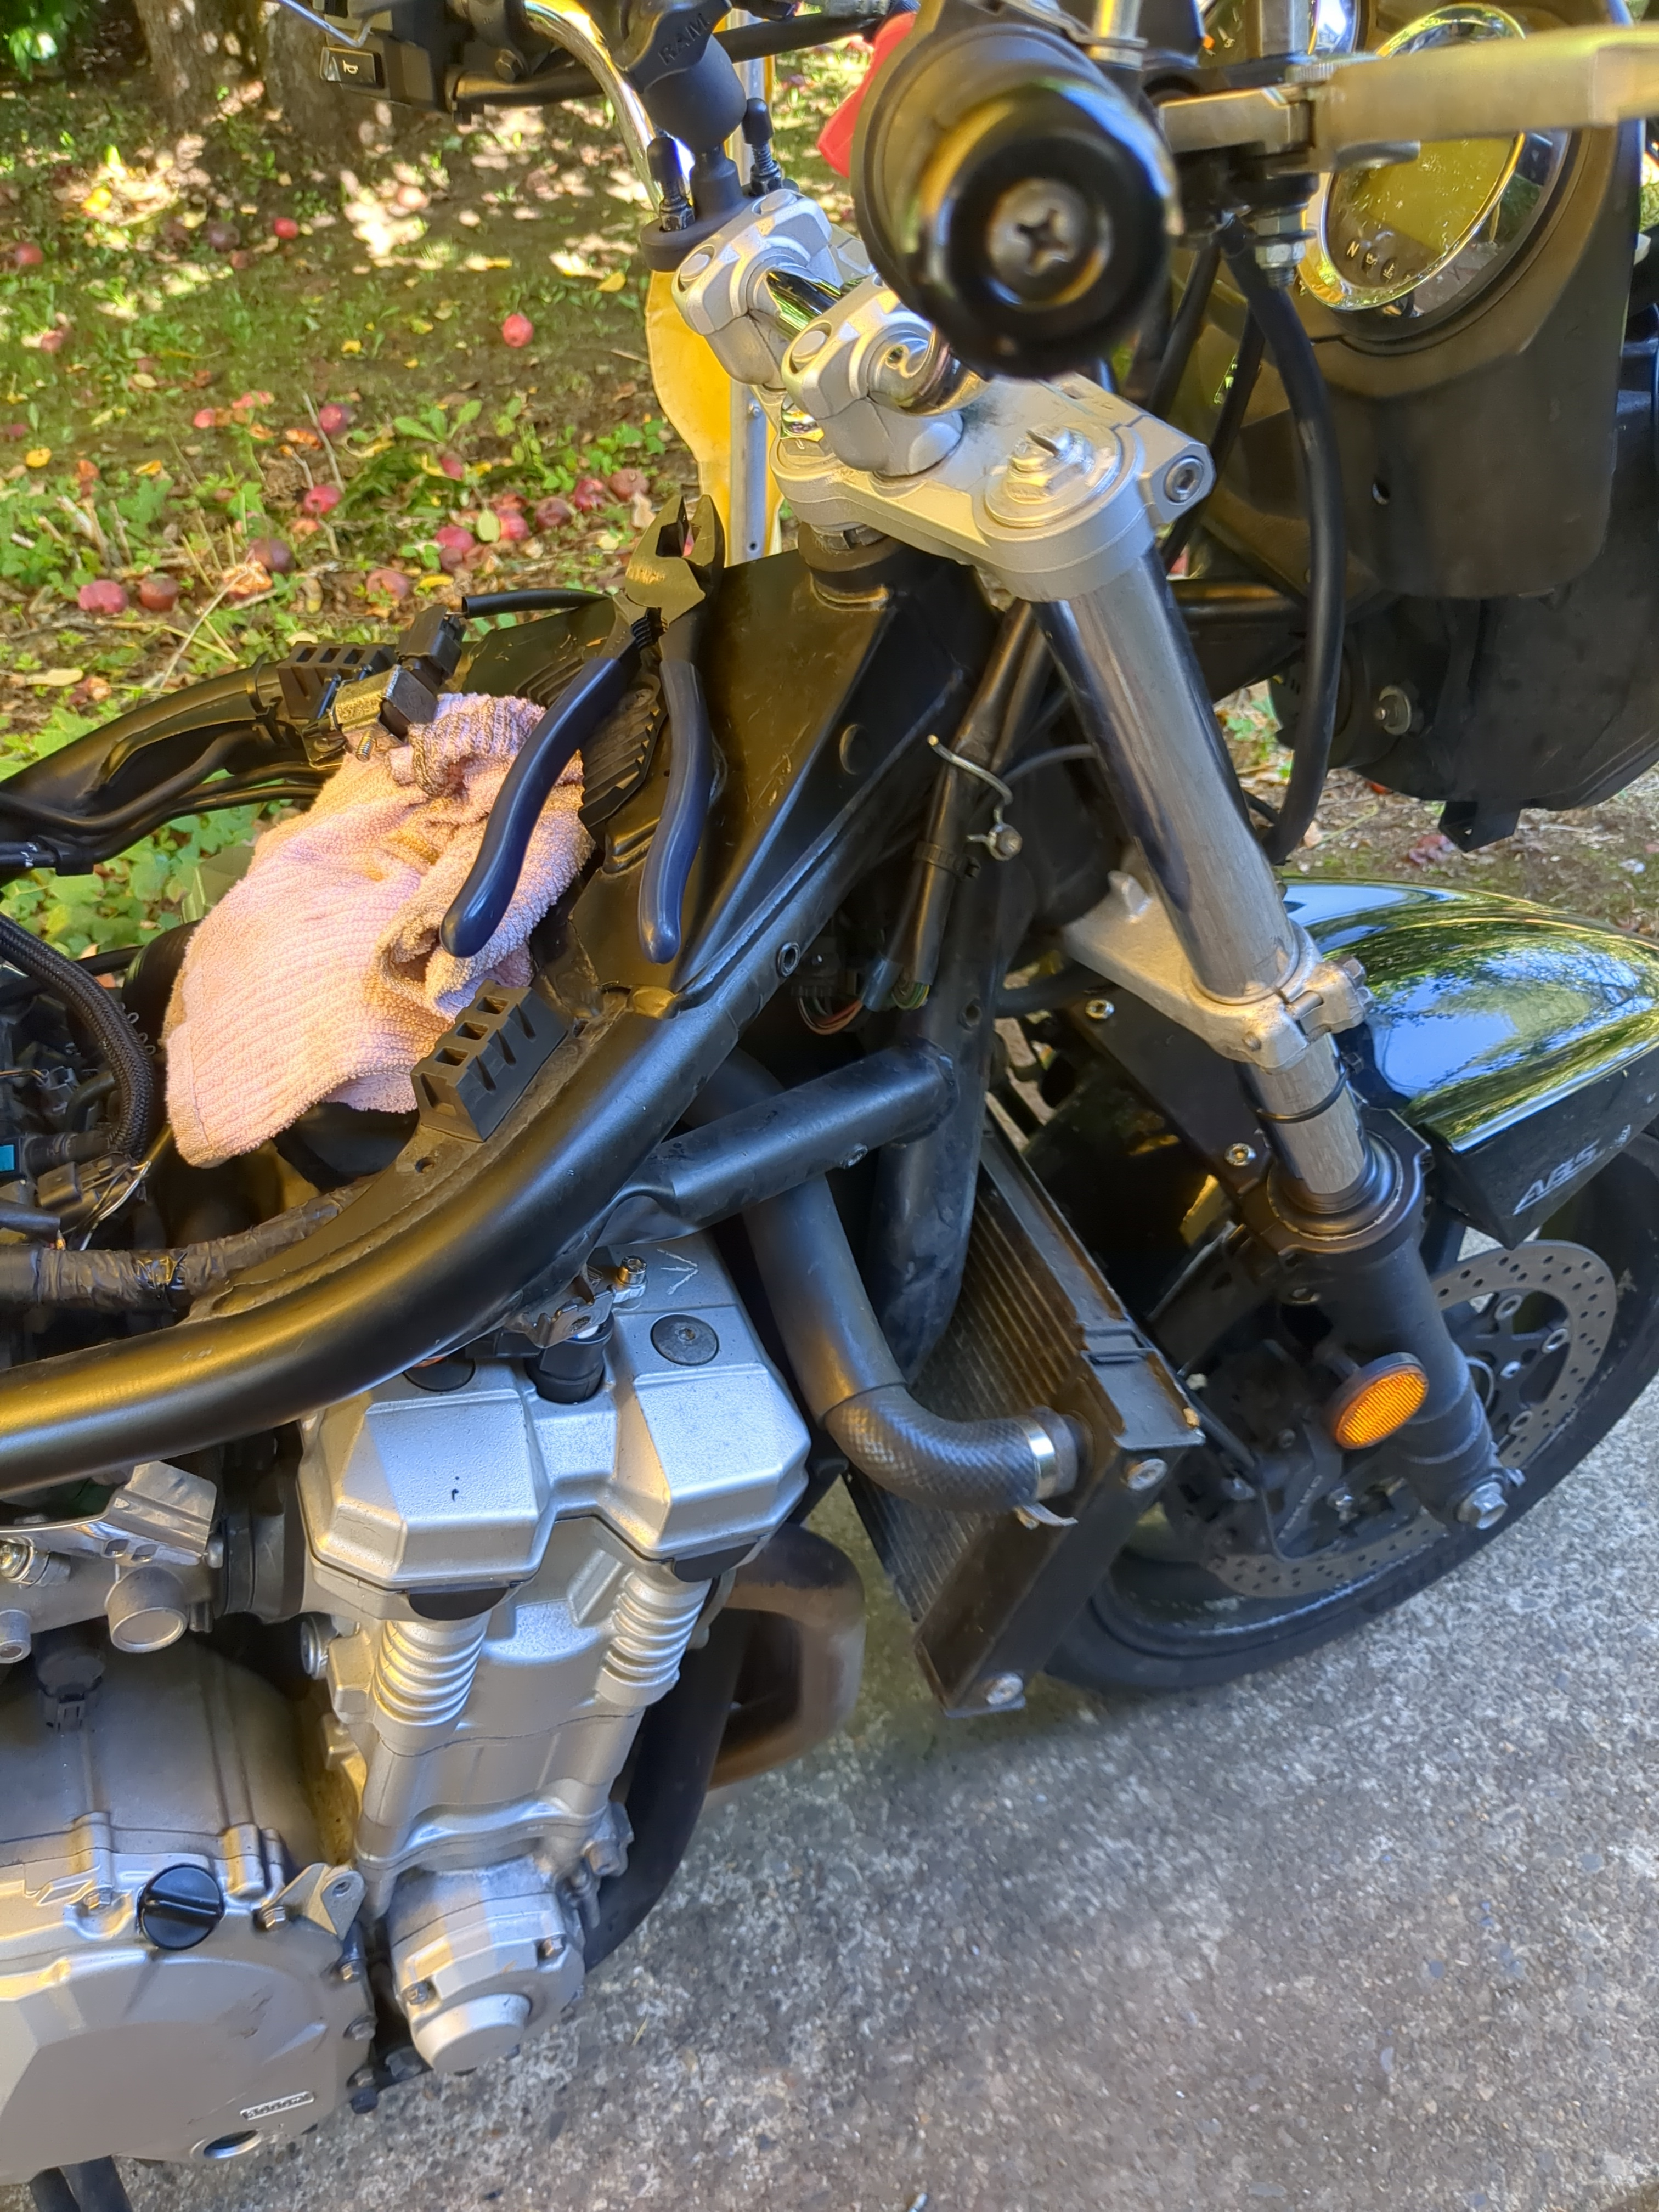
The right front side of the bike is where the filter is installed. I removed it and the bracket.
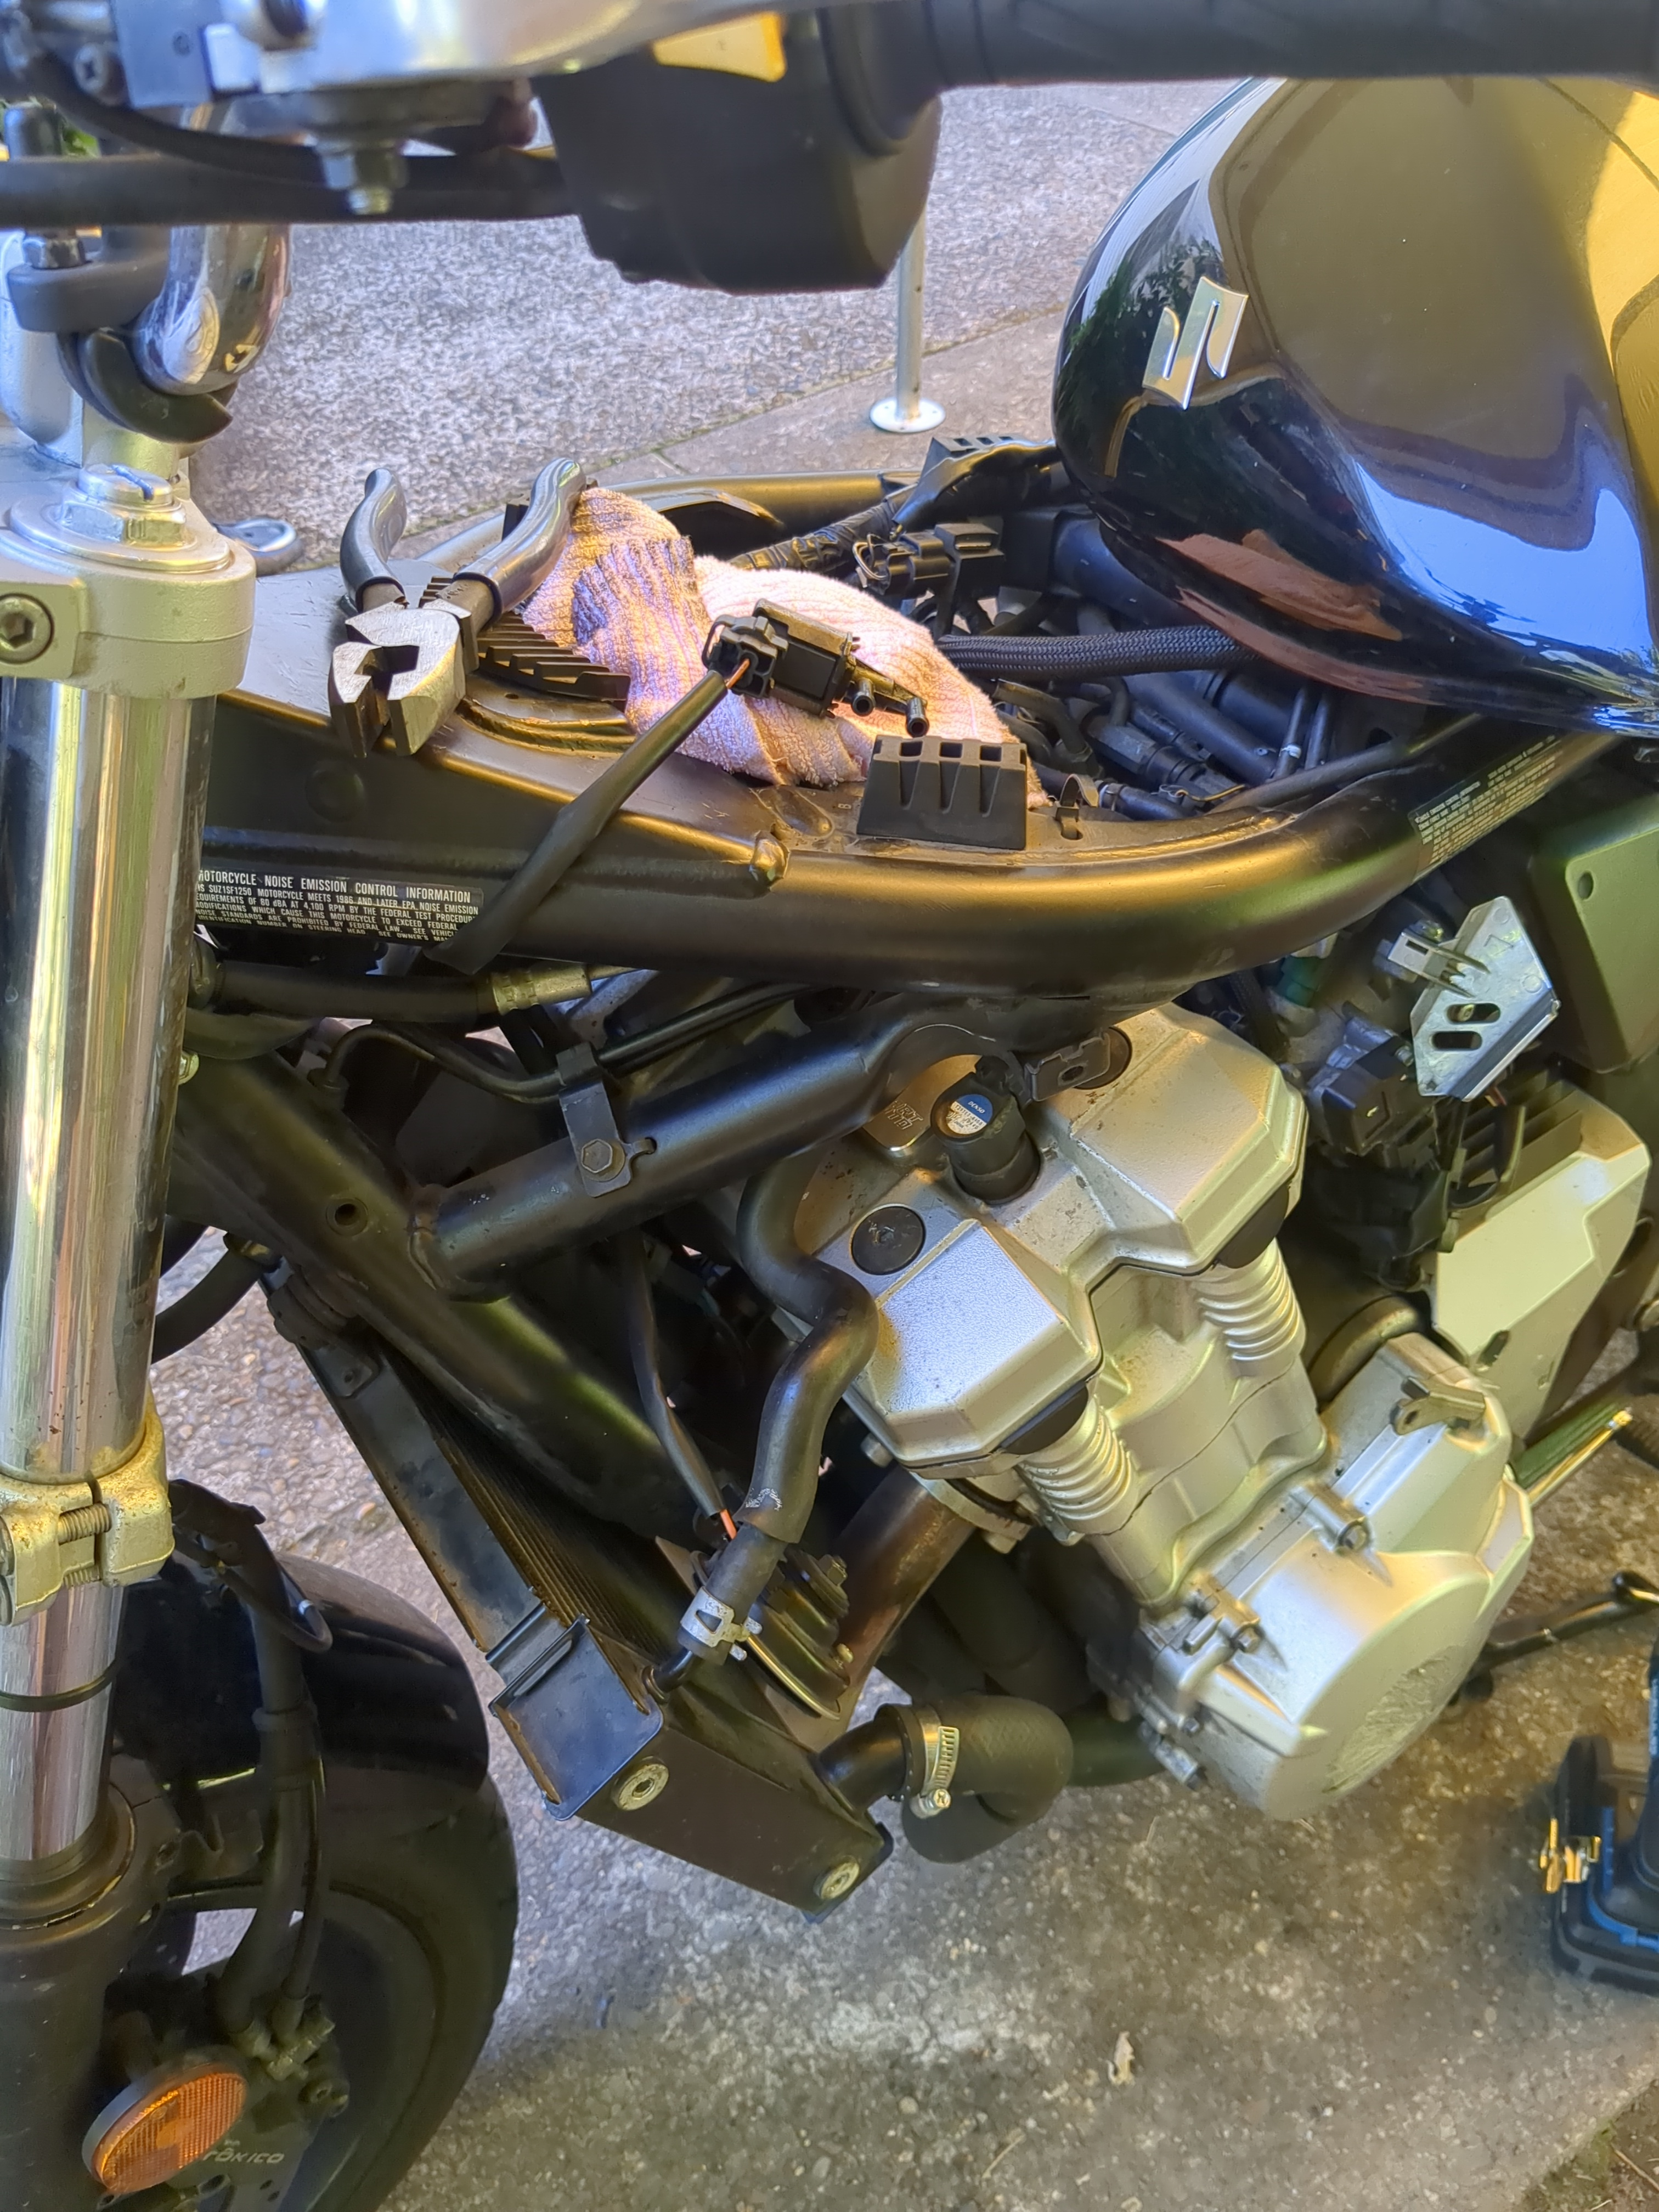
On the left front side was a bracket where a sensor that monitored the EVAP system sat. I removed the bracket, and tucked the sensor back into the bike.
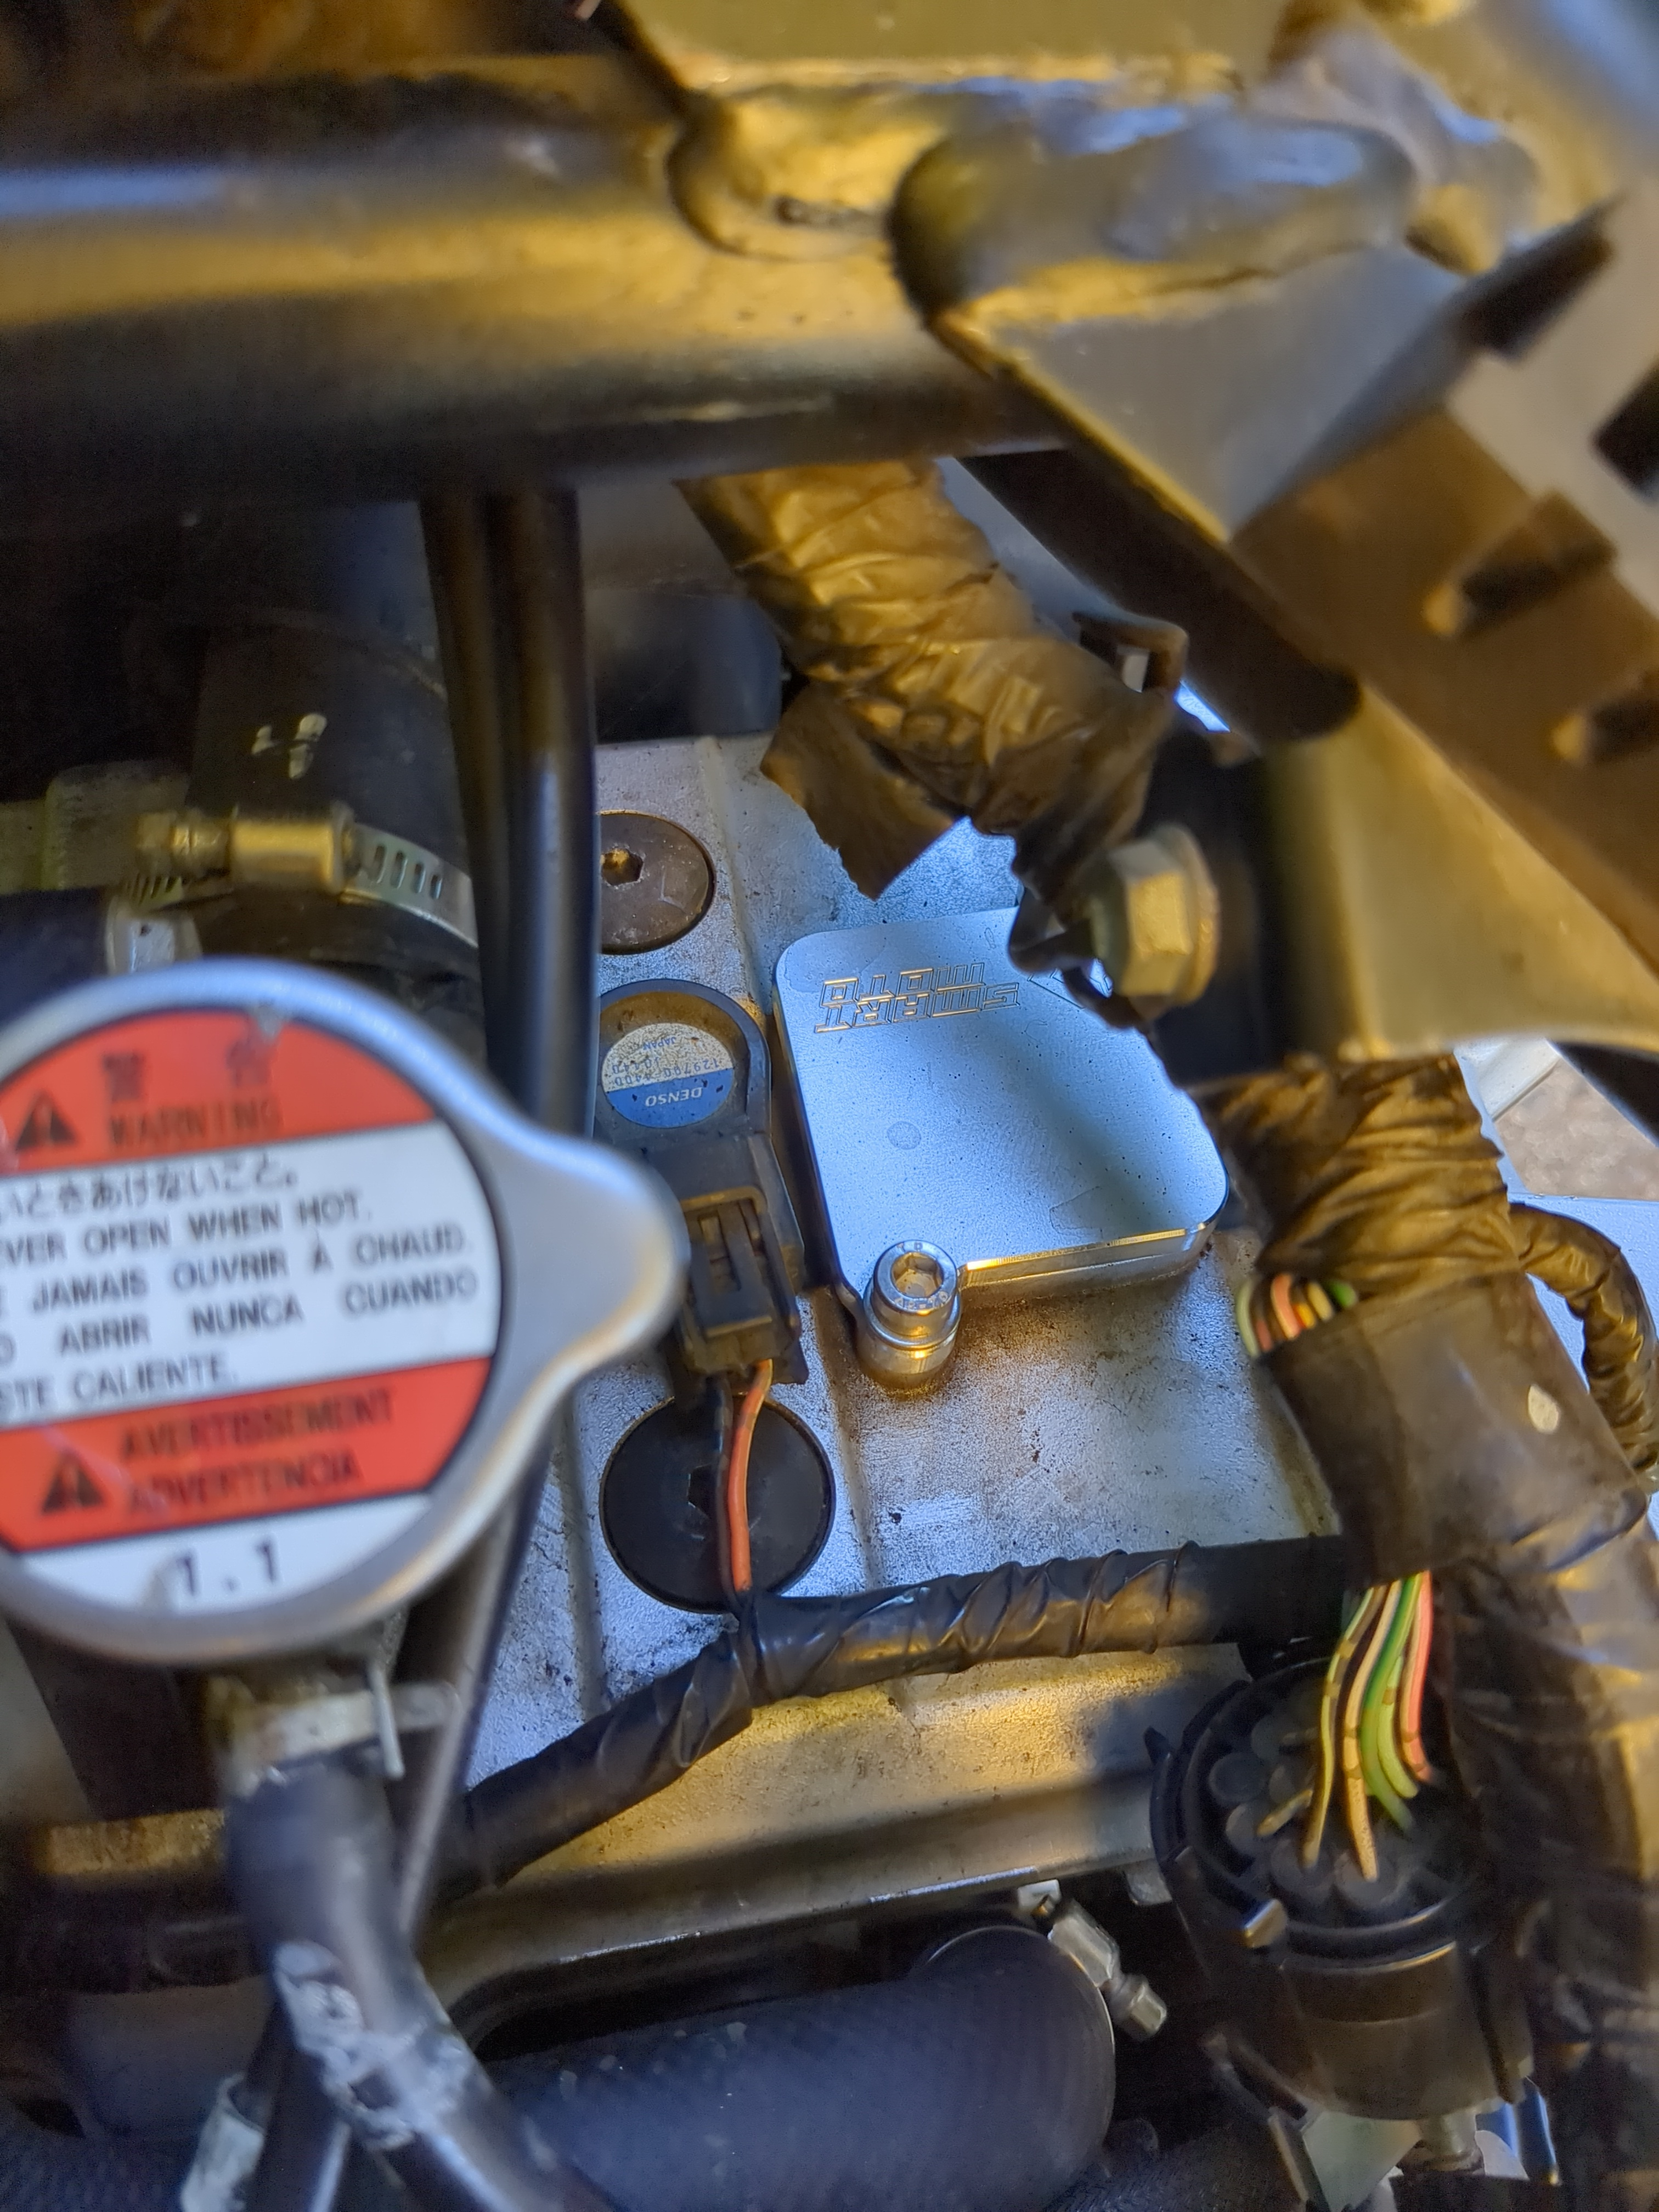
Earlier I had removed the PAIR system, which was also a part of the emissions system. The PAIR system basically shot fresh air from the airbox into the exhaust to burn any unburnt fuel. Again, I removed it because it was a potential vacuum leak location, not because I believed I would be getting any extra horsepower out of it. The silver plate replaced the hoses and mounting plates. The top of the engine is fairly clean now without all of the emissions related hoses.
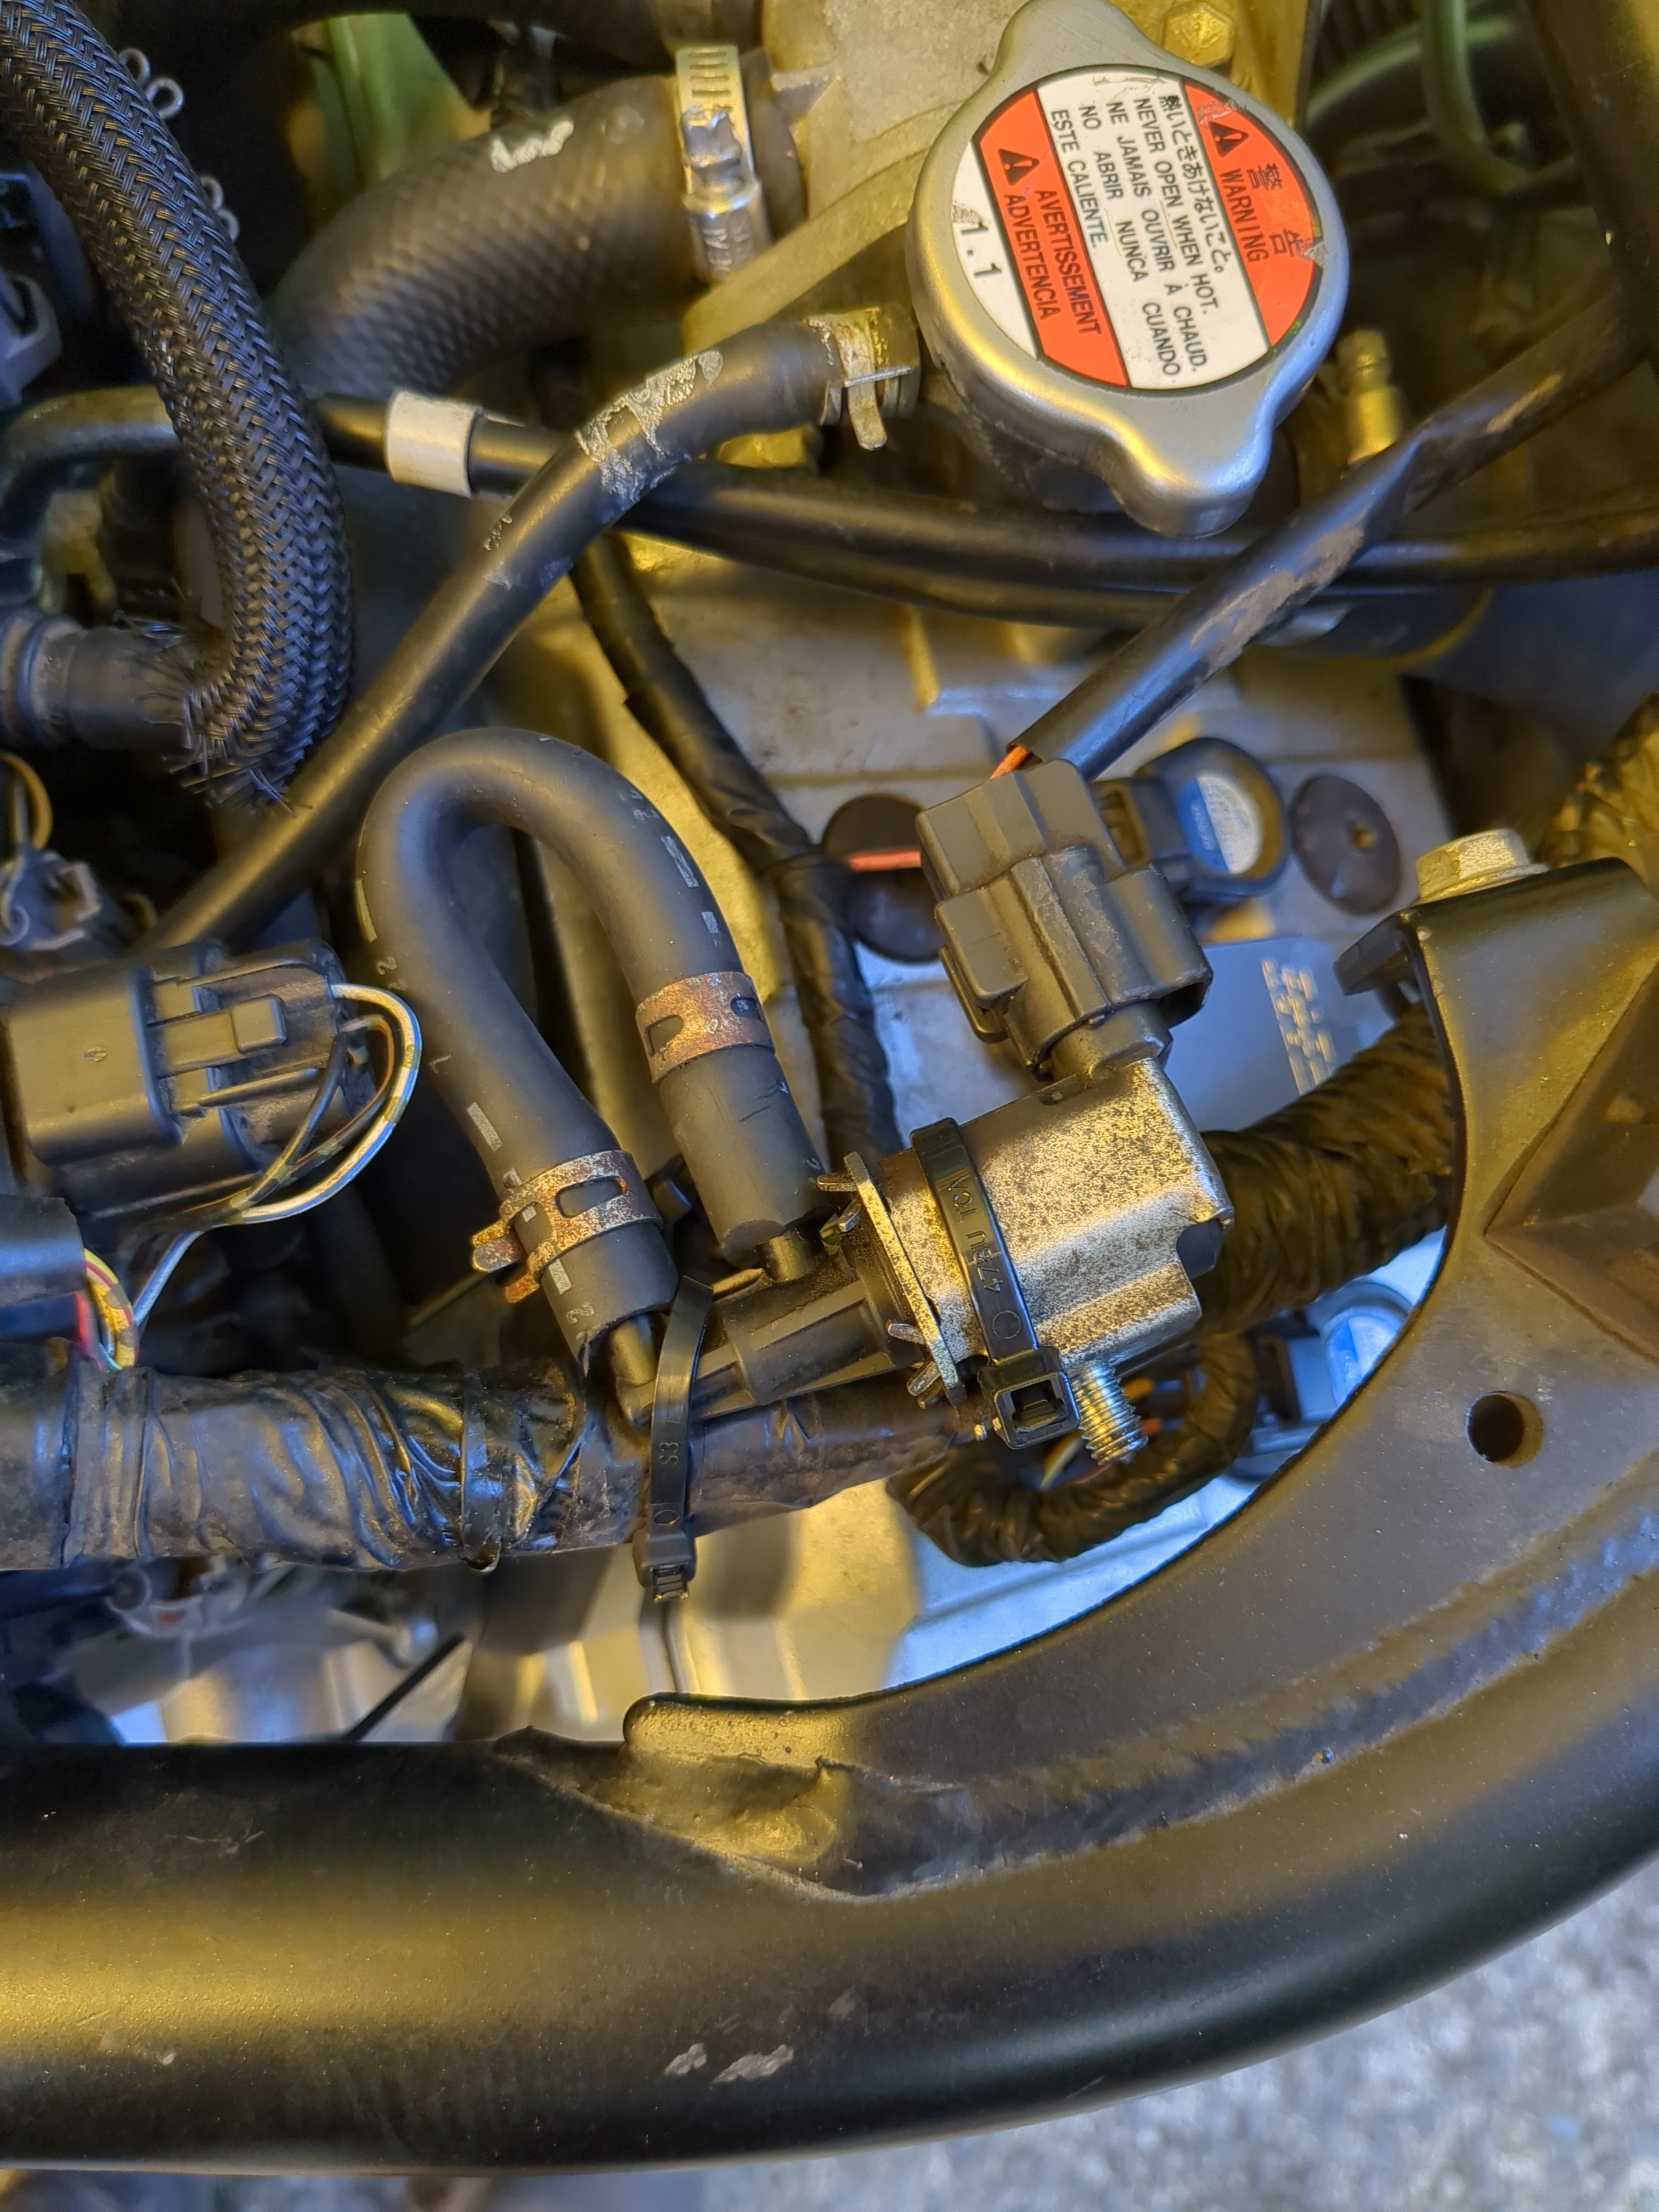
The sensor had an input and an output line. I just took some hose, and looped it back on itself so that the sensor didn’t throw a check engine light. I zip tied the sensor to the wiring harness.