I did some general maintenance of various vehicles over the last few weeks. I’ve been getting into the rhythm where if I have nothing big that I’m working on, I’ll work on something small. That way I don’t have a bunch of giant projects stacked up at the same time.
A while back I wrote about how I damaged the bottom end of a TW200 motor. I purchased a replacement used crankcase halve to replace it. With the Shadow engine, I took it to a machine shop to have the bottom professionally rebuilt. With this one, my mindset is “Fix it, send it, break it”. So I tore the old engine apart, salvaged components that were salvageable, and put them in the new bottom end. I always intended to paint this case, as it has a nice silver finish, but I decided to just send it, rather than waste time making something look nice that I’m likely to break.
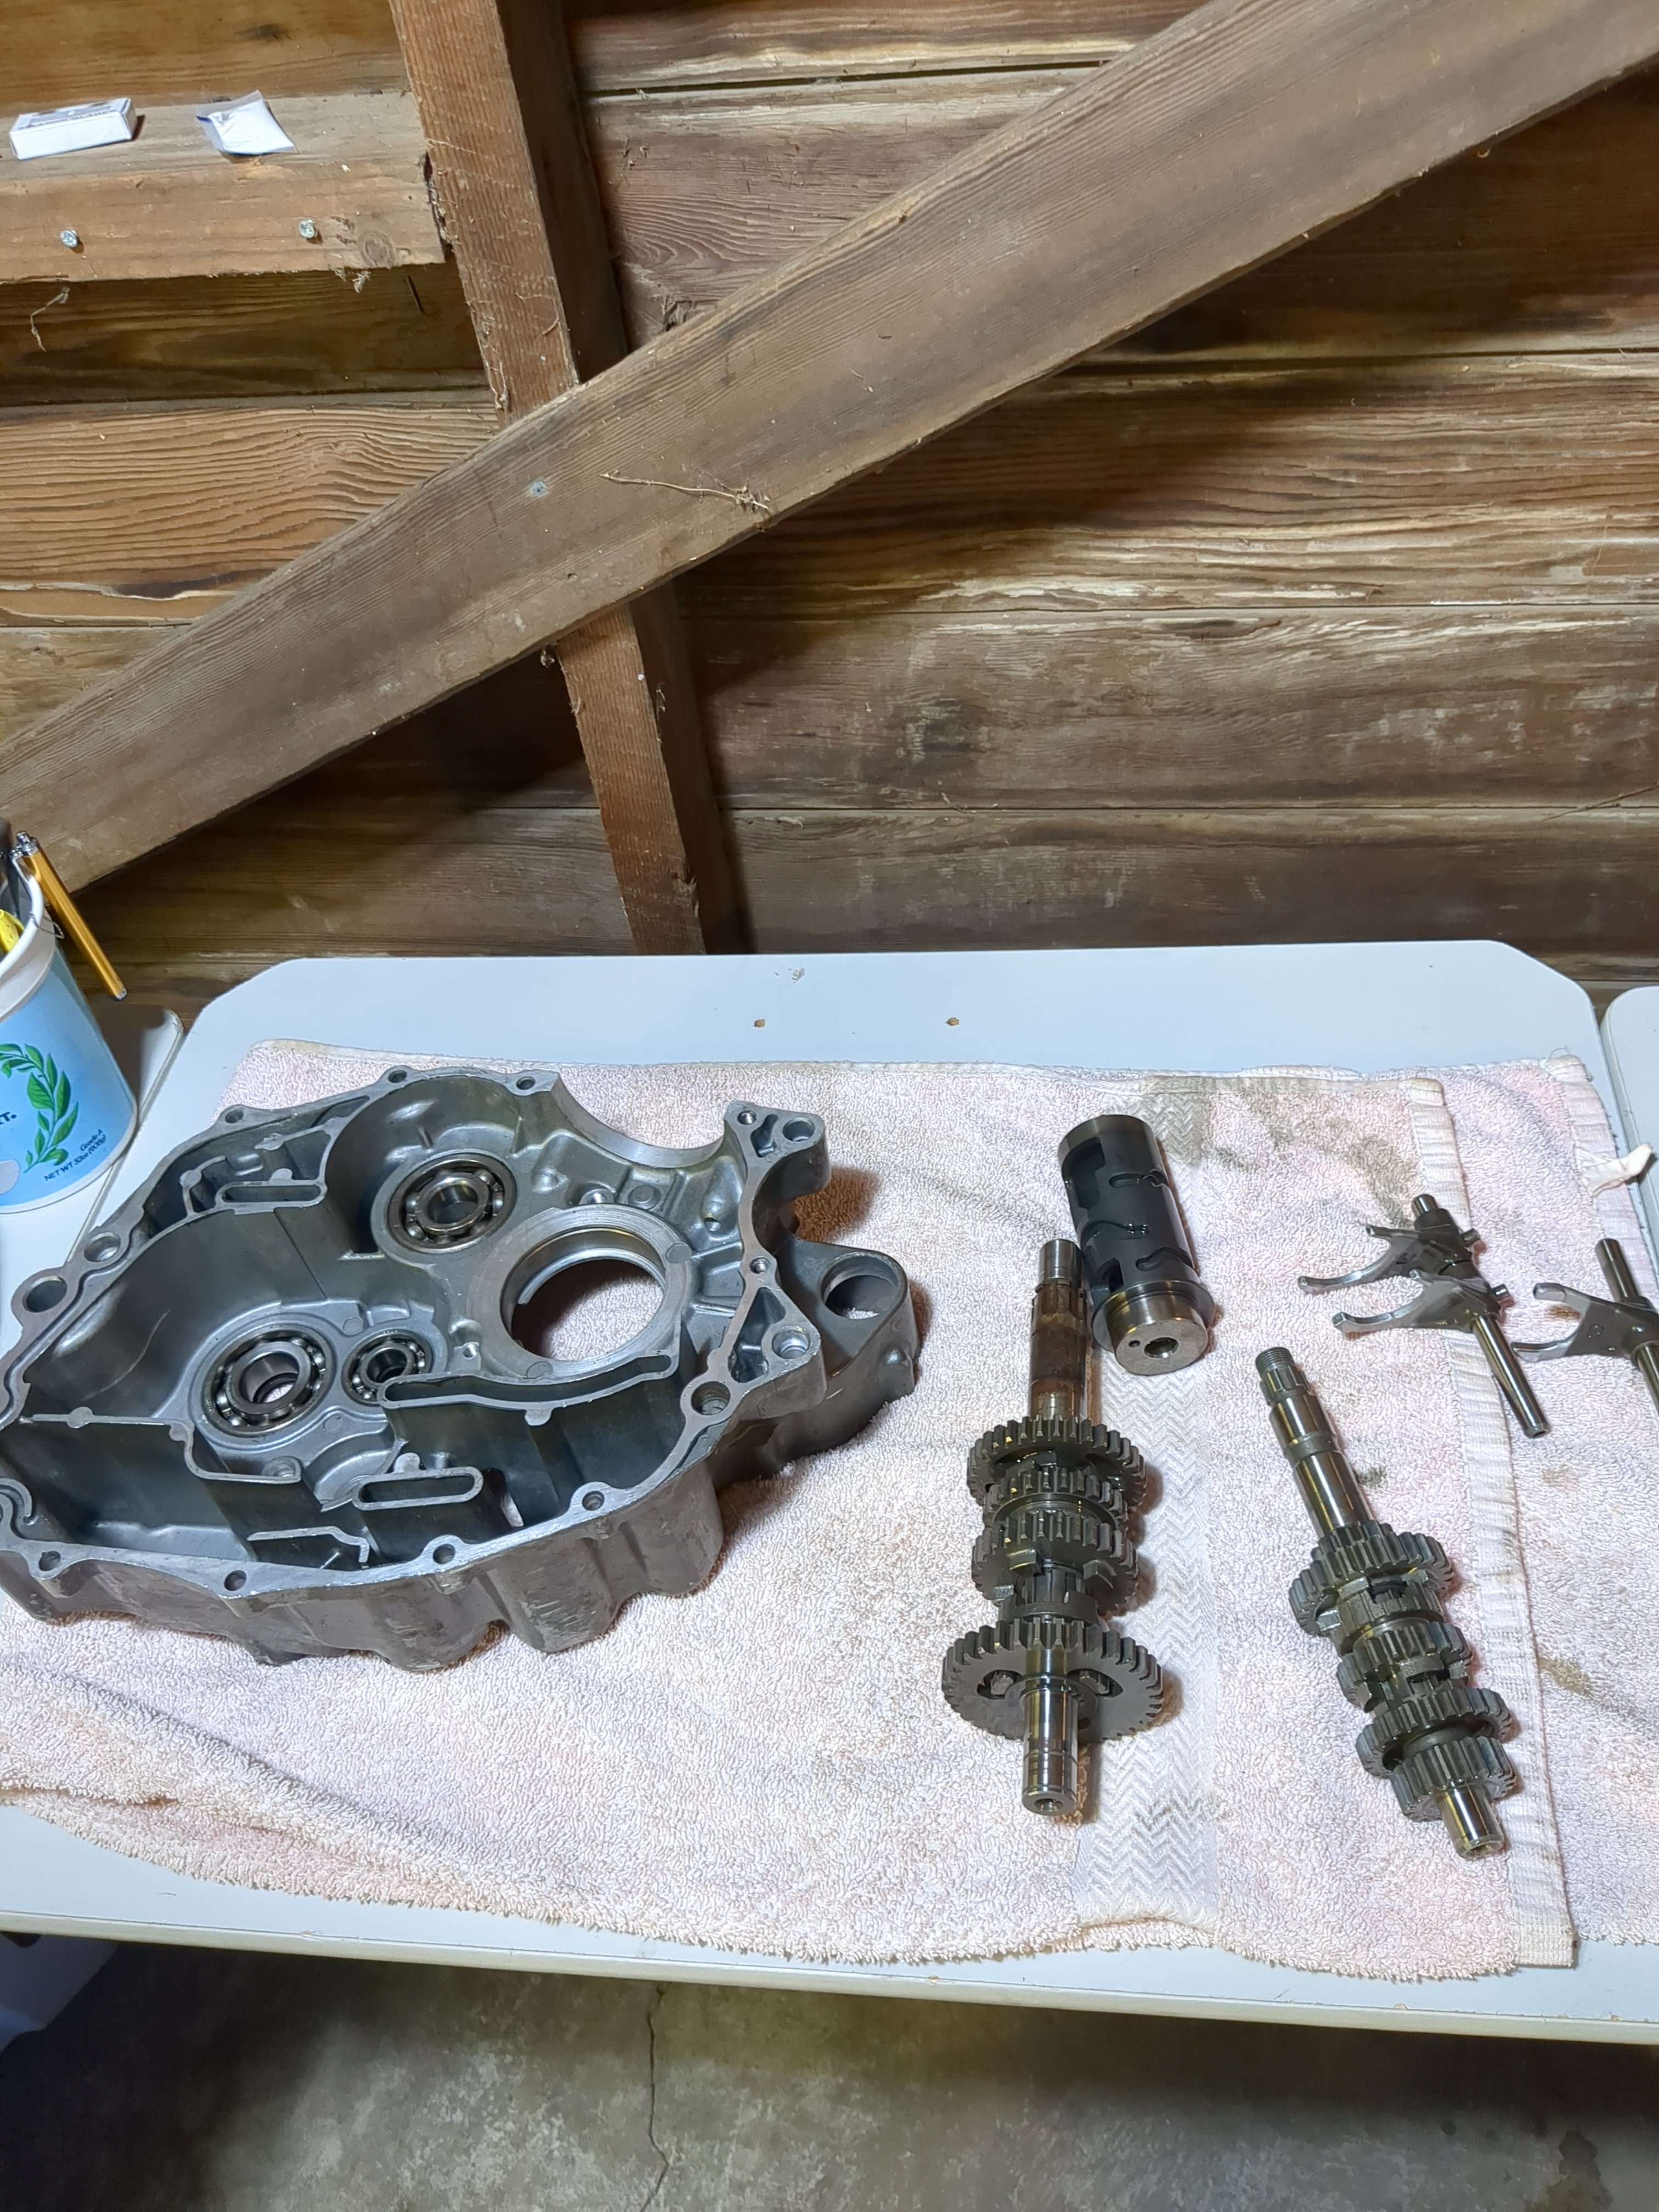
The new crankcase halve (leftside), and the transmission components from inside. From left to right: Transmission output shaft (The shaft that goes outside the engine, connects to the drive chain, and spins the rear wheel). Slightly above is the shift drum, which uses shift forks attached to the shift shaft, to push the shift dogs up and down the transmission shafts. Next to the output shaft, is the input shaft, which connects to both the output shaft, and the clutch (not pictured). When the clutch is engaged, it transfers energy from the crankshaft (pictured below) via the main drive gear (not pictured, and is located outside the crankcase). Finally, next to the shift drum, are the shifting forks and their pins. When the shift drum rotates, the shift forks move along the valleys on the outside of the drum, and move the transmission shift dogs up and down to change gears.
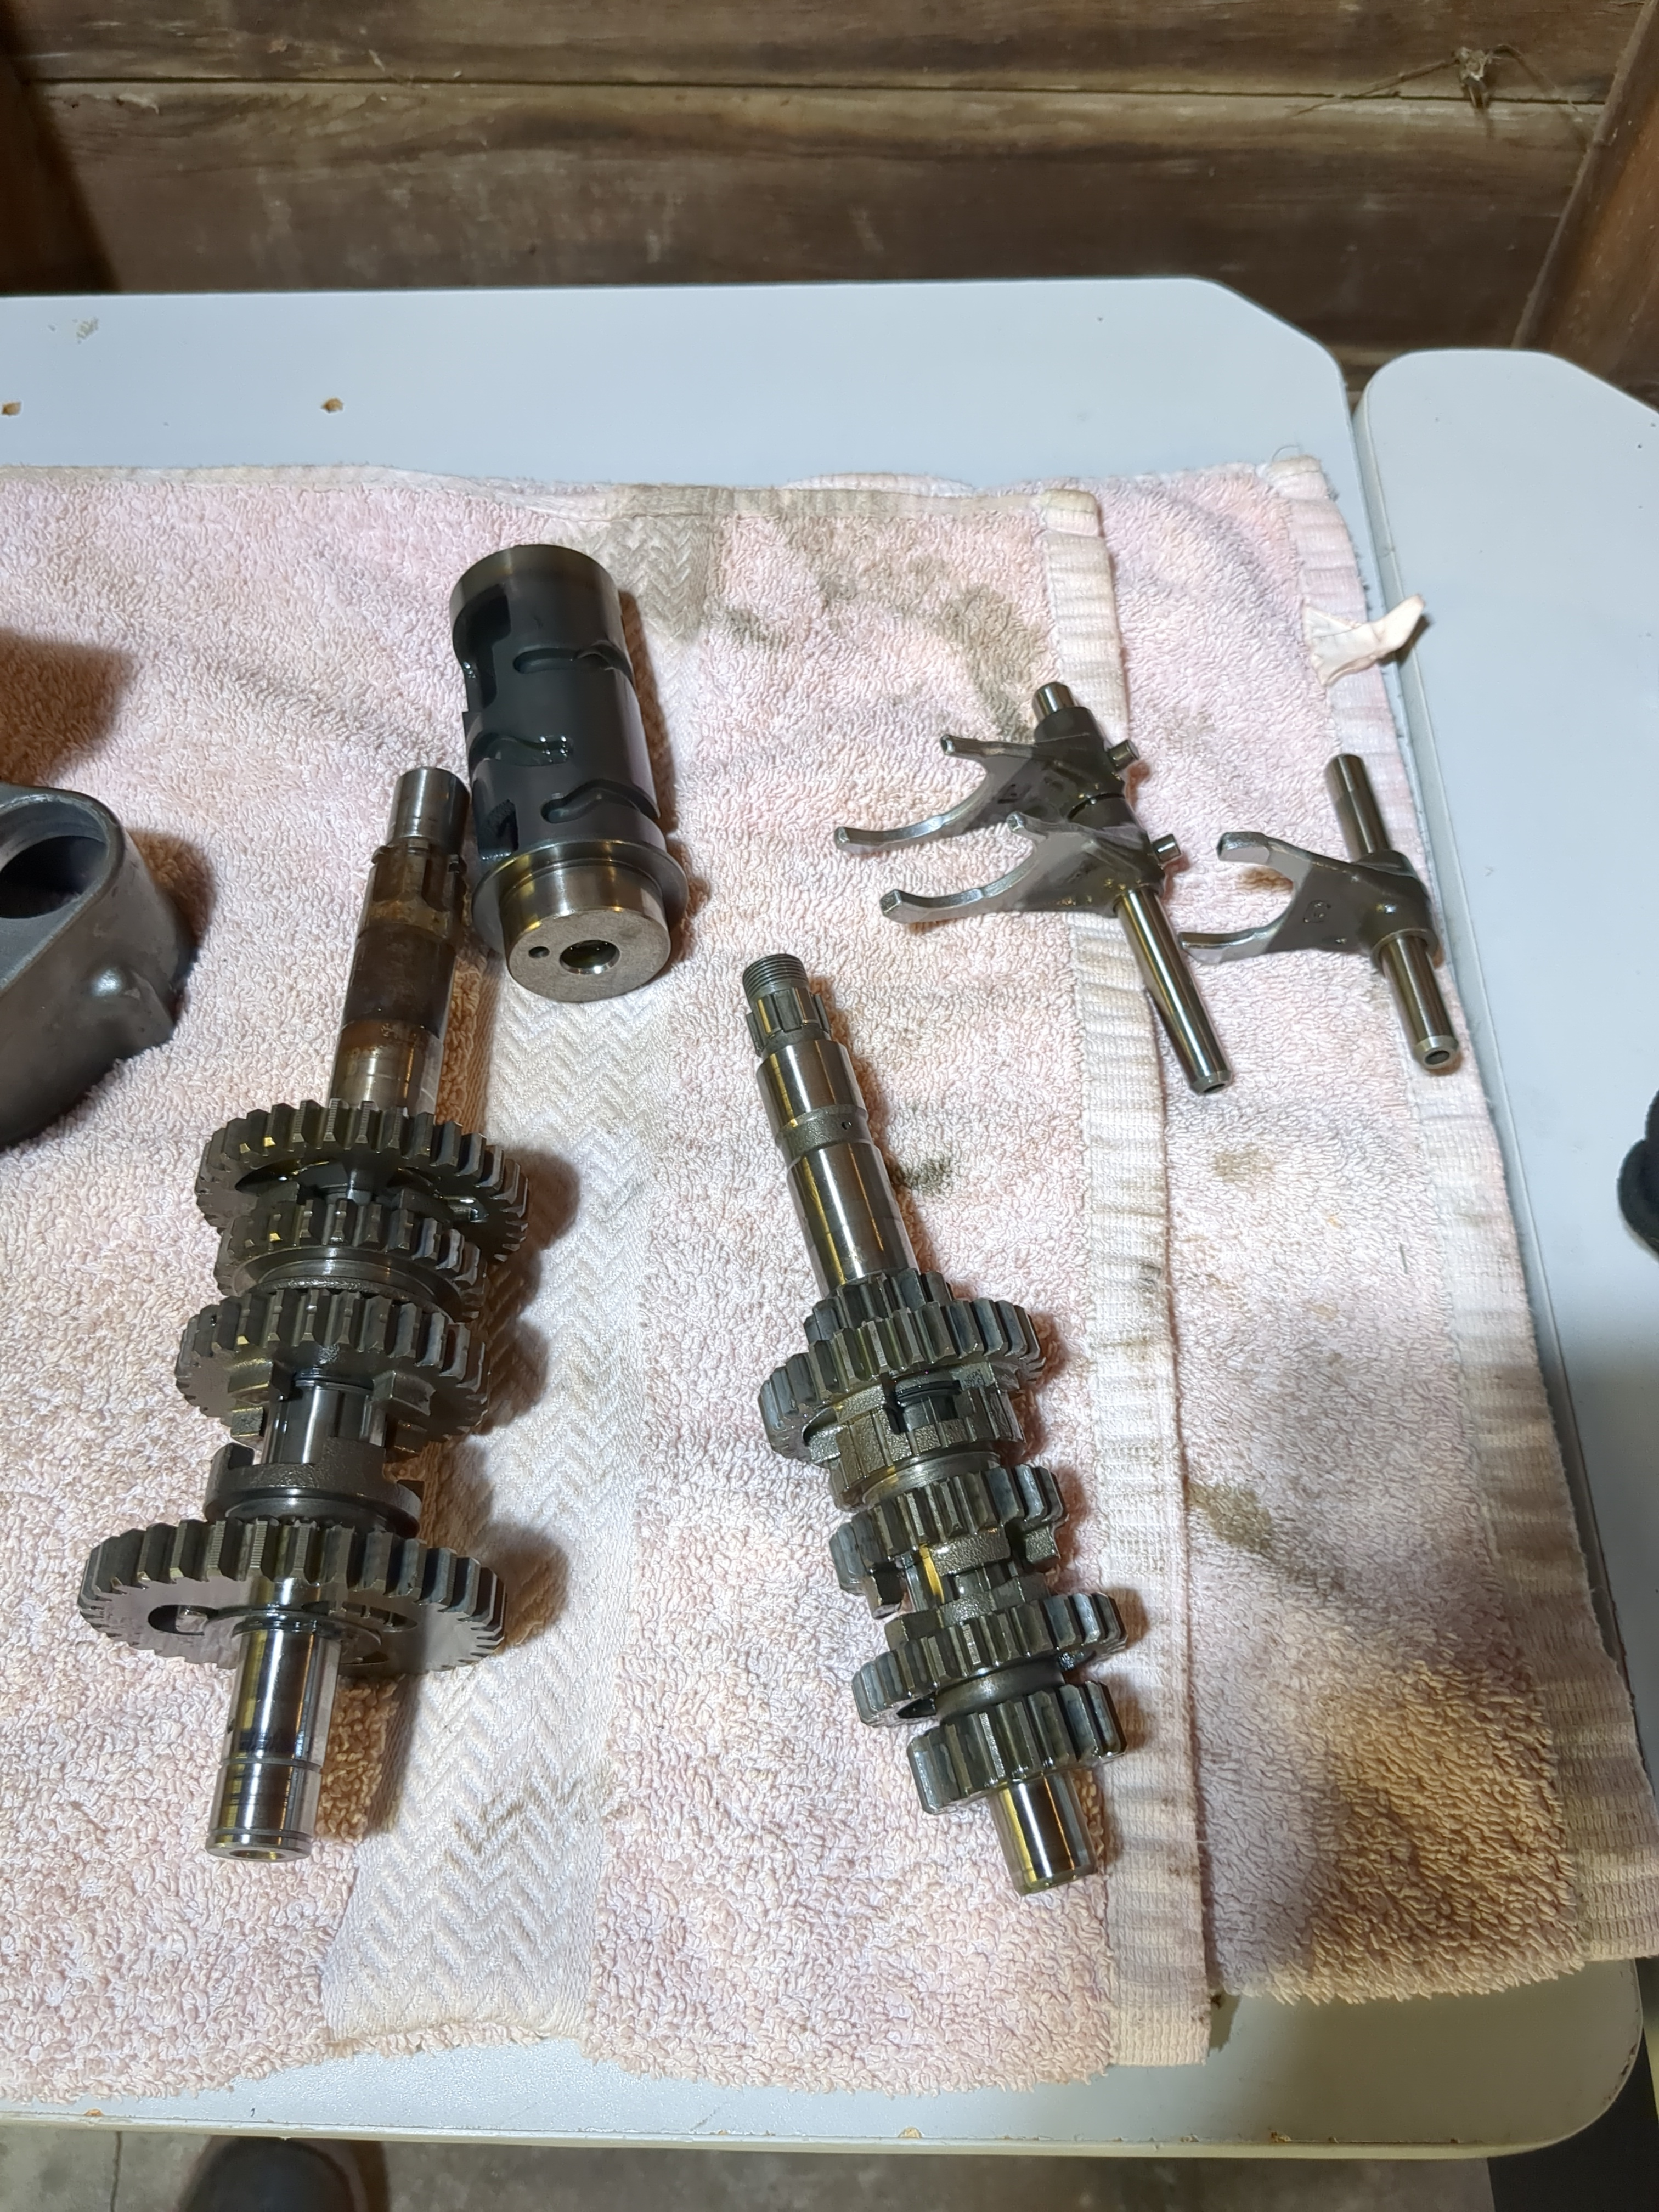
Another picture of the transmission components specifically. Motorcycles are interesting, because the transmission is located inside the crankcase. This means engine oil has to lubricate both the engine components, and transmissions. They’re also far more robust than car automatic transmissions, and even car manual transmissions to a certain extent. They’re purely mechanically gear driven, meaning they’re just solid pieces of machined steel.
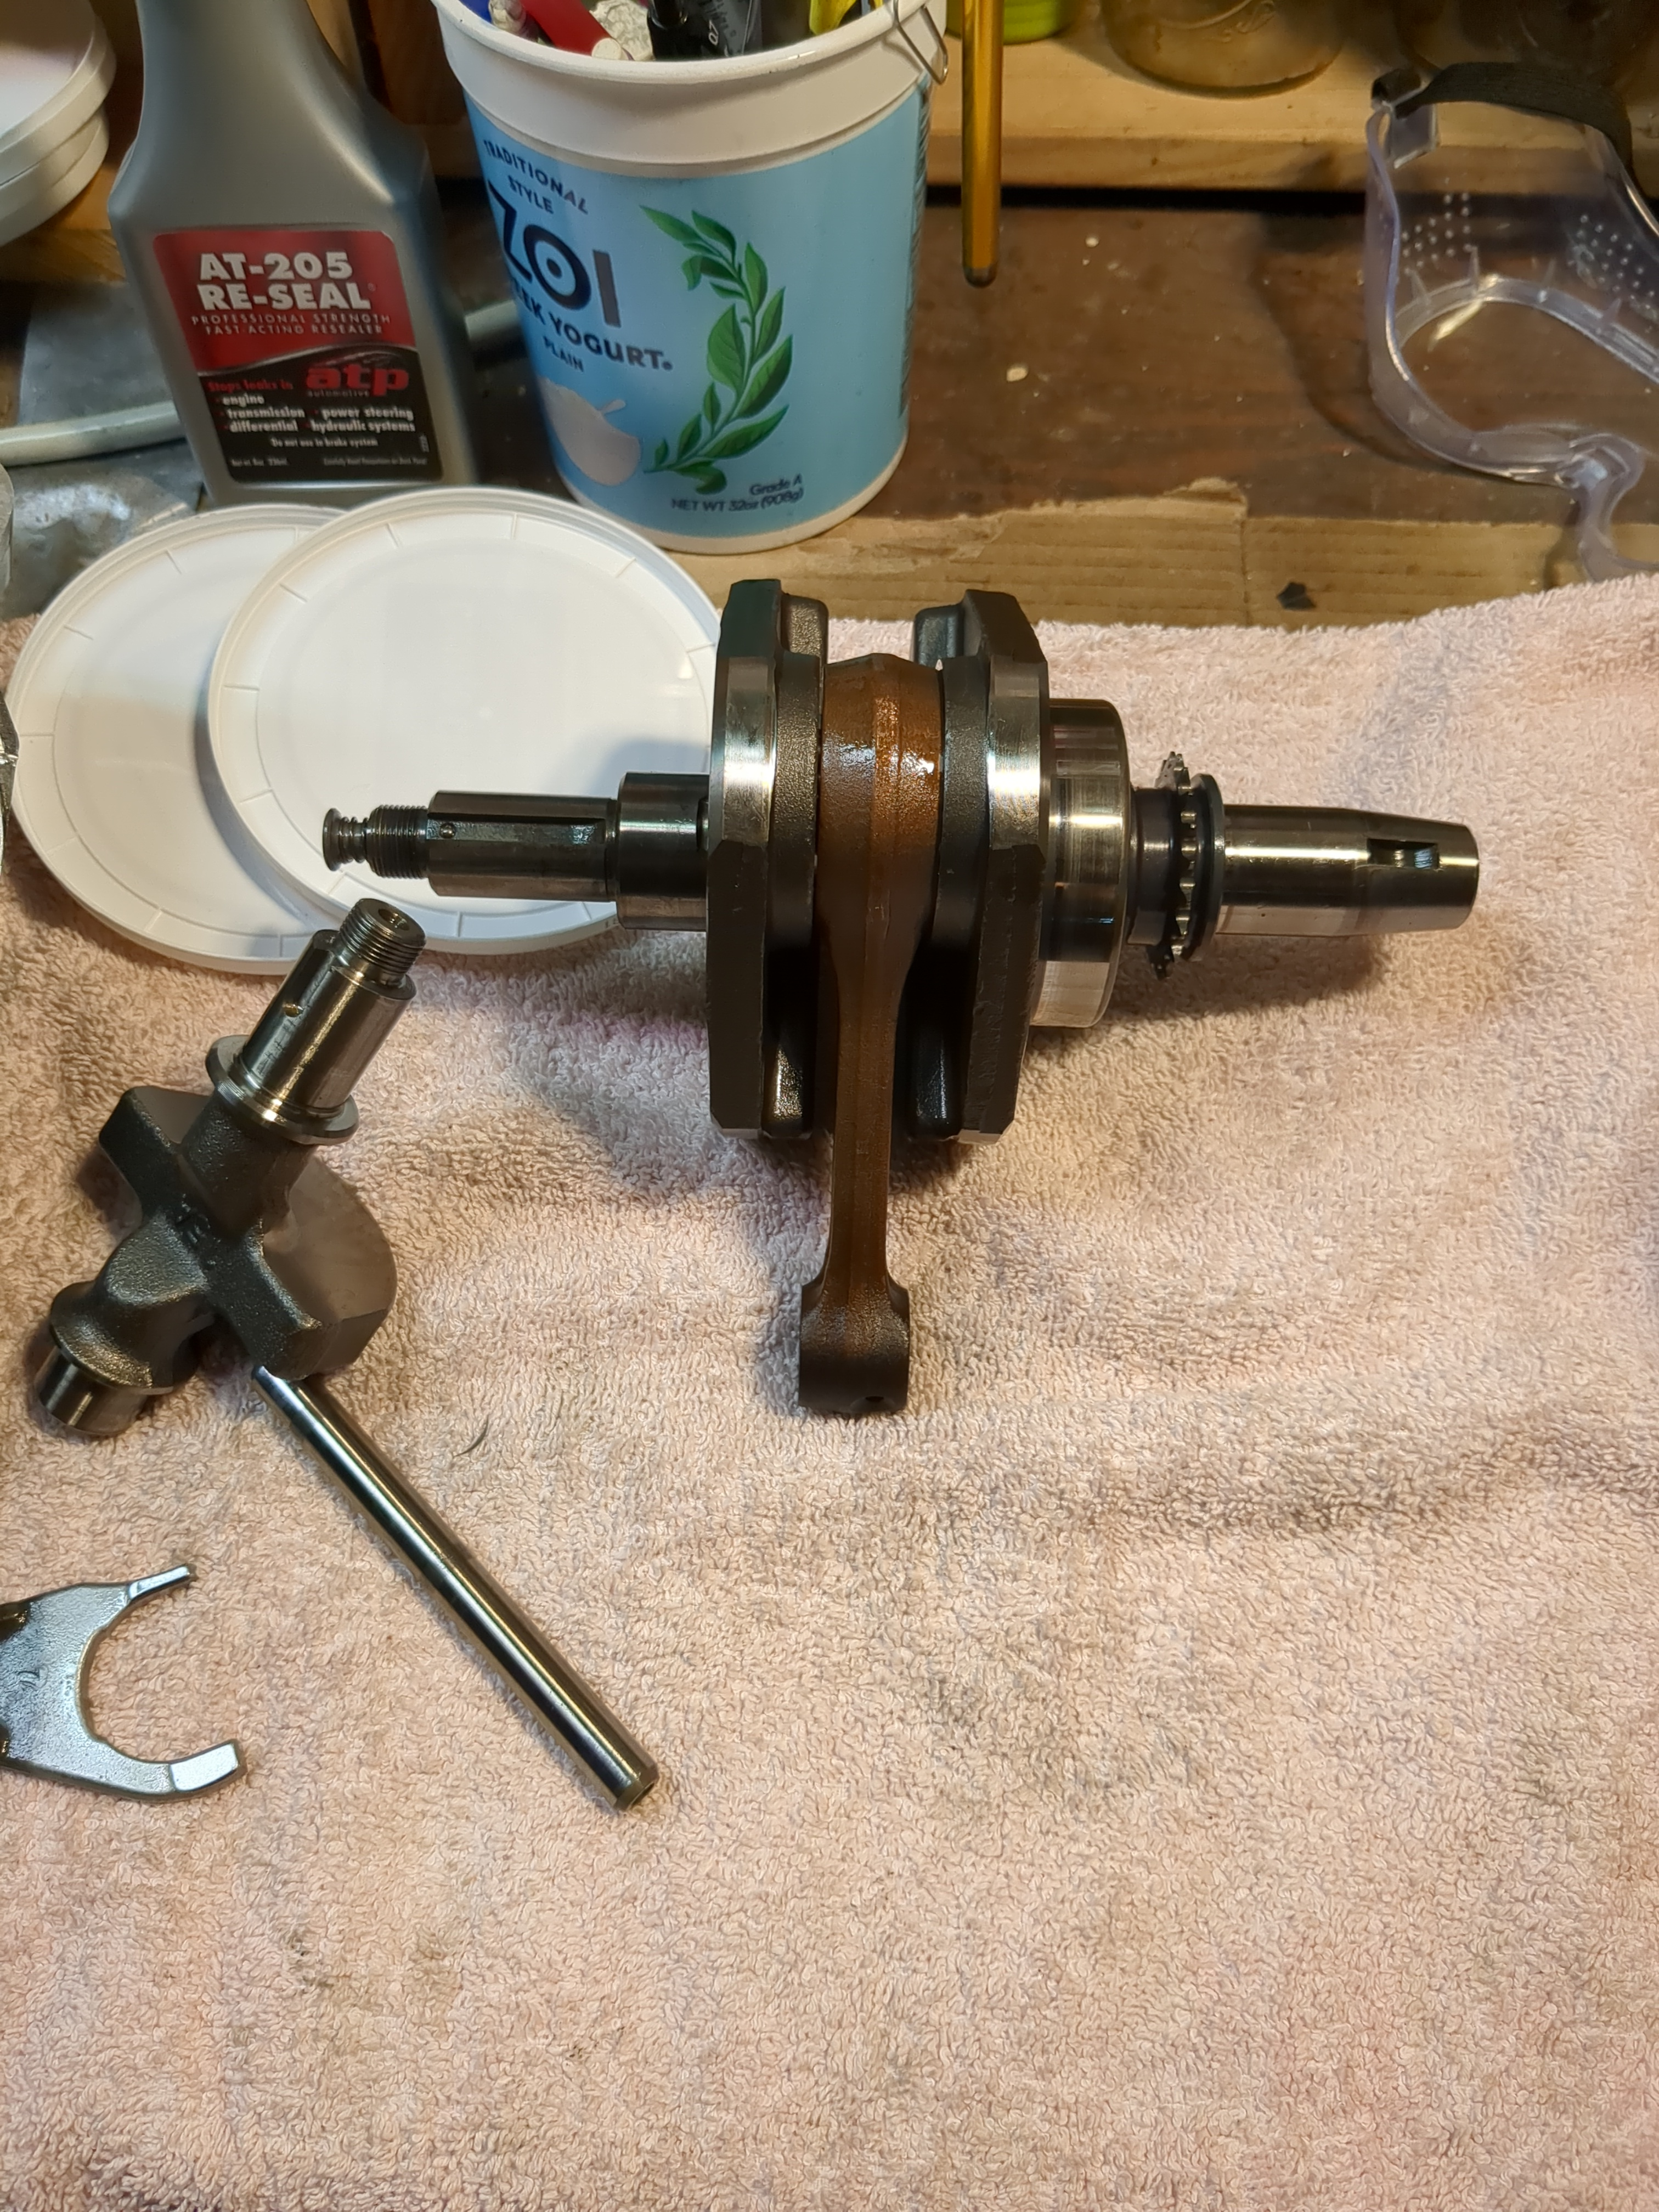
The crankshaft, connecting rod (conrod), and balancing shaft with balancing weight. For most crankshafts and conrods, you can disassemble the conrod independently of the crankshaft. However, with single cylinder dirtbikes, this tends not to be the case. And if you want to work on the conrod/crankshaft, you usually have to have machine shop tools to accomplish this. Also, because the TW is a single cylinder engine, it encounters all sorts of balancing issues, which would cause a bad vibration. So the balancer weight and shaft are added so that while the crankshaft weights are down, the balancer weight is up, and so on. It adds complexity, but it’s worth it because the TW engine really doesn’t vibrate nearly as badly as my Shadow’s VTwin engine, which doesn’t have a balancer shaft (and it’s not really possible to add one because of how the engine fires).
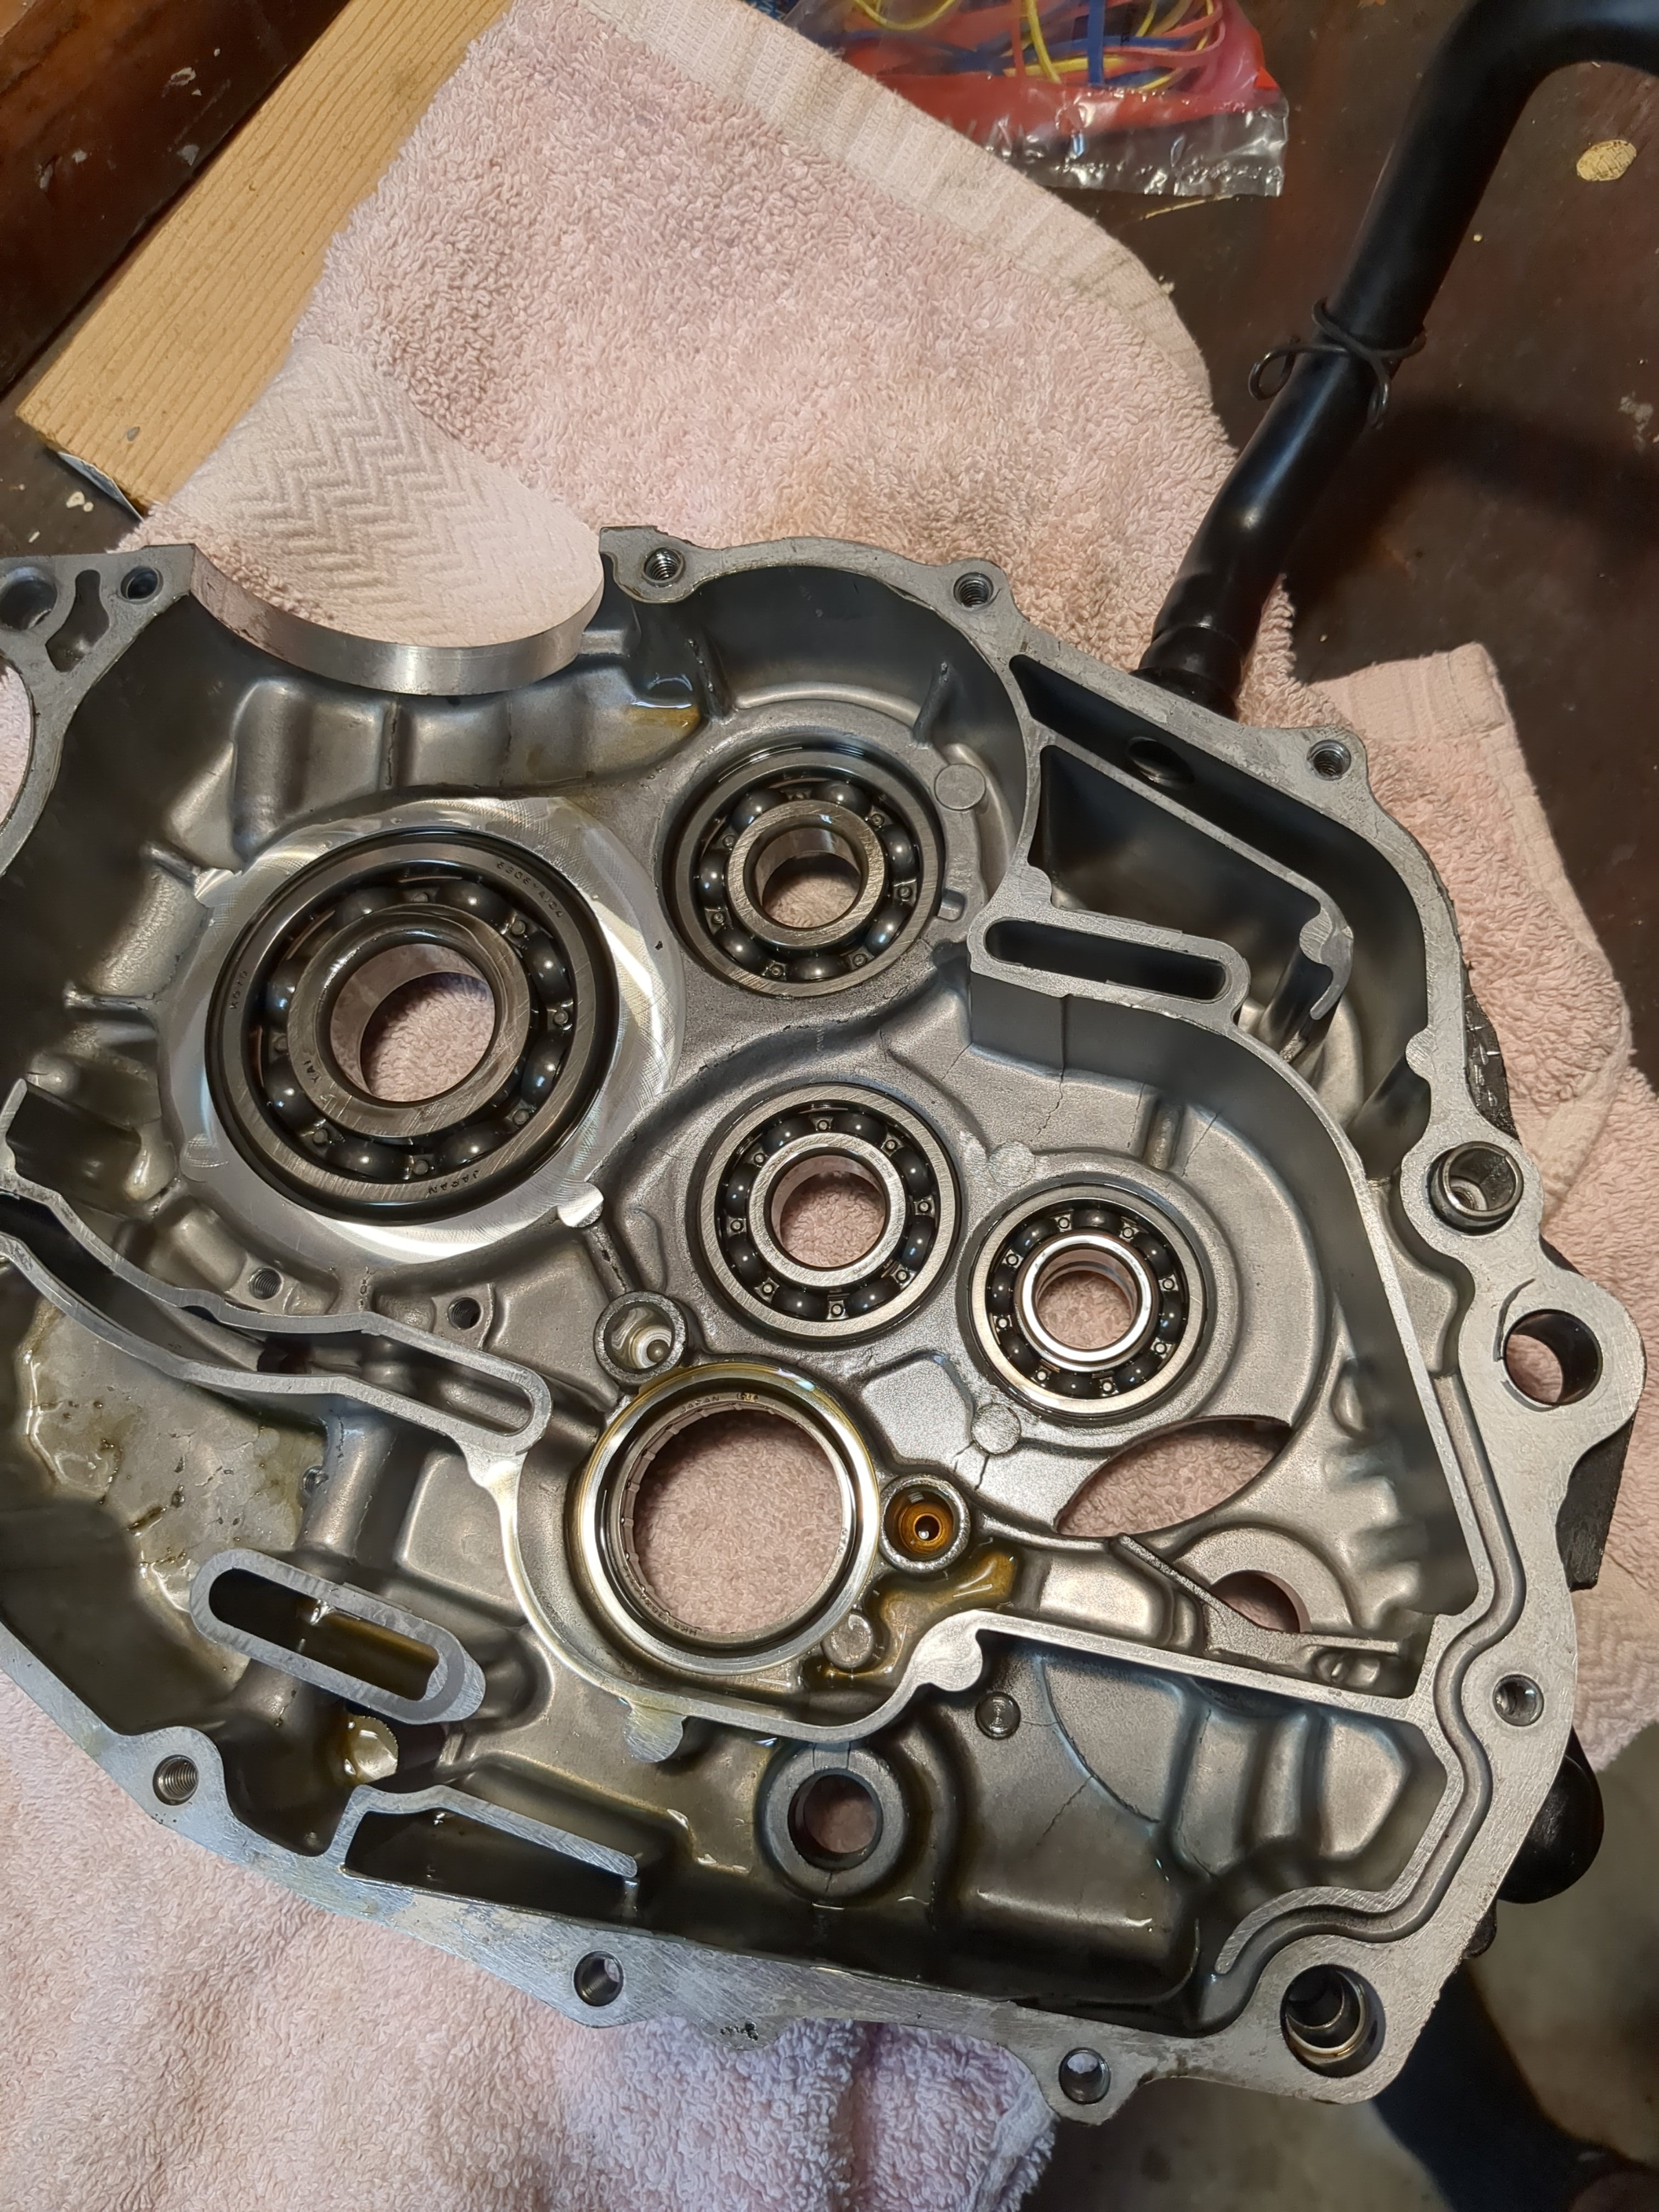
The rightside engine case. Both sides have ball bearings, but this side has a lot more, and a needle bearing set (The big hole on the bottom. Here you can see all sorts of oil galleys and such.
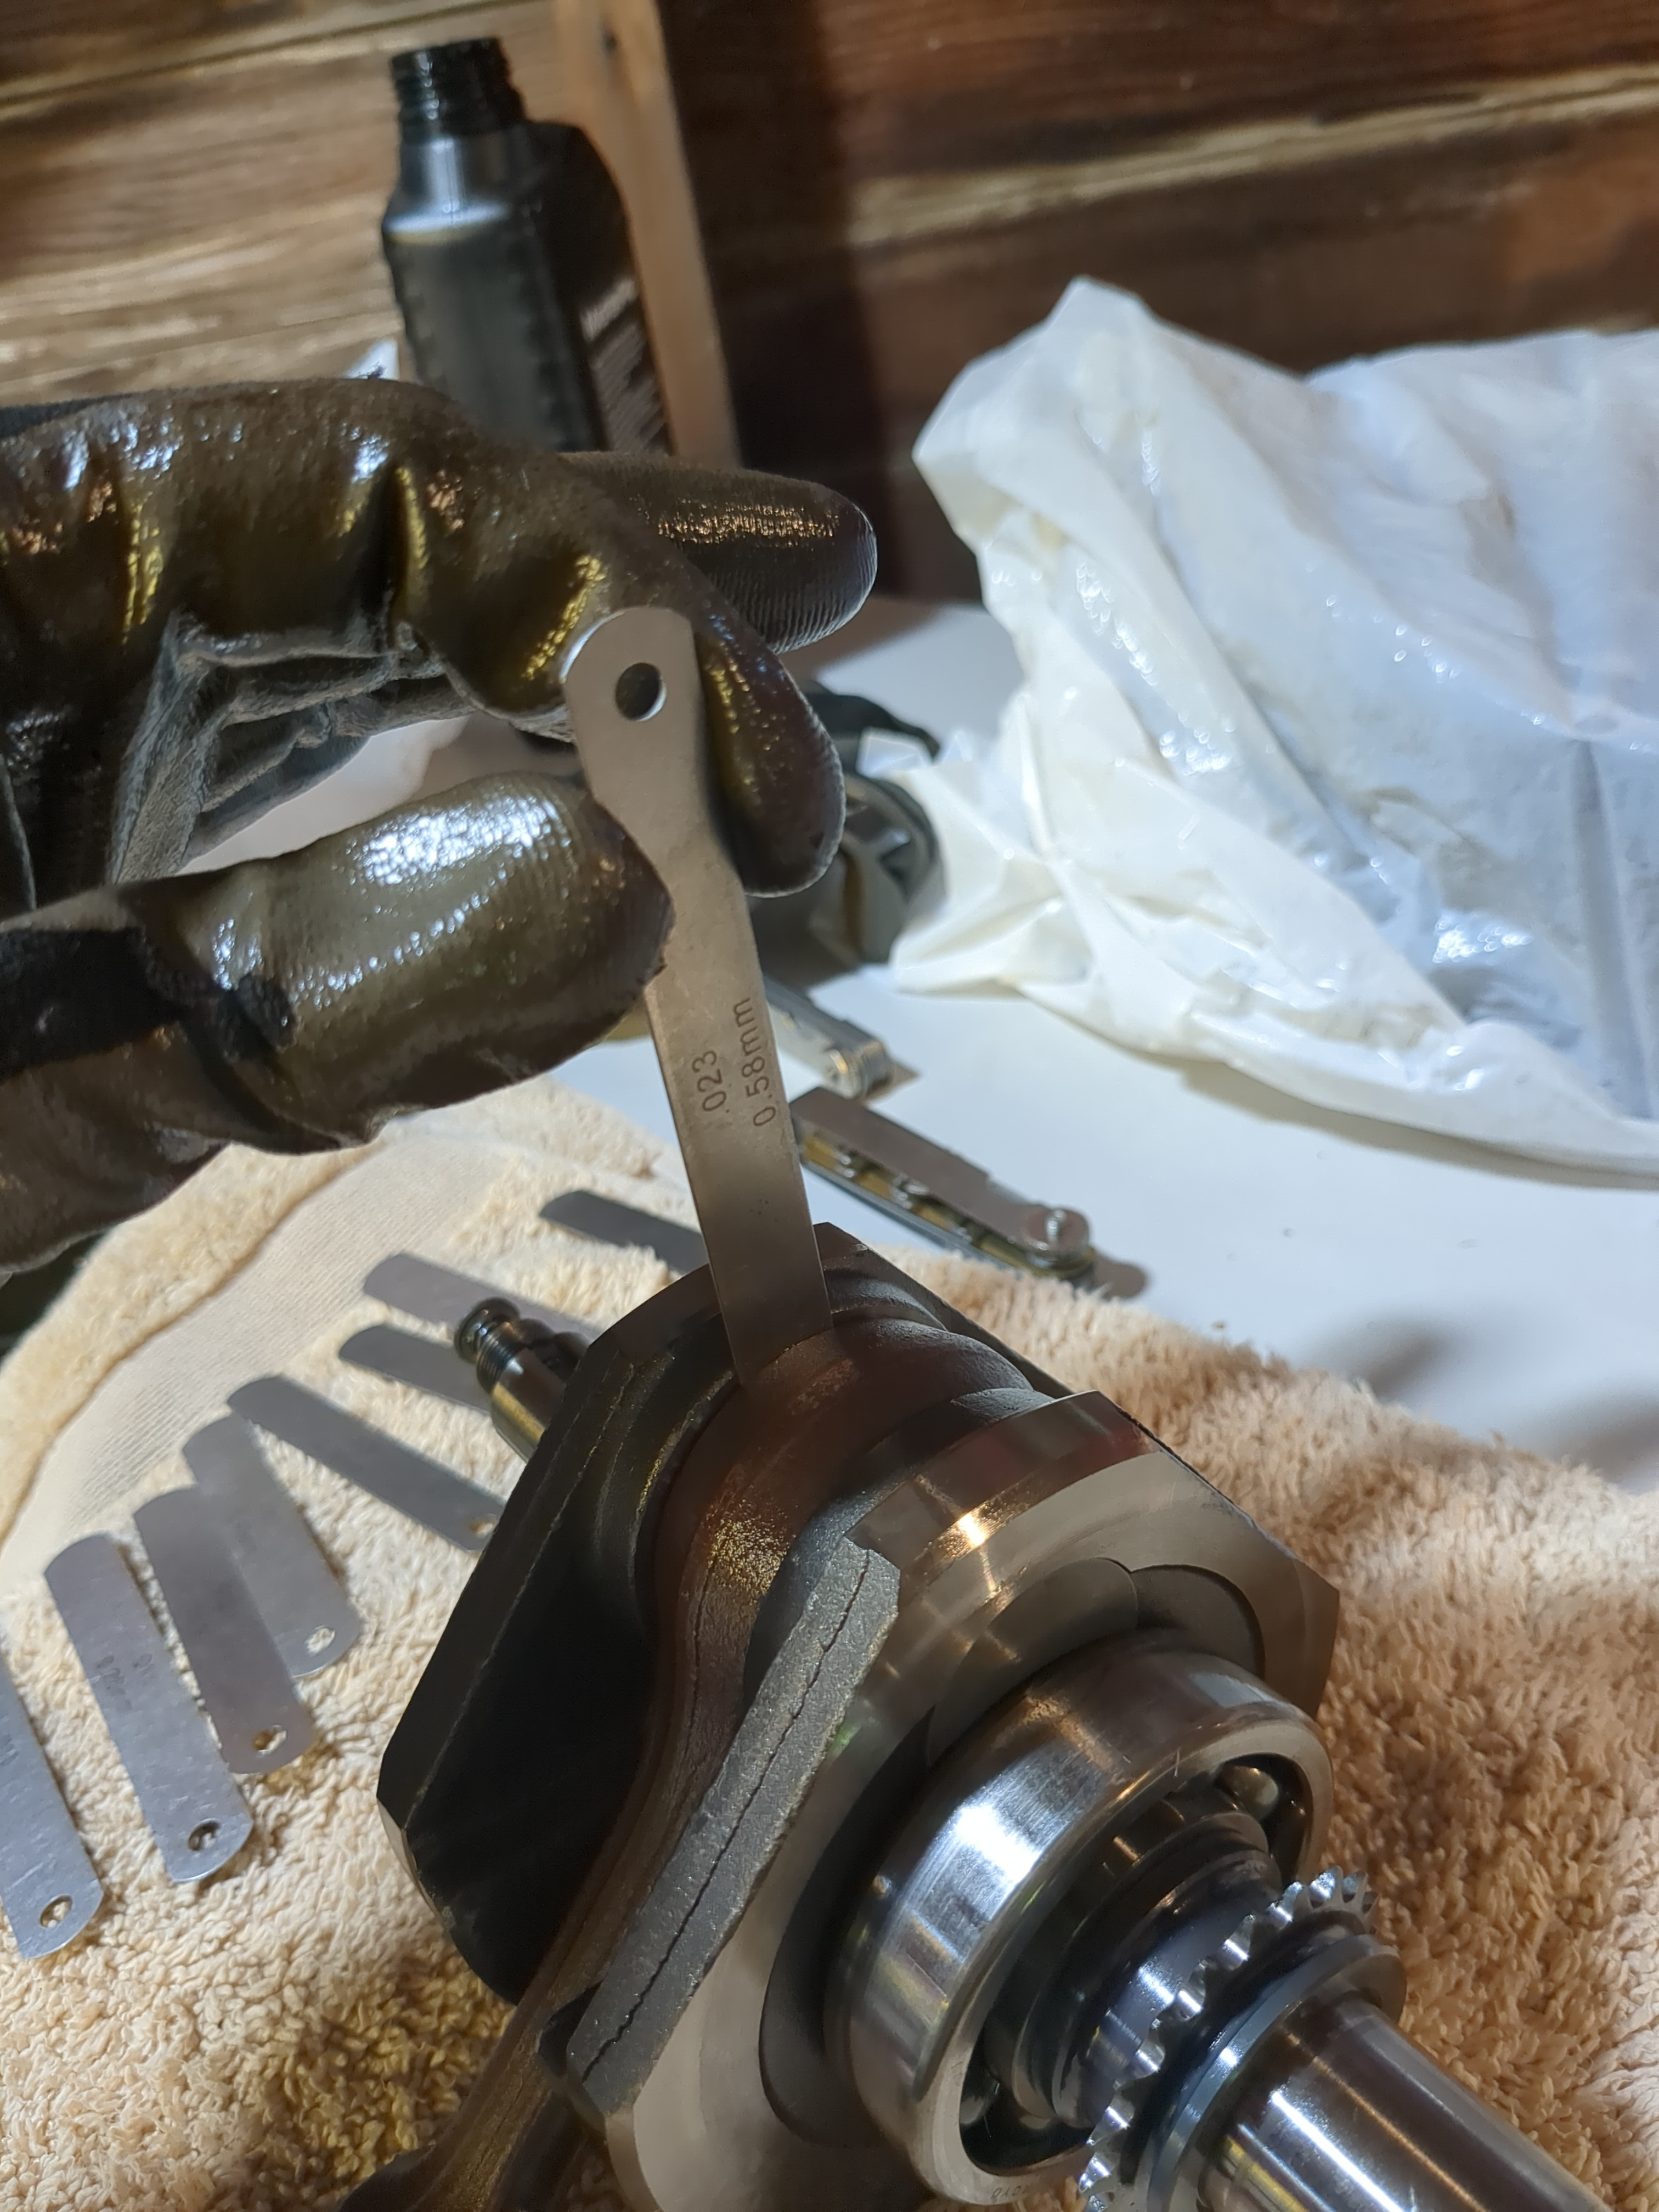
I used a feeler gauge to see how much of gap existed between the conrod and the cranksahft. You want just a tiny amount of play, as it being too tight could cause issues like extra friction. This was well within spec.
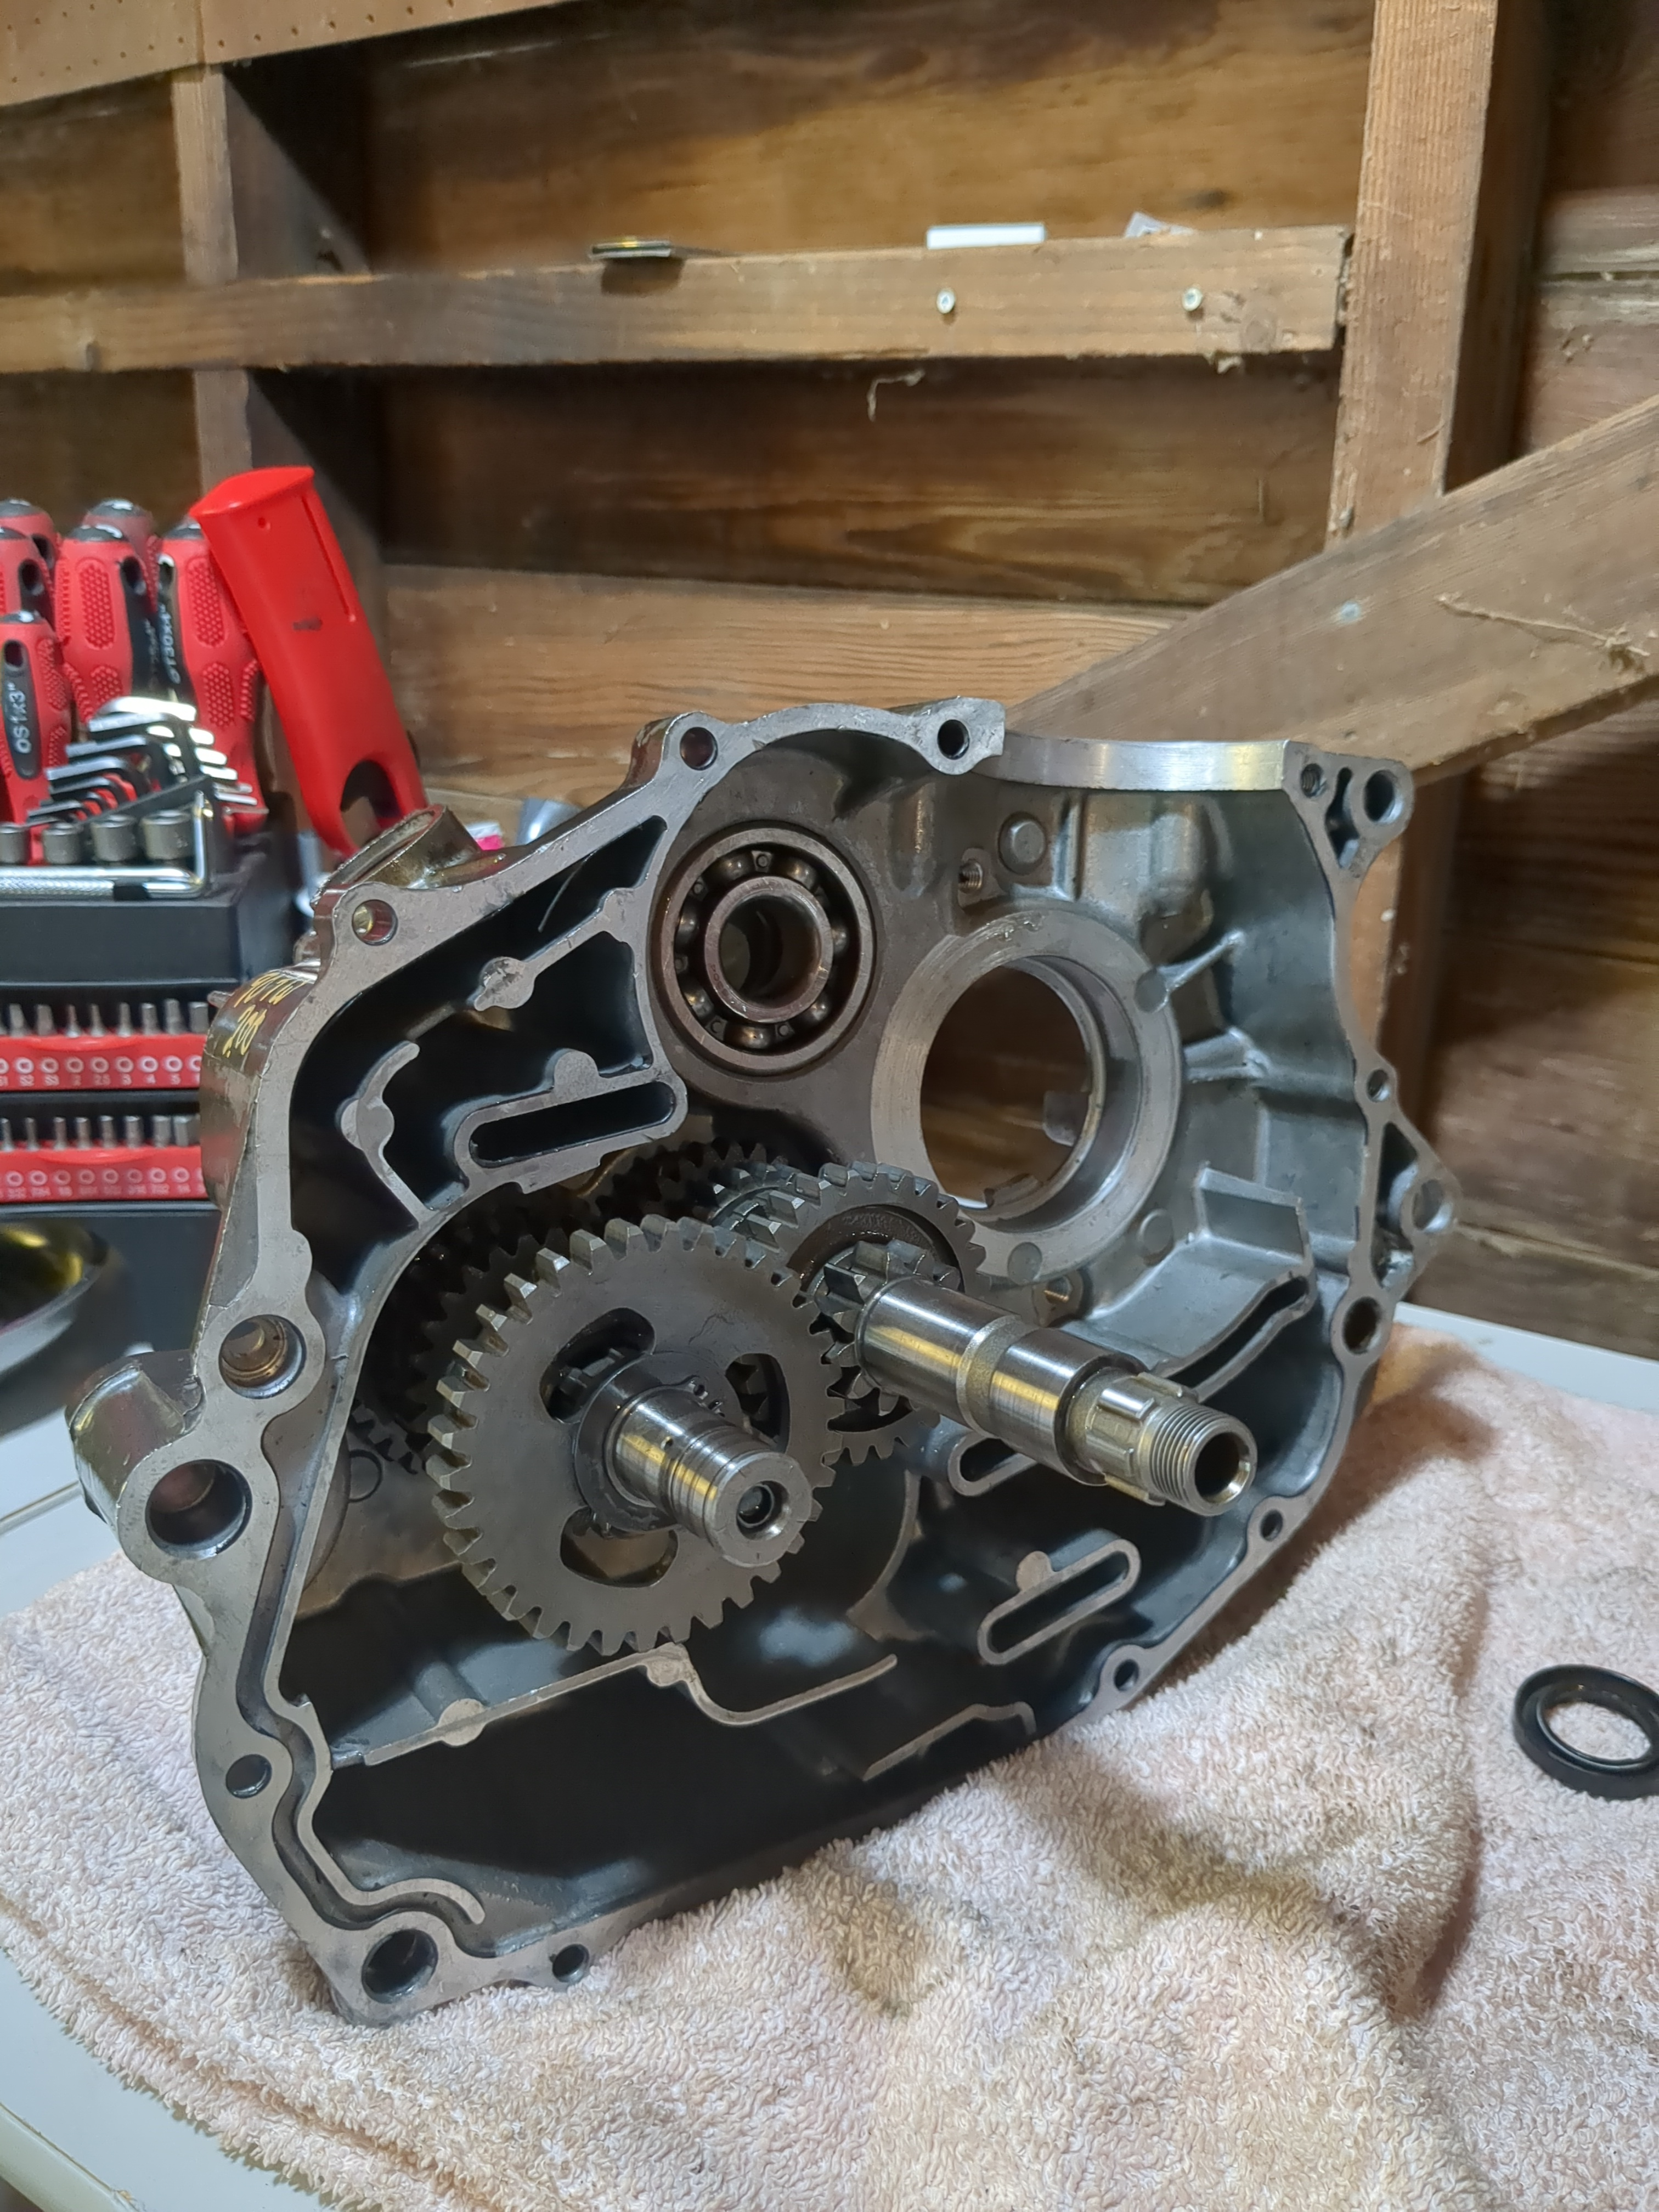 the transmission installed into the left crankcase halve. Again you can see the oil galleys.
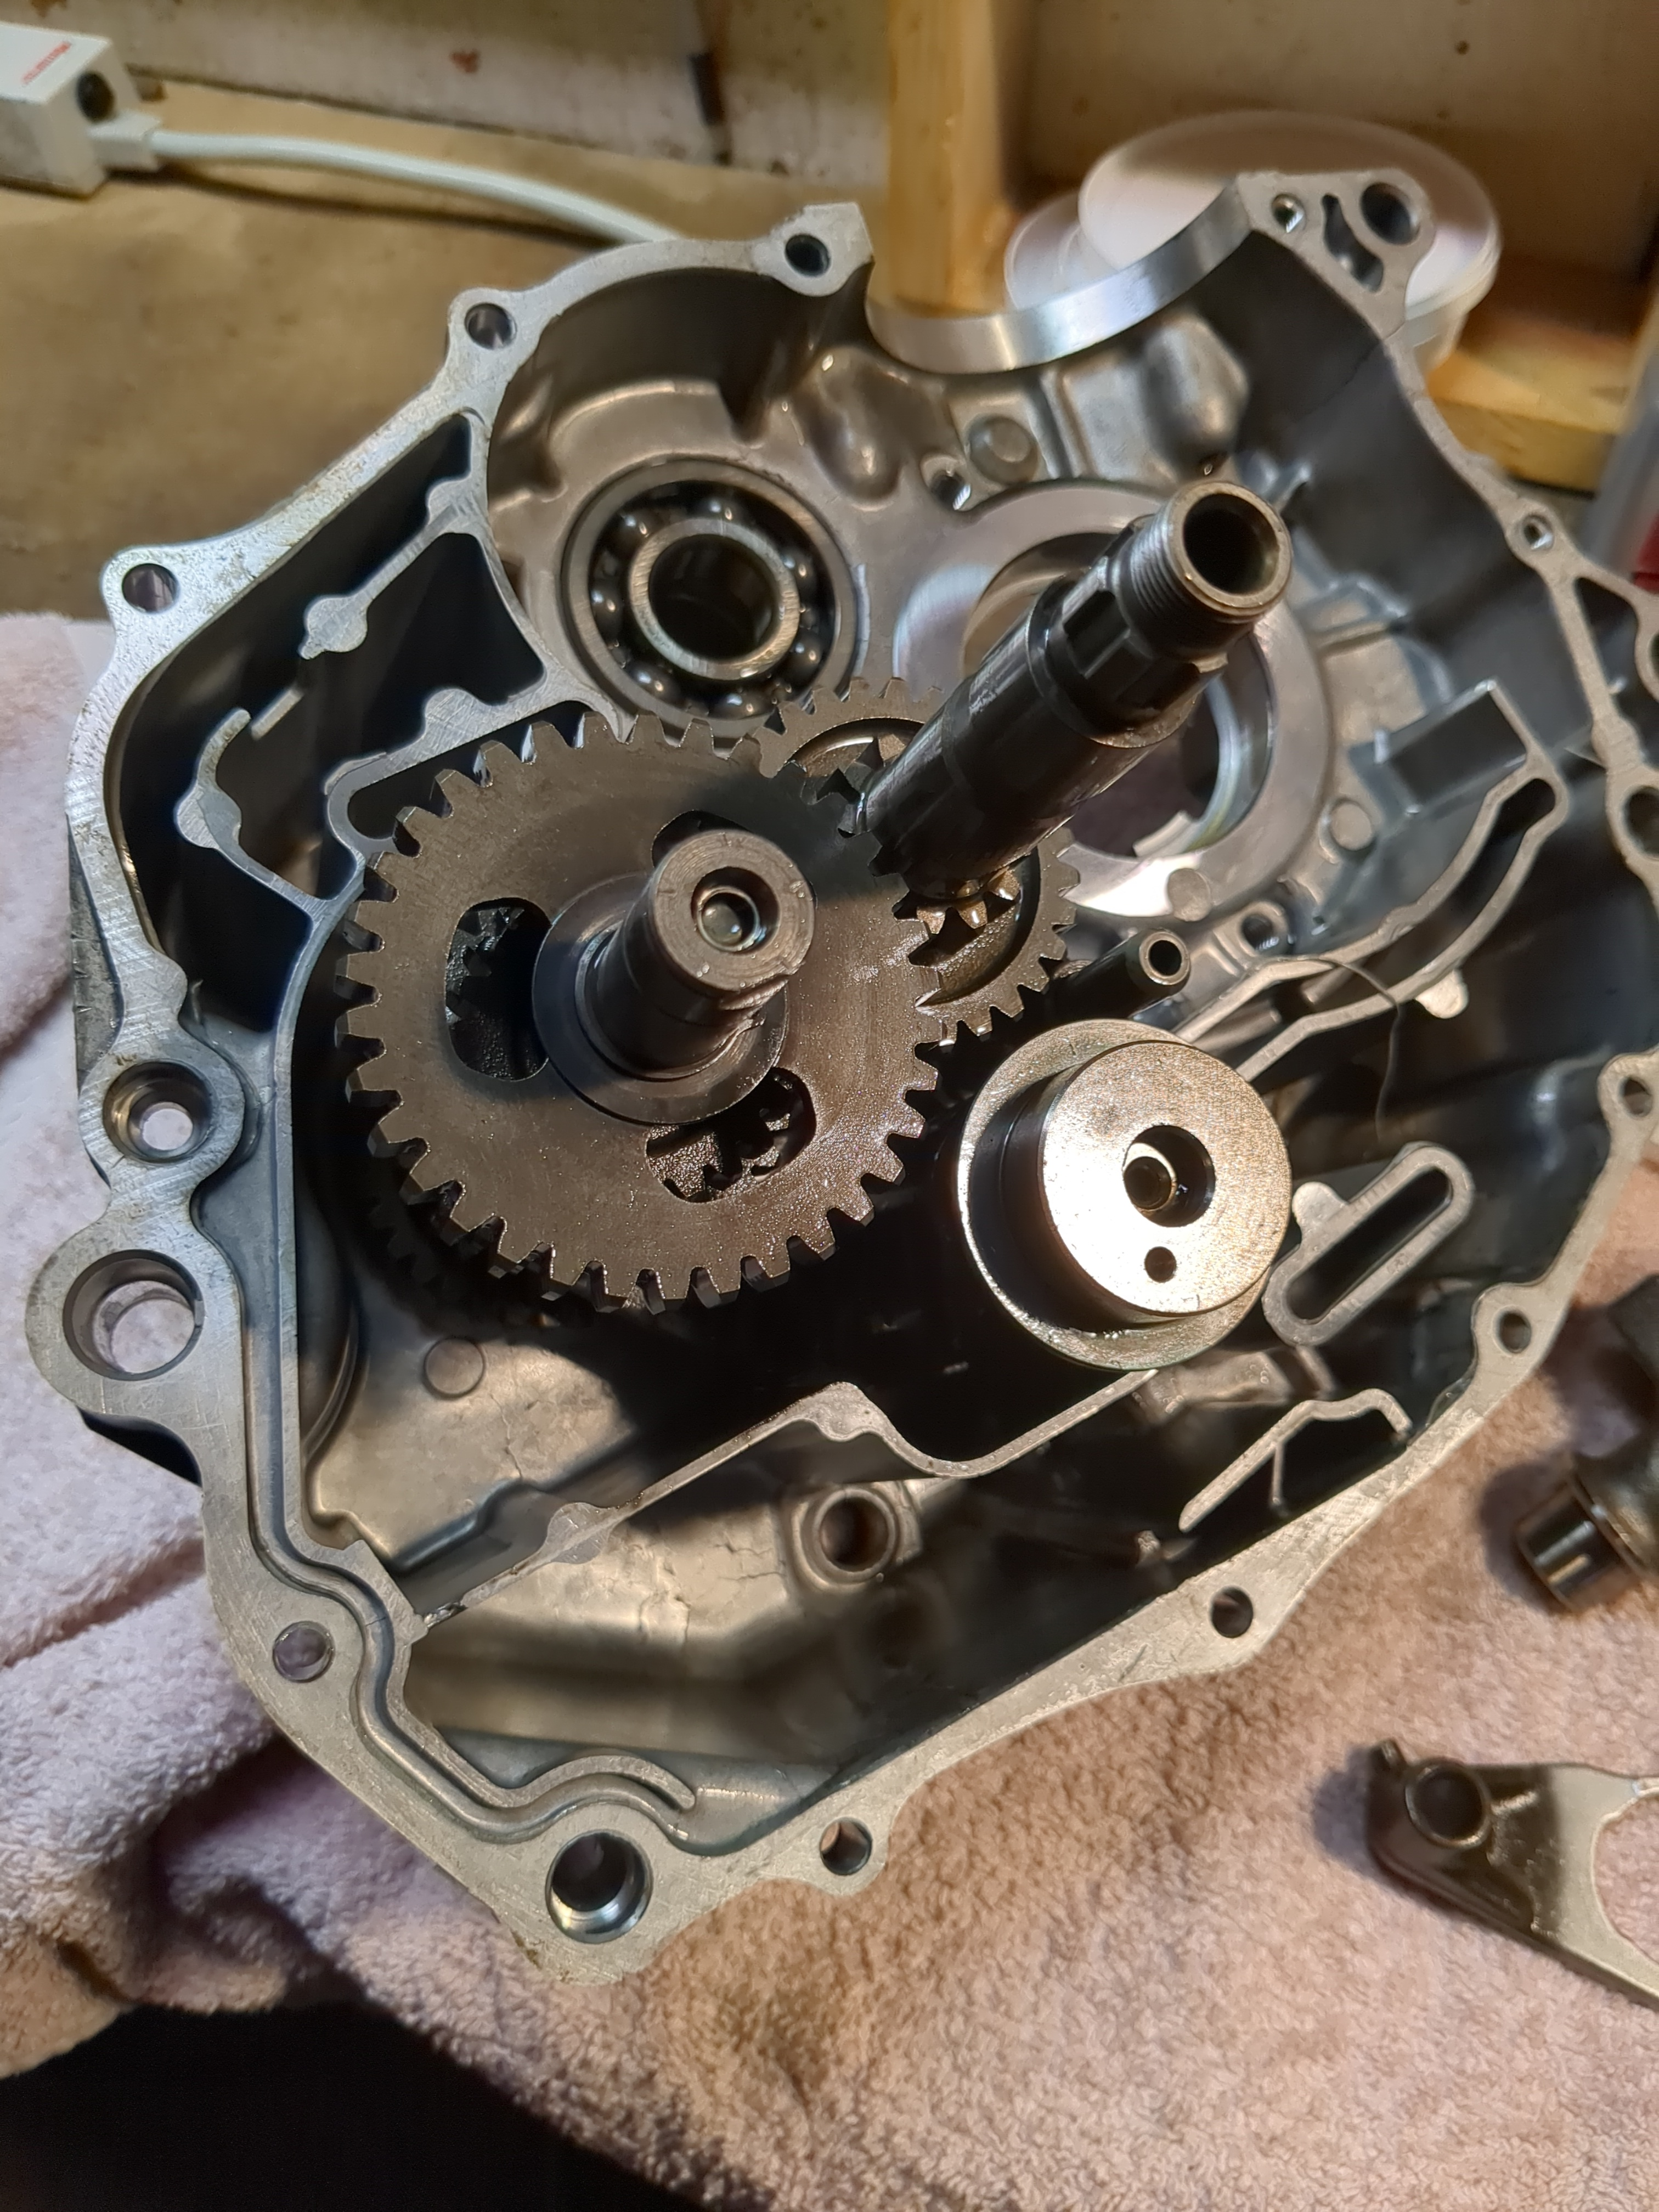
Tranmsission, shift drum, and one shift fork installed. It was a little annoying installing the shift forks.
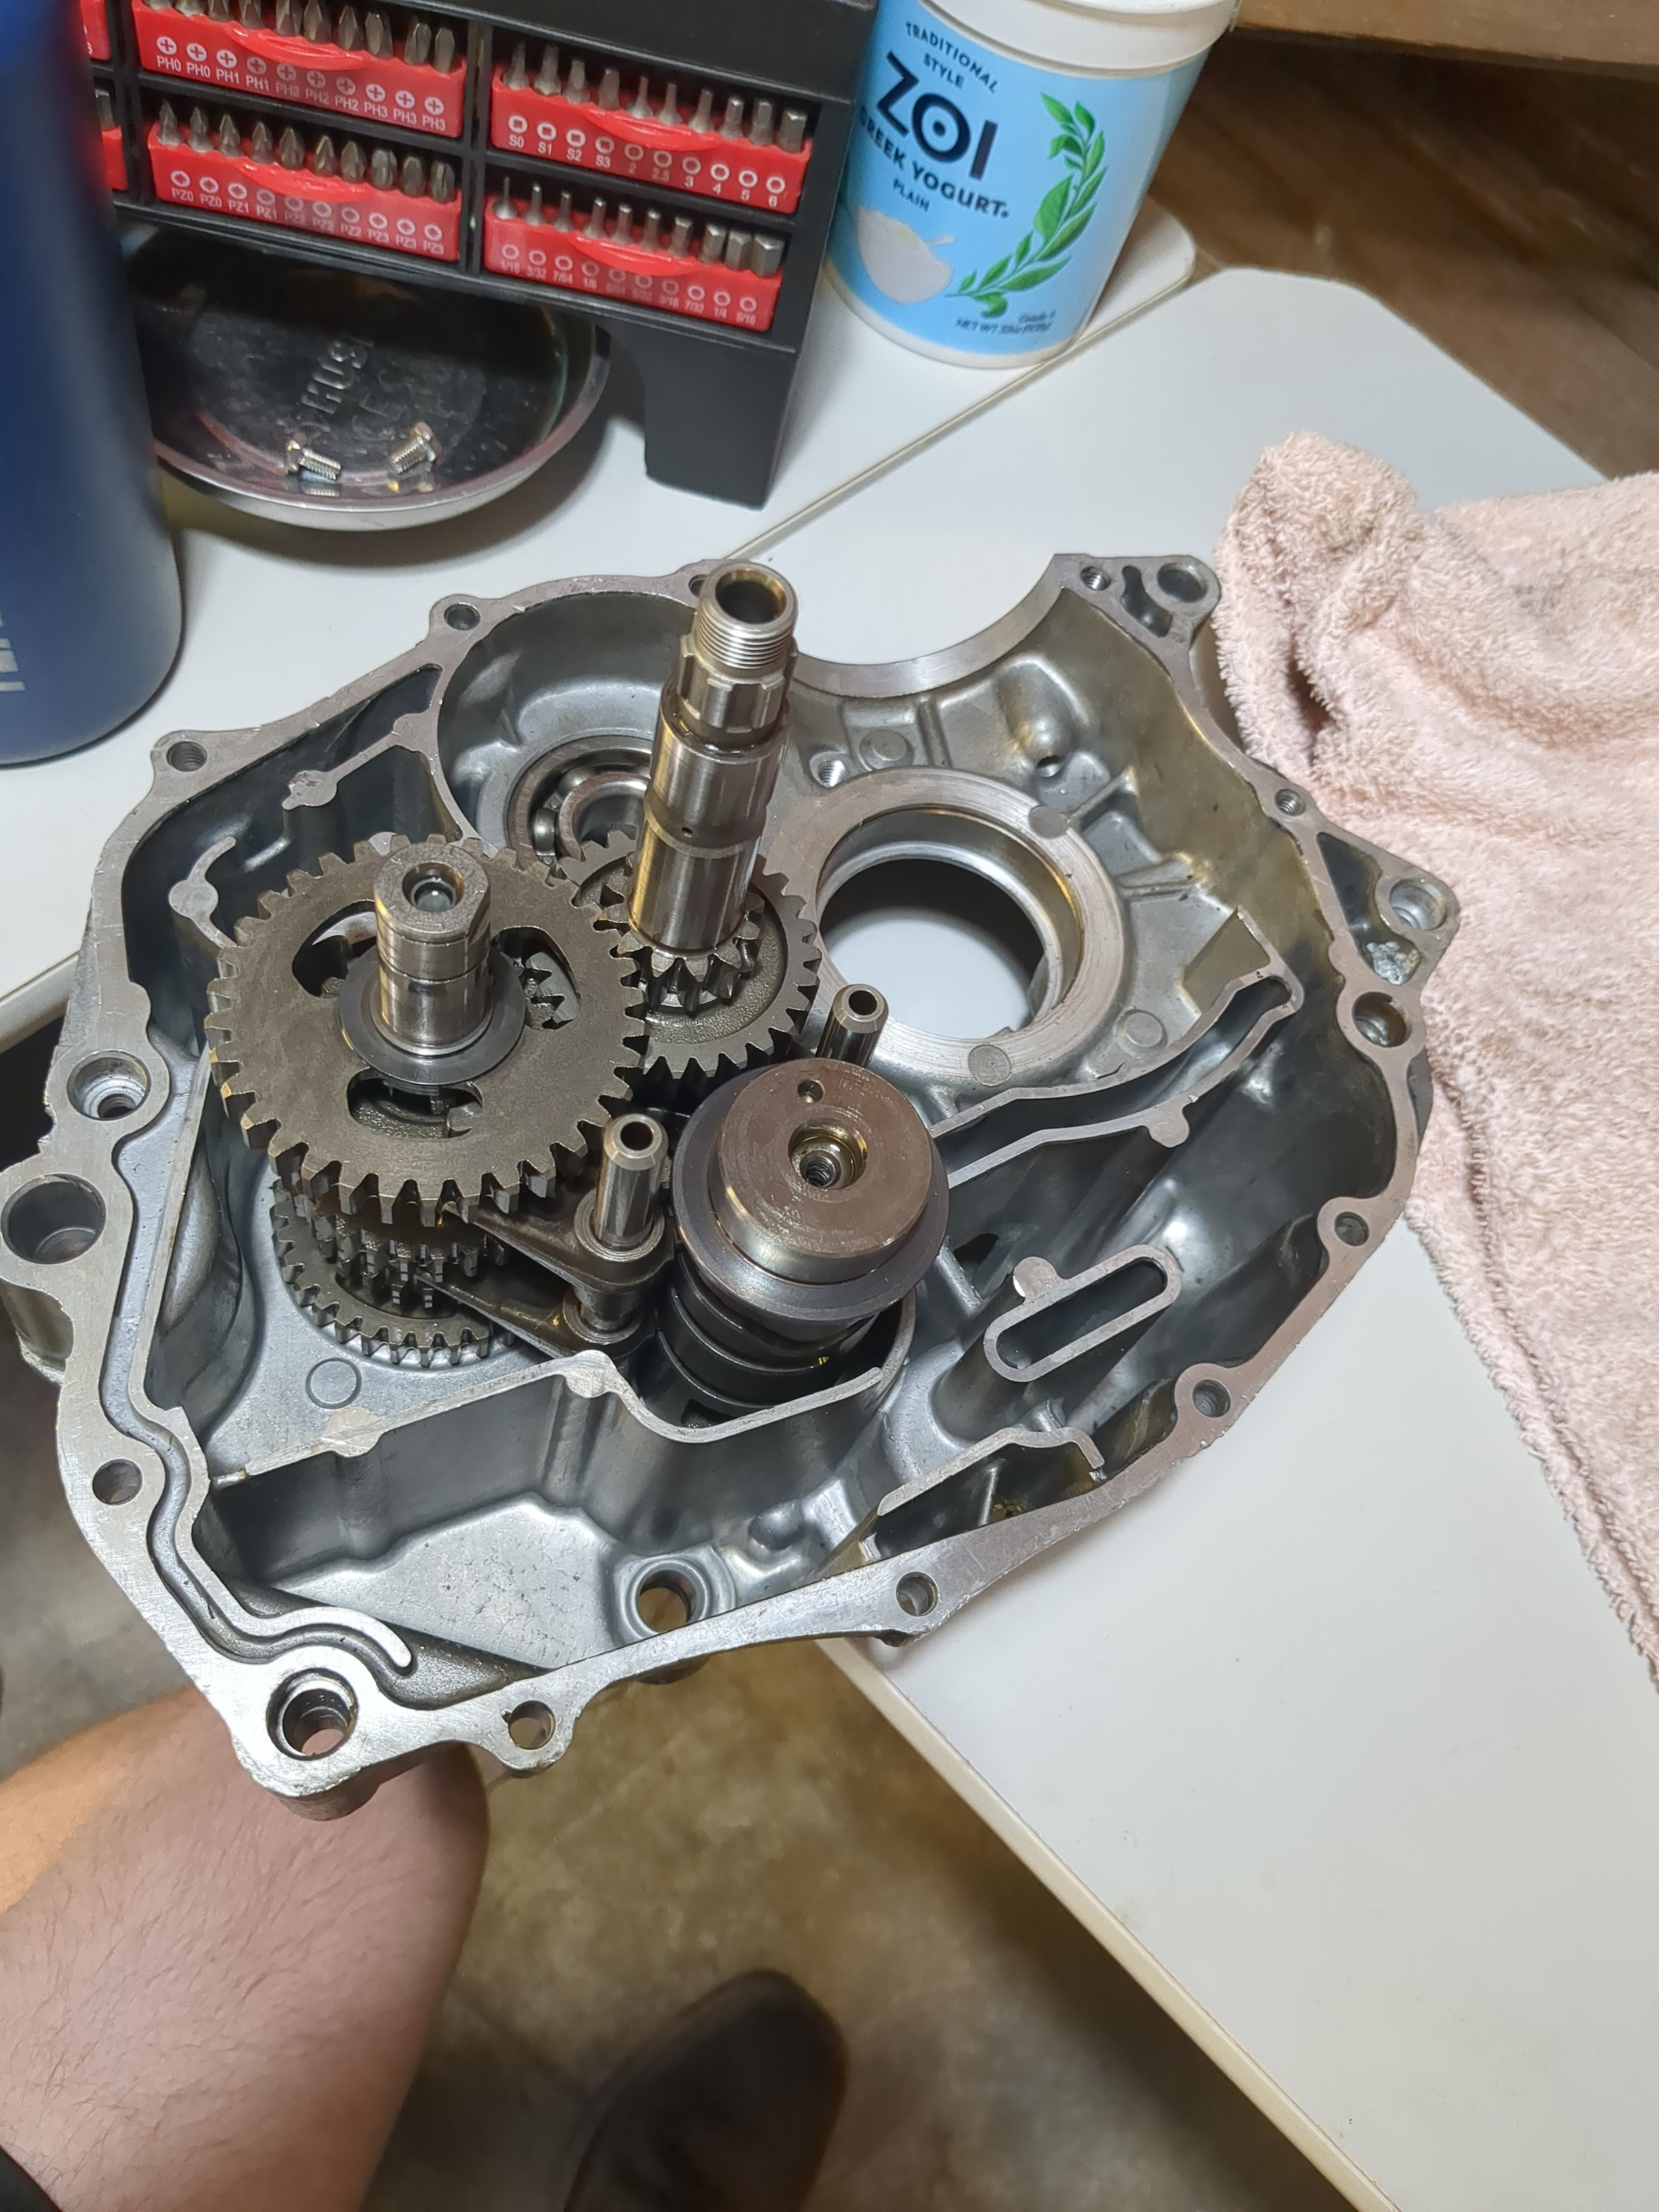
All transmission components installed.
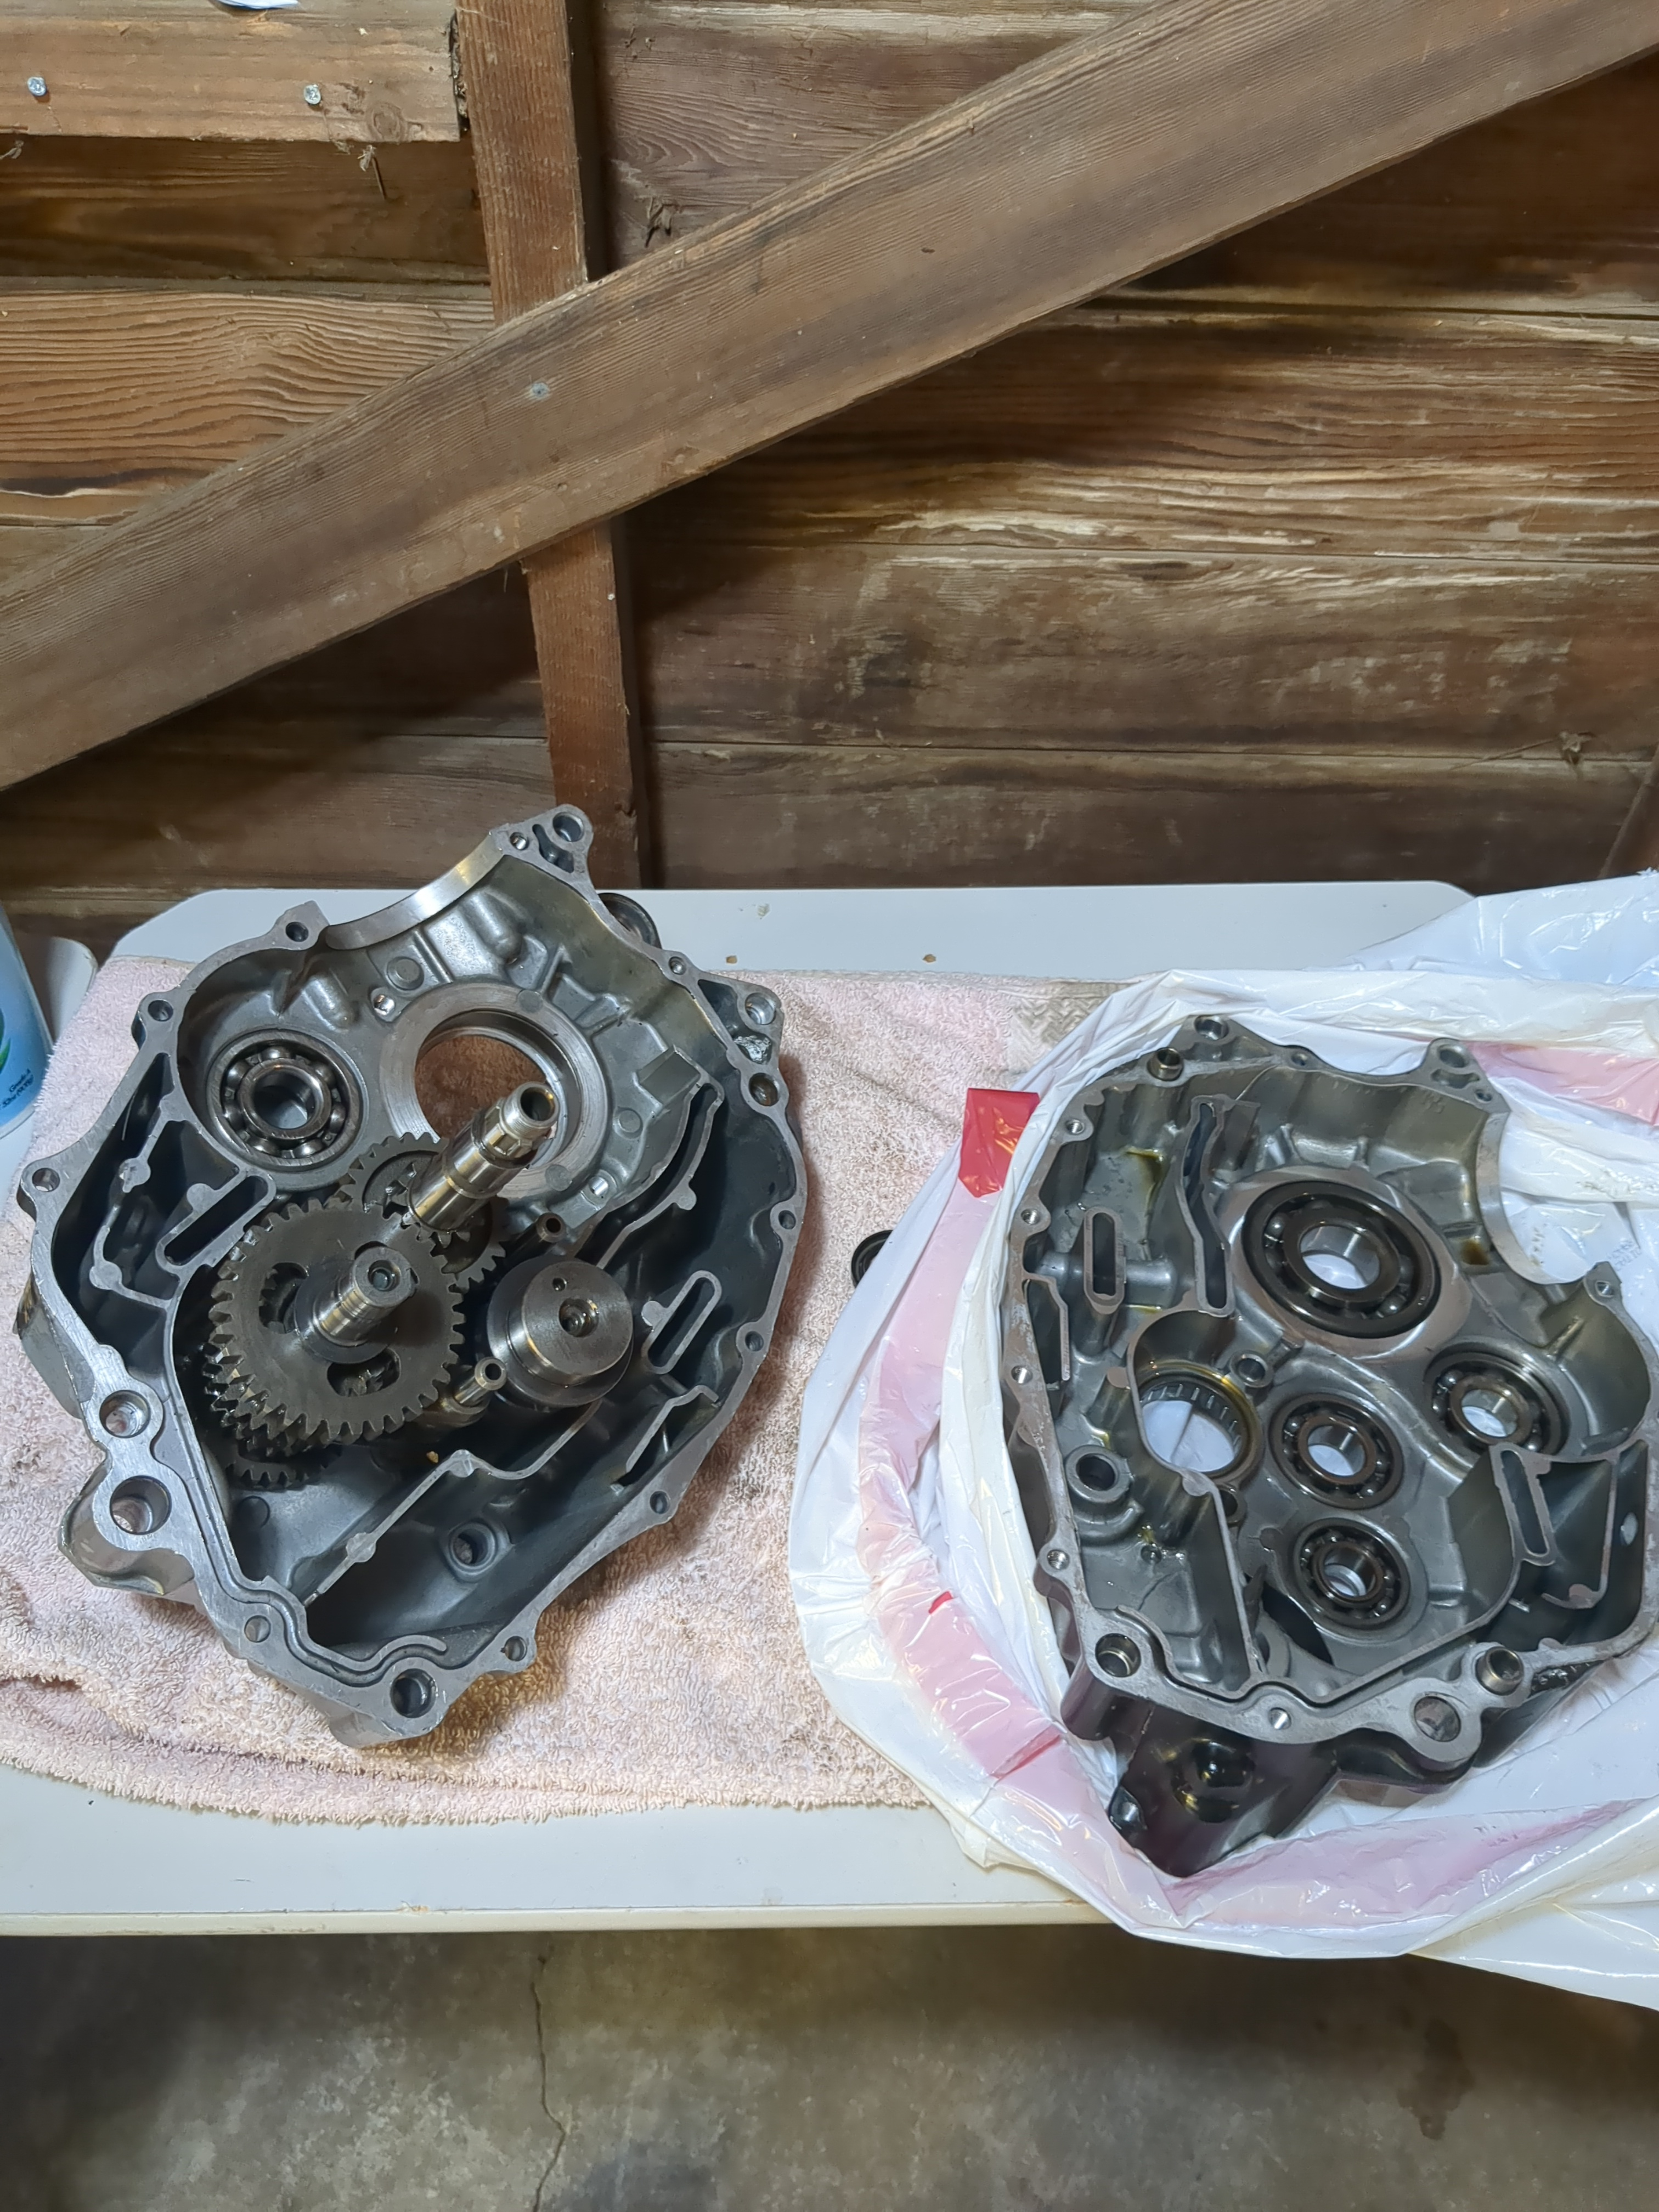
Both crankcase halves prior to the crankshaft and balancer installed.
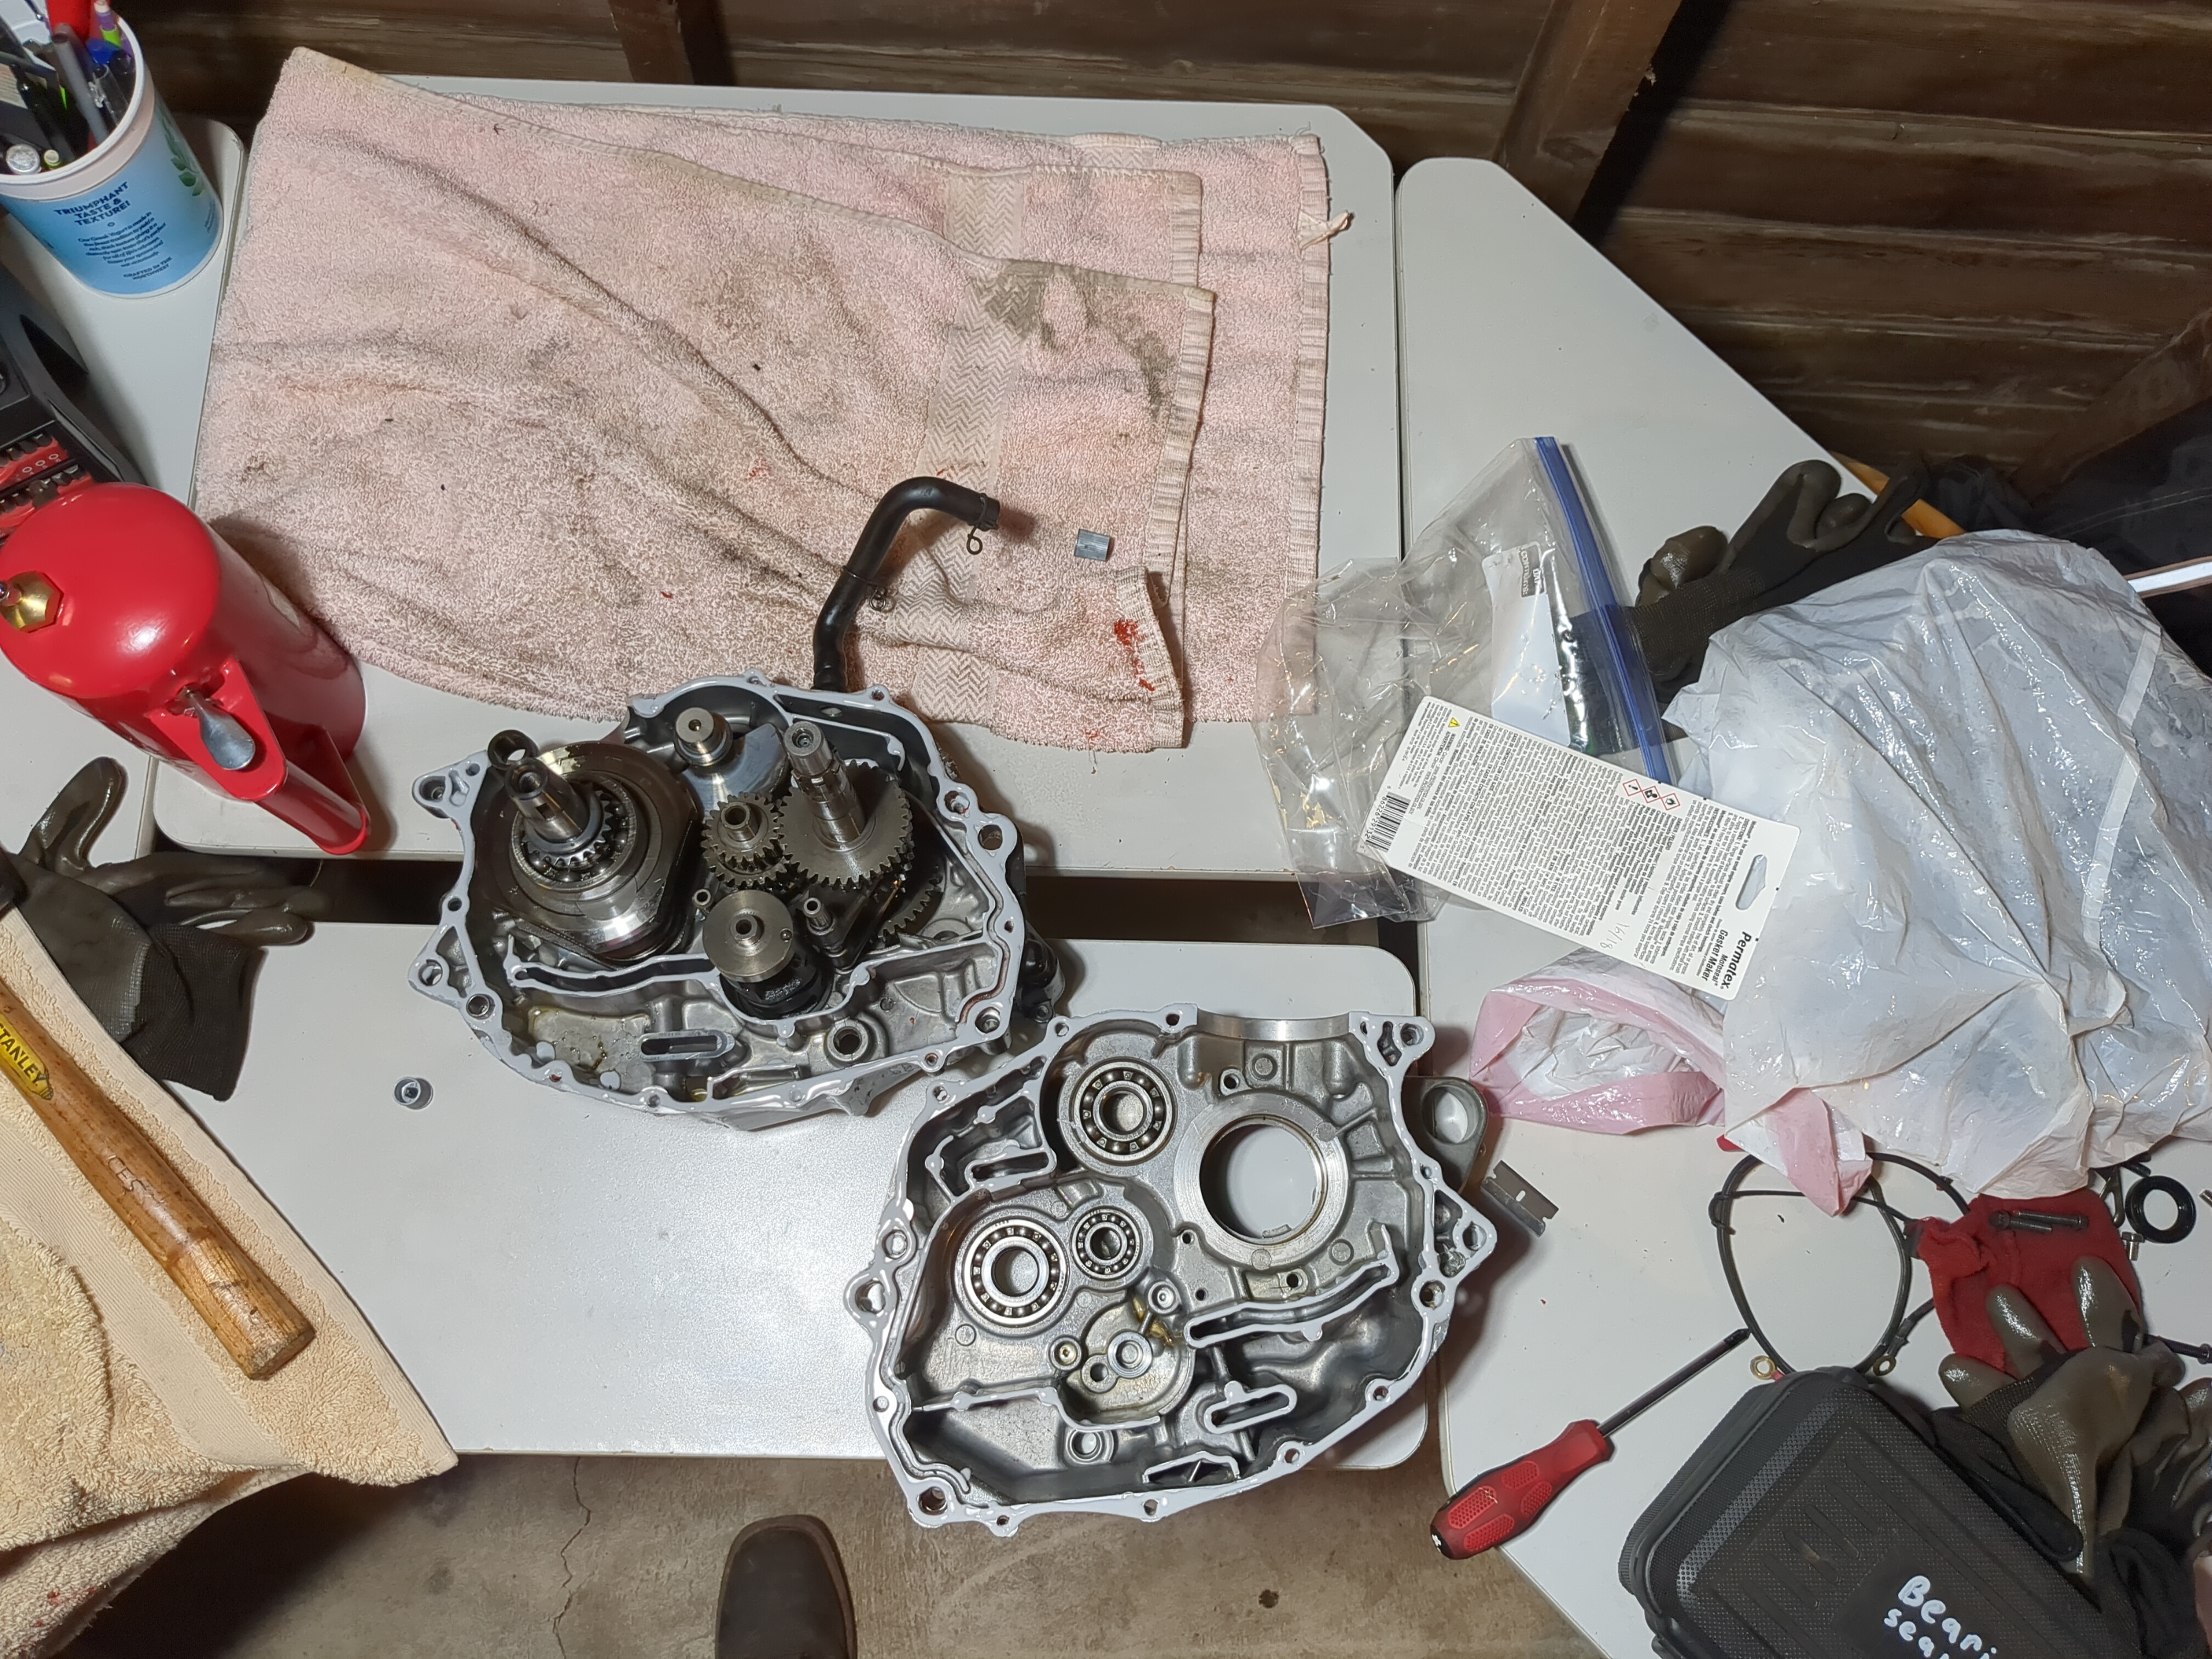
Crankshaft, balancer shaft, and transmission installed. I also applied the gasket maker (permetex motorcycle crankcase gasket maker) to the mating surfaces. I did this earlier with RTV, but I didn’t put any gasket maker on the oil galley mating surfaces. I had taken a picture, looked at it, and realized my mistake. I opted to use the permetex motorcycle gasket maker as it was close to the Yamabond gasket maker that the manual suggested.
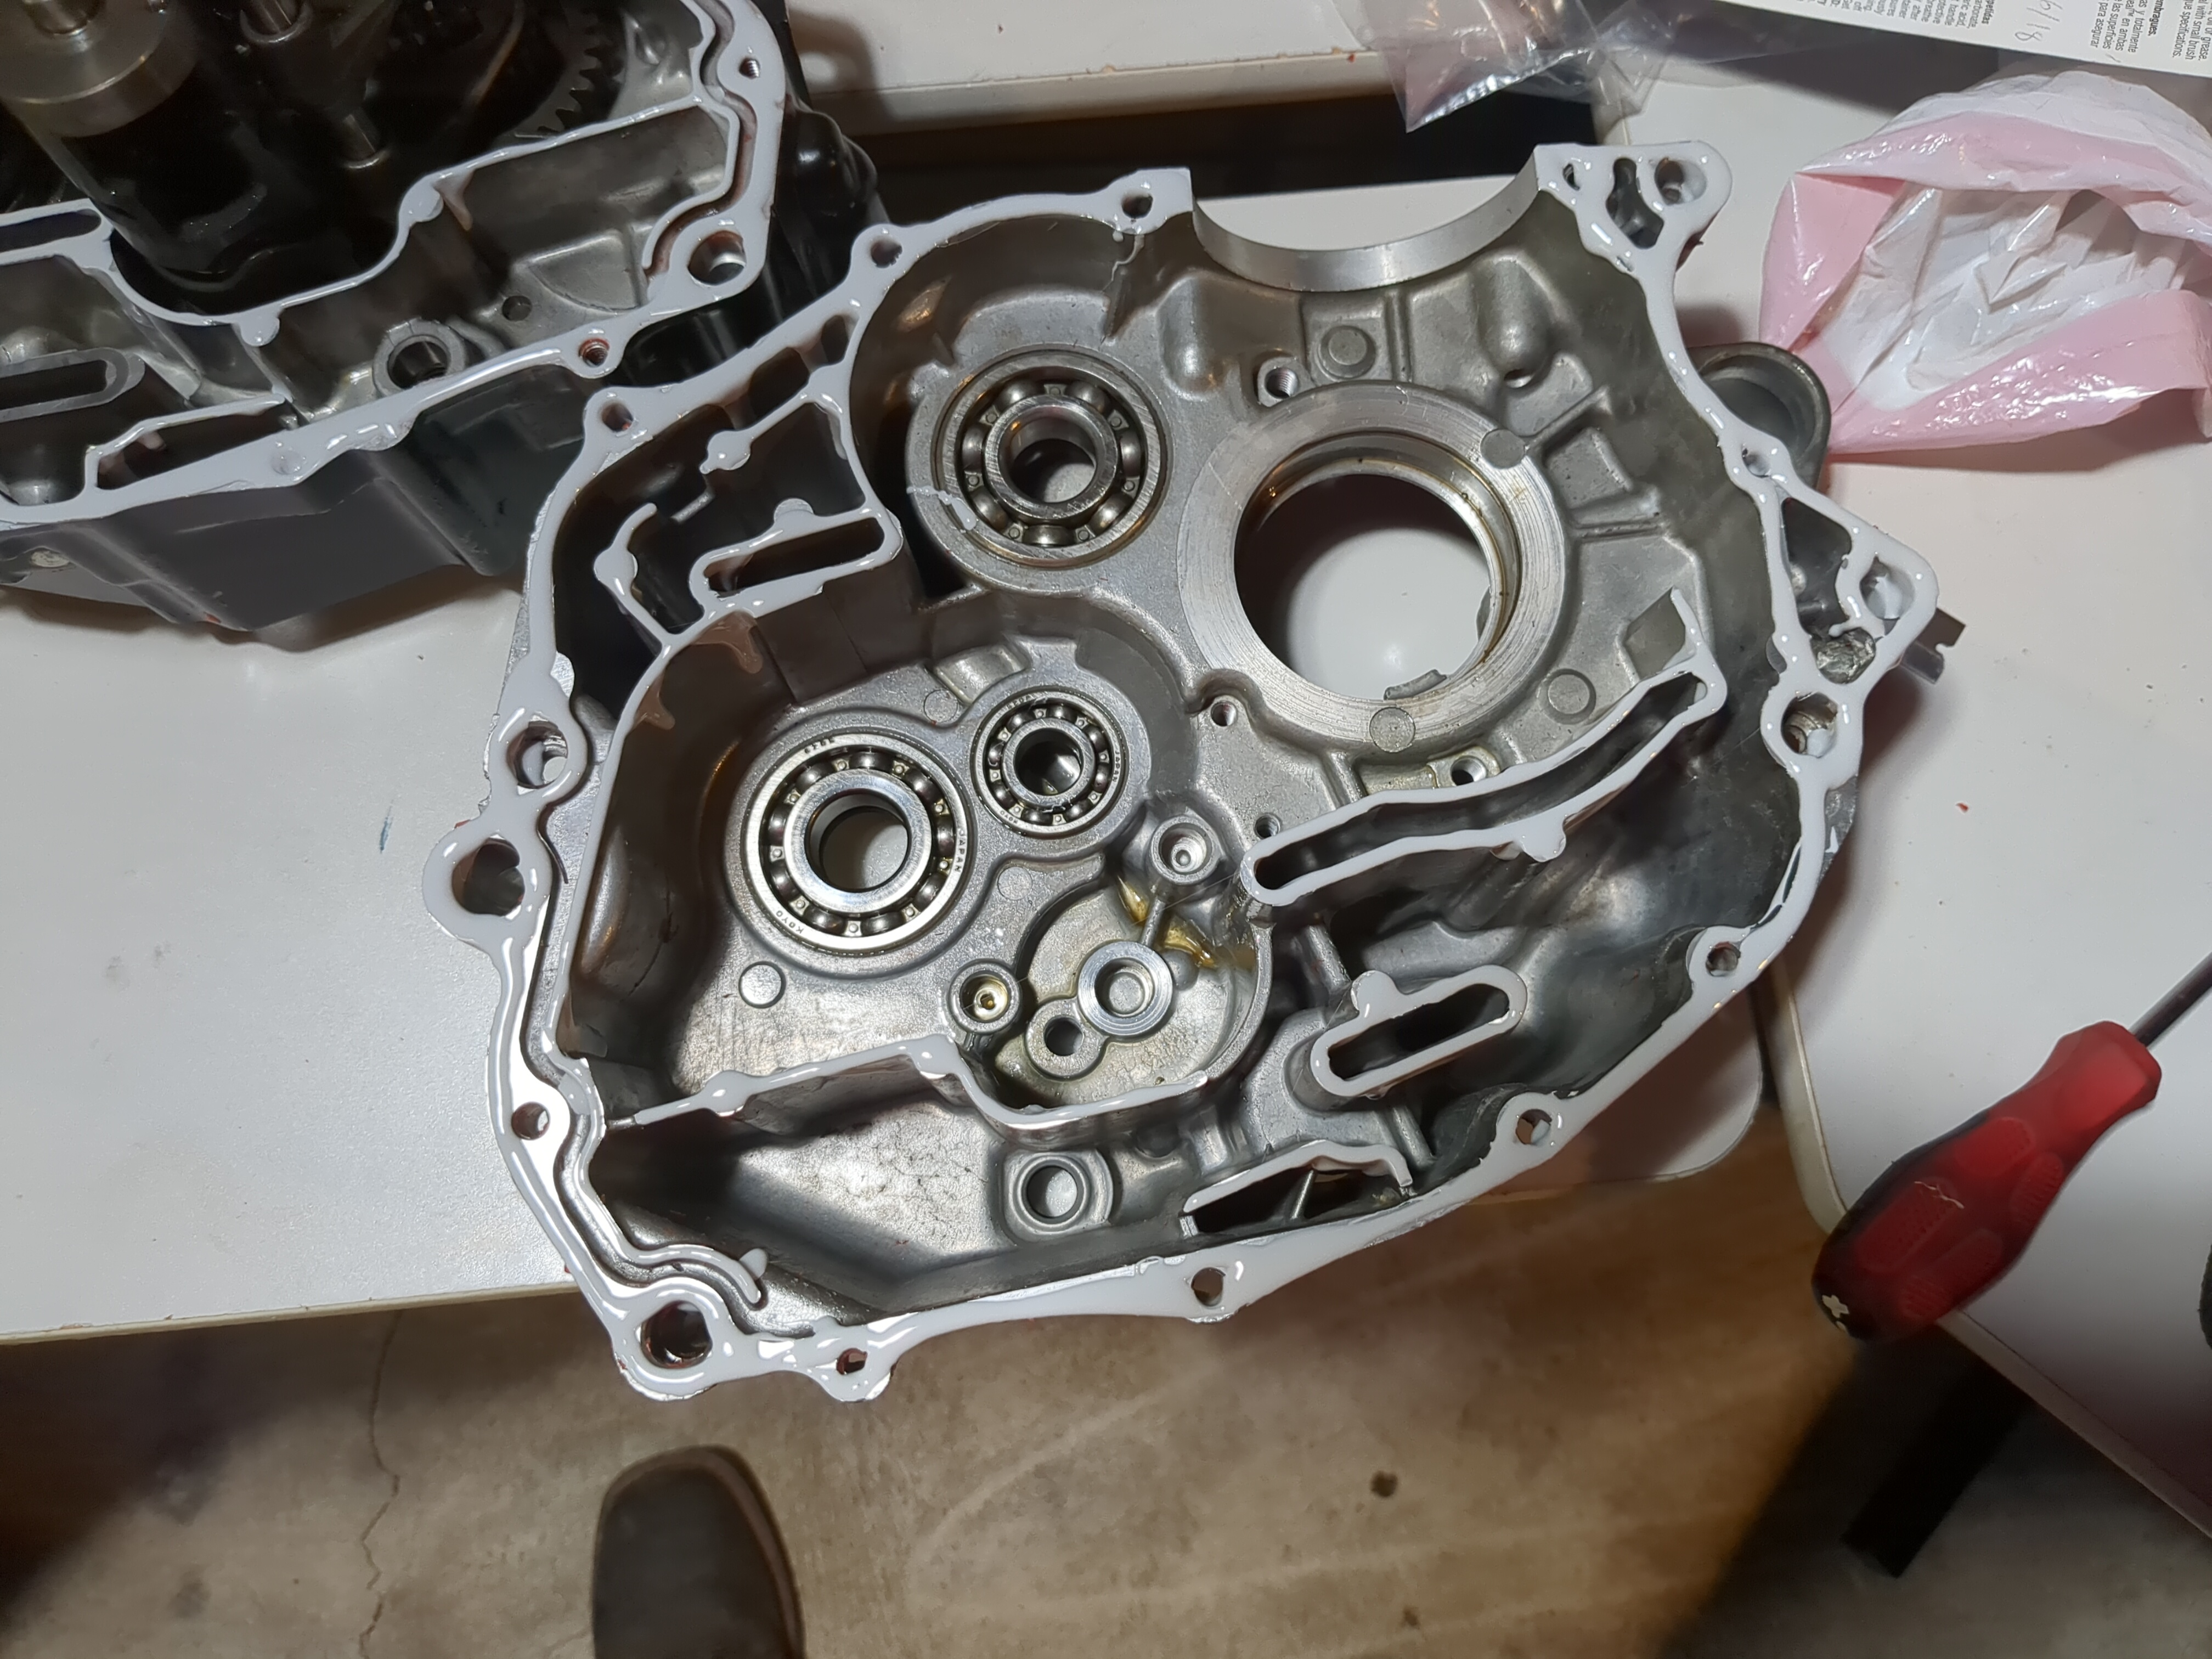
Right crankcase halve with gasket maker on it. I’ve never done this before, so I have no clue if this is the way it’s supposed to be done. Stay tuned for an update as to whether or not I total another engine because I didn’t use enough gasket maker, and the oil leaked out. OR too much gasket maker, and it blocked the oil galleys, causing the engine to seize or spin a bearing.
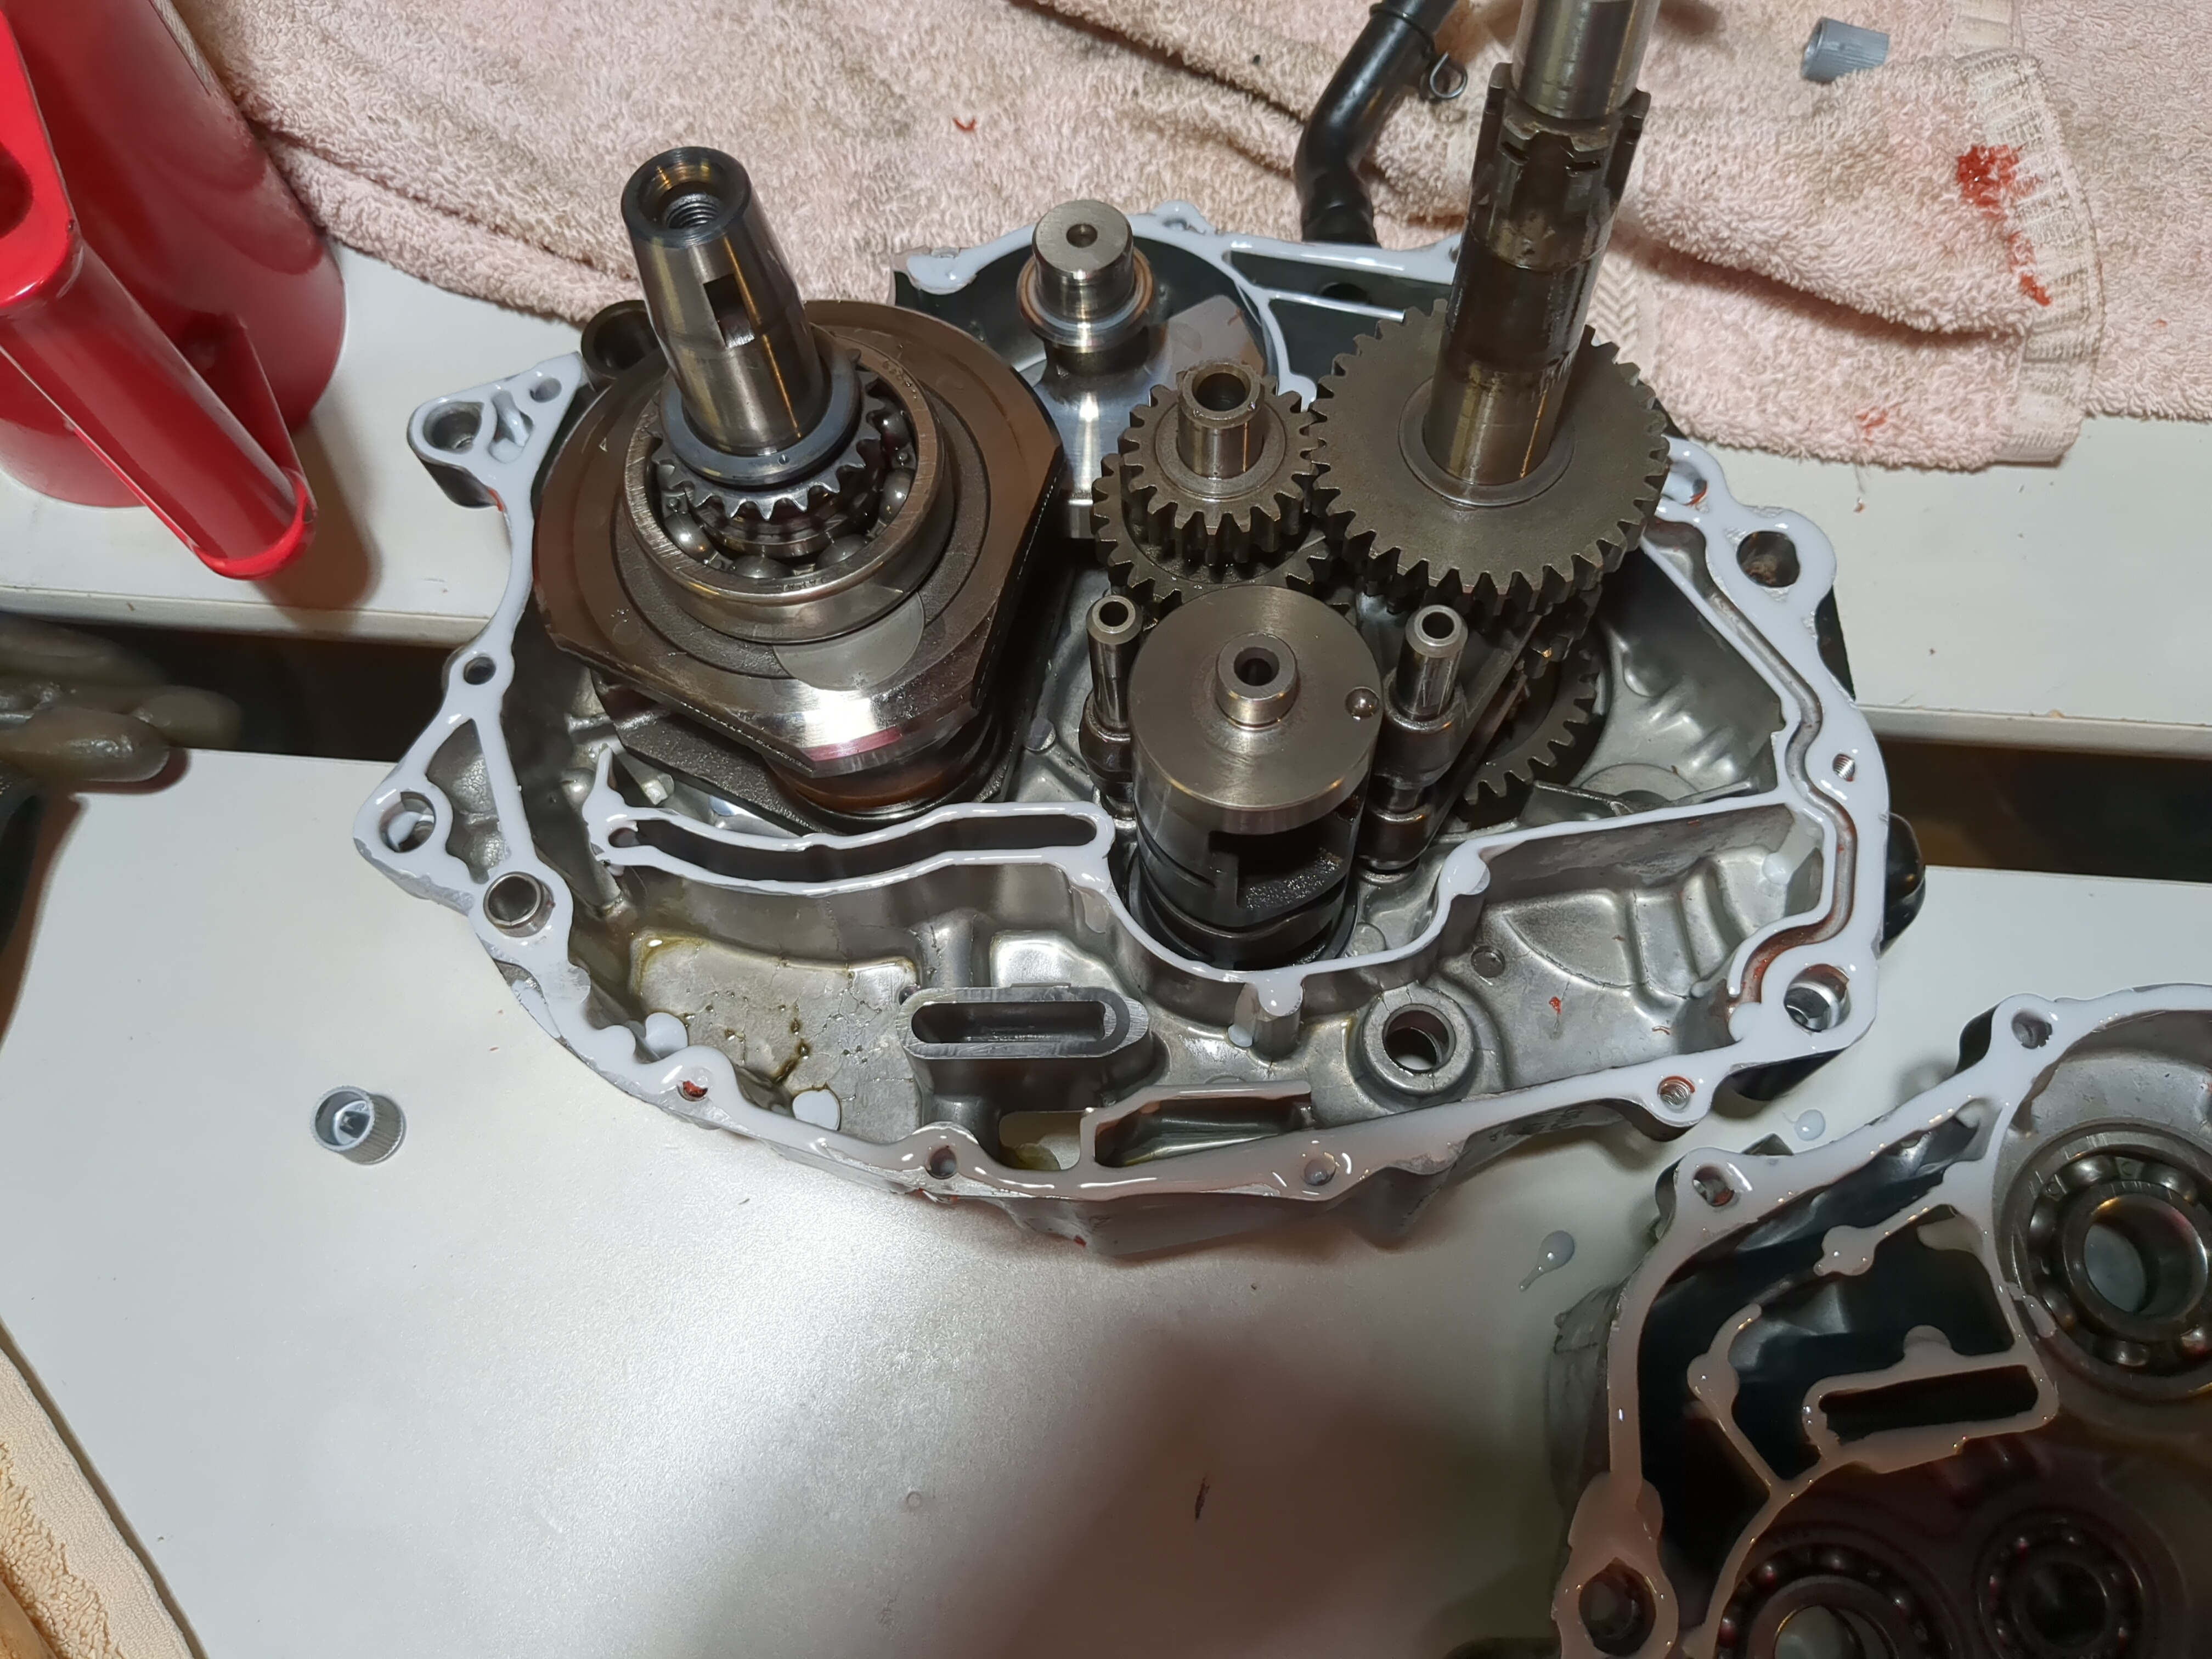
The left crankcase halve. As stated above, I have no idea whether this is right or not.
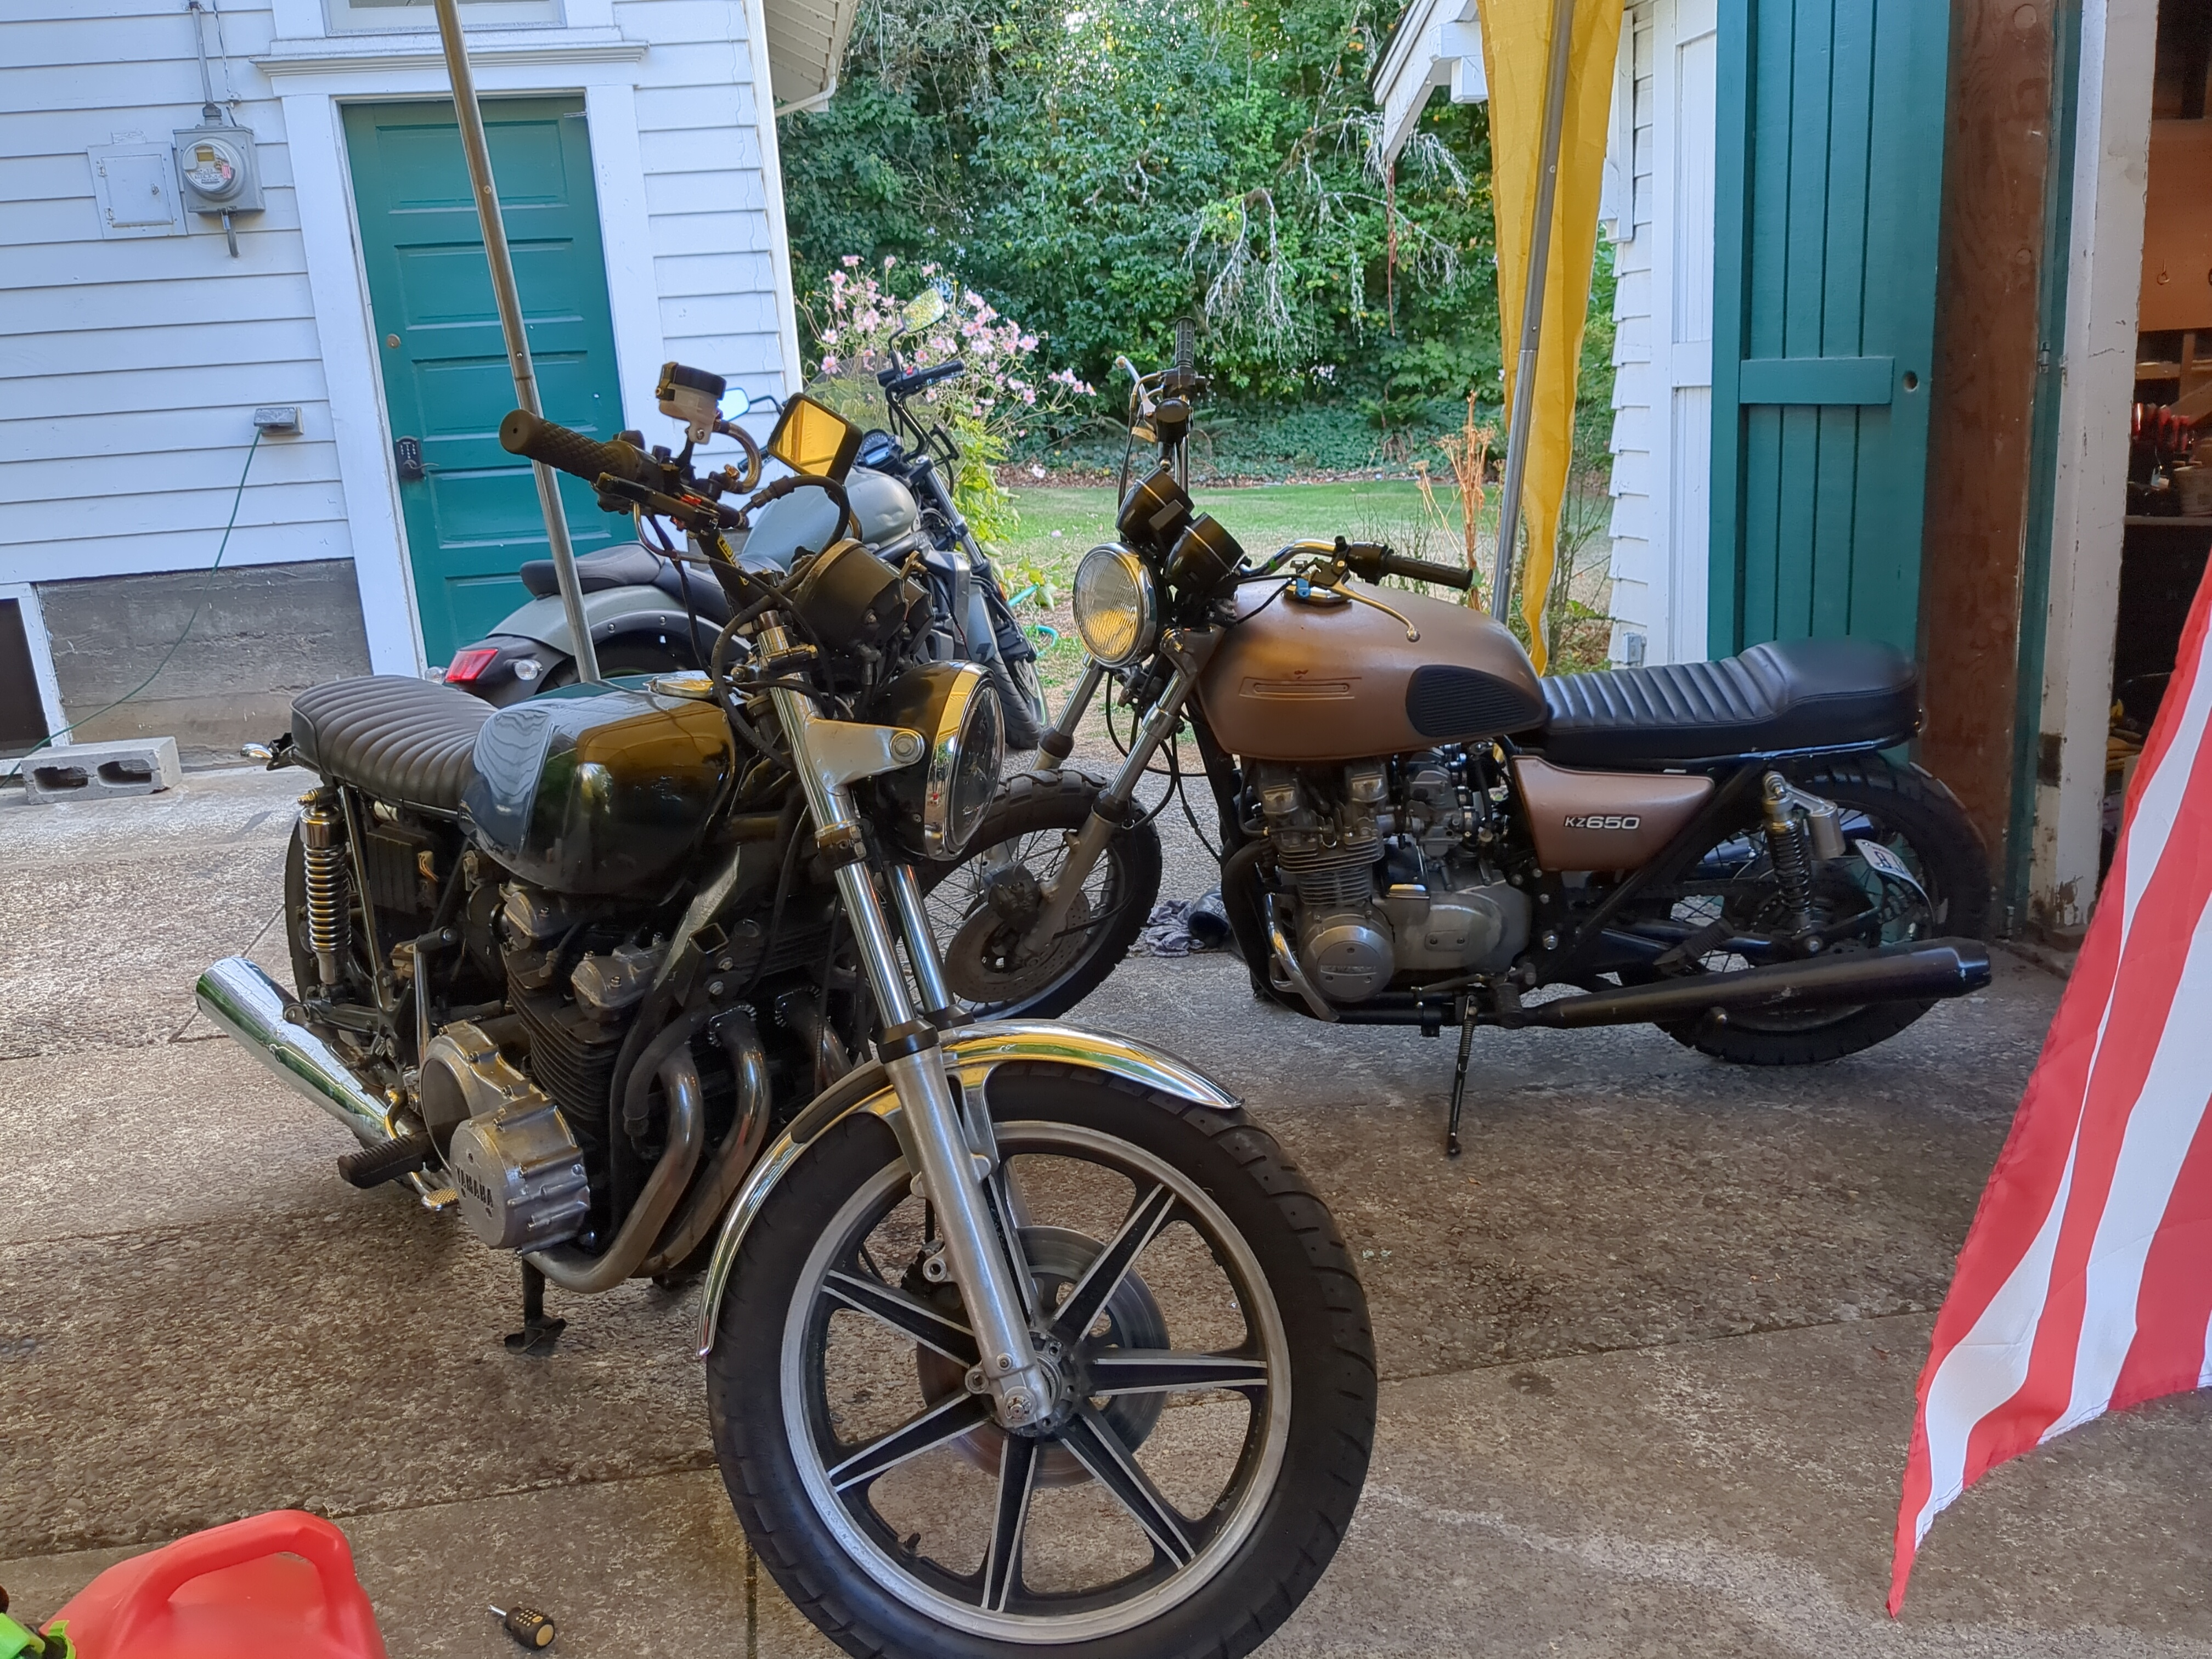
Finally, I worked on a another friend’s motorcycle from 1978. This one was a 1978 Yamaha XS750. It’s an inline 3 engine, but more or less the same bike as the KZ650 I worked on a little while ago. We tuned the engine some, and adjusted the clutch so it actually shifted correctly. I’m really getting good at fixing motorcycles from 1978. I’ll have to tackle my 1978 Honda XL125 soon with how much experience I’m gaining.
These side projects are a lot of fun. I really enjoy being able to work on something small.